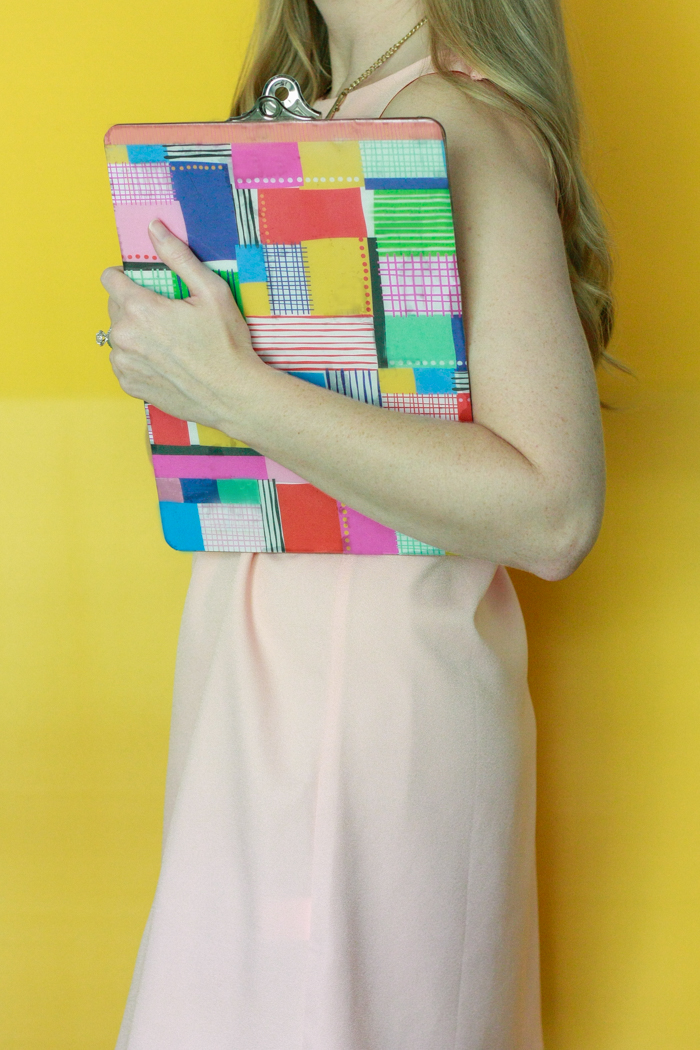
Customize a plain clipboard with scrapbook paper and EnviroTex Lite Pour On High Gloss Finish to make your own resin clipboard!
Hey Resin Crafters! Amber Oliver here with another great resin craft! For my first project, I started small with these resin dipped earrings, and this time I’ve moved to a slightly larger project. I got to work with pouring resin on this project and I have to say it was a lot of fun!
Supplies Needed for Resin Clipboard:
- EnviroTex Lite® Pour On High Gloss Finish
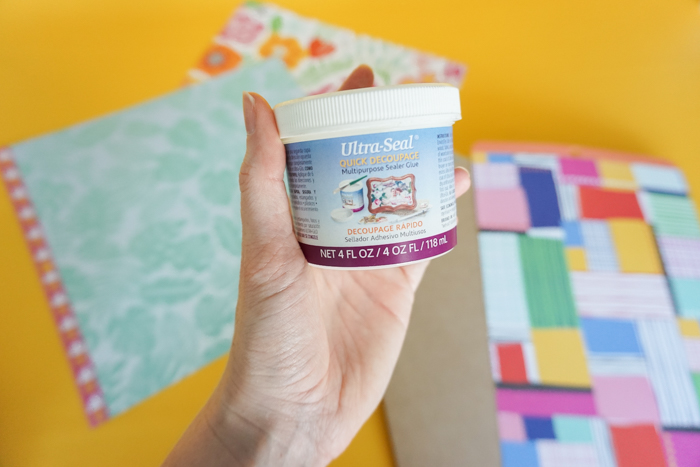
- Ultra Seal Multi-Purpose Sealer
- Clipboard
- Scrapbook Paper
- Mixing Cups
- Brushes
- Stir Sticks
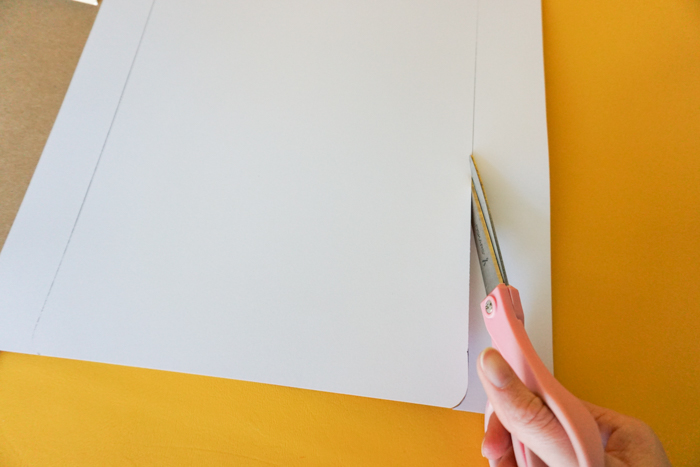
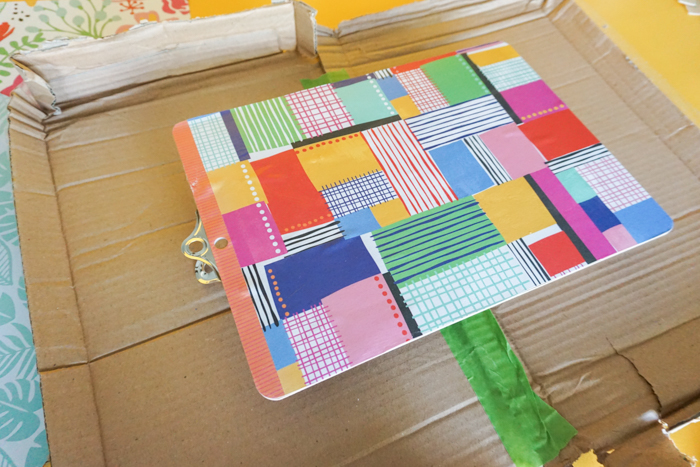
Step 1: Trace the clipboard onto the scrapbook paper and cut it out. Mine was just barely long enough, so if your paper isn’t quite big enough, you can always use two sheets. Just line it up like you would wallpaper!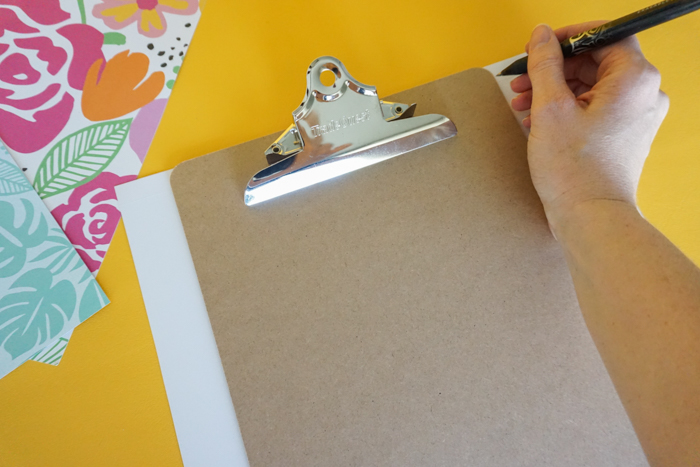
Step 2: Coat the back of the clipboard with a thin layer of Ultra Seal. Then apply your scrapbook paper, pressing out any bubbles that appear. Next, brush the ultra seal over the top then let dry completely.
Step 3: Now you are ready for the Envirotex Lite Pour On. (You’ll want to setup in a cardboard box for easy disposal.) This is a multi-step process so don’t start mixing until you are ready to do the whole process from beginning to end!
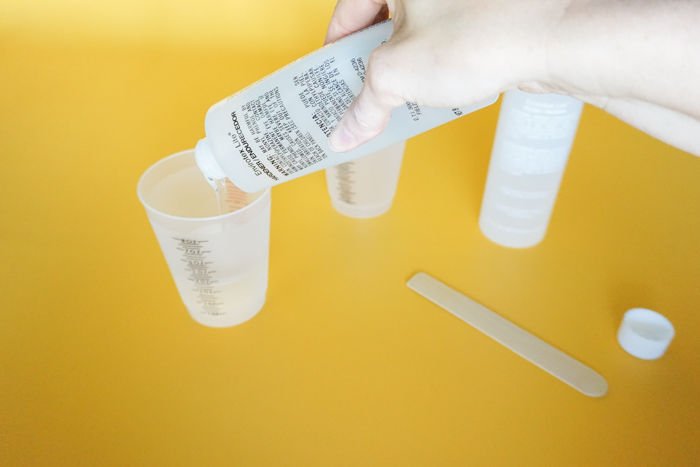

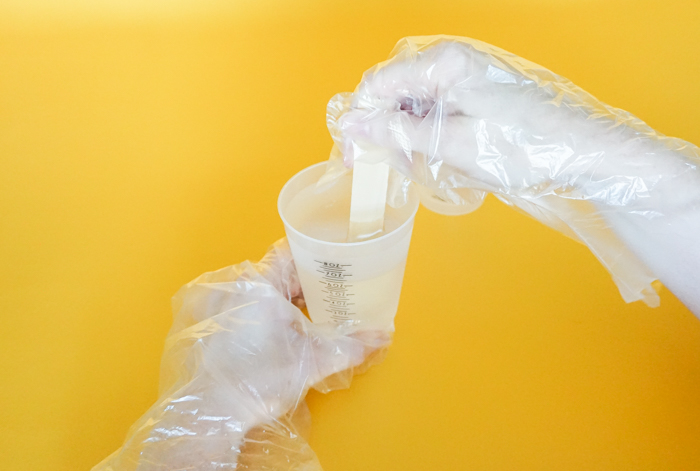
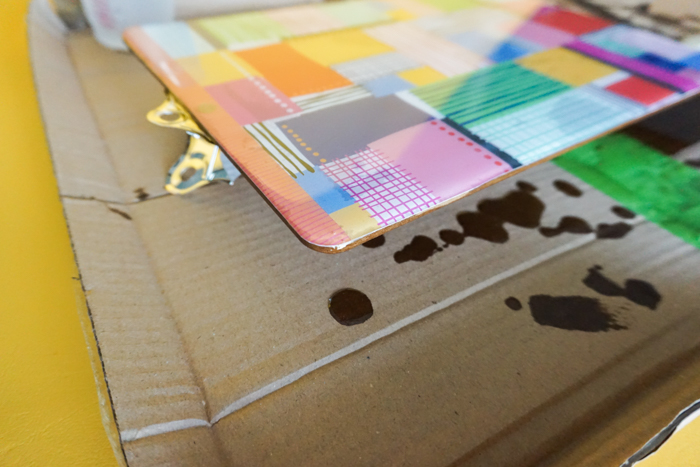
Start by mixing EQUAL parts of the Hardener and the Resin. Stir for two minutes (be sure to scrape the bottoms and sides) then pour from the first cup into a second and mix with a new stir stick for another minute. Once it’s ready, pour directly onto your clipboard back! I placed a piece of cardboard under one end to keep it level.
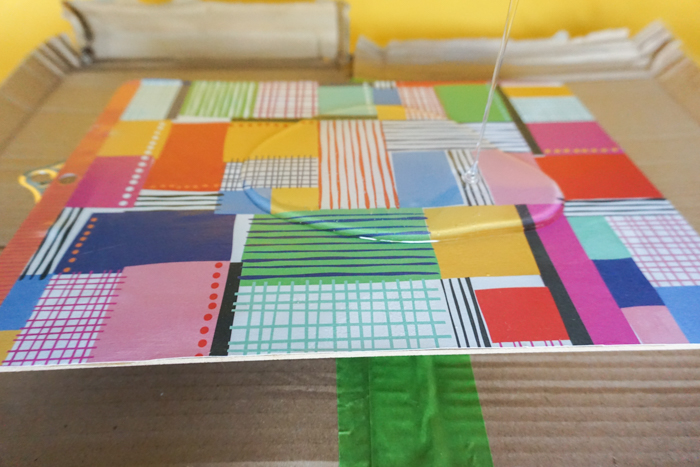
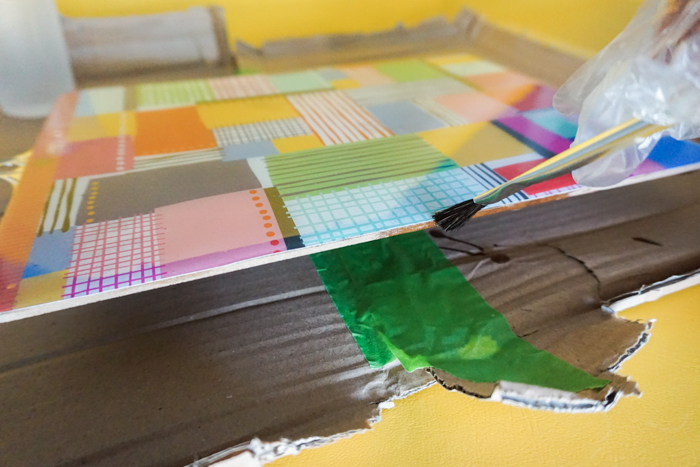
Step 4: After you’ve poured the resin, there will be drips! Use a brush to smooth those over the sides. Be extra careful around the clip at the top.
Step 5: After about 20 minutes you’ll see bubbles appear on the surface of the resin – you can use a butane torch to pop these or simply breathe on it like I did! It’s the CO2 in your breath that releases the bubbles – not the heat!
After your Resin Clipboard has had time to cure, it’ll be ready for your next meeting! You can get really creative with this project and use any design scrapbook paper that suits your style!
Amber Oliver is a DIY and lifestyle blogger who shares easy DIY tutorials, colorful crafts, and more on her blog, Amber Oliver. She’s a native Oklahoman living “in the loop” in Houston, TX with her husband and dog. She’s an avid reader, world traveler, loves Tex Mex food, and creating everything from woodworking projects to websites. She focuses on budget friendly projects for the home and empowering women to try new things.


Leave a Reply