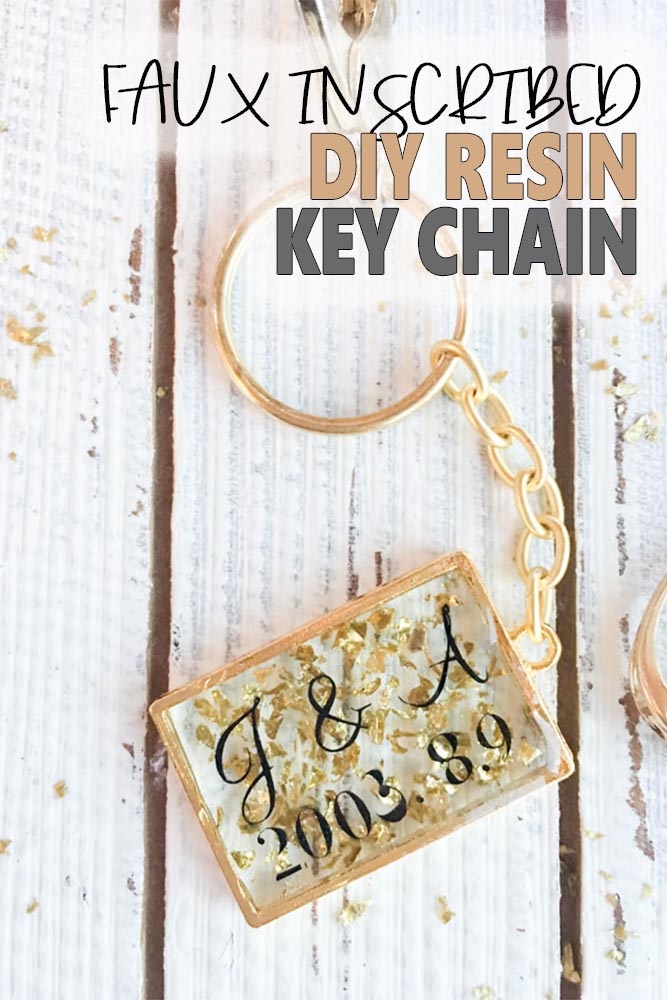
Create these beautiful and romantic faux-inscribed resin keychains to remember that special day you shared with your loved one.
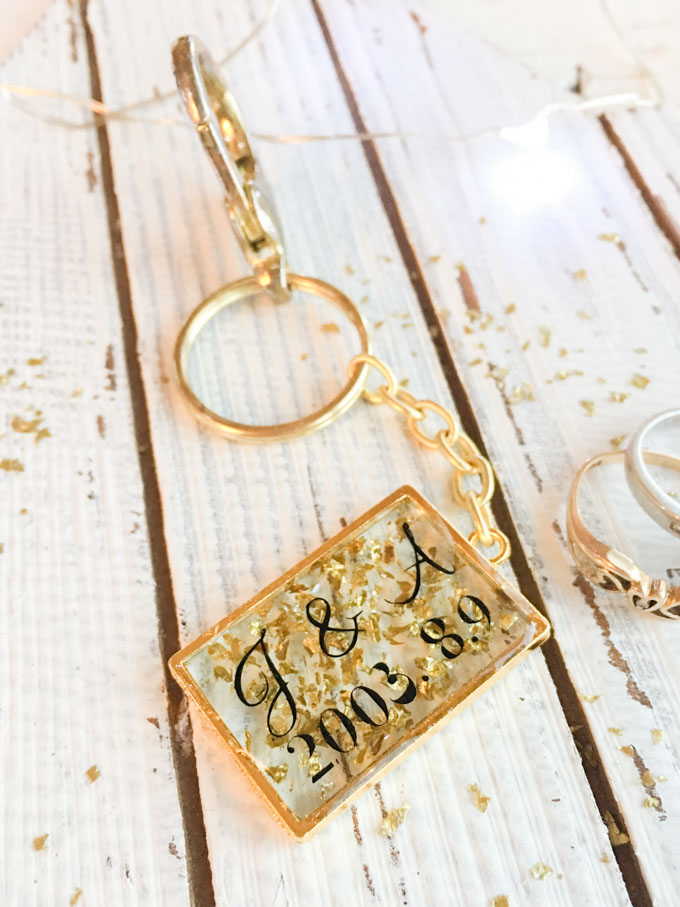
Valentine’s Day is around the corner. Although I’m not one for elaborate plans and gifts, I find it a great time to stop and remember all the wonderful experiences hubby and I have had together.
Obviously our wedding day is high on the list. To me it was one of the most romantic times of our relationship. So, for Valentine’s I made us some golden keychains with our wedding date inscribed.
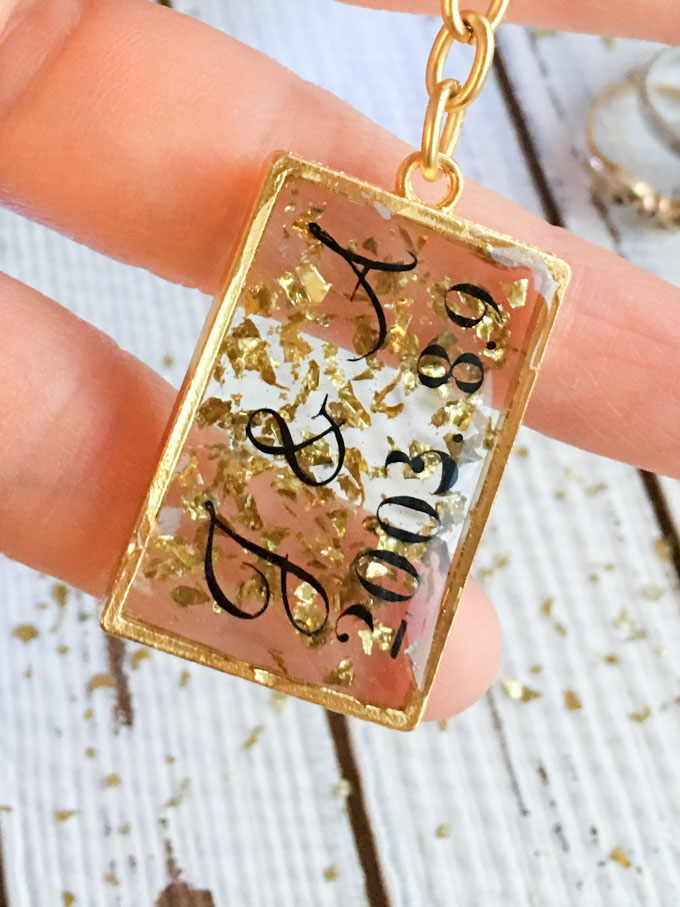
The open-back pendant actually looks so elegant that I plan to use mine as a pendant. In past years, I made these dangle glitter and resin earrings and hanging pendant which are also perfect for Valentines!
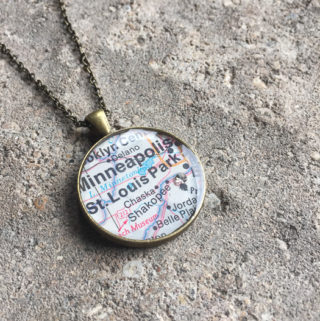
And since a little romance is a good thing, some of the other ways to use resin to commemorate special times is with this pressed rose petal and resin serving tray and these personalized resin keychains using a map of a significant time and place spent together.
Although this is the first time I’ve personally combined our Cricut Maker with a resin project, there is so much inspirational project ideas that utilize both. Check out these DIY wood coasters and stained wood coasters for more design ideas.
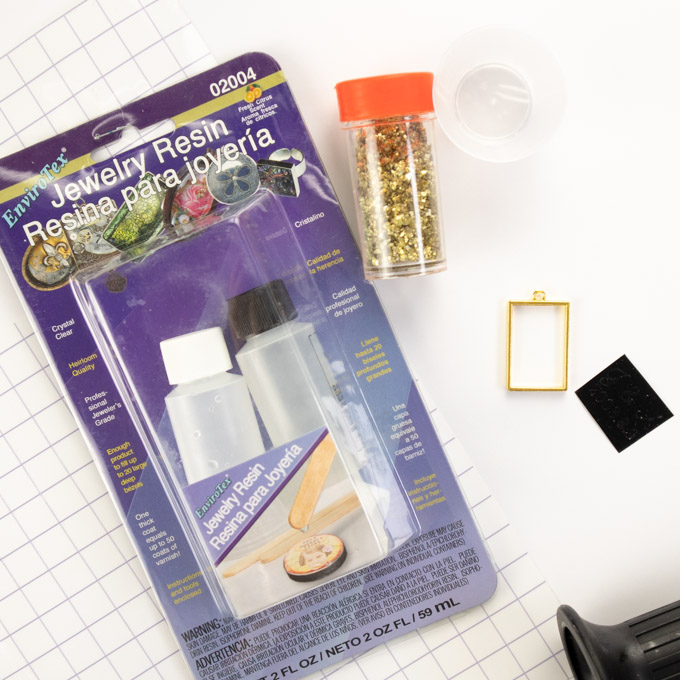
Materials needed to make Faux Inscribed Resin Keychains
- Cricut or Silhouette Cutting Machine
- Black Premium Vinyl
- Transfer Tape
- Scissors, Weeding Tool
- Gold rectangular open-back bezel
- Gold glitter flakes
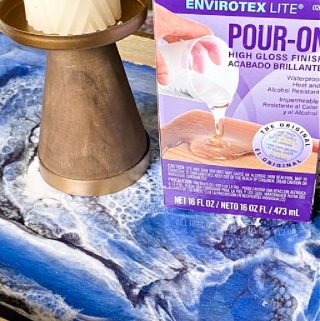
- EnvirotexLite Jewelry Resin
- Measuring Cups
- Wooden Stir Sticks
- Gloves and paper towels
- Kitchen torch or straw
How to Make a Faux Inscribed Keychain with Resin
Preparing the Inscription with a Cricut Machine
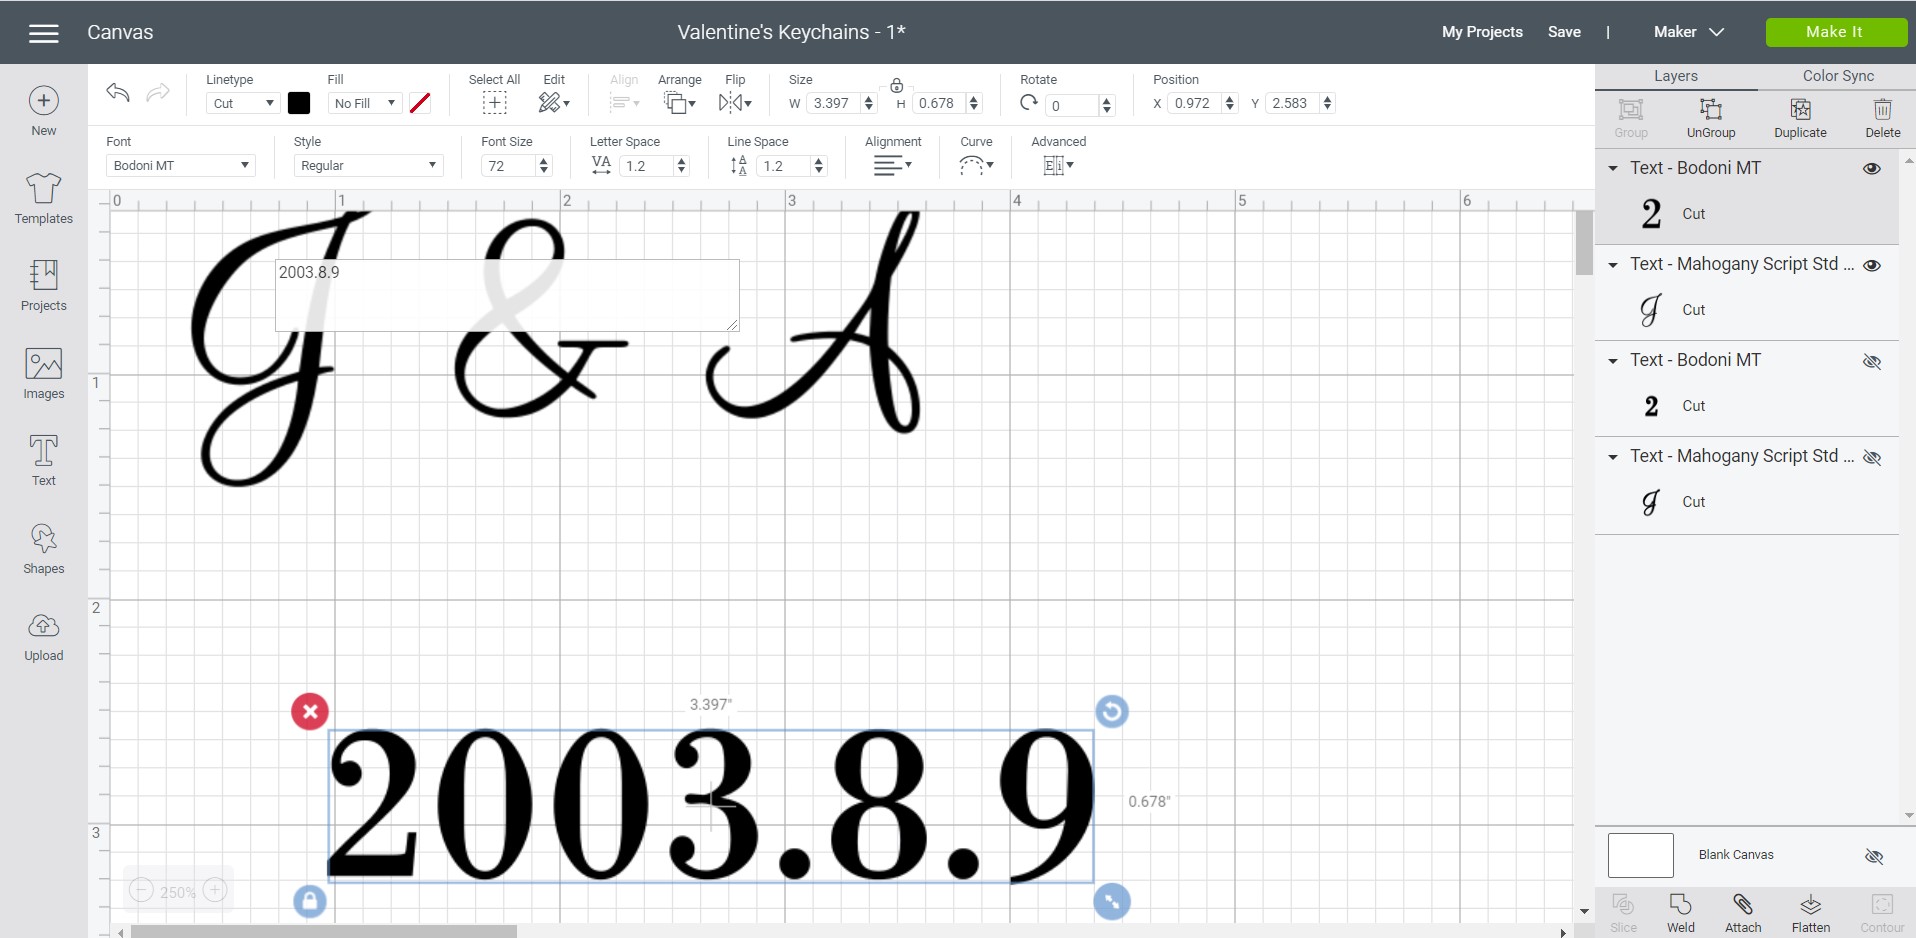
From a blank Design Space canvas, type out the inscription including the initials and chosen date using the Text tool on the left hand side. Change the font to Mahogany Script Standard for the initials and Bodoni MT for the date.
After measuring the size of your open-back bezel, adjust the size of the inscription in Design Space to ensure it will fit inside the bezel.
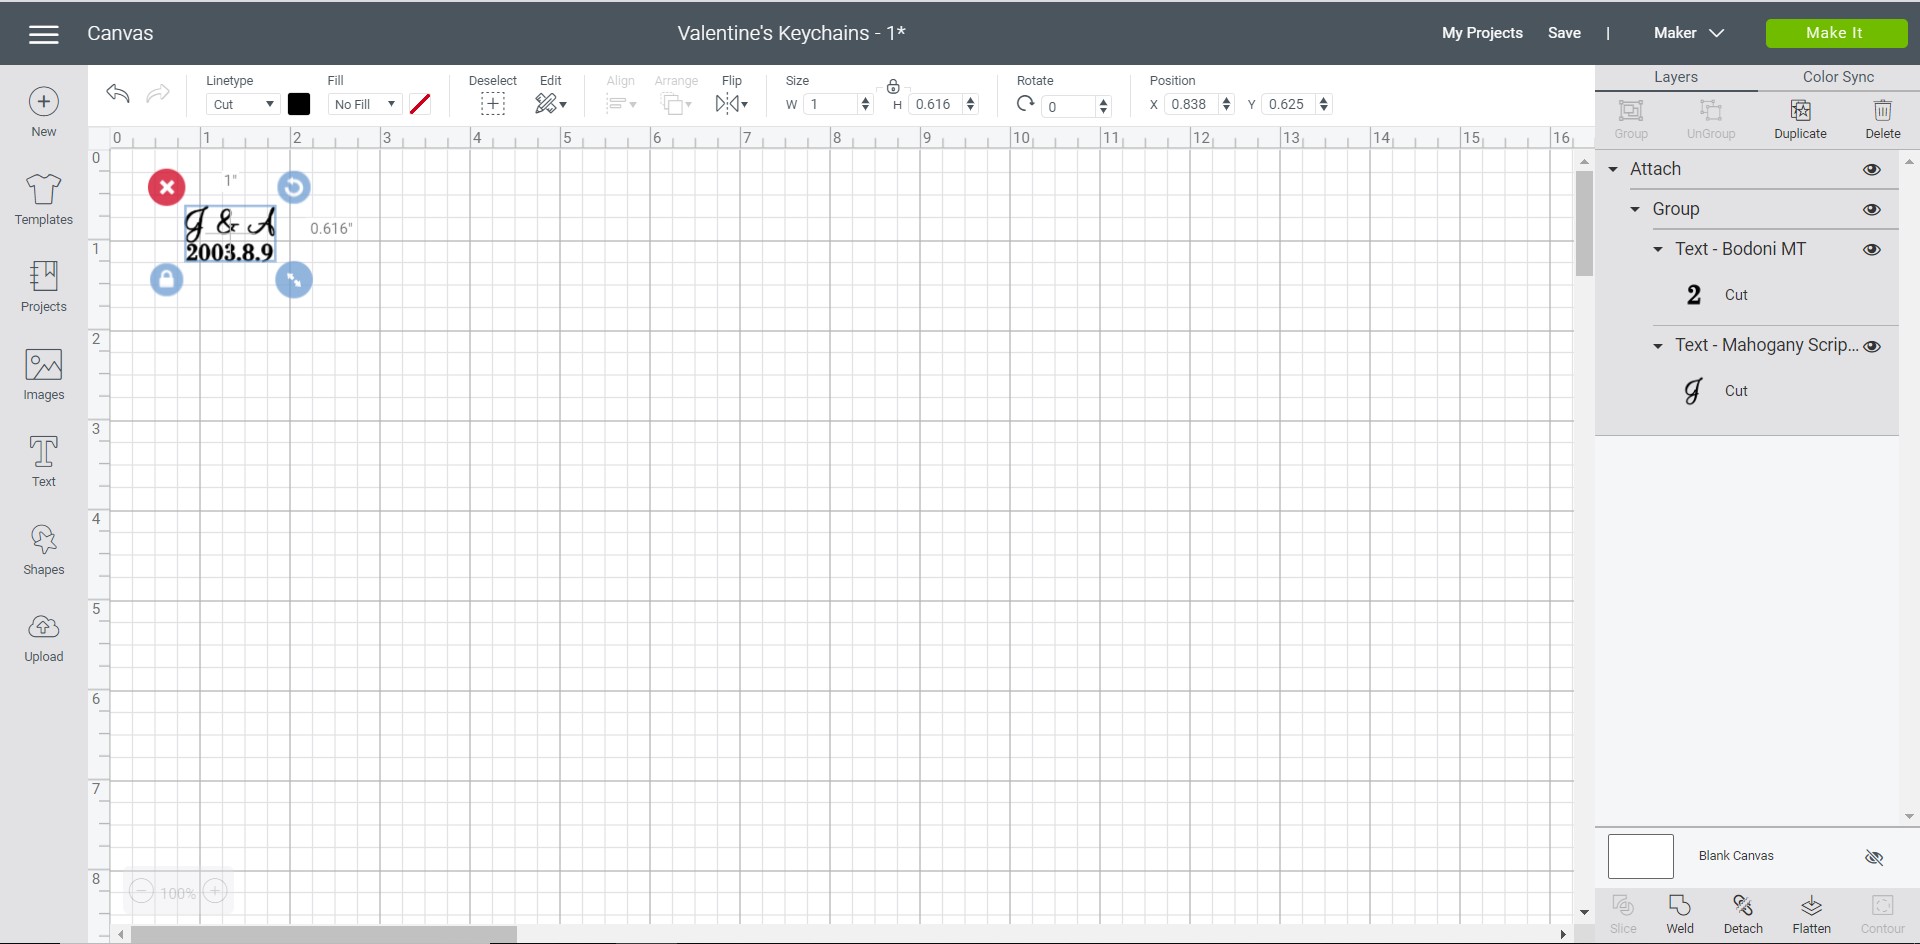
Highlight and select the inscription, then select Group and then Attach from the tool bar. Next, select Make It in Design Space to proceed with cutting out the premium vinyl.
Follow the prompts on your screen to finish the cut. When completed, unload the standard grip mat and peel off the vinyl from the mat.
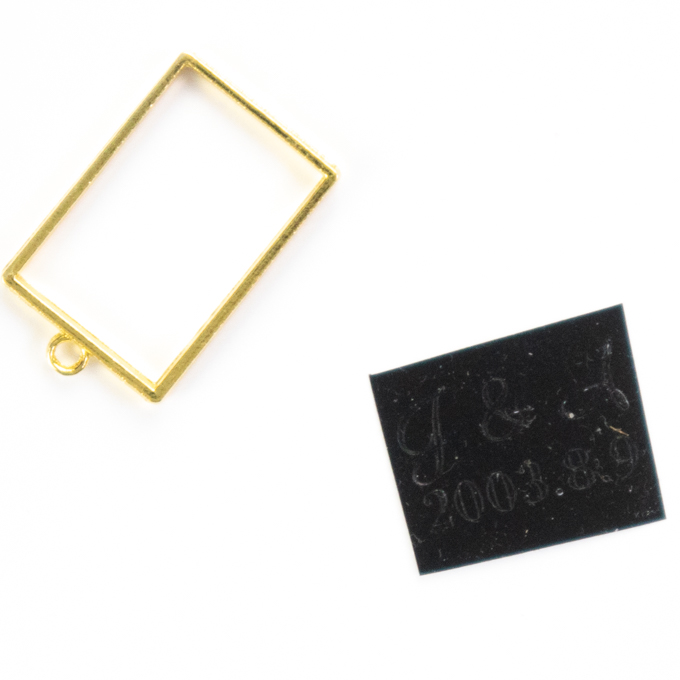
Using the weeding tool, peel away the excess vinyl surrounding the inscription and discard the excess. Be prepared to spend a bit of time on this step!
Preparing the Bezel for Resin Pouring
Prepare a piece of transfer tape that is larger than the size of your bezel.
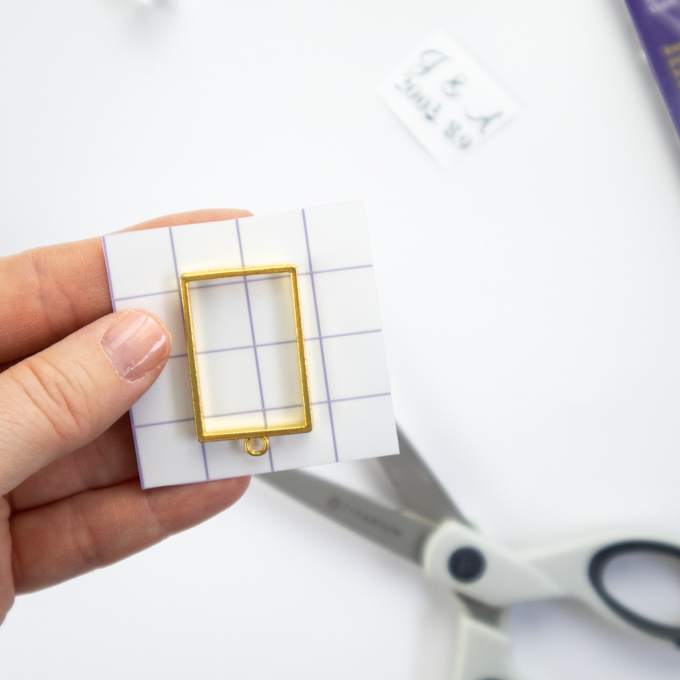
Place the inscription in the center of the transfer tape and peel away the transfer tape backing.
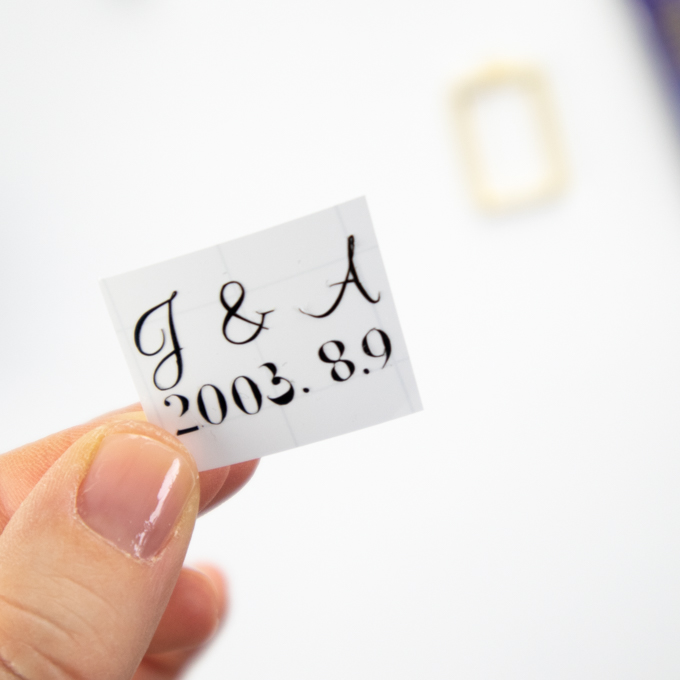
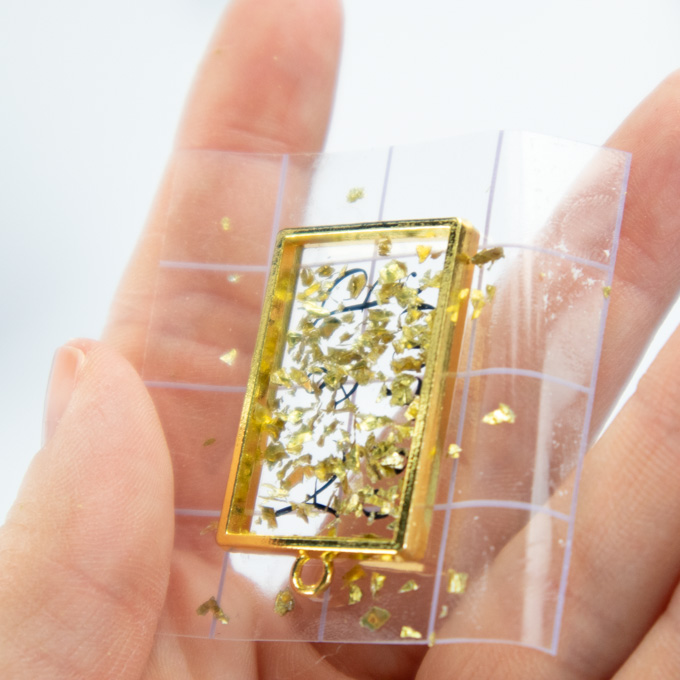
Next, stick the transfer sheet with the vinyl inscription centered over the bezel and press tape in place to seal any openings.
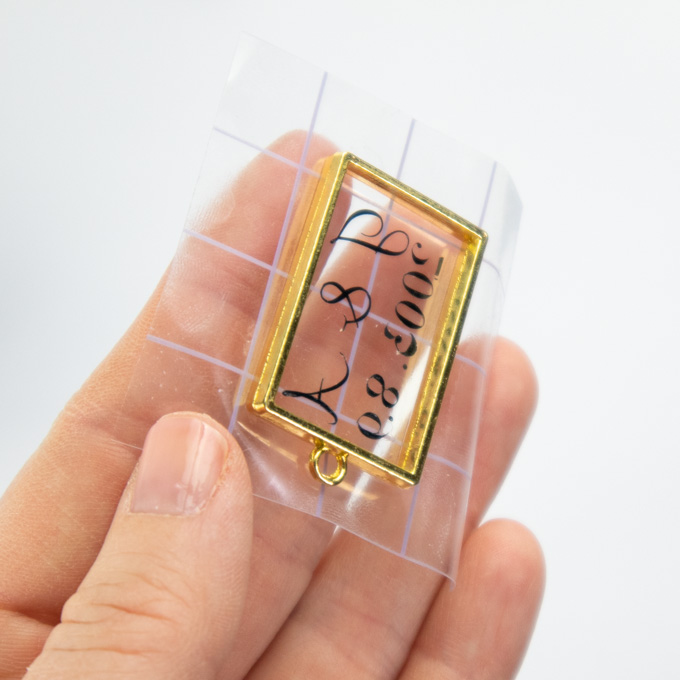
Sprinkle gold glitter flakes inside the bezel over the vinyl inscription and sticky side of the transfer tape.
Pouring the Resin
Be sure to read all the instructions on the package before starting. Work in a well-ventilated area. Always wear gloves and protect your working surface.
Begin by mixing together equal parts of Resin and Hardener in a small measuring cup (you’ll need a very small amount for each bezel). Stir completely for two minutes.
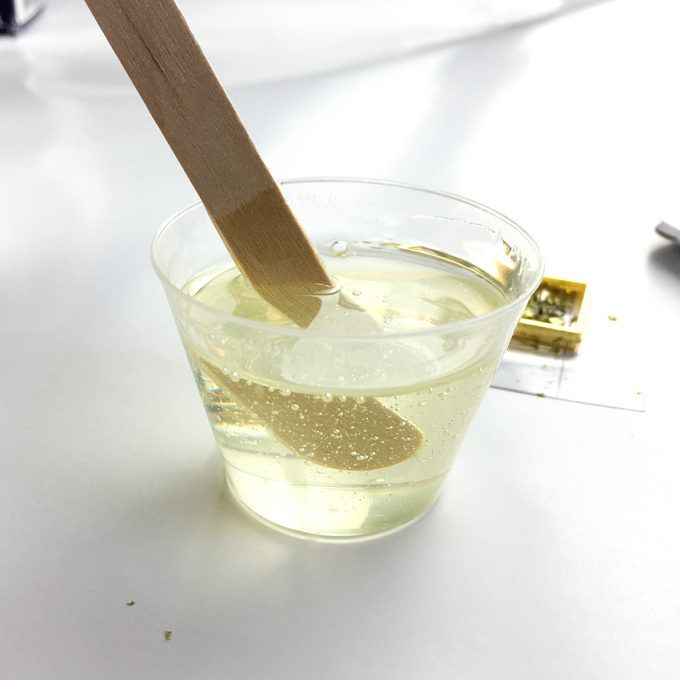
Transfer the mixture into a second measuring cup and continue stirring for an additional minute.
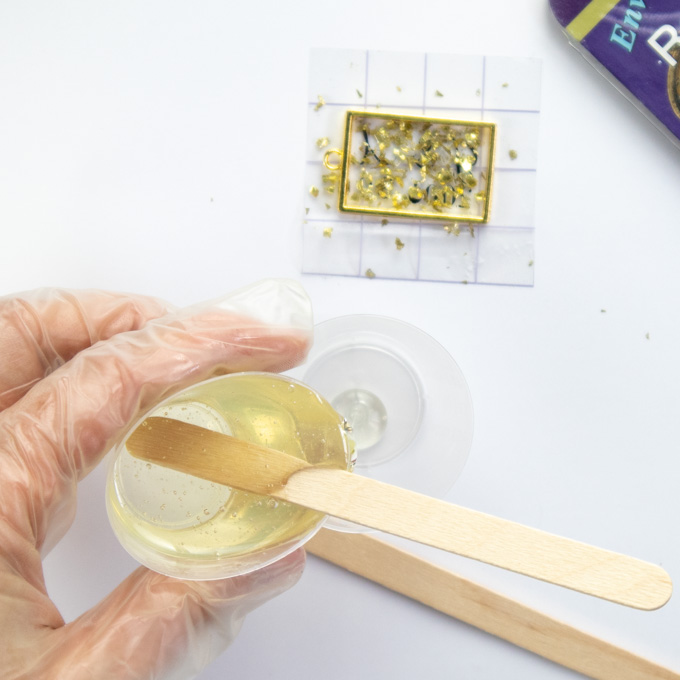
Use the wooden stir stick to carefully transfer small amounts of resin into the bezel. Going slowly will give you a chance to check for any leaks. It will also help to prevent overflowing.
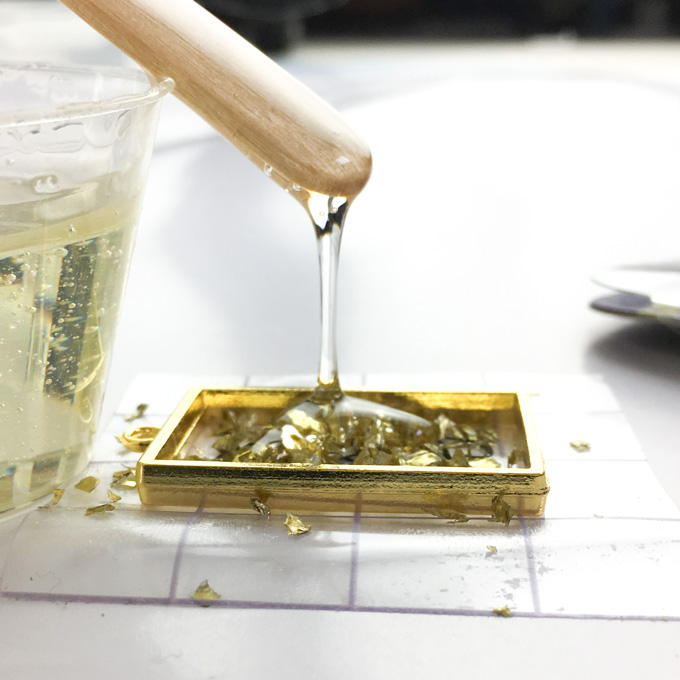
Continue filling until you’ve achieved a nice, small dome but not overflowing.
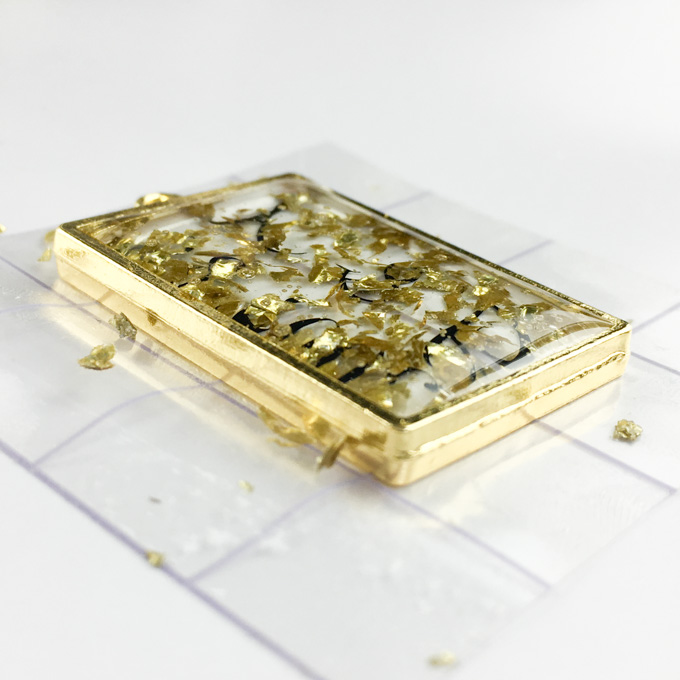
After about 15 to 20 minutes blow off any air bubbles that have risen to the top of the resin. Use either a small kitchen torch or your breath through a straw for this.
Make sure that the bezel is on a level surface and cover to prevent any dust from settling in. Let the resin cure overnight.
Once cured, carefully remove the transfer tape from the resin and bezel. The inscription should remain with the resin.
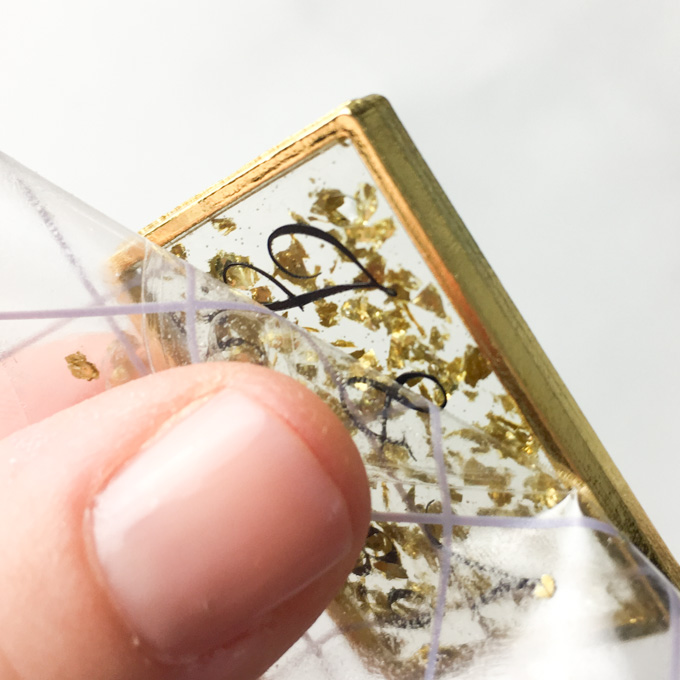
For a truly professional finish consider pouring a small layer of resin over the inscribed side to create a lovely dome finish.
I love how these faux inscribed keychains turned out. Now that they’re done I worry that it might be a bit too girly for hubby – but I know that he will appreciate the thought and find a way to use his.
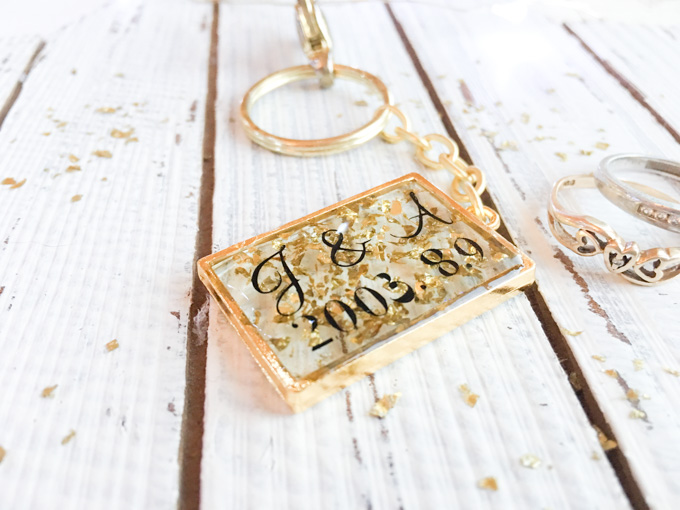
With the vinyl there’s no limit to which inscriptions you can make. Just be prepared to spend some time weeding the fine details! I think these key chains/pendants would make a lovely wedding or Anniversary gift as well.
For additional jewelry resin ideas be sure to check out these DIY ways to show your love this Valentines Day.
Like it? Pin it for later!
Jane and Sonja are sisters, moms and lifelong craft addicts both living near Toronto, Canada with their families. They share their love of creativity, nature and coastal DIY ideas on their blog Sustain My Craft Habit. They craft and decorate their homes using repurposed and upcycled items and materials found in nature.


Leave a Reply