Hi everyone, Stephanie from Crafting in the Rain here today with a project that combines Cricut with Resin. I’ve made stained wood coasters using basswood cut with the Cricut.
Think of the ways that you could customize these coasters! Change the shape, change the stain colors, change the cut-out design, and more. There are a lot of options! Then once you get to the resin stage, the steps will be just the same.
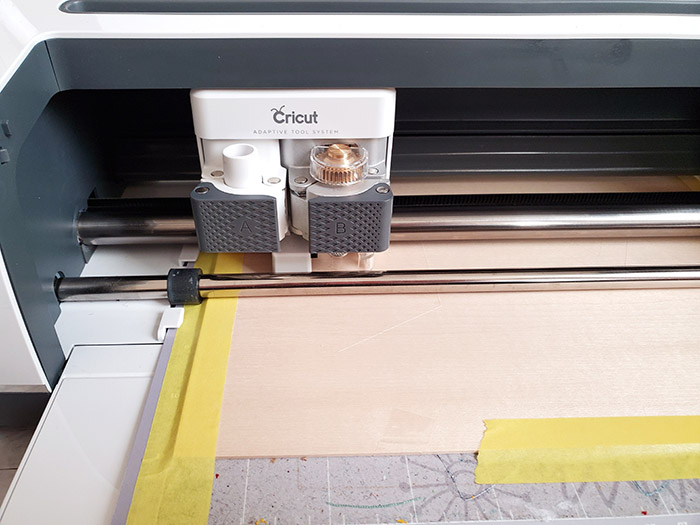
Cut the wood coasters
Cut Cricut basswood using a Cricut Maker and Knife blade (see the post for how to cut wood with a Cricut) Get the Design Space file for this project here.
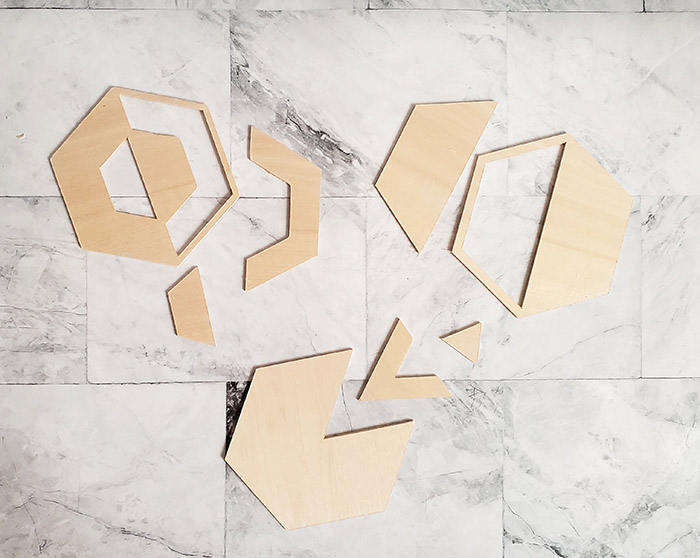
These are the pieces that will be cut out – be sure the check the cuts around pass 10, they may be finished!
Lightly sand the edges of the basswood. Stain both sides with 2 different colors of wood stain, wiping off the excess. Let dry for 24 hours.
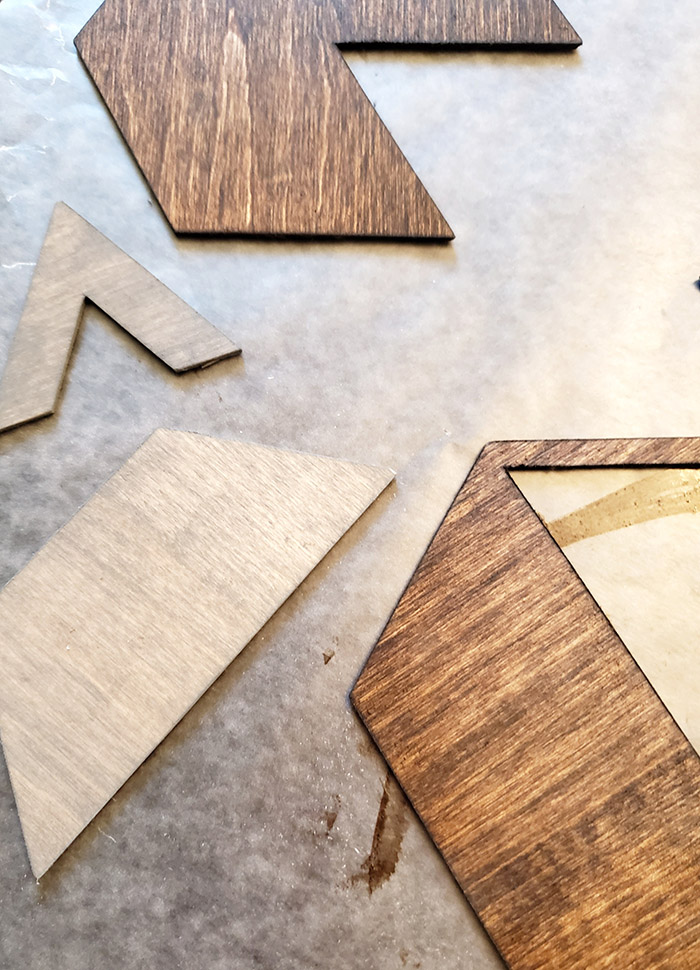
We need to first glue the coaster together before flooding the top to coat. Otherwise, the resin will slowly seep through the cracks before it cures.
Add resin to coasters
Mix a small amount of Envirotex Lite Pour-On resin. Follow package instructions and be sure to wear gloves and eye protection.
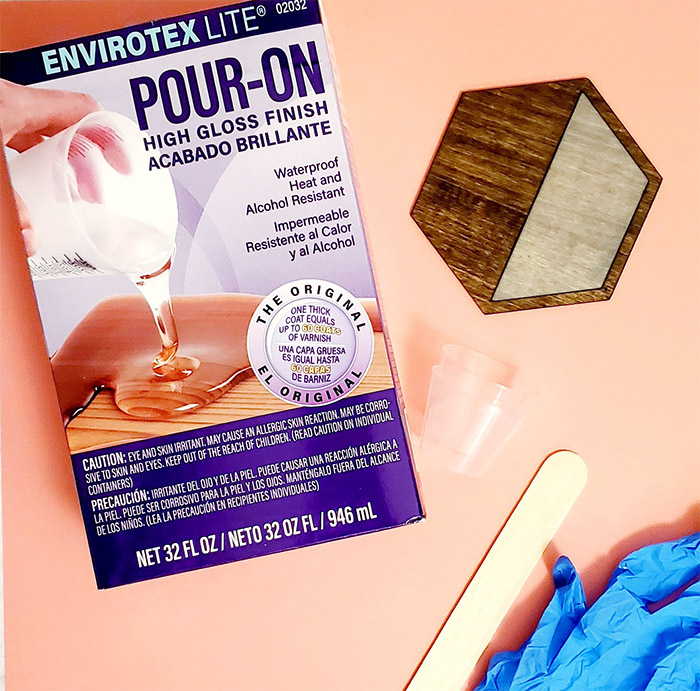
Measure 1/2 tablespoon each of resin and hardener into a small mixing cup. Stir for 2 minutes with stir sticks.. Transfer to another cup and stir for another minute with a new stick.
Press coasters on a piece of contact paper that is sticky side up. This will keep everything in place. Drip resin onto the seams and spread with a stir stick. Let harden overnight.
Carefully peel away the contact paper and turn the coasters over. The bottom will now be the top.
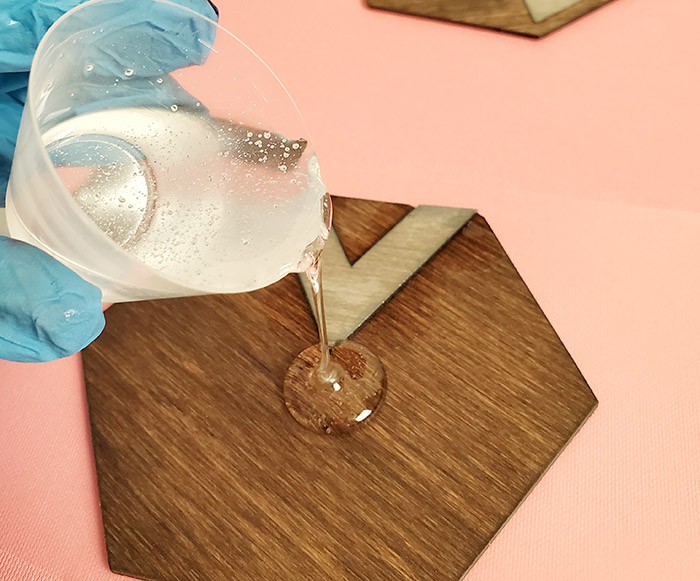
Mix enough resin to have 1 tablespoon per coaster. Pour over the top of the coaster and spread with a stick to the edges, but don’t drip over the edges.
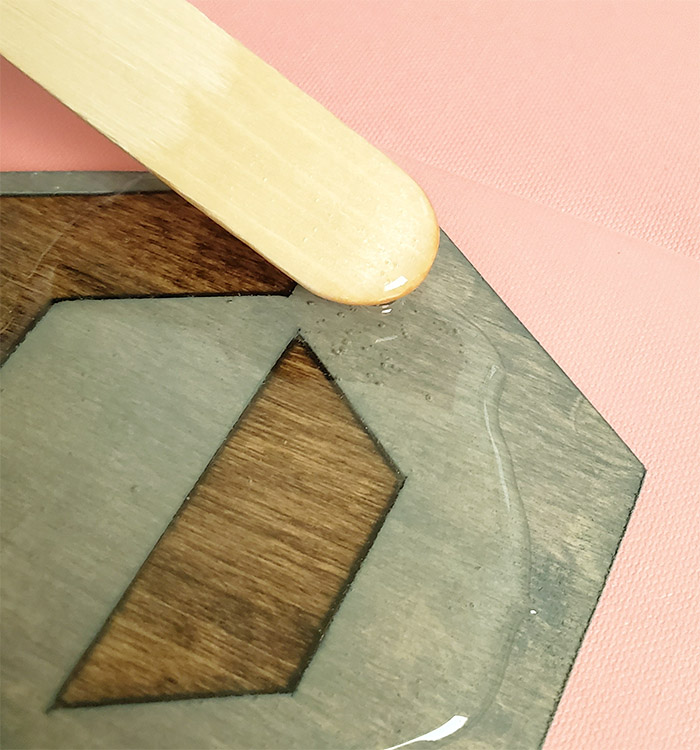
After about 15 minutes, exhale over the surface, or use a small heat gun on to remove any bubbles. Let cure for 24 hours in a dust-free, well-ventilated area.
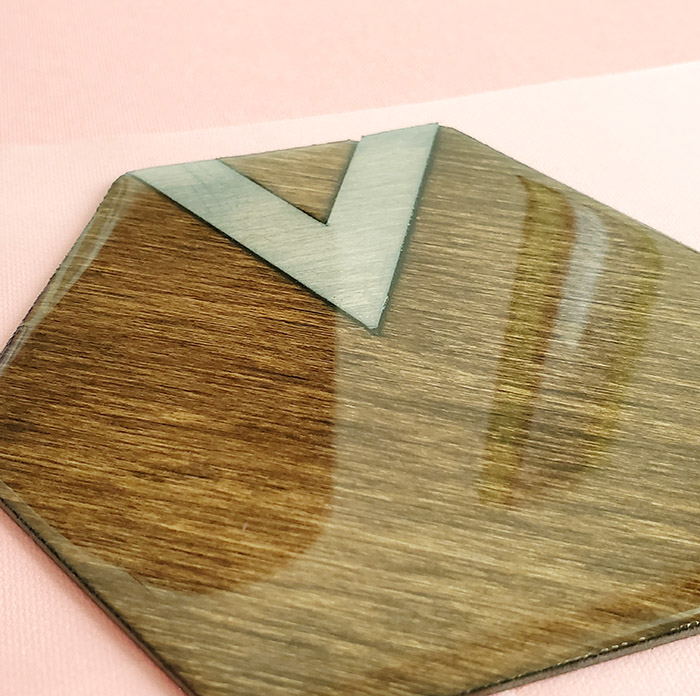
After the resin is completely hardened, you have a set of trendy, glossy, DIY wood stained coasters. You could also glue a piece of felt to the bottom of each coaster to additionally protect any tables surfaces.
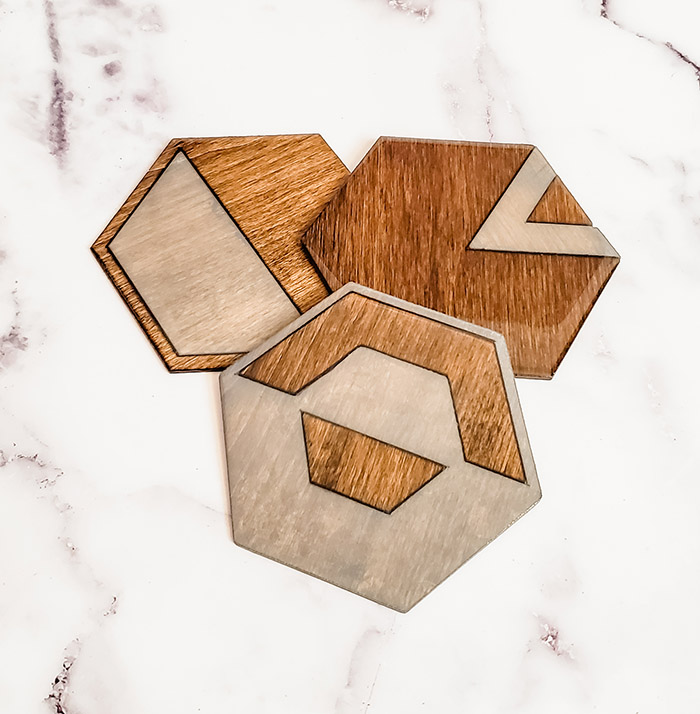
Do you like the look of the hexagon coasters? Would you make a different shape instead? Let us know!
Stephanie is a crafty wife and mom living in the Pacific Northwest. She shares her creative ideas -along with a bit of “making it up as she goes” – on her blog, Crafting in the Rain.


What glue/sealer was used to stick the bottom and top pieces together? The Cricut basswood is thin and bows easily and I don’t want that to happen. Thanks!
Hi Laurie – a small amount of Pour On is dripped onto the seams of the pieces and allowed to cure overnight. The coaster then peels off the contact paper that was underneath to catch any resin that soaked all the way through the seam. Then the top layer of Pour On makes the whole coaster quite sturdy.