So, what do you do when you have a vintage button that you love and don’t want to throw it away? You hoard it forever until you find out about the perfect product(s) that gives you the opportunity to replicate it.
That’s what happened with this brass button I’ve been having since – forever. I normally wear it as a pin on one of my favorite jean jackets (I just use a needle and thread and sew it on like you’d normally sew a button), but now that I’ve discovered ETI’s FastCast Urethane Casting Resin and EasyMold Silicone Putty, I can now replicate my favorite button to use however I want.
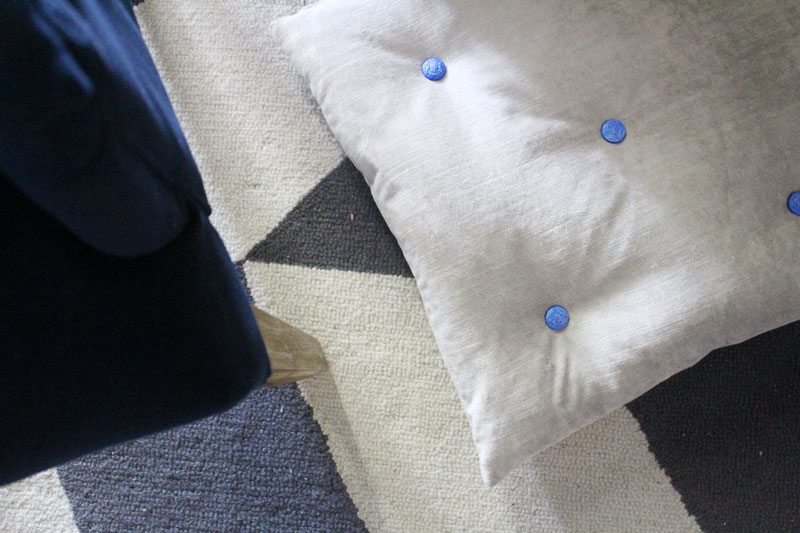
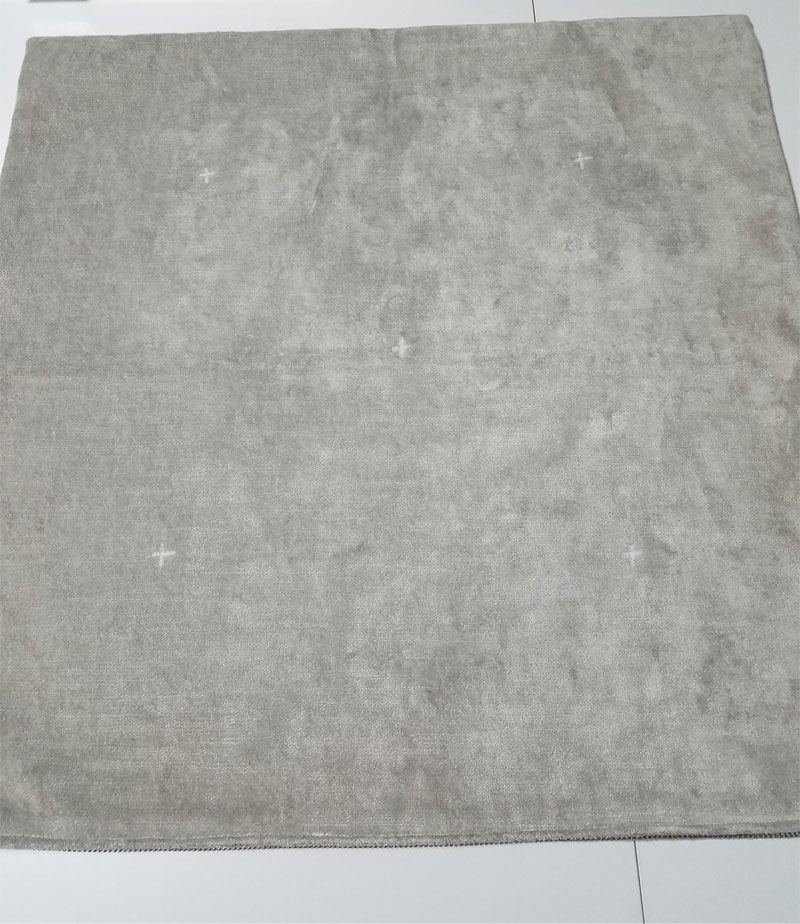
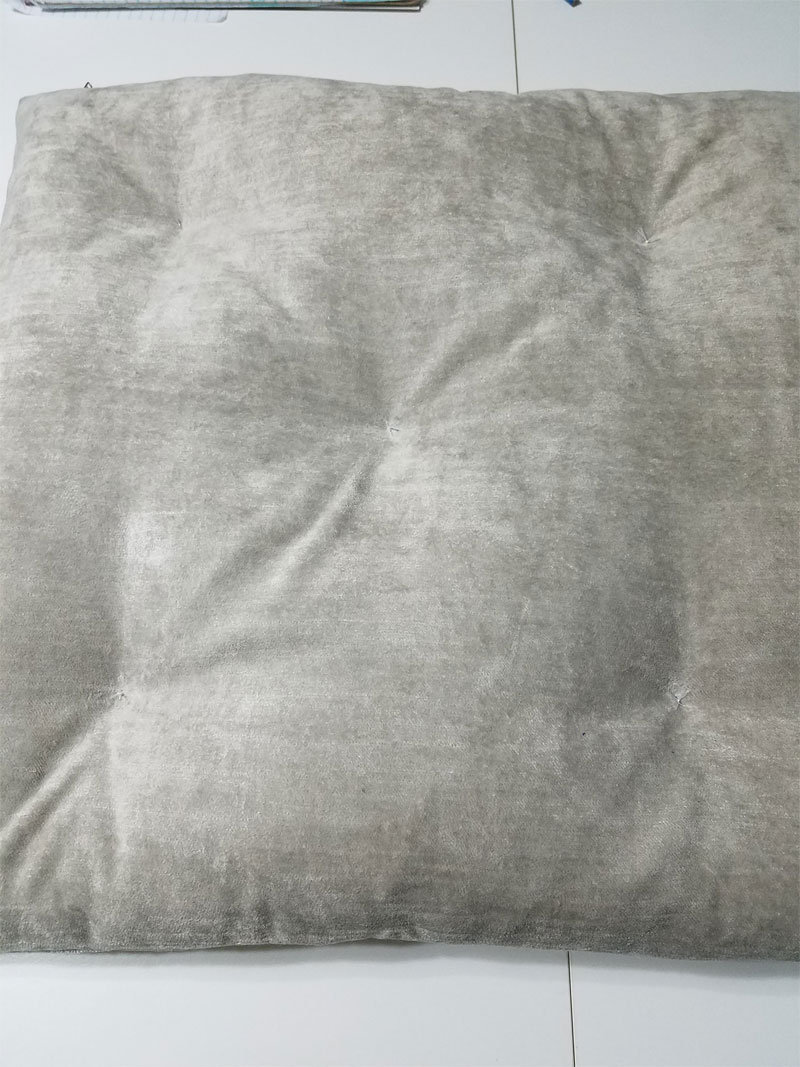
Initially, I wanted to create a bunch of replications and use them to make some kind of trim detail on a piece of furniture, then I remembered I had this gray velvet pillow that needed a little something extra. I knew tufting it with buttons would really dress it up.
Let me show you what I did to make a tufted floor pillow with buttons.
Supplies
- Vintage button
- EasyMold Silicone Putty
- FastCast Urethane Casting Resin
- Acrylic paint
- Small paint brush
- Stir sticks
- Small cups for measuring resin
- Pillow that you want to tuft and add buttons to (not shown)
- E6000 (not shown)
- Long needle and heavy duty thread
Directions
Making the mold.
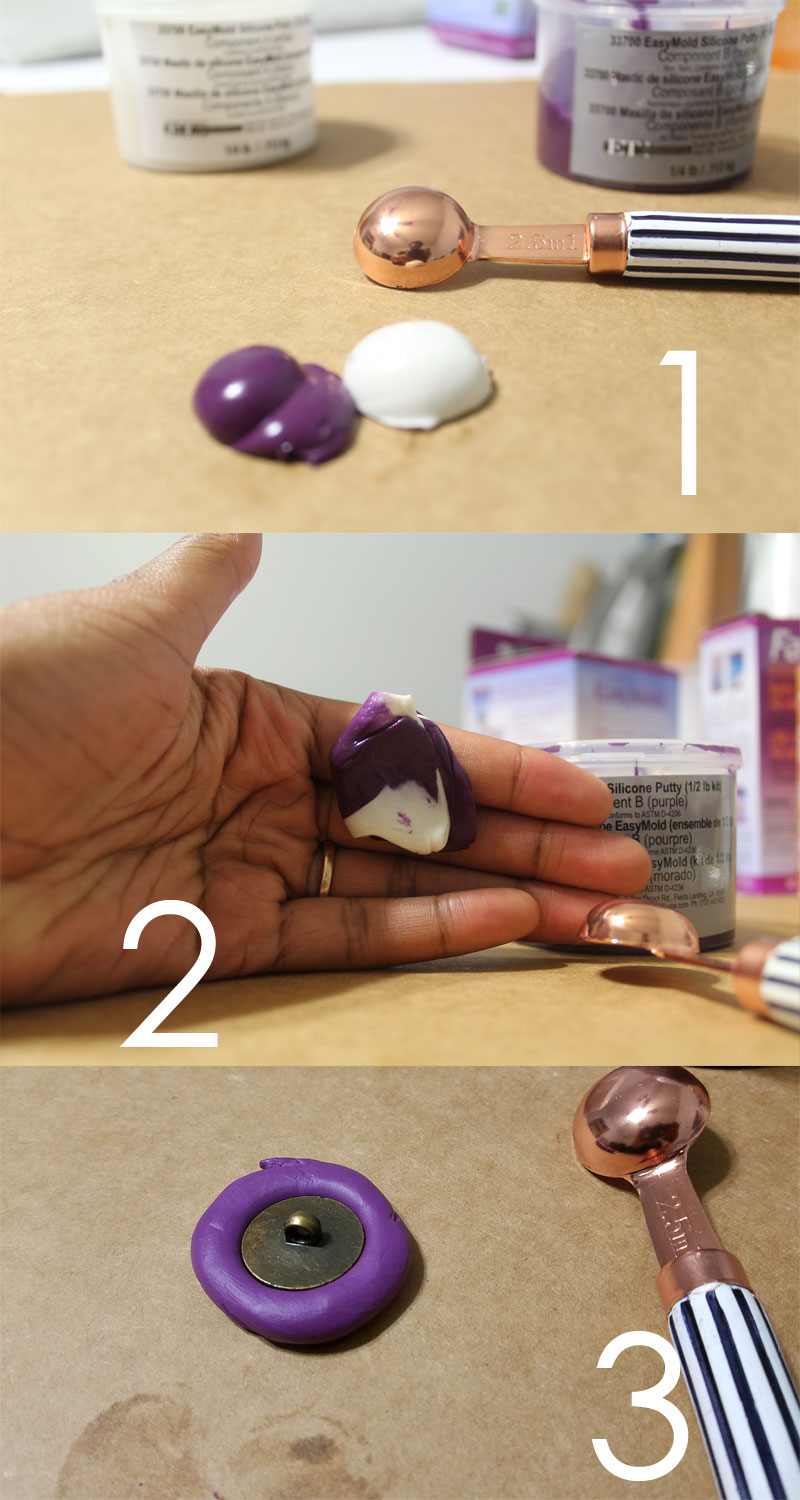
- First, we make the mold. Using the EasyMold Silicone Putty, you’re going to take out an equal amount of both the white and purple components. Because I’m making a mold of a tiny button, I only needed about a penny size piece of each component.
- Next, you’re going to knead together both components until you get a consistent purple color throughout.
- Then, roll the putty into a ball, flatten it, and press your button into it. You’ll need to leave the button in the mold for 25 minutes so it can cure.
- Next, remove your button. You’re now ready to use it to make even more “buttons”.
Casting new buttons
When making the mold, I decided to make it a flat mold. So, there will be no thread holes on these buttons. I’ll use E6000 to glue them on the pillow.
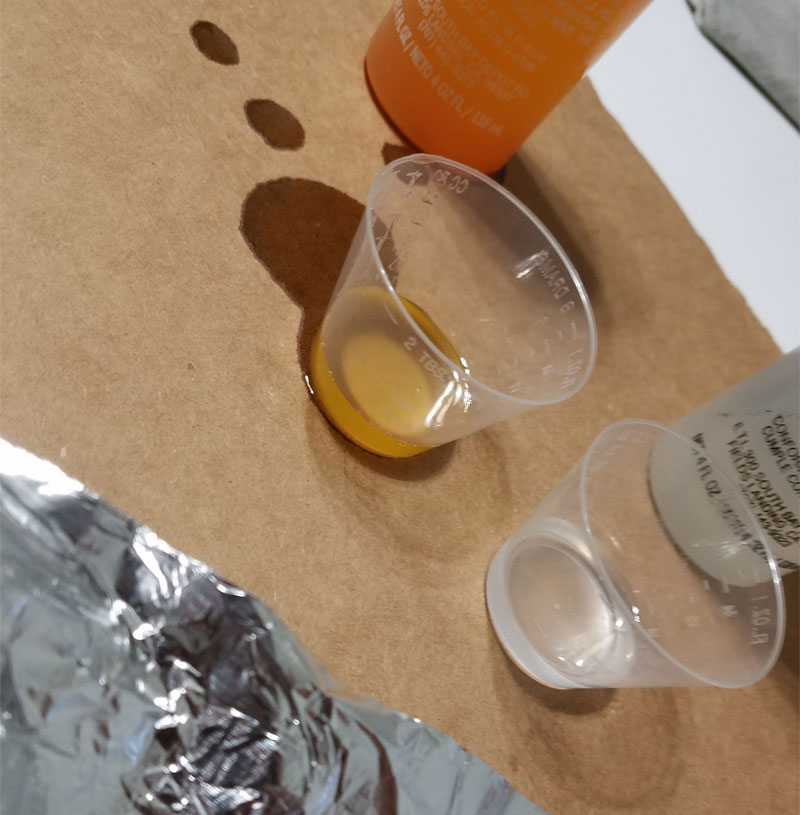
- Using the FastCast Urethane Casting Resin and two small measuring cups, measure ½ teaspoon of both part A and part B of the resin and mix them together in a measuring cup. Mix for 30 seconds.
- Pour all the contents into a second mixing cup (to ensure you’re getting a complete and thorough mix) and stir for another 60 seconds.
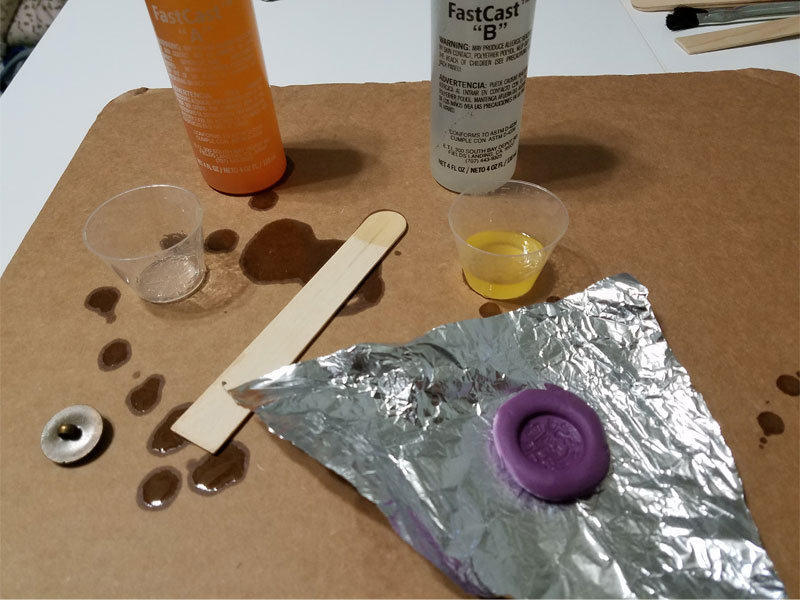
- Immediately pour your resin into your mold and let cure for 10-15 minutes.
- Remove your “button” from your mold and repeat the process as many times as you need to.
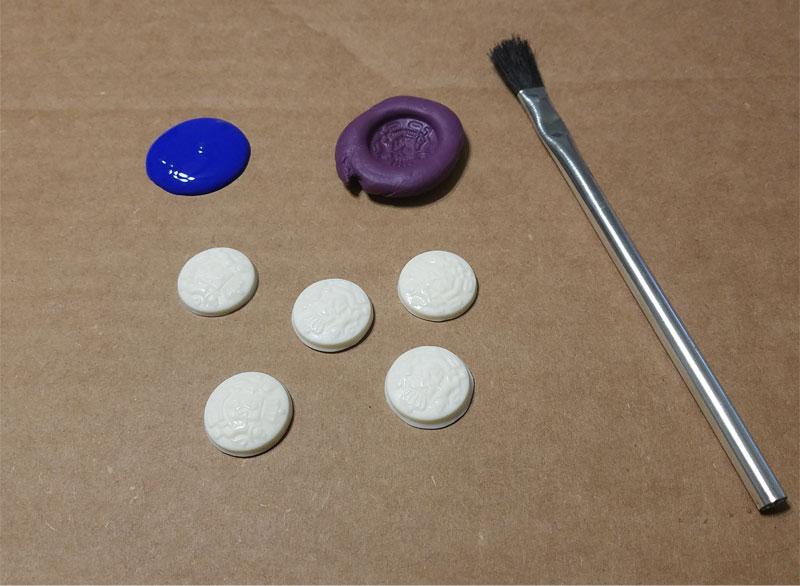
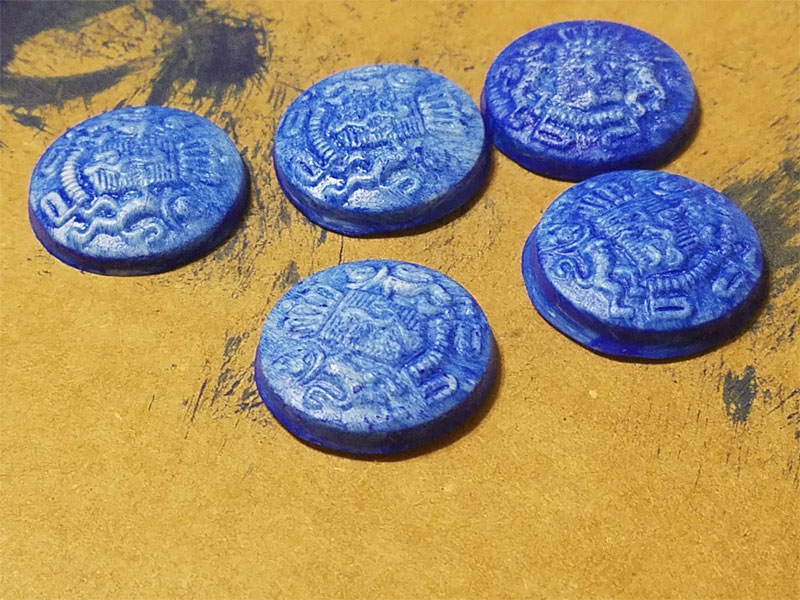
Painting the buttons
Once your button has cured, you can now use your acrylic paint to paint it any color you want. For my buttons, I had to paint a very, very thin layer of the royal blue acrylic paint, because the paint kept settling into the crevices, which made the details disappear.
Attaching buttons to pillow
- Mark on one side of the pillow where you want your tufts and buttons to be.
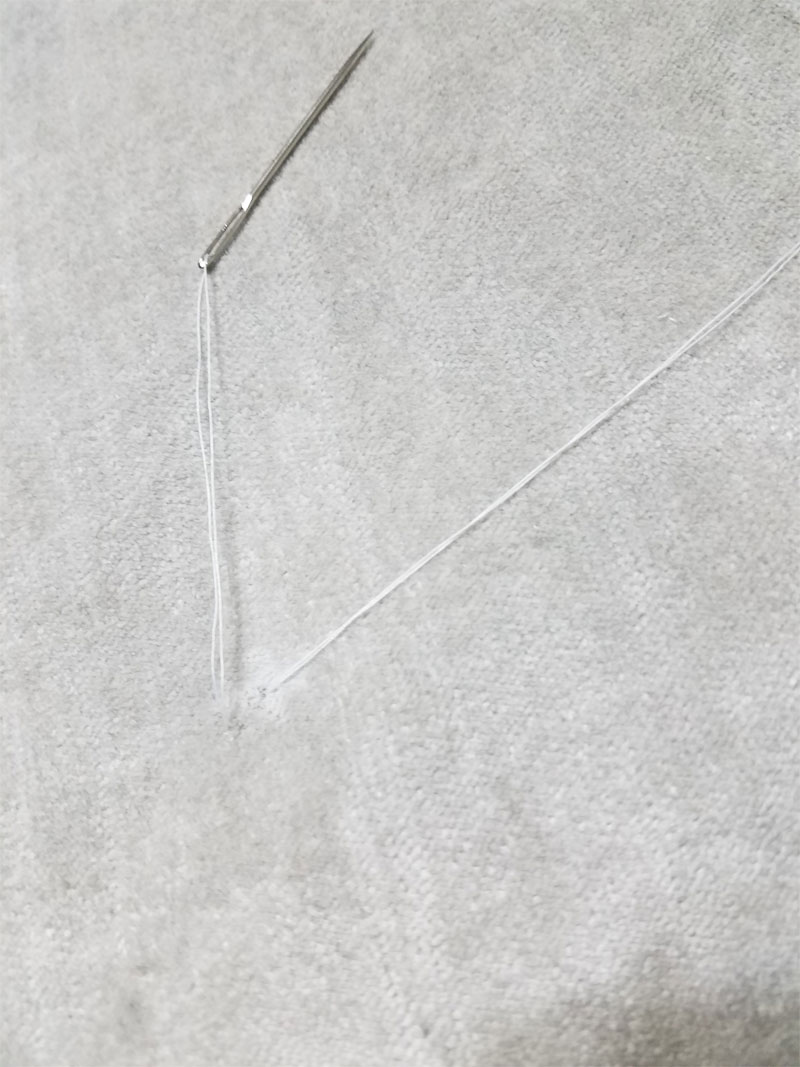
- Add your stuffing to the pillow and using a long, threaded needle, put needle down through the front of the pillow and come back up about ¼” from the place you came out of. Make sure you’ve left a about a 4” length of thread at the beginning.
- Pull taut to make a “tuft” and tie a double knot in the thread.
- Cut the ends of the thread off and repeat for the other button locations.
- Use E6000 to glue a button at each button location.
Next time if I do a similar project and need to cast multiples of one item, I’ll make sure to make more than one mold, so I don’t have to wait for them to cure one at a time.
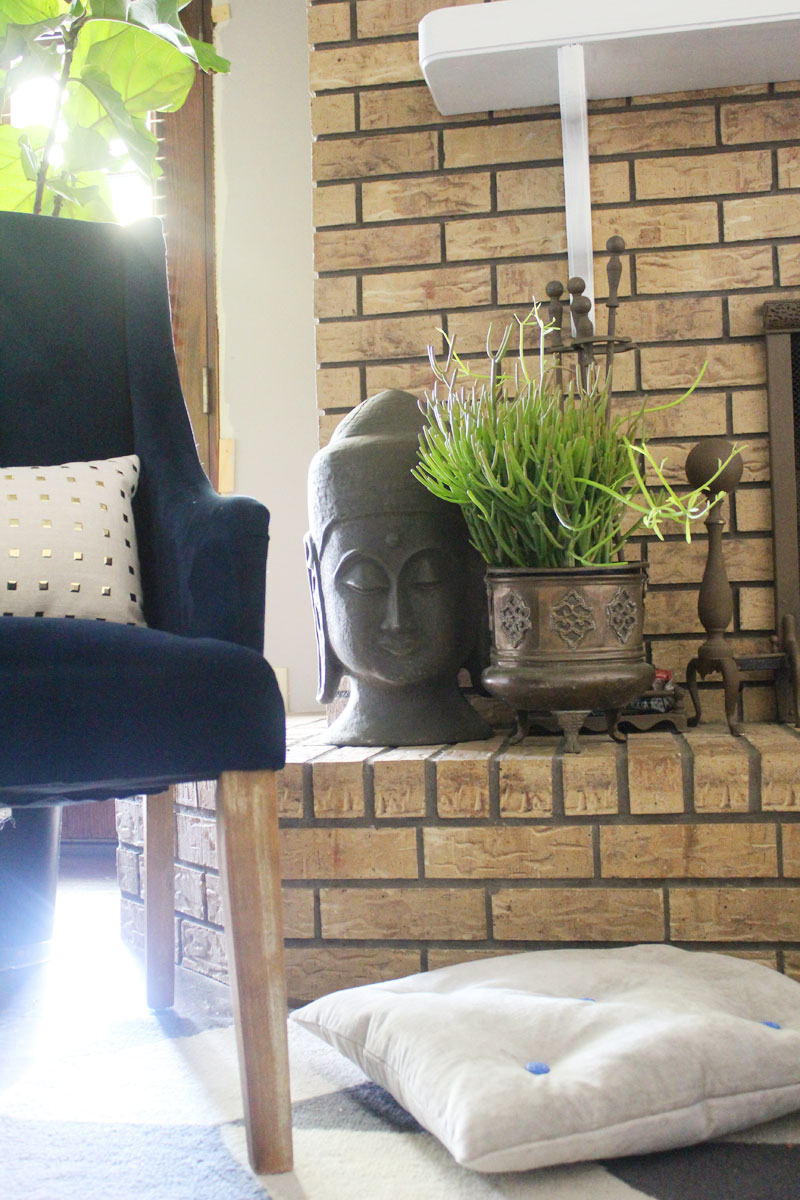
Now it sits on the floor next to my fireplace and will be handy for my dog, Pocahontas. I just need to make about two more to make it a cozy set.
I hope you’re inspired by my project! I can’t wait to show you what I do next!
Whitney is a New Orleans based decorator blogging about all things home. She loves to sew and create fabulous pillows and other furnishings. When Whitney’s not working on design projects, she’s reading sci-fi novels, working in her garden, or making updates in her new home.


thanks for the great article, keep up the good work