Ingredients
Method
Laser engrave a wood frame
- Laser engrave a wood or MDF picture frame. The engraving needs to be about 1/8 inch deep. When placing the engraving design on the frame, make sure all the engraving stays inside the edges of the frame.
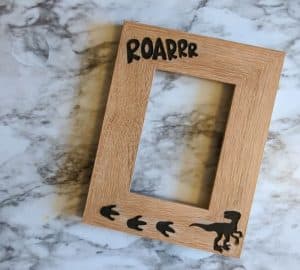
- If there is smoke residue left on the frame surface after engraving, lightly sand with a fine grit sandpaper. Use a paint brush to remove any particles from inside the engraved area.
Fill engraved wood with resin
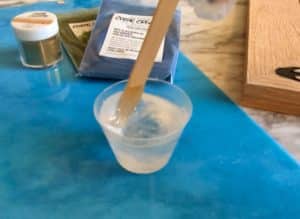
- Mix equal parts A and B of Amazing Clear Cast Plus resin and stir for two minutes or until there are no swirls visible.. I made a total of 25 mL and then split it into 3 cups.
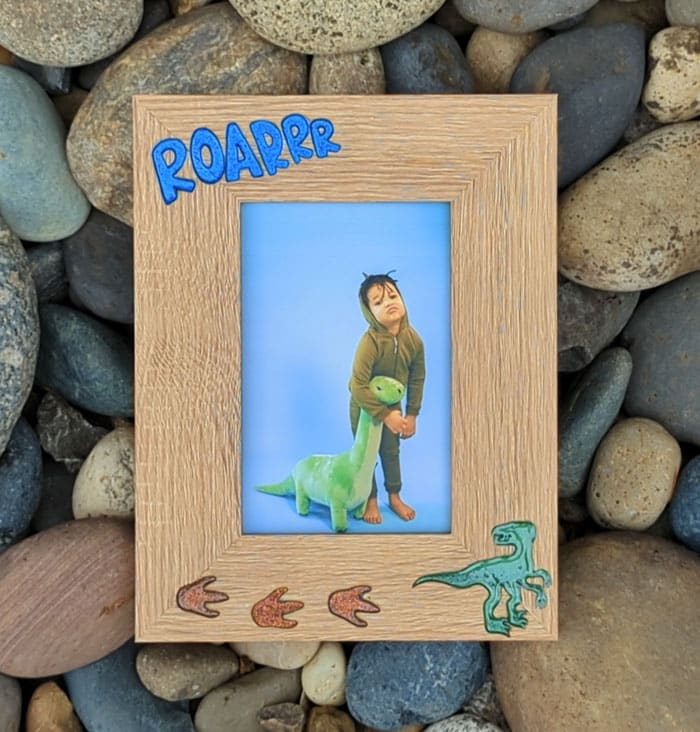
- Add green, blue, and gold mica powder to the 3 cups. The amount was less than 1/8th teaspoon for each color.
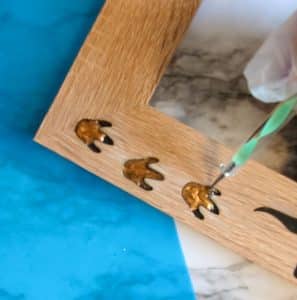
- To prevent overfilling, use plastic droppers to add a drop or two of resin at a time. Be careful as the droppers can also pick up some air and then spit out a bubble instead.
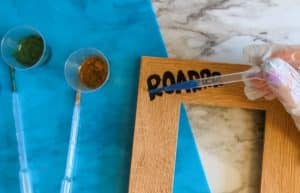
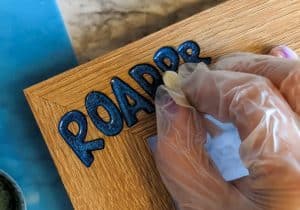
- Use a small dotting tool to drag the resin to the edges, corners, and narrow places. The engraved wood will likely soak up some of the resin. Be prepared to add a little extra after letting it sit a few minutes.
- Use a small bit of paper towel or a Q-tip to wipe away any resin that "escaped" the engraved areas.
- Allow to cure for 24 - 48 hours (climate dependent).