Transform a basic picture frame into a custom one like this dinosaur resin frame. First laser engrave, and then filled with colored resin! The frame is laser engraved and then filled with colored resin.
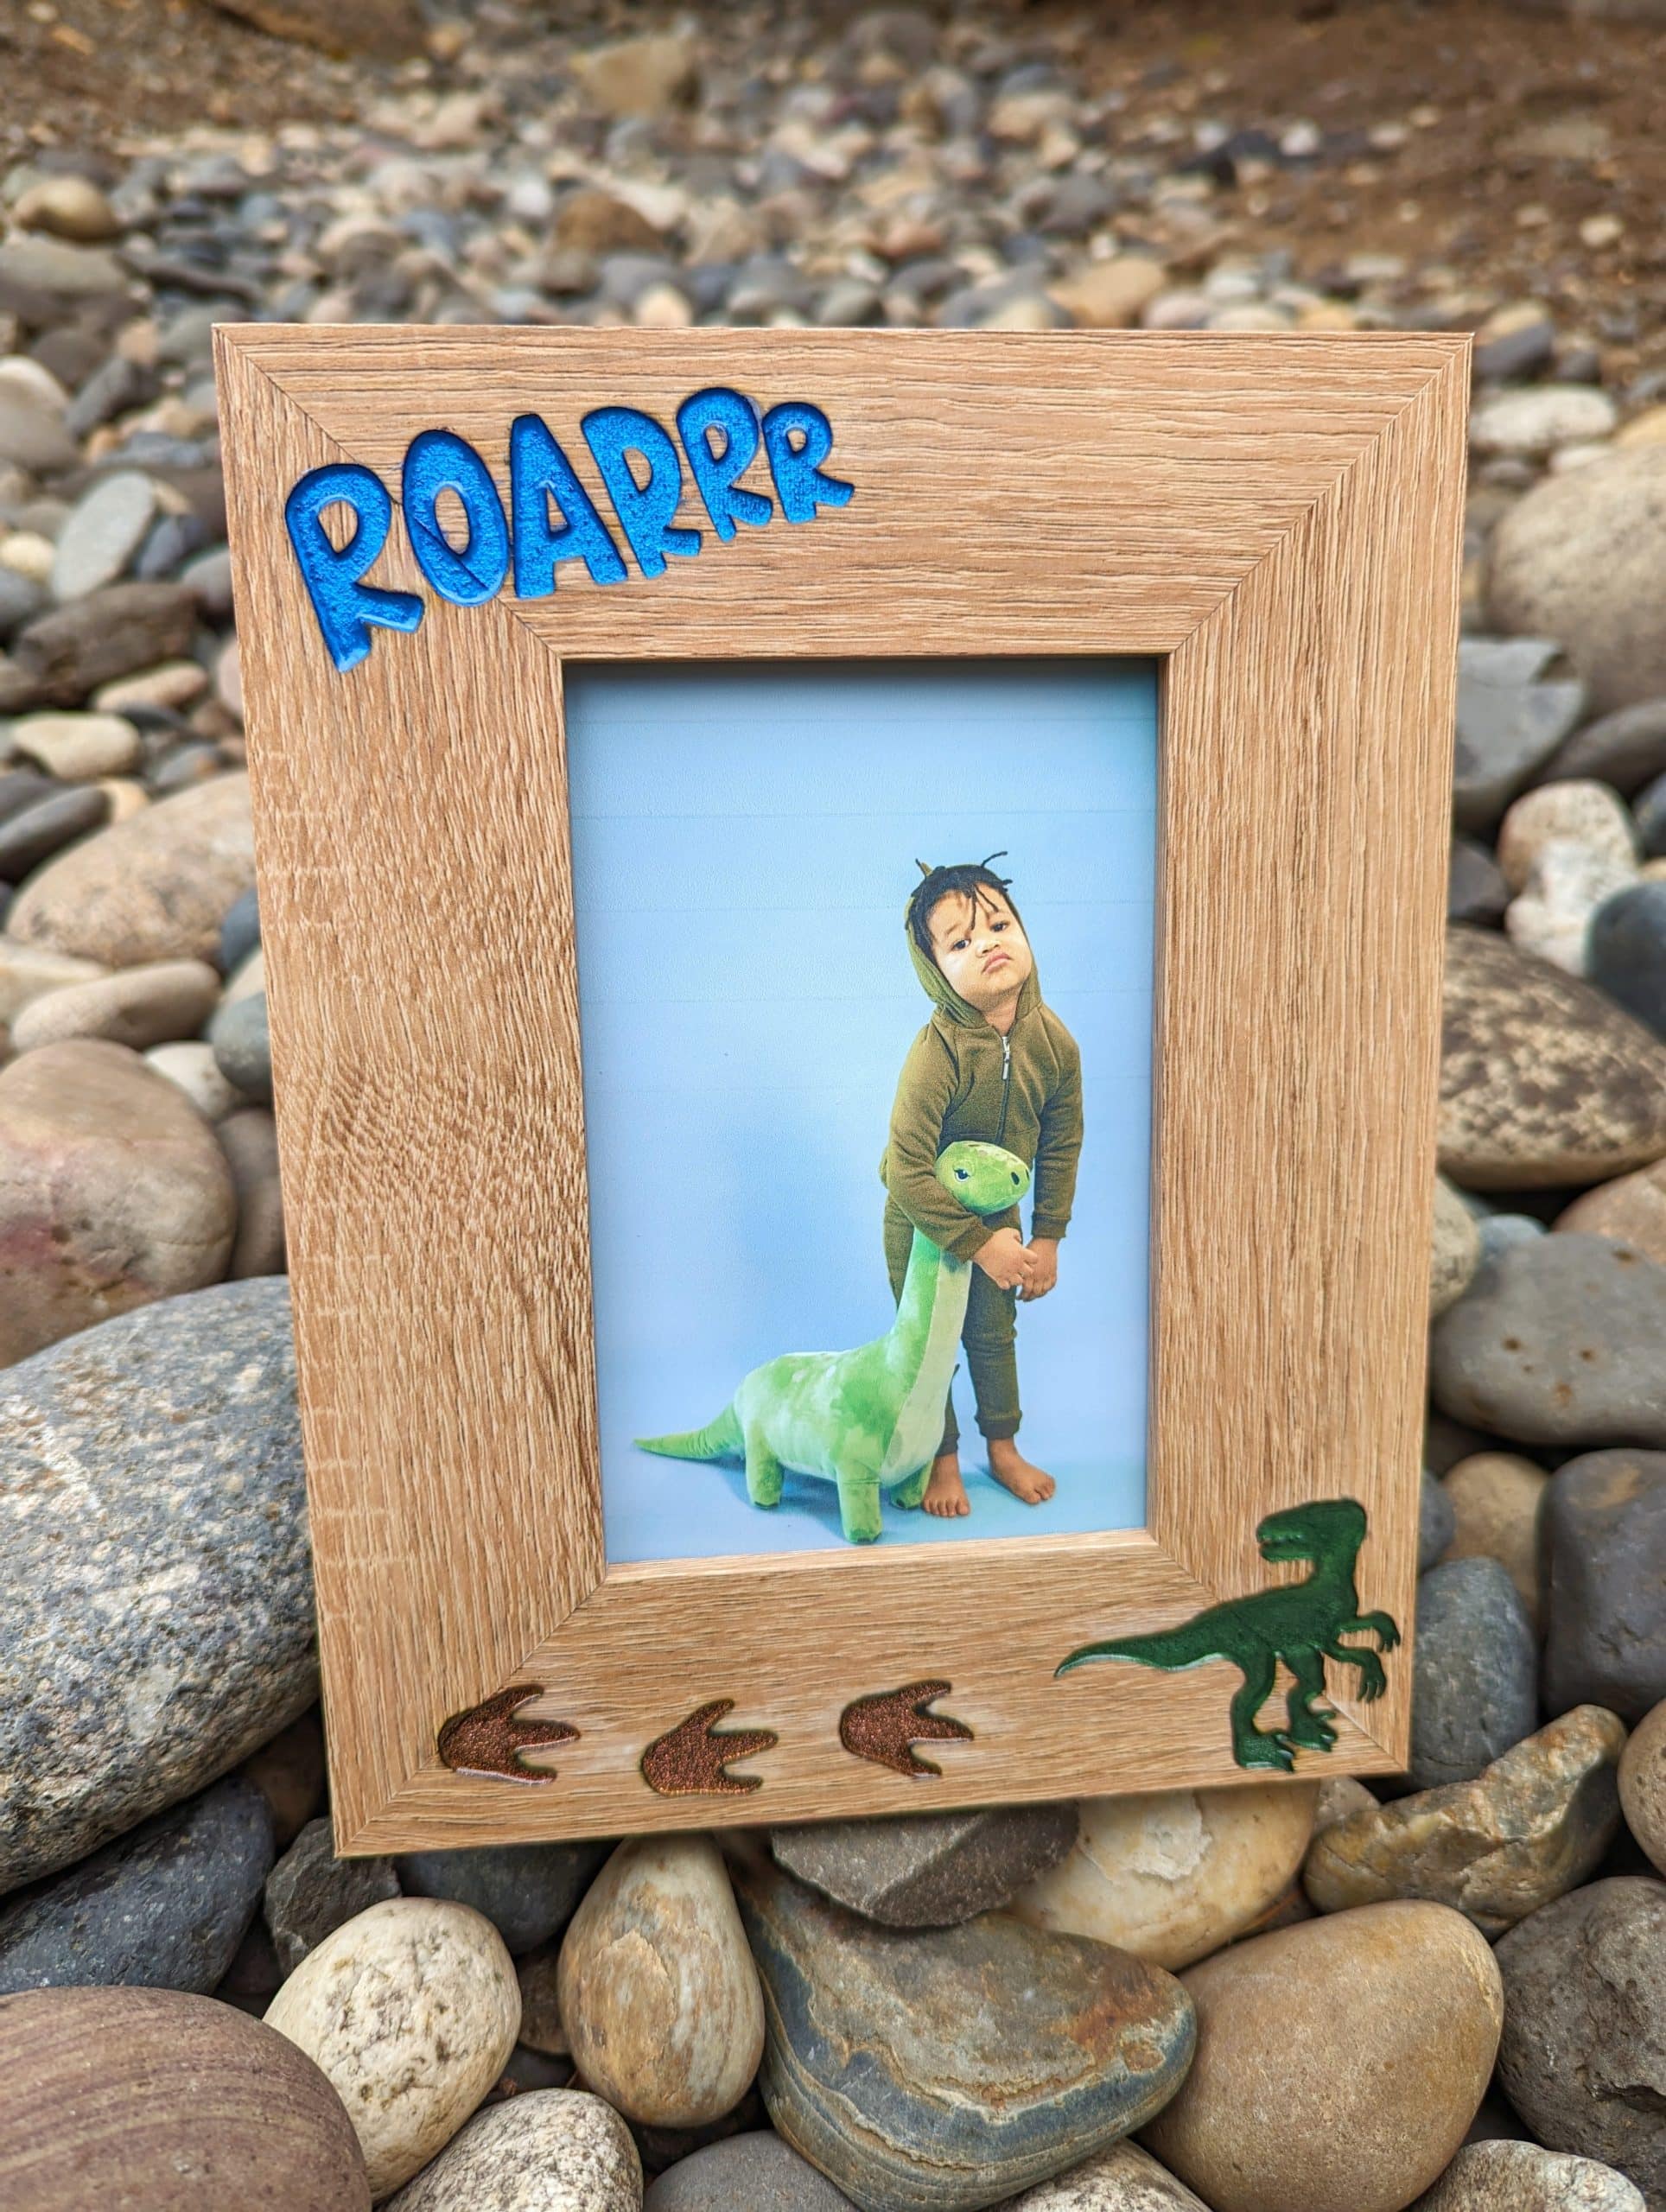
A custom photo frame is a great gift idea and a great laser engraving project! If you’re feeling extra ambitious, you could laser cut and assemble the frame yourself as well, but I purchased one. Just make sure that you’re buying a frame that is real wood or MDF. No plastics, resin, acrylics, etc.
How to Make a Custom Resin Picture Frame
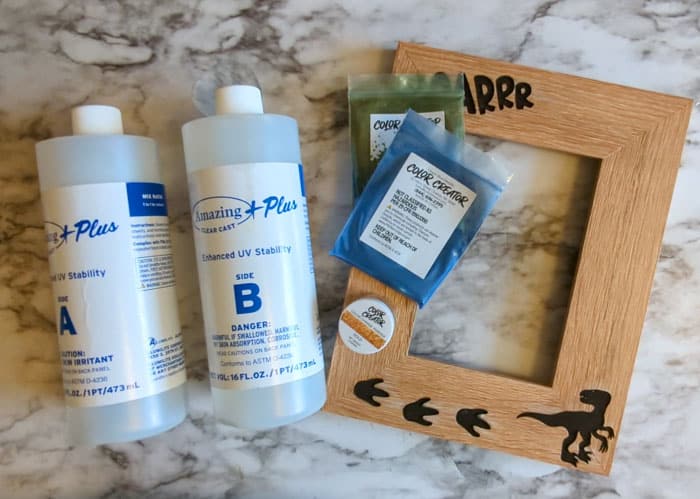
Supplies for making a dino resin frame
- Picture frame (real wood or MDF only)
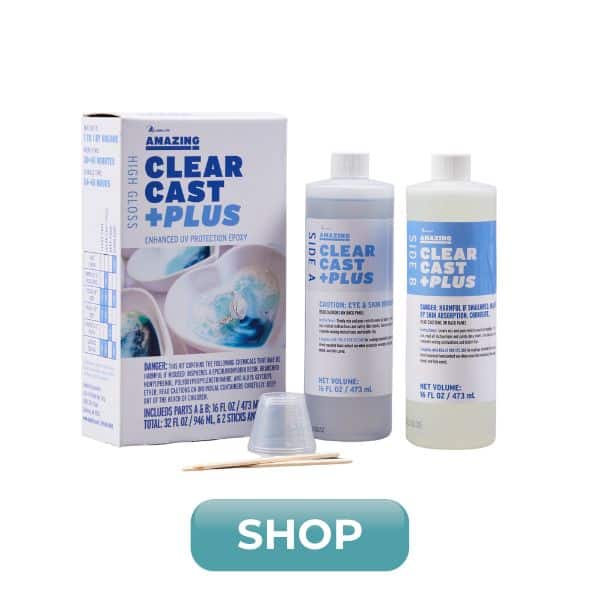
- Alumilite Clear Cast or Amazing Clear Cast Plus
- Color Creator mica powder
- Mixing cups and sticks
- Droppers
- Gloves and eye protection


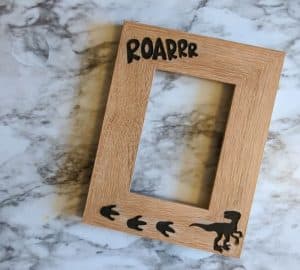
Laser engrave a wood frame
I won’t go into all the specifics of engraving the frame with a laser. Each frame and laser will work together differently.
But my best tip is to do some practice engraving first! If you decide to make your own frame, use some scrap wood to get the engraving strength, speed, and number of passes correct.
If you are using a store-bought frame, you can test on the backside of the frame.
If you’re giving the frame as a gift, you may want to purchase an extra frame to practice on, and then one for the final project.
The engraving needs to be about 1/8 inch deep. This will give you a bit of depth to work with and help keep the resin from flooding over the edges too easily.
Another note on designing: when placing the engraving design on the frame, make sure all the engraving stays inside the edges of the frame. If the engraving goes off the edge of the frame, there won’t be anything to hold the resin in and it will just spill out.

If there is smoke residue left on the frame surface after engraving, lightly sand with a fine grit sandpaper.
Use a paint brush to remove any particles from inside the engraved area.
Fill engraved wood with resin
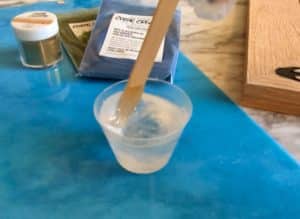
I chose Alumilte Clear Cast Plus because it’s so easy to work with! ACC+ gives you 30-40 minutes of work time, so it’s enough time to mix in colors and spread into all the engraved areas of the frame.
Mix equal parts A and B resin and stir for two minutes. I made a total of 25 mL and then split it into 3 cups.

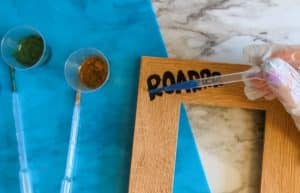
I added green, blue, and gold mica powder. The amount was less than 1/8th teaspoon for each color.
Color Creator mica powders come in a rainbow of brilliant colors, and a little goes a long way. They create such a pretty shimmer look in resin – and don’t miss their color shift powers too!
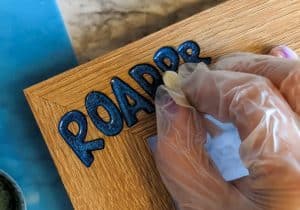
To prevent overfilling, I used plastic droppers to add a drop or two of resin at a time. Be careful as the droppers can also pick up some air and then spit out a bubble instead.

Then I used a small dotting tool to drag the resin to the edges, corners, and narrow places.
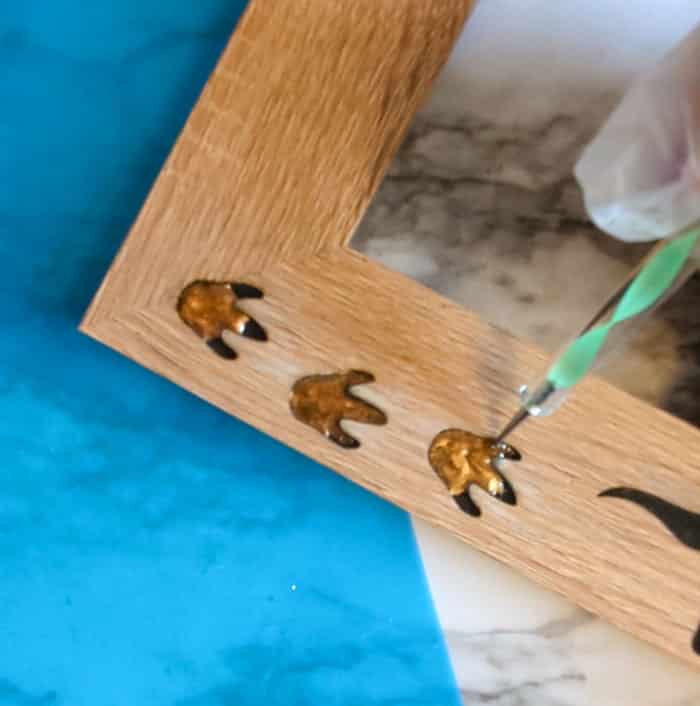
For the dinosaur claws, I even used the tip of a pin because it was so small.
The engraved wood will likely soak up some of the resin. Be prepared to add a little extra after letting it sit a few minutes.
Use a small bit of paper towel or a Q-tip to wipe away any resin that “escaped” the engraved areas.

Let cure for 24 hours, then add a picture and display!
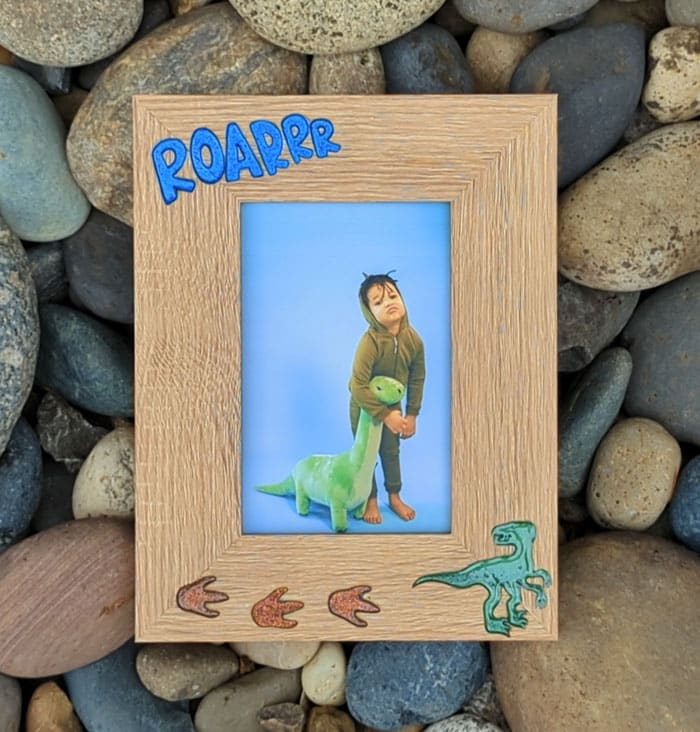
This would make a great project for graduation or wedding photos, baby stats, and more!
What kind of resin frame do you want to make now?
How to Make a Custom Resin Picture Frame
Ingredients
Method
- Laser engrave a wood or MDF picture frame. The engraving needs to be about 1/8 inch deep. When placing the engraving design on the frame, make sure all the engraving stays inside the edges of the frame.
- If there is smoke residue left on the frame surface after engraving, lightly sand with a fine grit sandpaper. Use a paint brush to remove any particles from inside the engraved area.
- Mix equal parts A and B of Amazing Clear Cast Plus resin and stir for two minutes or until there are no swirls visible.. I made a total of 25 mL and then split it into 3 cups.
- Add green, blue, and gold mica powder to the 3 cups. The amount was less than 1/8th teaspoon for each color.
- To prevent overfilling, use plastic droppers to add a drop or two of resin at a time. Be careful as the droppers can also pick up some air and then spit out a bubble instead.
- Use a small dotting tool to drag the resin to the edges, corners, and narrow places. The engraved wood will likely soak up some of the resin. Be prepared to add a little extra after letting it sit a few minutes.

- Use a small bit of paper towel or a Q-tip to wipe away any resin that “escaped” the engraved areas.
- Allow to cure for 24 – 48 hours (climate dependent).
Stephanie is a crafty wife and mom living in the Pacific Northwest. She shares her creative ideas -along with a bit of “making it up as she goes” – on her blog, Crafting in the Rain.


Leave a Reply