Resin Geode Pour on Canvas with Glitter
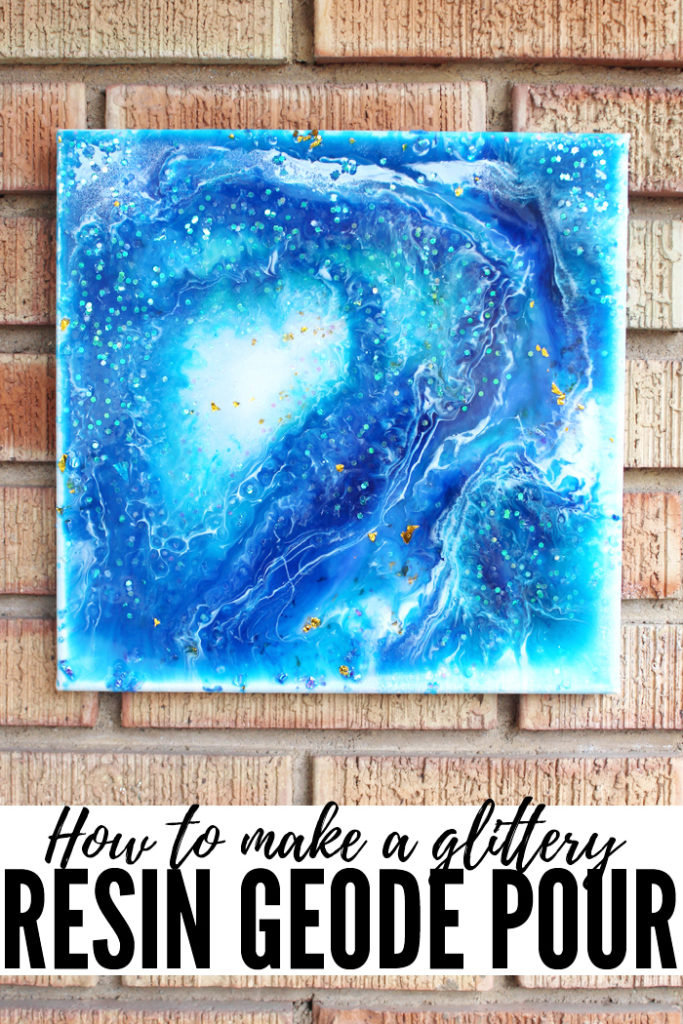
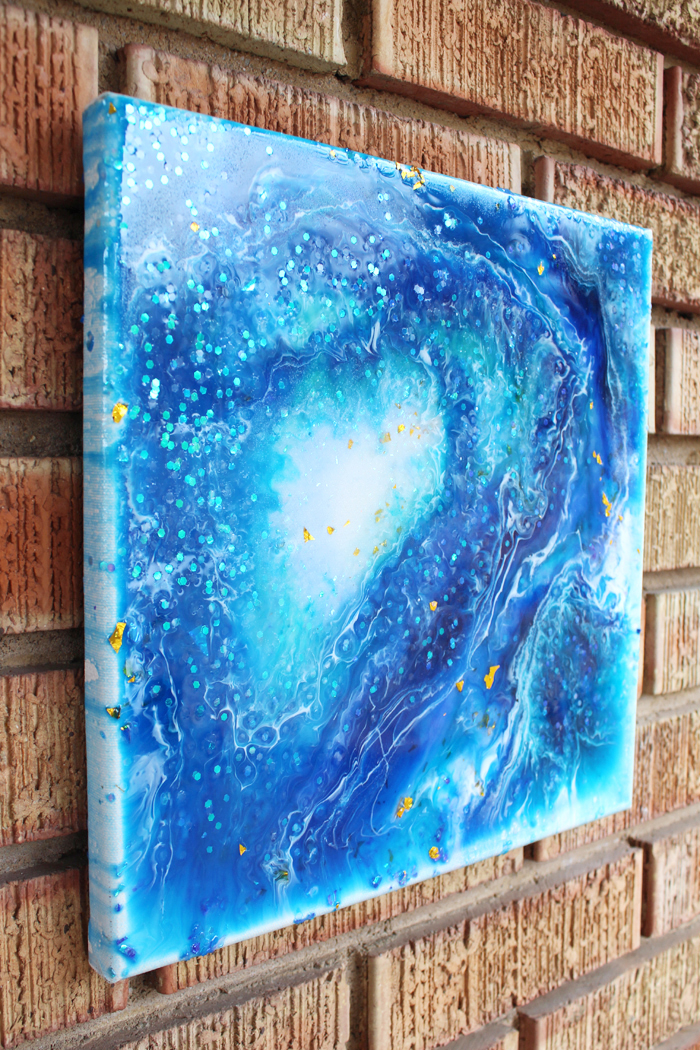
Hi Resin Crafters, it’s Natalie from Doodlecraft showing how to do a resin geode pour on canvas. This stunning resin poured canvas is reminiscent of a geode, cracked open and revealing layers of sparkling crystals. Make unique wall art using the geode pour technique and lots of sparkly glitter.
If you’ve been around the Resin Crafts Blog for a while now, you’ll know my favorite color is blue. I love all shades of blue! Consequently most of the projects I create have blue in them. What’s your favorite color? What color will your geode pour be?
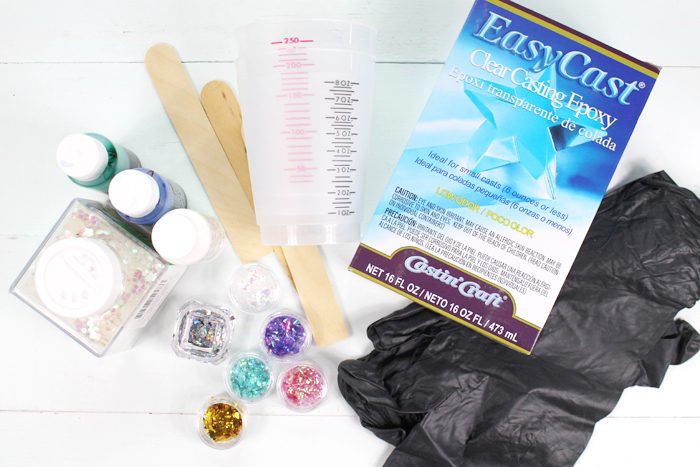
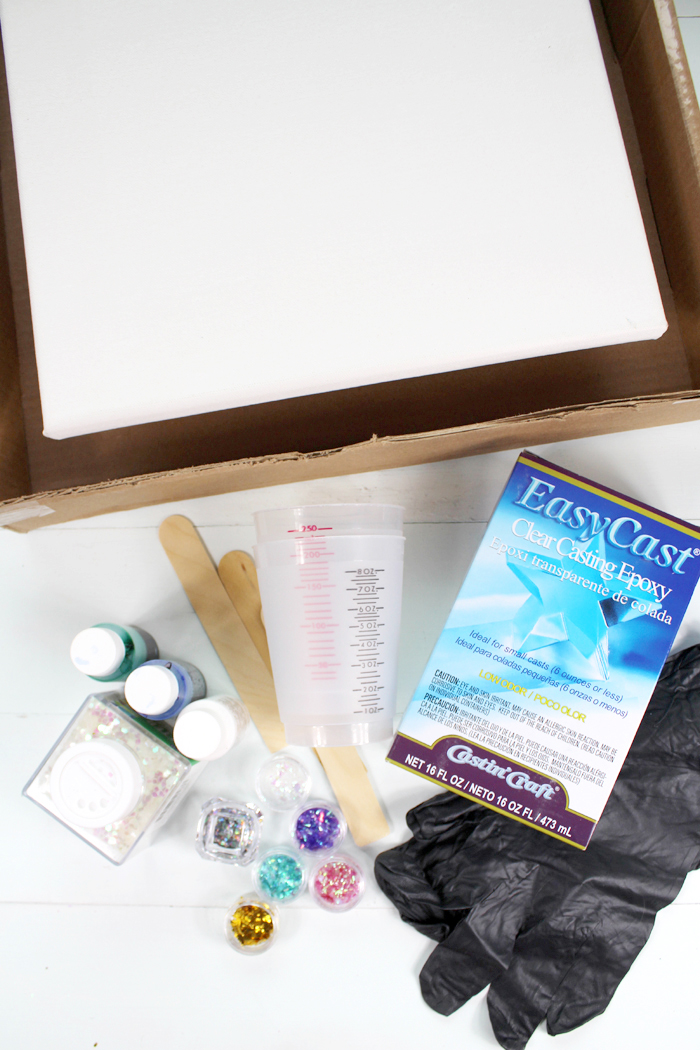
Supplies Needed for Resin Geode Pour:
- EasyCast Clear Casting Epoxy
- Transparent Resin Dye
- Opaque Resin Pigments
- Glitter
- Stretched Canvas
- Embossing Heat Tool
- Mixing Cups, Stirring Sticks, Disposable Gloves, Disposable Worksurface, Smaller Mixing Cups
Stretched canvas is a nice surface to work on, but the canvas can sag under the weight of the resin. Find a board or a box that fits inside the backing of the canvas and will hold the shape while doing the resin work.
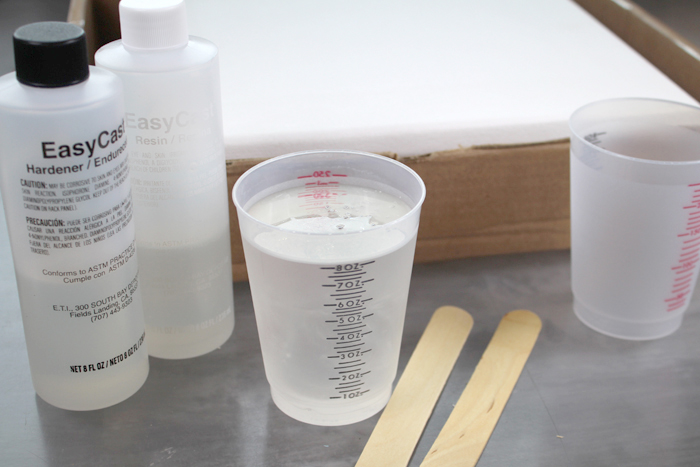
Begin by reading the directions for mixing up resin. No matter how many times I’ve used it in the past, I re-read the directions each time. Mix one part resin and one part hardener in the mixing cup. Set a timer for 2 minutes and stir carefully, scraping the sides and the stick off regularly. Then transfer the resin to a second mixing cup and use a new stick to stir for 1 more full minute.
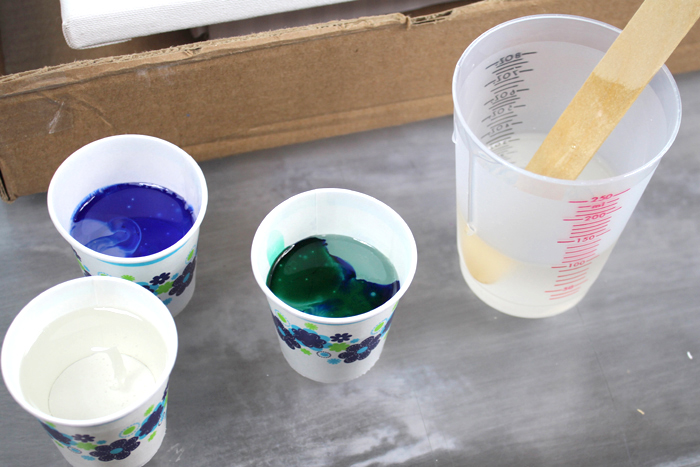
Then pour some of the resin into smaller cups. Add several drops of the transparent dyes and the white opaque pigment. Leave some of the resin clear in the mixing cup.
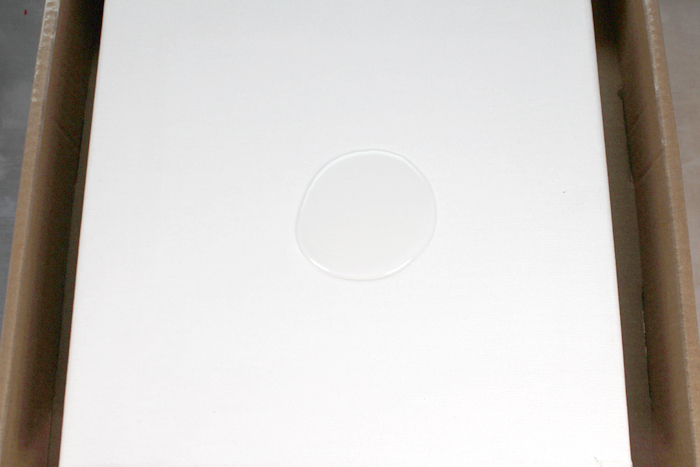
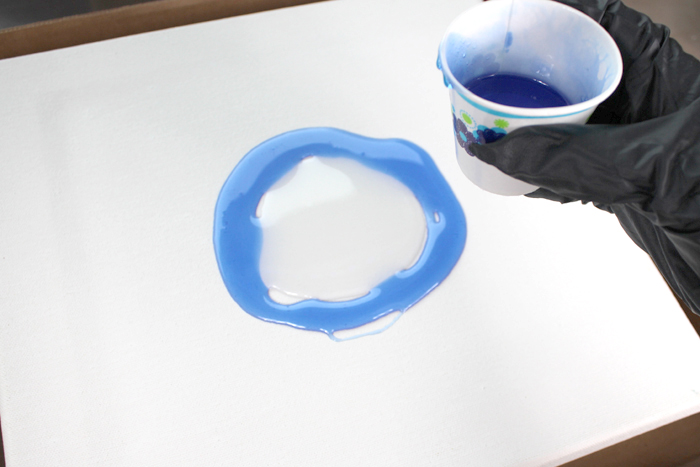
Begin by pouring a small circle of clear resin. This is the center of the geode and looks great clear.
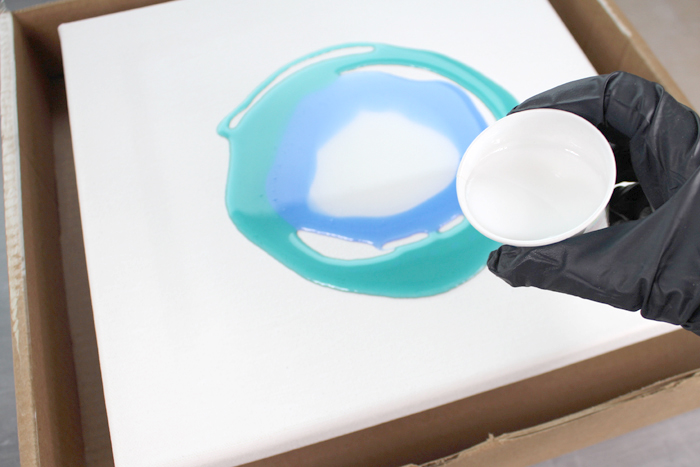
Then pour rings of colorful resin around the clear center ring.
Continue adding rings of resin, don’t worry about coating every part of the canvas at this point.
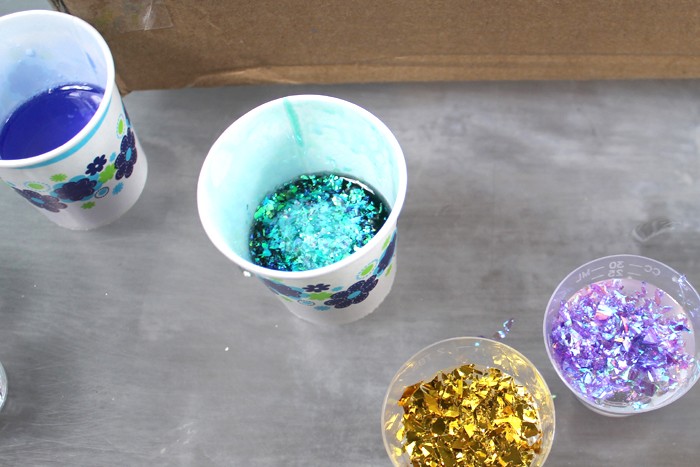
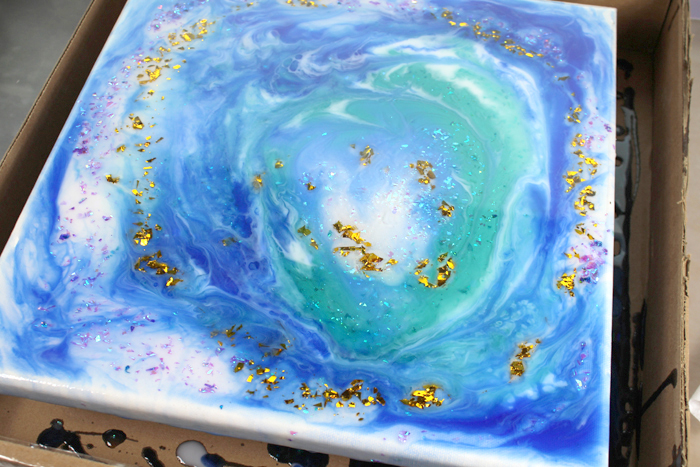
Next add some glitter to small cups of clear resin. Pour glitter on in distinct rings as well.
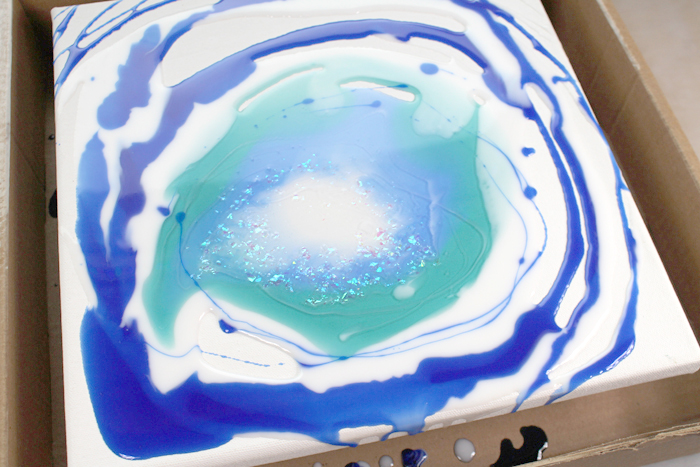
Use your gloved hands to lift the canvas and tilt it so more of the resin spreads and covers the canvas. Not too much tilting, so it doesn’t distort the shape of the geode.
Now that the glitter and translucent colors have filled the canvas it looks really nice.
But it’s not quite finished! Mix up another cup of resin, like earlier, in the 2 phase process. Pour the clear resin into small mixing cups and add the opaque pigment colors instead of translucent dye.
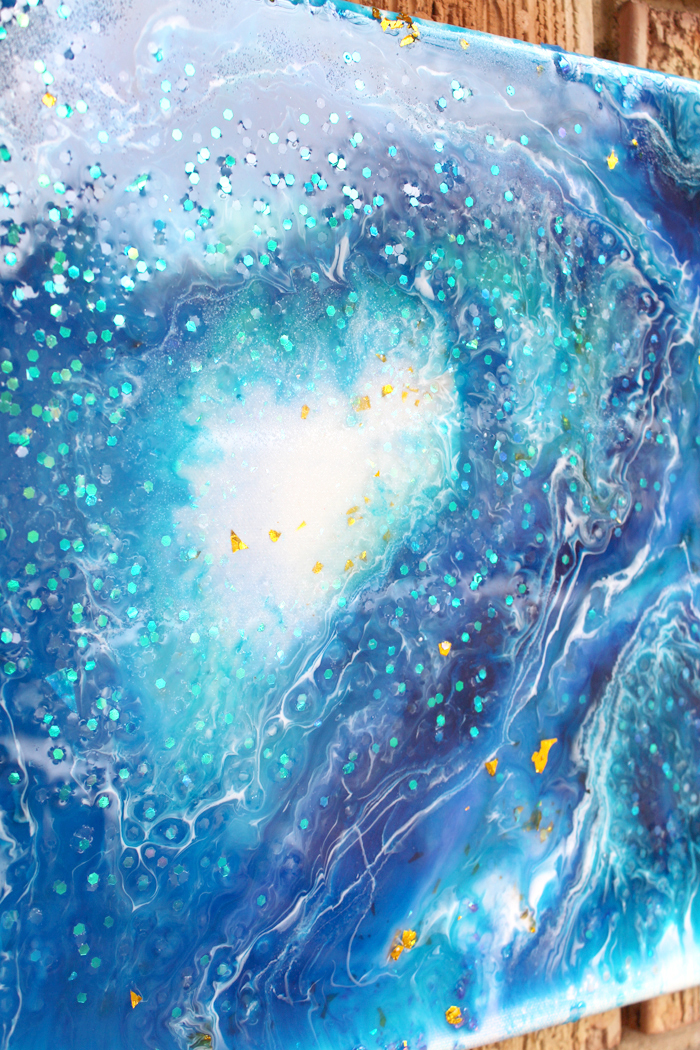
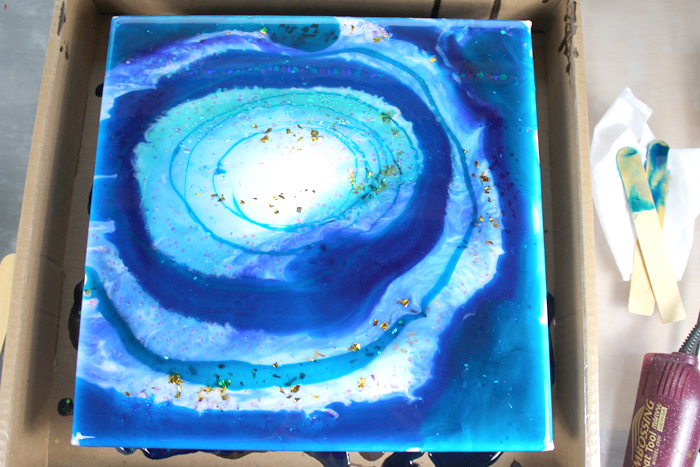
Then pour the colored resin in rings over the top of the translucent resin. This adds so much depth and a natural geode look. Sprinkle glitter in individual rings around the canvas, leaving some of the areas heavy with glitter and other places empty.
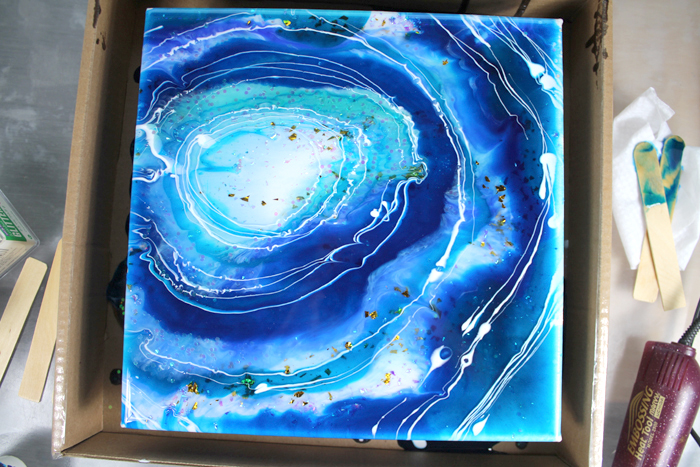
Finish off all the resin and then drip white resin around the rings using a stirring stick. I love the look of this. Maybe just set it aside and stop here!
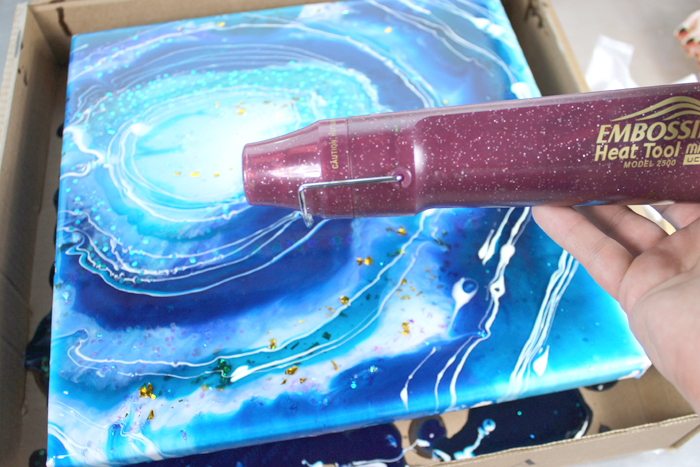
Or take it one step further and give it a more natural finish. Use an embossing heat tool to pop any bubbles that have formed and feather the white resin edges.
Then set the canvas aside to dry overnight. Make sure it rests on a level surface as the resin will self-level as it dries and cures.
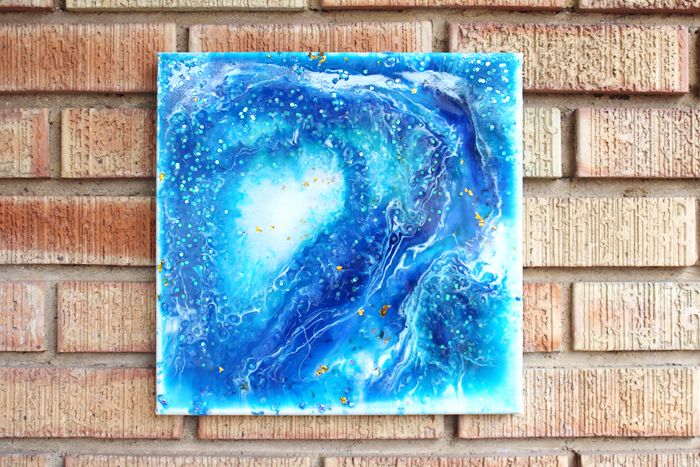
After the canvas is dry, sand off any drips that formed on the bottom of the canvas and hang it up for the world to enjoy. The glitter sparkles like crystals in the light.
That’s it!
Enjoy the beauty of a geode hanging on the wall!
Natalie Shaw is a Craft/DIY blogger at Doodlecraftblog.com. She loves sci-fi, fantasy and video game geekery and that comes out in many of her projects. She posts budget conscious DIY’s, crafts, jewelry, kid friendly projects, upcycled treasures and other fun on her blog 5 days a week.



Lovely, I can’t wait to try it.
I am very new to this, and I’m curious about the heating tool. Is it all that much different than a blow dryer? Also, which brands of resins do you really recommend? I have no plans to make jewelry, I’m more inclined to geodes, and other flat pieces. Maybe canvas, eventually.
The heating tool is similar to a blow dryer but has a higher temperature and a smaller radius of output. I only work with Environmental Technology Inc products. If you are just starting out, I recommend using EasyCast resin with silicone molds. If you are just adding a glossy shine, Envirotex Lite is great. Join the @resincraftsblog facebook page for more ideas and lots of support! Good Luck!
Natalie, another fabulous project. TY for the suggestion to support the canvas because of the weight of the canvas!