Let everyone know you are a mermaid at heart with this DIY mermaid pendant made with sequins and jewelry clay!

I have had a stash of aqua sequins sitting in my craft room for years, patiently waiting for a project they would be perfect for. Now, I think those sequins are living their best lives as this eye-catching sequin mermaid pendant. I embedded the sequins in a pendant bezel filled with jewelry clay to create this stunning one-of-a-kind piece. Keep reading to find out how to make one of your own.
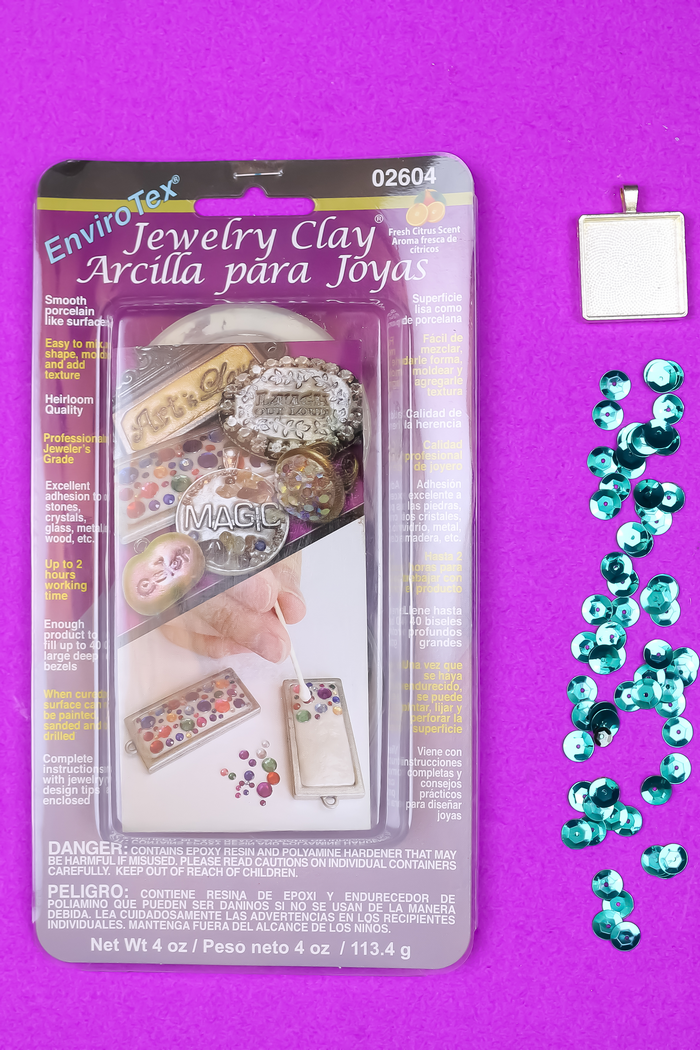
Supplies to make Sequin Mermaid Pendant:
- EnviroTex Jewelry Clay
- Square pendant bezel
- Sequins
- Scissors
- Tweezers
- Toothpick
- Gloves

Instructions to Make a Sequin Mermaid Pendant
EnviroTex Jewelry Clay is a two-part epoxy clay that allows you to embed embellishments permanently into your hand made jewelry pieces.
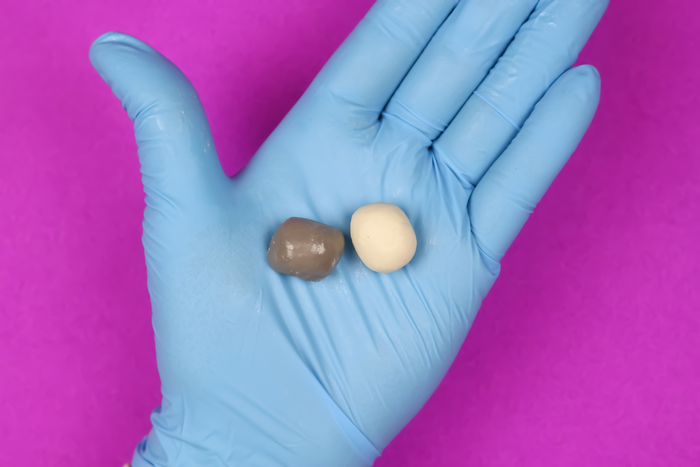
Glove up, and remove equal parts of clay A and clay B. I grabbed enough clay to make two pendants. Mix and roll the two parts together to activate the epoxy.
Keep mixing until the clay is a uniform grey color. You will feel the clay get warmer as you work. Don’t worry, that is what is supposed to happen!

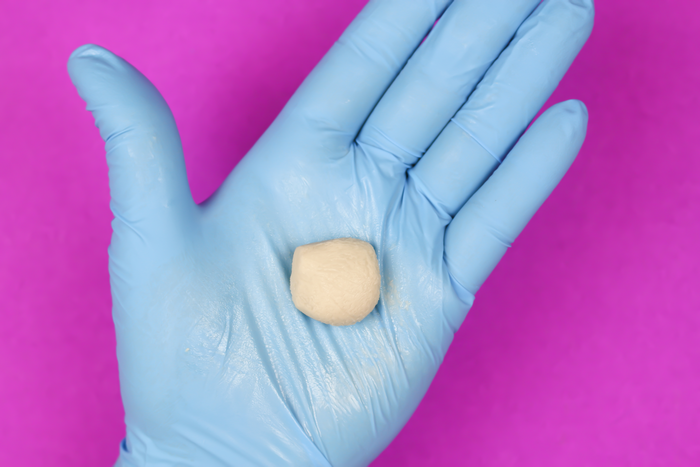
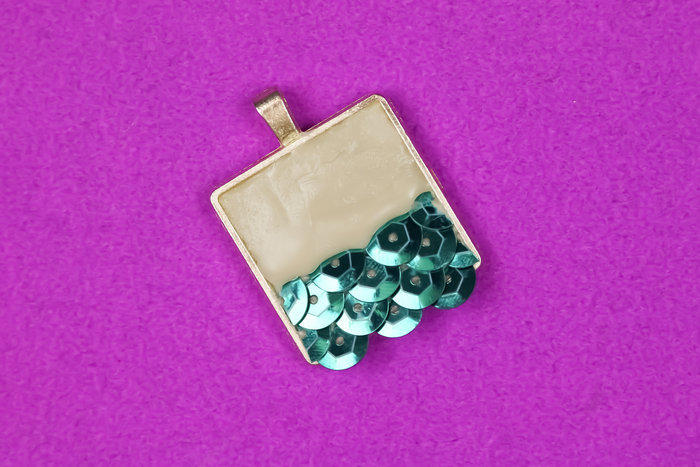
Carefully smooth the mixed clay into a square pendant bezel making sure to work the clay into the corners of the bezel.

Begin embedding the sequins into the clay starting at the bottom of the bezel. Use crafting tweezers to push the top of each sequin into the clay as seen above.
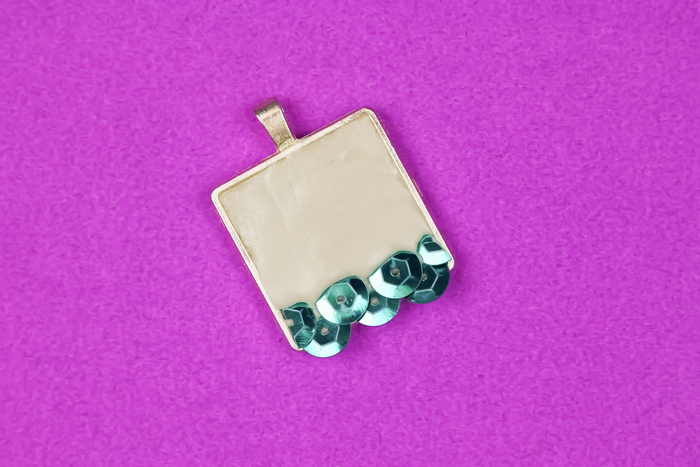
Place another row of sequins just above this row, staggering the position of the sequins and allowing them to overlap the previous row. You will have to cut one sequin in half with scissors to fill in spaces on the left and right sides of this row.
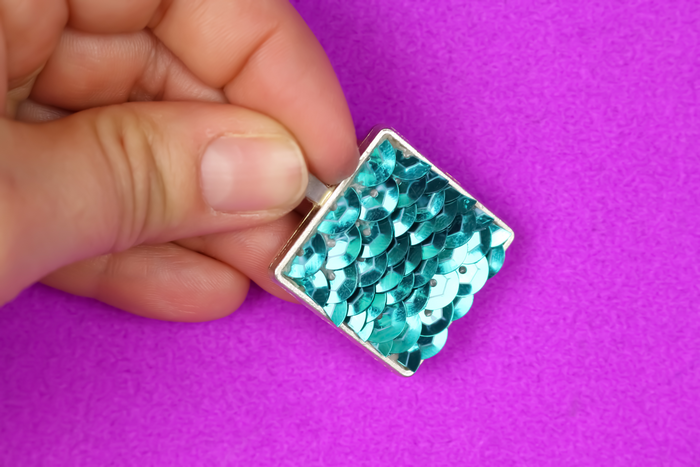
Continue this same process, always staggering the rows, all the way up the bezel.
When you get to the top row of the bezel, cut the sequins in half again. This time place the cut side of each sequin at the top of the bezel.
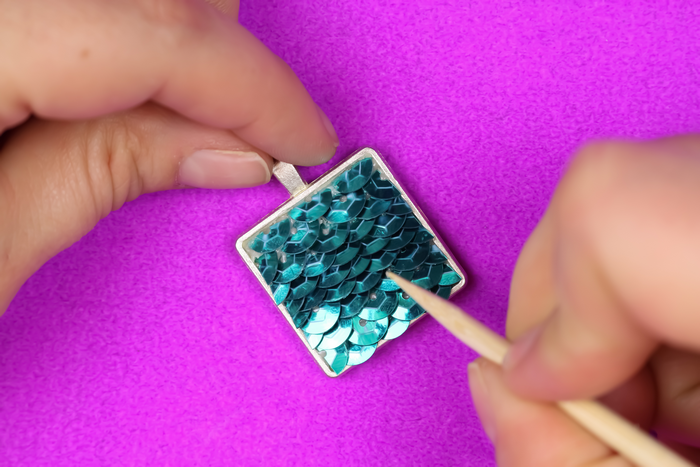
Use a toothpick to make sure each sequin is properly lined up and firmly embedded in the clay. You can also use the toothpick to gently scrape up any clay that may have poked out around the sequins.
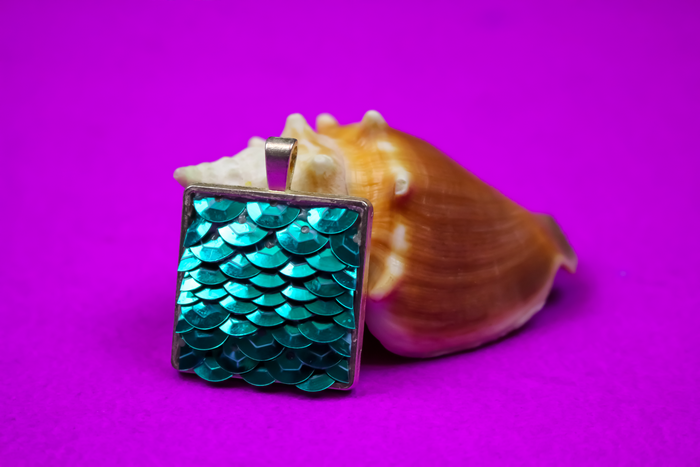
Allow the clay to cure for 24 before wearing your beautiful new pendant. Let everyone know you are a mermaid at heart!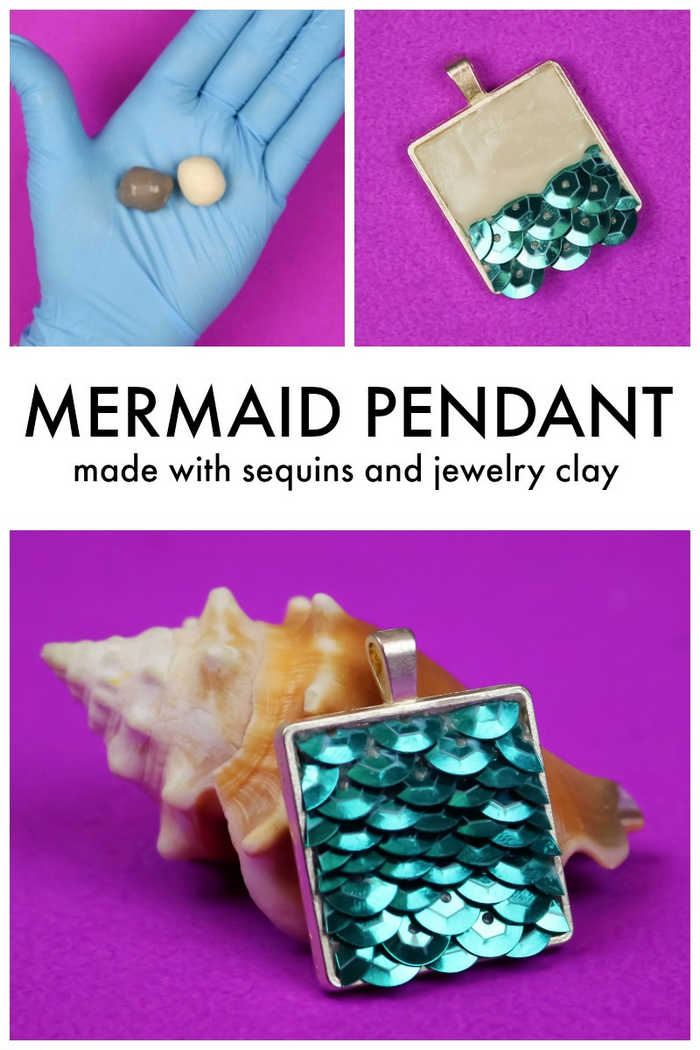

Jessica Hill is the creative mind behind the blog, Mad in Crafts. For nearly 9 years, Jessica has shared crazy good creativity from her Mad House to yours. When she’s not creating, Jessica loves the Detroit Tigers, craft beer, and spending time with her family and rescue dog.


Leave a Reply