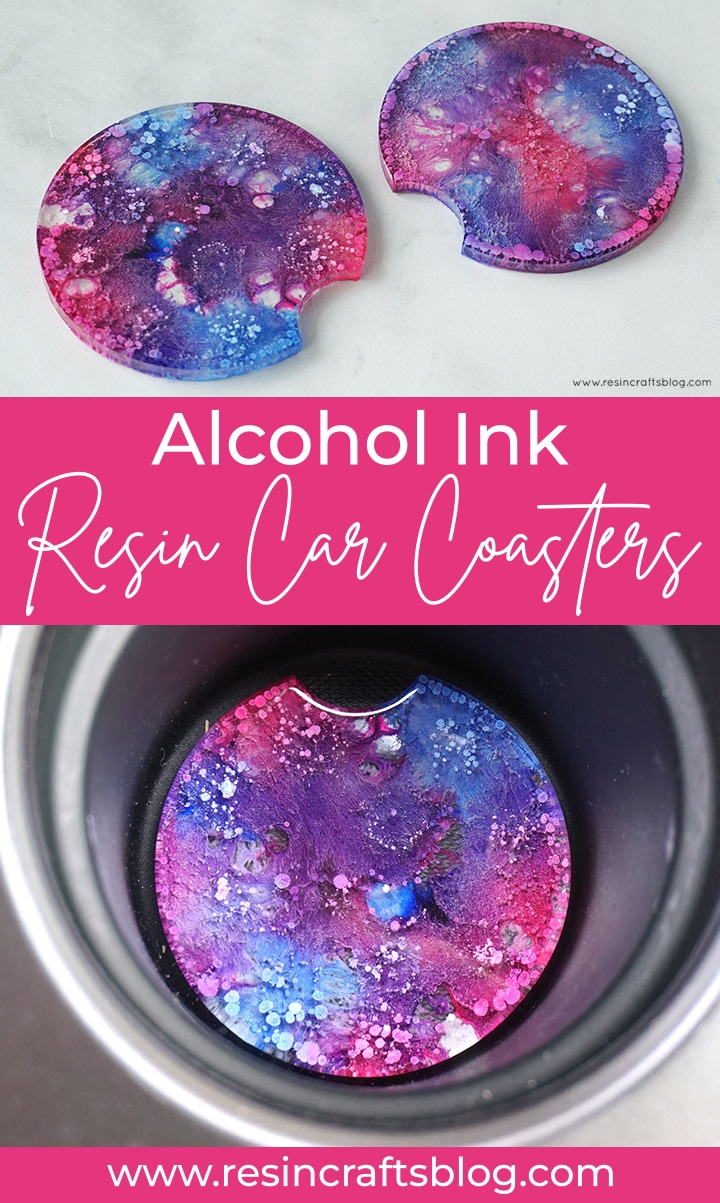
This set of resin Alcohol Ink Car Coasters will help keep your cup holders looking clean while adding a stunning pop of color to your ride!

Hello, Resin Crafters! It’s Lindsay from Artsy-Fartsy Mama here with a colorful resin project for you to try. Coasters are a great way to protect table surfaces in your home or office, but did you know that you can also use coasters to protect the cup holder surfaces in your car? This tutorial combines Amazing Deep Pour Epoxy and Color Creator alcohol inks to create a custom set of car coasters that will help keep your car a little cleaner. Not only are they an eye-catching car accessory, but they would also make a great gift. These Alcohol Ink Resin Car Coasters are a lot of fun to make, and I hope you feel inspired to try making some for yourself.
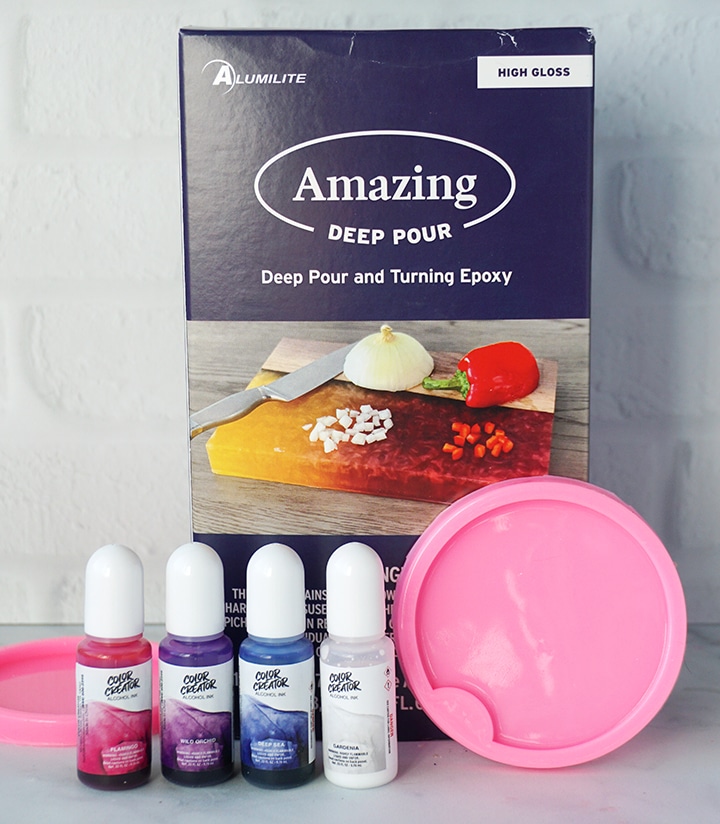
SUPPLIES TO MAKE EPOXY ALCOHOL INK CAR COASTERS:
- Alumilite Amazing Deep Pour Epoxy (Amazing Clear Cast would work as well)
- Mixing cups and stirring sticks
- Disposable Gloves
- Color Creator Premier Gift Pack
- Car Coaster Silicone Molds
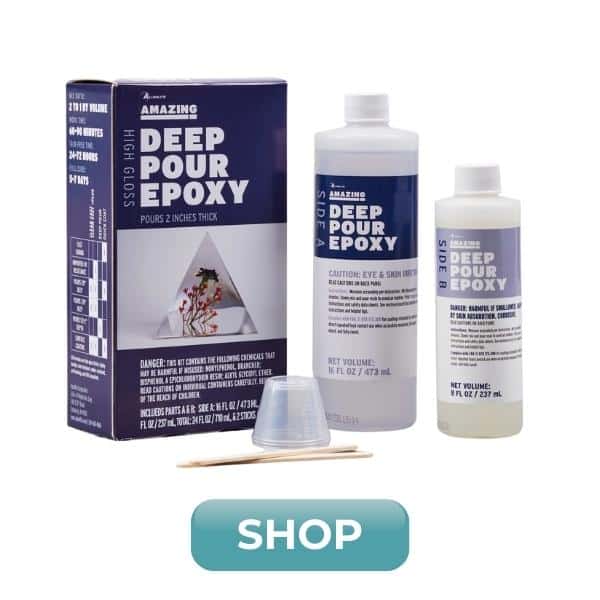

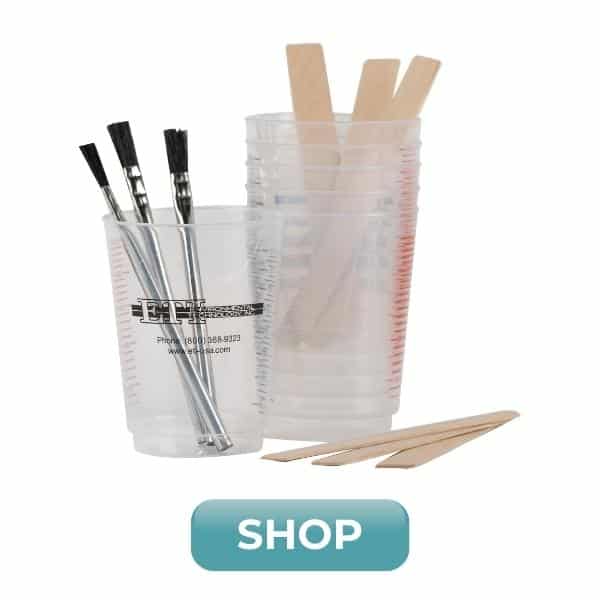
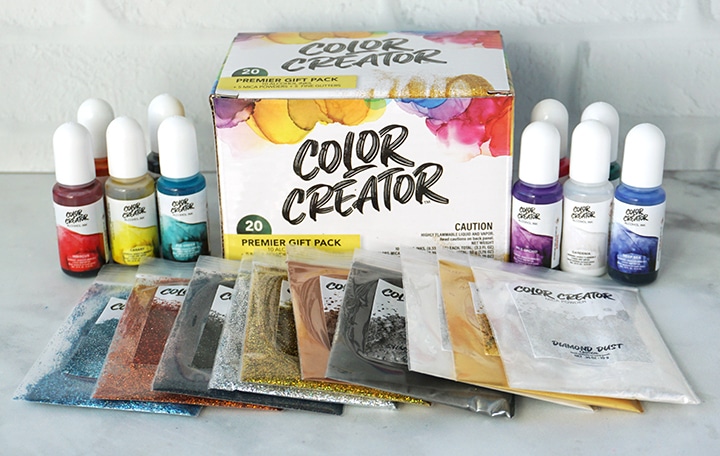
The Color Creator Premier Gift Pack comes with a set of vibrant powders, glitters, and alcohol inks. Included are 10 vibrant bottles of alcohol ink dye, 5 bags metallic mica powders, and 5 glitter bags that will make any project shimmer and shine! Alcohol inks are a must to create the amazing resin petri dish effect!
INSTRUCTIONS FOR RESIN CAR COASTERS
Printable instruction card can be found at the bottom of this post.
Safety first! Before you start working with epoxy resin, make sure that you’re wearing protective eyewear and gloves, cover your workspace or use a silicone mat in case of spills, and be sure to work in a well-ventilated area.
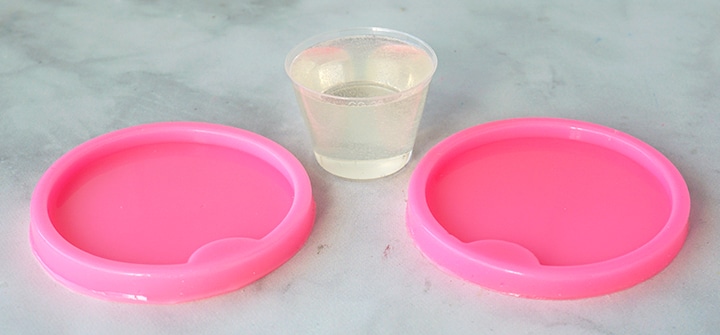
STEP 1: PREPARE THE DEEP POUR EPOXY
Prepare 1 oz (per coaster) of Amazing Deep Pour according to package directions, and follow all safety guidelines. Pour in 2:1 (2 parts A to 1 part B) into a mixing cup. Stir the resin mixture together SLOWLY with a stir stick for about 3 minutes, and then pour the resin into a clean mixing cup. Stir again for another minute or two with a clean stir stick. If the resin still has streaks running through it, keep mixing until it becomes clear.
STEP 2: POUR THE RESIN
Pour the clear resin into the car coaster molds until it just reaches the top edge. Let the resin rest for a few minutes to give the air bubbles time to come to the surface. Then use a heat gun, blow through a straw, or lightly spritz the molds with 91% alcohol to remove surface bubbles.
STEP 3: ADD ALCOHOL INK TO THE RESIN
Now it’s time to add some color! Choose 2-3 colors of Color Creator alcohol ink. I would recommend colors that blend well together (like pink, blue, and purple) to prevent the coloring from becoming “muddy”, or brown, looking.
*Here’s another reminder to wear gloves and protect your workspace, because alcohol inks will stain your hands and surfaces!
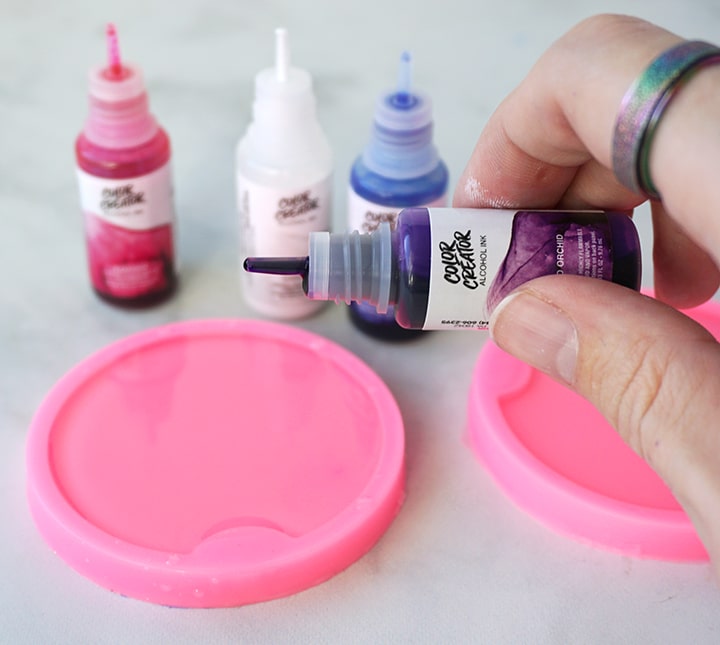
Add 2-3 drops of each color of alcohol ink to the uncured resin. Try to not drop the colors on top of each other, but next to each other. As the inks sit in the resin, they will start to spread out.
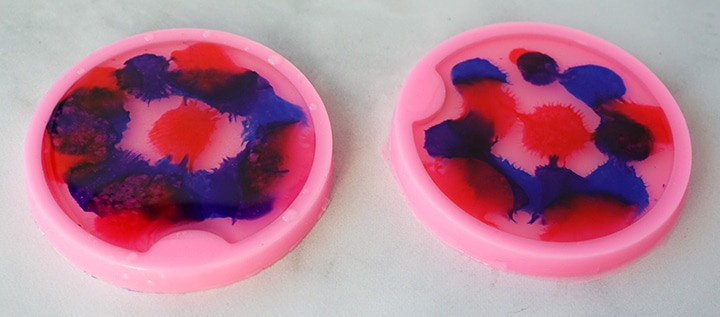
STEP 4: CREATE THE PETRI DISH EFFECT WITH WHITE ALCOHOL INK!
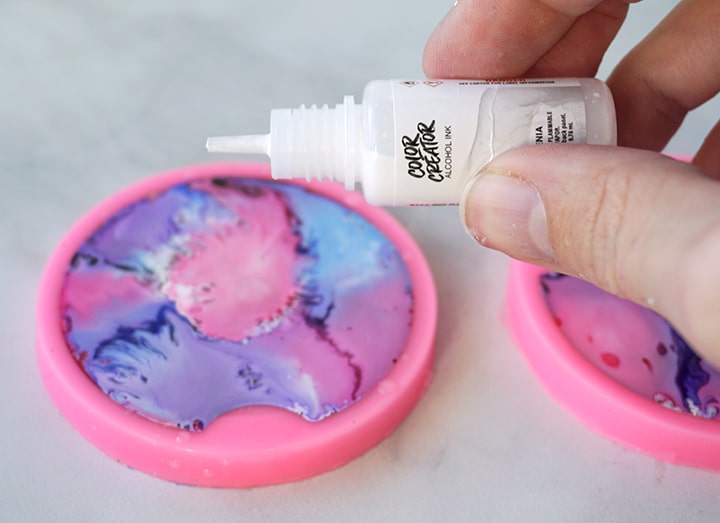
Next, immediately add drops of white alcohol ink over each drop of colored ink in the resin. The white ink is heavier than colored inks, so it pushes through the resin to create an awesome effect.
Repeat the process one more time with the colored ink and the white ink. As tempting as it is, try not to add too much ink. It can affect the way the resin cures.
STEP 5: CURE THE CAR COASTERS
Do not touch the resin at all at this point and don’t try to remove any surface bubbles. Leave the resin to cure in an undisturbed, well ventilated area for at least 36 hours (temperature and climate dependent).
STEP 6: THE REVEAL!
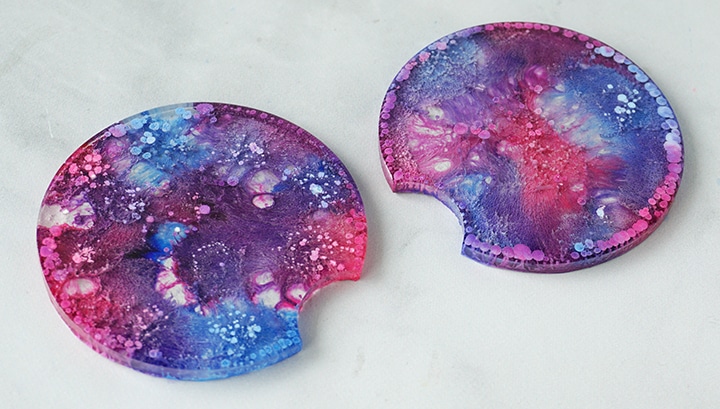
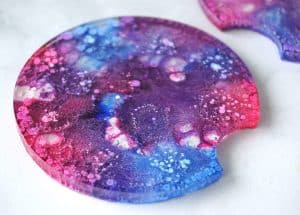
Finally, my favorite step: demolding! Remove the coasters from the molds and be prepared to be amazed! If the resin still feels a little flexible, it may just need more time to cure. This is totally normal, and you will just need to let the coasters sit in a warm, flat area to cure for a few hours (or days, depending on the climate of the room where it’s curing).
Use scissors or a craft knife to carefully remove any over-poured epoxy, and sand down the edges if necessary. If you do sand the resin, re-seal the areas with Resin Spray.
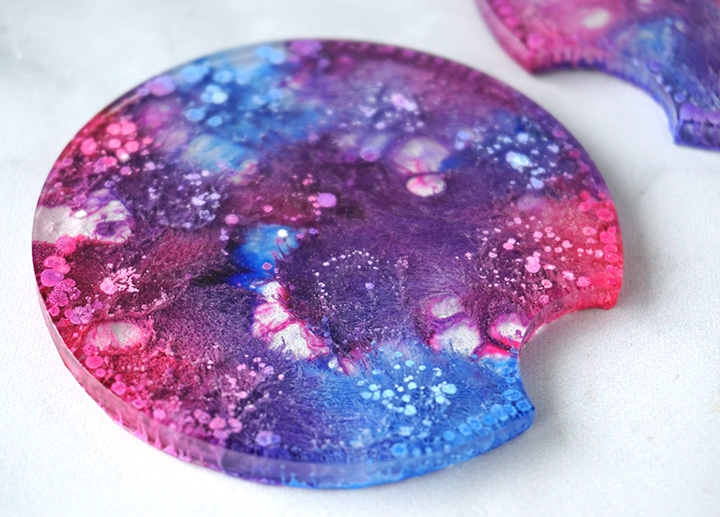
I am always blown away by the results of alcohol ink resin projects. The way the ink is suspended in the resin creates such a cool effect, and no two projects are the same. I especially like looking at the details up close – it almost looks like a petri dish, don’t you think?
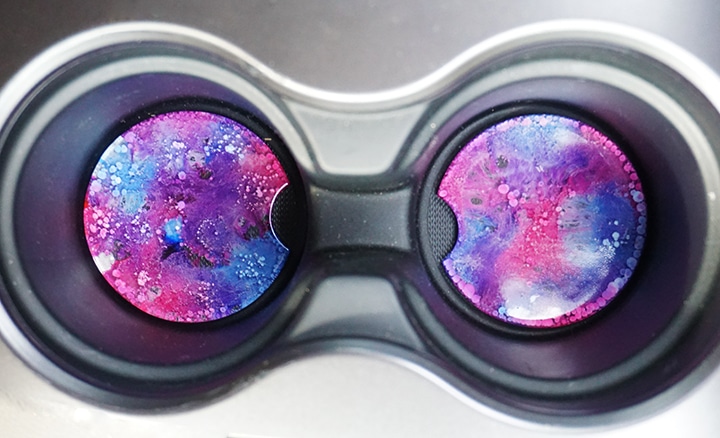
Drop the coasters into your car cup holders, and enjoy your new accessory! To care for your new coasters, clean with glass cleaner and soft cloth or hand wash and pat dry only. When the car is in higher temperatures, there’s a chance that the resin can soften. It will harden back up as it cools down, but if the coasters are exposed to heat for long periods of time, the coasters may become warped.
I love how these resin Alcohol Ink Car Coasters turned out, and I would love to hear what you think about this project. For more inspiration, check out our other resin coaster crafts. We’d also love for you to share your own creative resin projects in the Resin Crafting Facebook Group and be sure to tag us @resincraftsblogbyeti when you share on IG!
Resin Alcohol Ink Car Coasters
Materials
- Alumilite Amazing Deep Pour Epoxy
- Mixing cups and stirring sticks
- Disposable Gloves
- Color Creator Premier Gift Pack
- Car Coaster Silicone Molds
Instructions
- Prepare 1 oz (per coaster) of Amazing Deep Pour according to package directions, and follow all safety guidelines. Pour in 2:1 (2 parts A to 1 part B) into a mixing cup. Stir the resin mixture together SLOWLY with a stir stick for about 3 minutes, and then pour the resin into a clean mixing cup. Stir again for another minute or two with a clean stir stick. If the resin still has streaks running through it, keep mixing until it becomes clear.
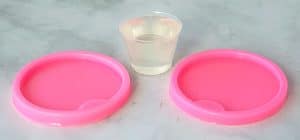
- Pour the clear resin into the car coaster molds until it just reaches the top edge. Let the resin rest for a few minutes to give the air bubbles time to come to the surface. Then use a heat gun, blow through a straw, or lightly spritz the molds with 91% alcohol to remove surface bubbles.
- Now it's time to add some color! Choose 2-3 colors of Color Creator alcohol ink. I would recommend colors that blend well together (like pink, blue, and purple) to prevent the coloring from becoming "muddy", or brown, looking.
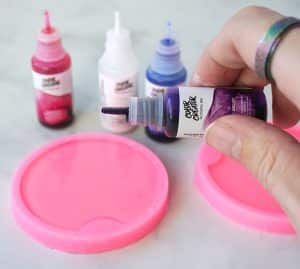
- Add 2-3 drops of each color of alcohol ink to the uncured resin. Try to not drop the colors on top of each other, but next to each other. As the inks sit in the resin, they will start to spread out.
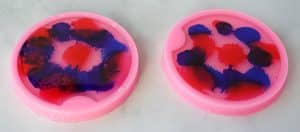
- Next, immediately add drops of white alcohol ink over each drop of colored ink in the resin. The white ink is heavier than colored inks, so it pushes through the resin to create an awesome effect.
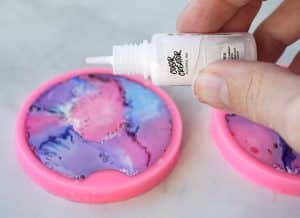
- Repeat the process one more time with the colored ink and the white ink. As tempting as it is, try not to add too much ink. It can affect the way the resin cures.
- Do not touch the resin at all at this point and don’t try to remove any surface bubbles. Leave the resin to cure in an undisturbed, well ventilated area for at least 36 hours (temperature and climate dependent).
- Finally, my favorite step: demolding! Remove the coasters from the molds and be prepared to be amazed! If the resin still feels a little flexible, it may just need more time to cure. This is totally normal, and you will just need to let the coasters sit in a warm, flat area to cure for a few hours (or days, depending on the climate of the room where it’s curing).
- Use scissors or a craft knife to carefully remove any over-poured epoxy, and sand down the edges if necessary. If you do sand the resin, re-seal the areas with Resin Spray.
Lindsay is a crafter, graphic designer, and glitter enthusiast from Utah. She’s passionate about homeschooling her creative daughter, traveling, and spending time in the craft room. Lindsay shares DIY project tutorials, printables, recipes, kids crafts, and more on her blog, ArtsyFartsyMama.com, where she inspires readers to live a creative life.

Leave a Reply