Looking to learn how to make your own custom silicone molds so that you can personalize your crafts with tailored castings? This is the perfect project for you! Not only will it teach you how easy it is to make simple molds out of 2 part silicone rubber, but you’ll be able to create a gorgeous coastal front door wreath to greet friends and family.
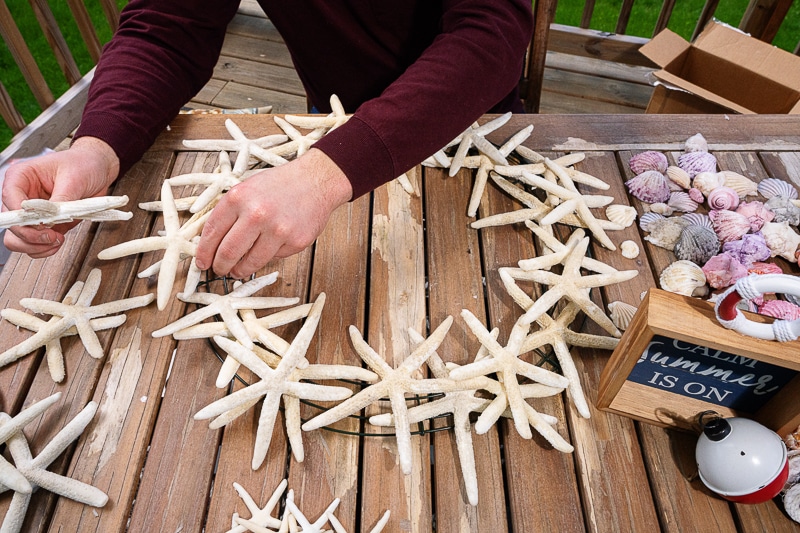
This project is 100% customizable. If you decide you’d rather make a wreath out of casted crystals or specific shapes (like maybe a pumpkin for Halloween), you absolutely can.
Let’s talk about what you need for this project!
Get the Supplies to Make Your Own Custom Coastal Front Door Wreath:
- Amazing Mold Maker
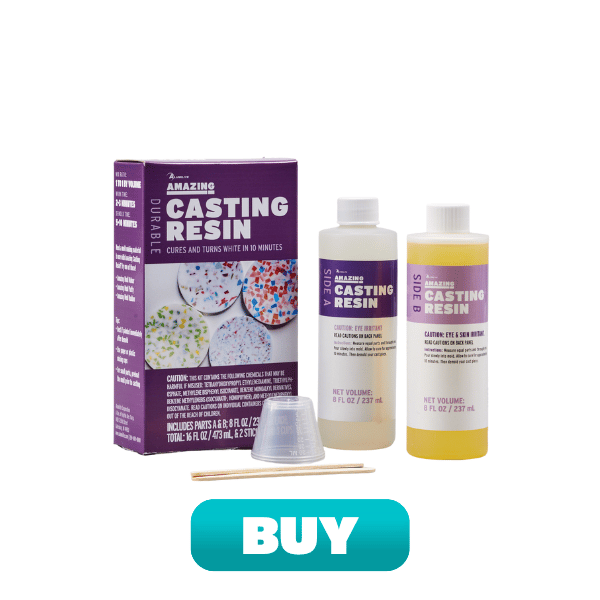
- Amazing Casting Resin
- Safety glasses
- Nitrile gloves
- Wreath Wire Frame
- White Finger Starfish (or shells, depending on what kind of wreath you want to make)
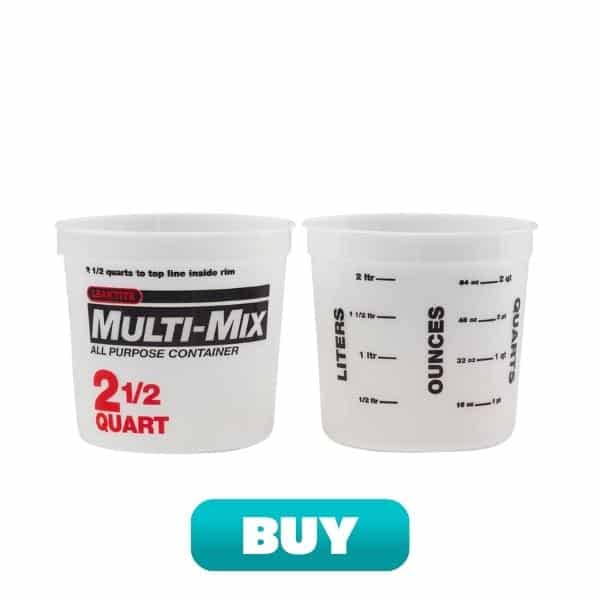
- Two graduated mixing containers
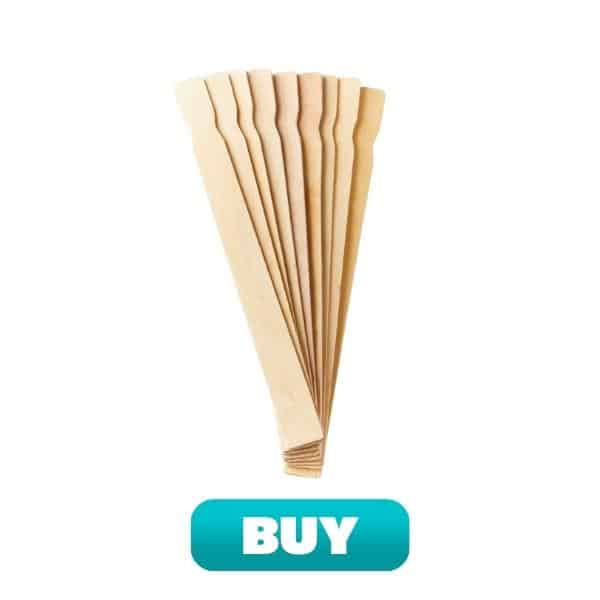
- 2 paint sticks
- Hot glue gun
- X-Acto knife
- Paint
- White foam core
Start By Building Your Custom Mold with 2 Part Silicone Rubber
First thing’s first, if you’re looking to create custom shells or starfish to adorn your coastal wreath, you’re going to need to make your own mold. Creating a simple 2-part silicone mold for resin casting is not the challenge you might think it is. Alumilite Amazing Mold Maker 2-Part Silicone Rubber is easy to use, easy to demold (in as soon as 30 minutes!), and picks up every intricate detail of the object you want to replicate. It’s even food safe so you can use it to make custom chocolates, ice cubes, and more.
Before you begin, cover your workspace with plastic sheets. Plastic sheets also make cleanup much easier. Also, don’t forget to wear protective nitrile gloves and safety glasses.
- Use a piece of foam core as your mold box base. Make sure it’s big enough to fit all of the adornments you’d like to make copies of, like the shells and starfish pictured below
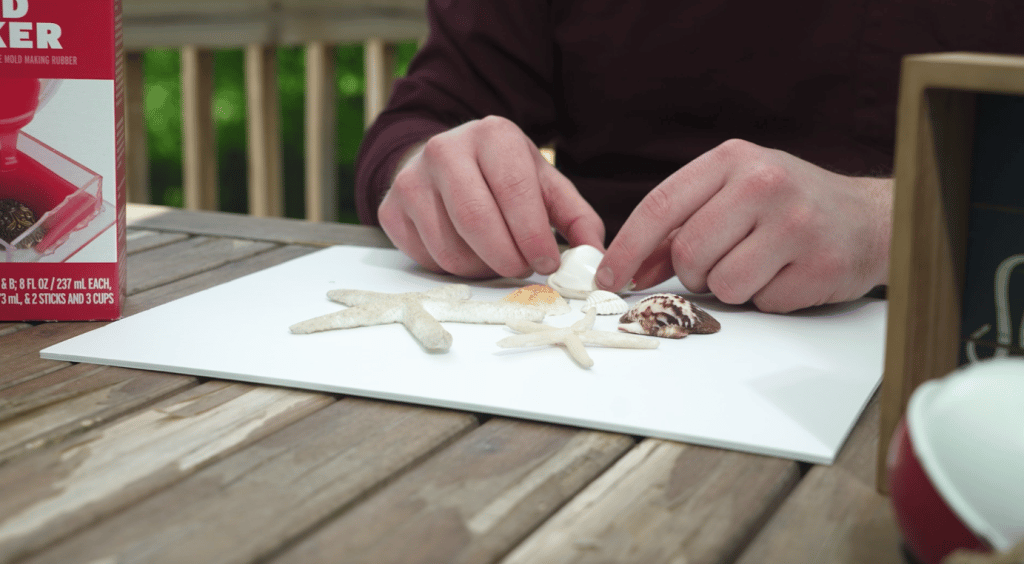
2. Glue the starfish onto the foam core base using a little hot glue. Be sure to leave a little bit of space between each piece.
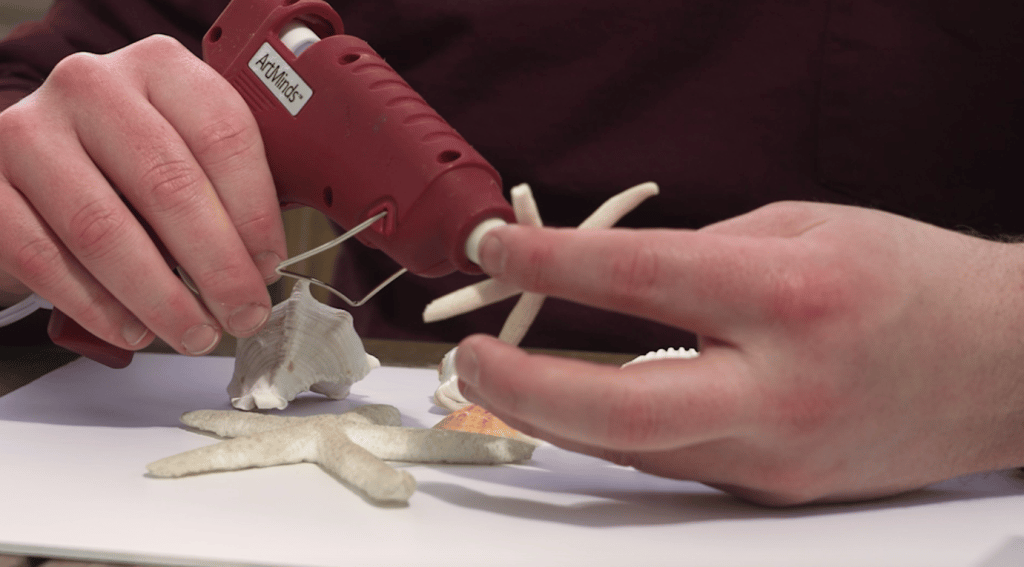
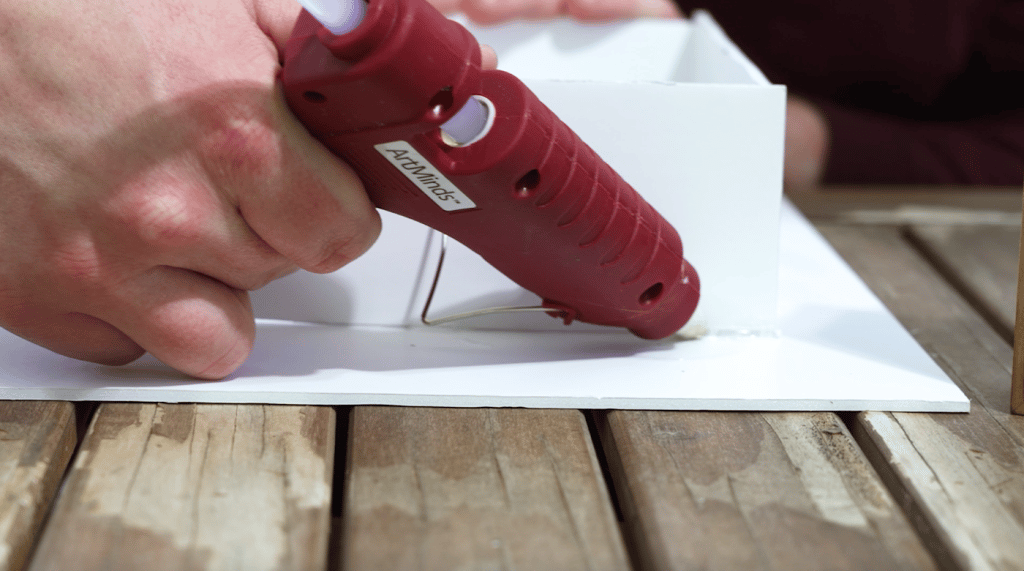
3. Cut thin pieces of another piece of foam core. They should be wide enough that the silicone you’ll be pouring in will cover your starfish and long enough to surround everything you glued down.
4. Glue those pieces to the foam core base and run a bead of hot glue along the outside to ensure everything is sealed.
How to Mix and Pour 2-part Silicone Into Your Custom Mold Box
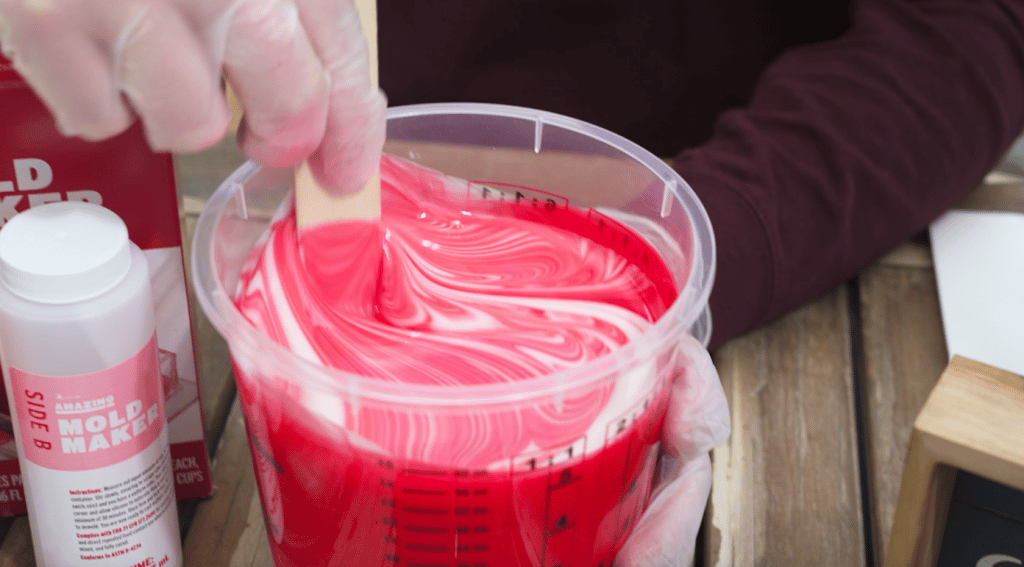
5. Measure out your 2-part silicone in a graduated mixing container. Depending on how many shells you make and the size, you will need around 32 – 48 oz of Amazing Mold Maker. Mix using paint sticks until the two parts form one unified color. Amazing Mold Maker works well for this because each part is a different color, so you can easily see when it’s not thoroughly combined.
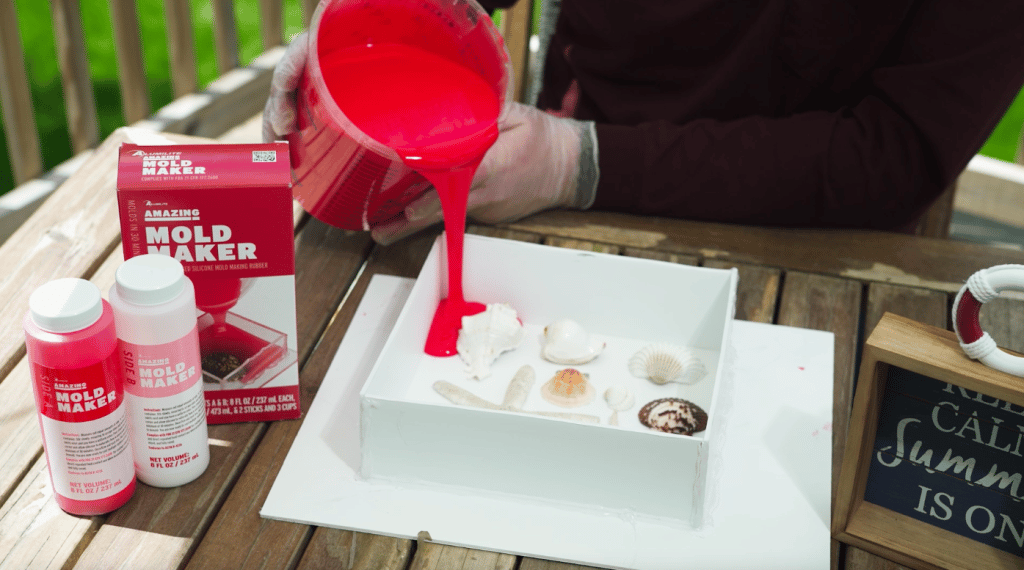
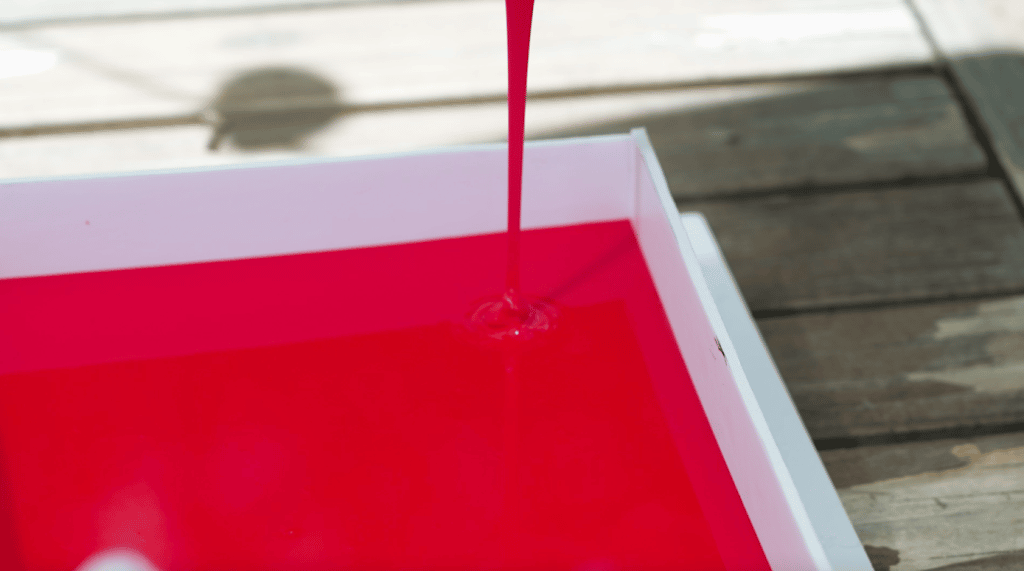
6. Pour the silicone into a corner of your mold box until it fills up the entire mold box and covers the starfish.
Demold Your Custom Mold
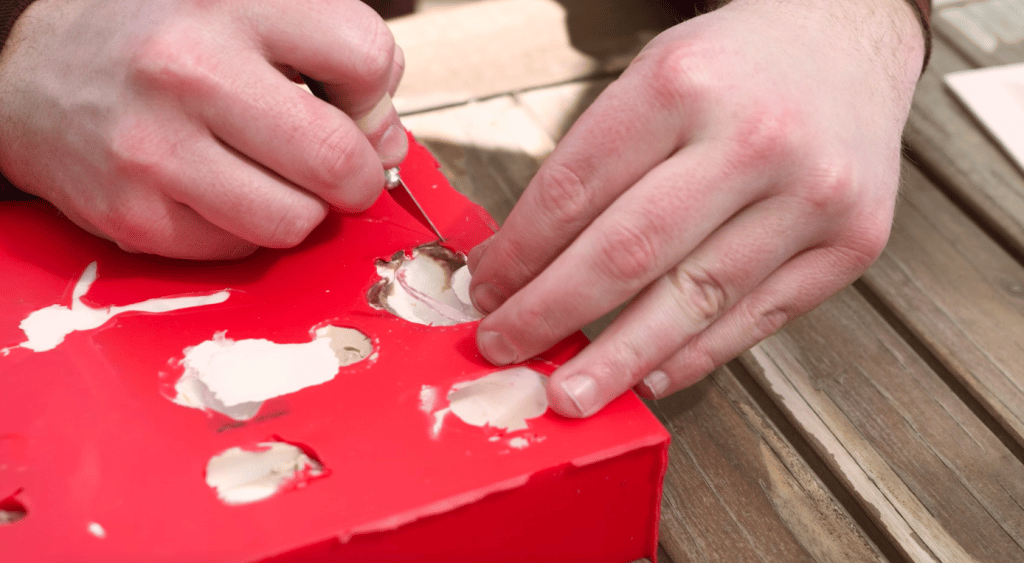
7. Once the silicone has cured for at least 30 minutes, you can take apart your mold box. You should be able to easily pop out the starfish you covered previously. If you need to, you can use an X-Acto knife to cut around the shape of the starfish and help the removal process go more smoothly.
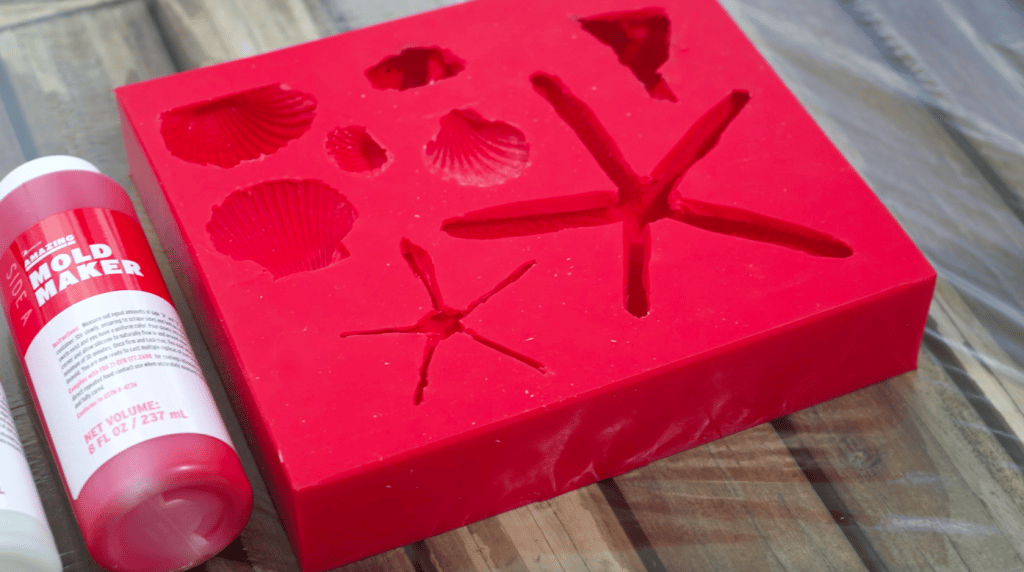
Cast In Your Custom Mold
8. Now that you’ve made your mold, it’s time to cast. Measure out what you need of the Amazing Casting Resin and mix together with a stir stick until uniform. Amazing Casting Resin will result in pure white castings unless you mix some dye into it before you pour, which you can absolutely do as well.
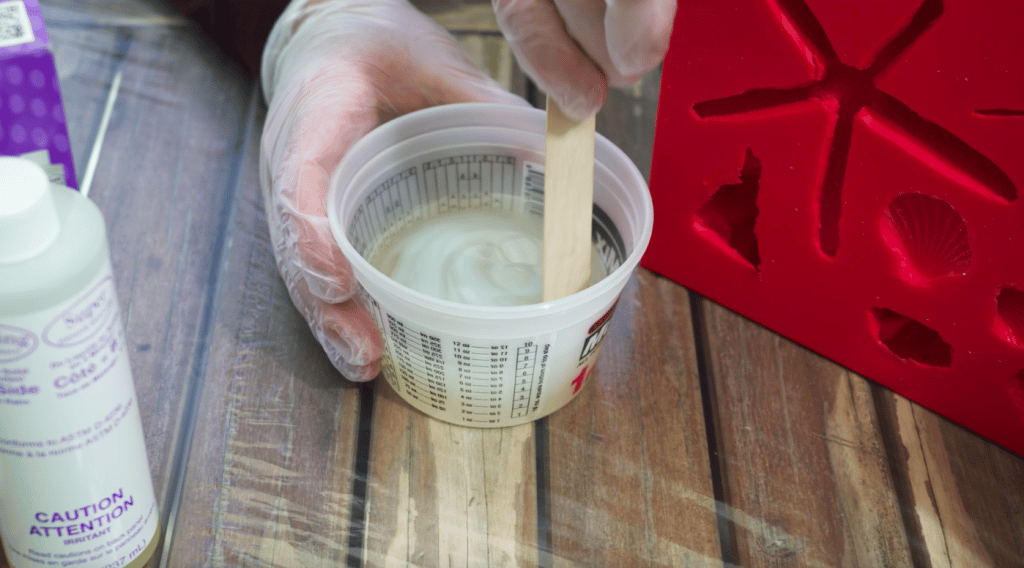
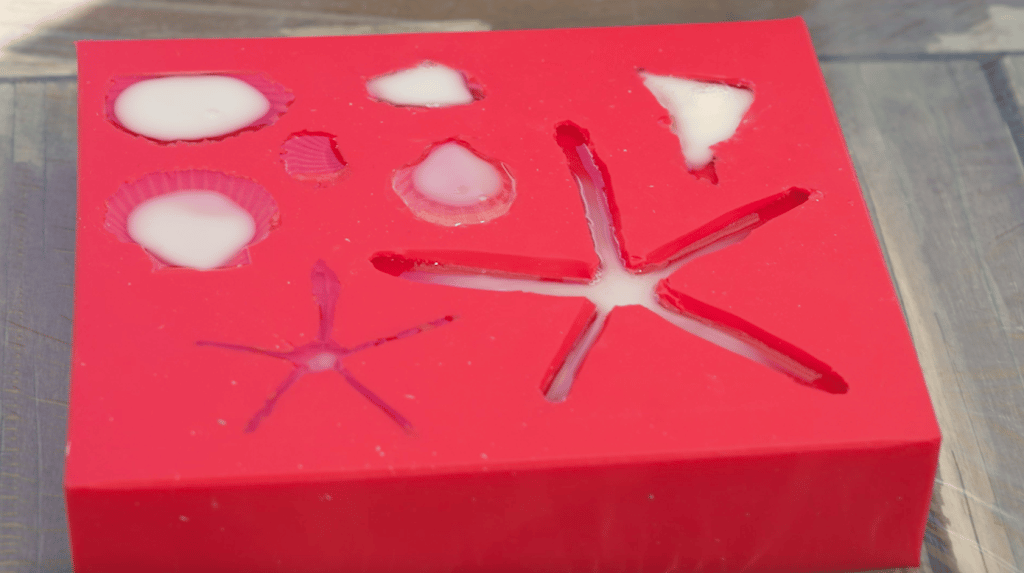
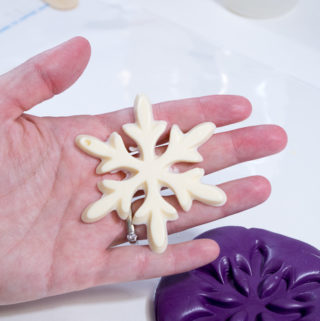
9. Pour the mixed resin into your molds and watch as it cures in only 10 minutes! You can even see it turn white as the reaction takes place. After 10 minutes pass, you can demold your new creations from your custom silicone mold. Once cured, the silicone mold is quite durable, so you can flex it to help with demolding.
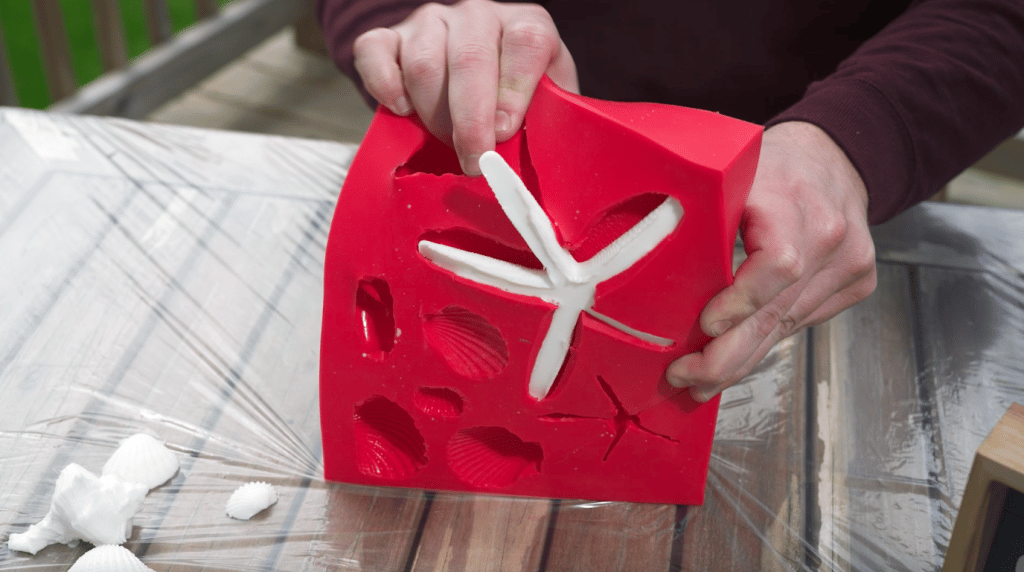
Decorate Your Custom Castings
10. Use paint to decorate your new custom casting in whatever colors you like. We went for more natural colors, especially for the starfish, but you can go as vibrant as you’d like with it.
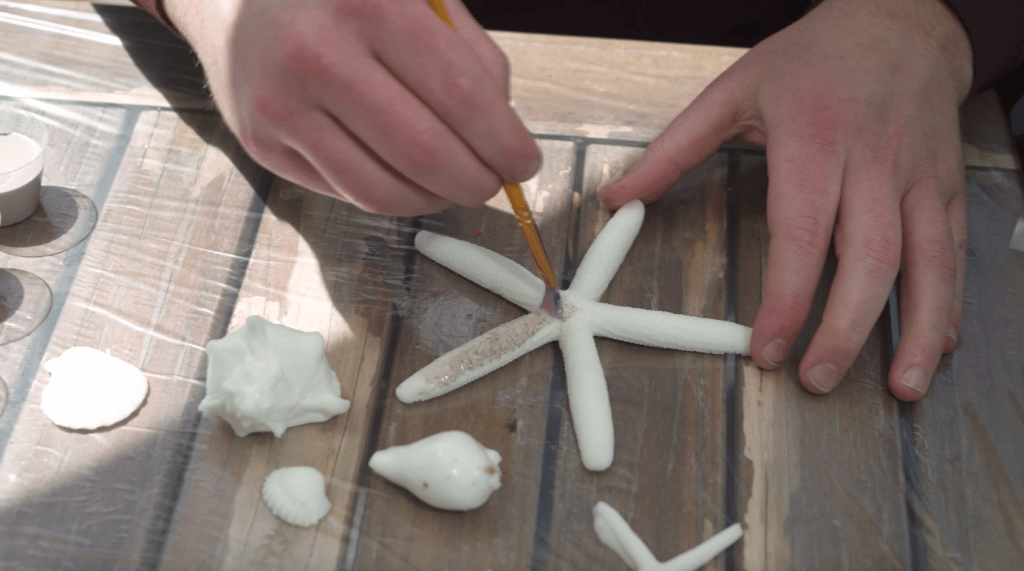
11. Use hot glue to adhere your adornments to your wreath! In this case, we used a metal wire wreath for the starfish. Allow the glue to dry and your beach wreath is ready to greet your guests. It would also make an excellent gift for any friends you hit the beach with or anyone looking to bring a little of the beach home.
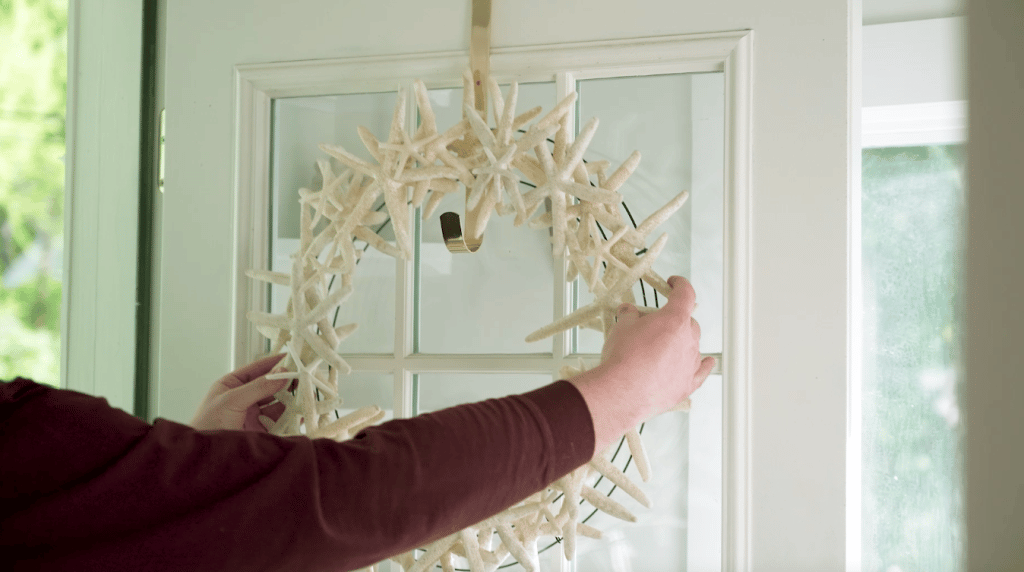
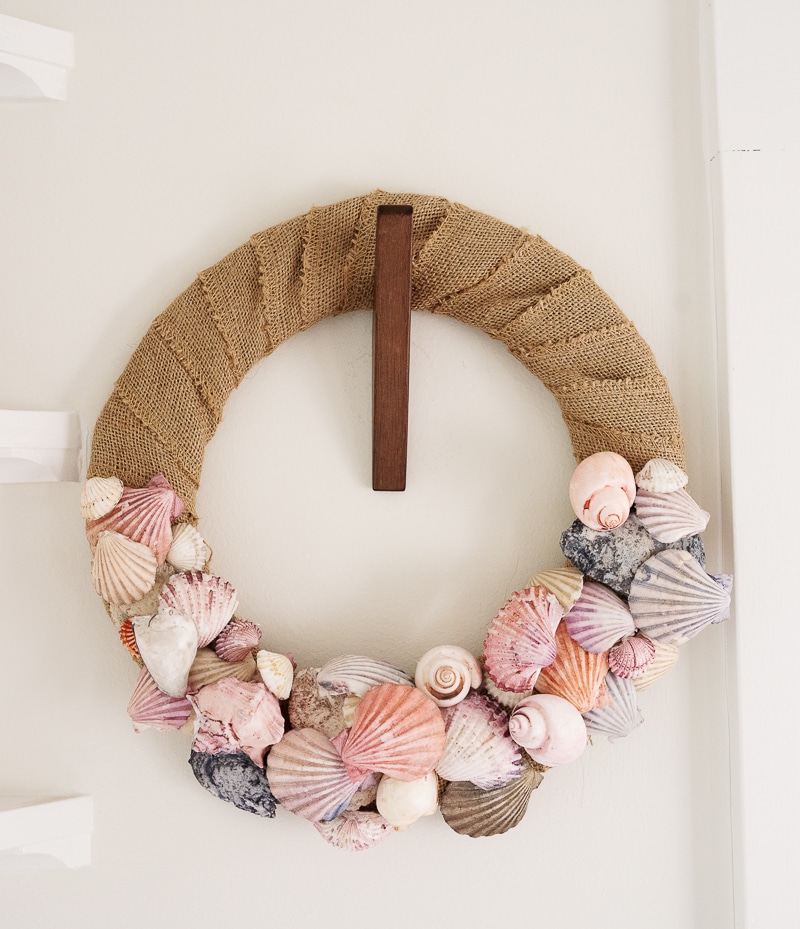
What kinds of shapes would you cast to adorn a custom wreath? Would you stick to a nautical wreath or try something else? If you would like more colorful shells, you can make the version below with the exact same process. With the flexibility of this craft, you could create a custom front door wreath for every season or occasion!
If you have any questions about this project, don’t be afraid to send us a message. And don’t forget to share your latest creations with us by tagging us @resincraftsblogbyeti and using #resincraftsblog.
Leave a Reply