Happy December! This is Sheri from Hazel + Gold Designs and I’m excited to share this project with you! The holidays are approaching fast, and I know most of you are in the midst of decorating your homes for the festivities. Today I wanted to show you how to make a snowflake mold and resin castings that can be used in many ways this holiday season and beyond! First, I’ll give step-by-step instructions on how to create the snowflake mold using Easymold Silicone Putty, then I’ll explain how to make the castings of more snowflakes using FastCast Urethane Casting Resin. I absolutely love both of these products because they are so simple to use and cure quickly. Here we go!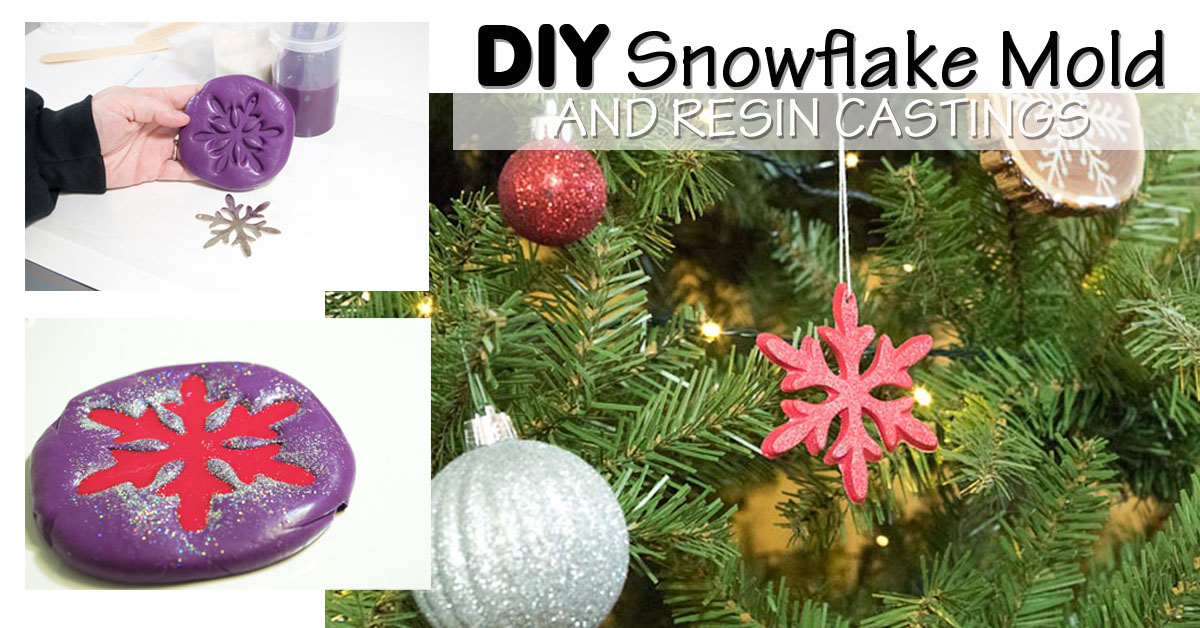
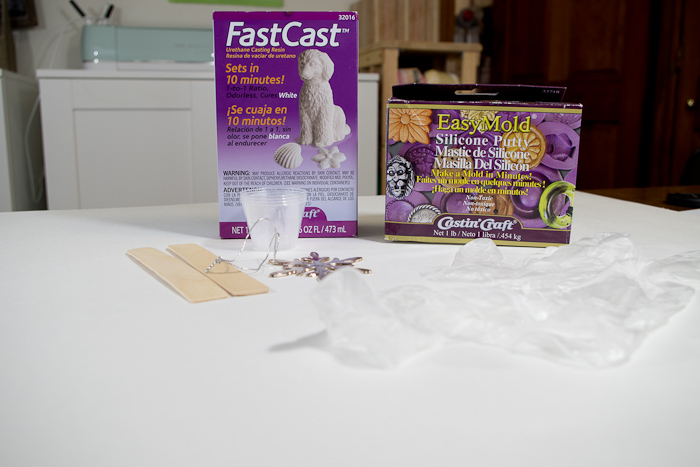
SUPPLIES:
- EasyMold Silicone Putty
- Disposable Gloves
- Non-stick work surface
- FastCast Urethane Casting Resin
- Opaque Pigment dyes (Green and Red)
- Small disposable Measuring cups
- Stir sticks
- Object to replicate – in this case, a Snowflake Ornament
Creating the Snowflake Mold
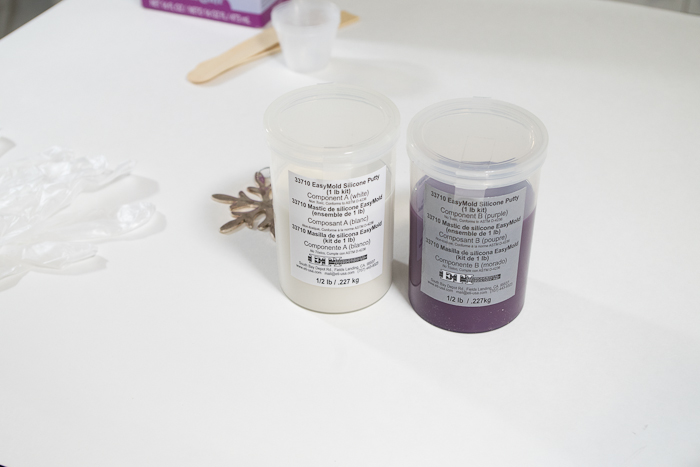
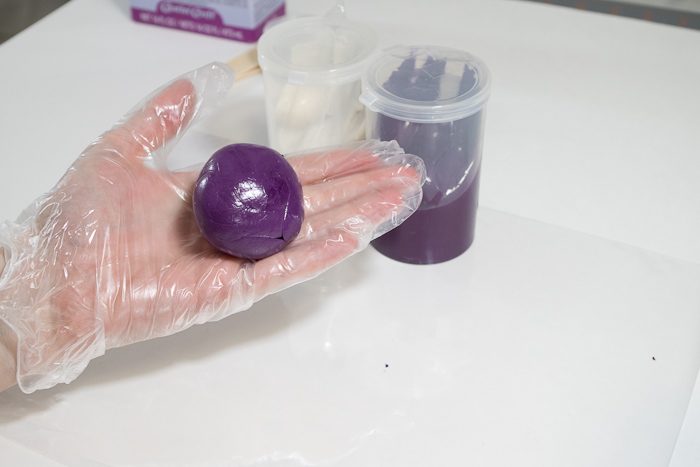
Alright, put on your gloves, then the first thing you do is take equal amounts of Part A and Part B of the EasyMold silicone putty. The way I do this is to take some from the first Part A and roll it into a ball, then take some from Part B and do the same, making sure the balls are close to the same size.
Start squeezing them together to combine them. One trick that works quickly is to put the whole thing in the palm of one hand and use the palm of the other to mash it together. Then rotate and repeat until it is throughly mixed.
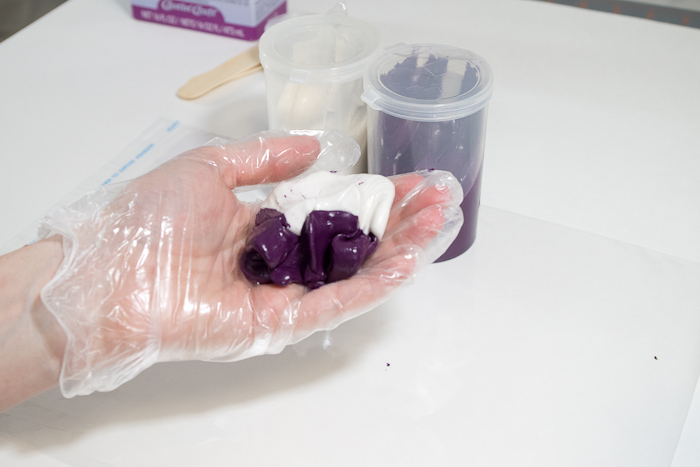
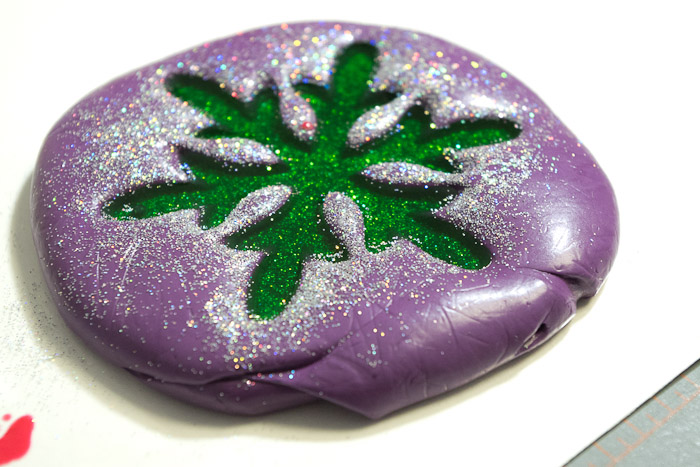
You’ll know it is mixed when it is one solid purple color. Roll it into a ball.
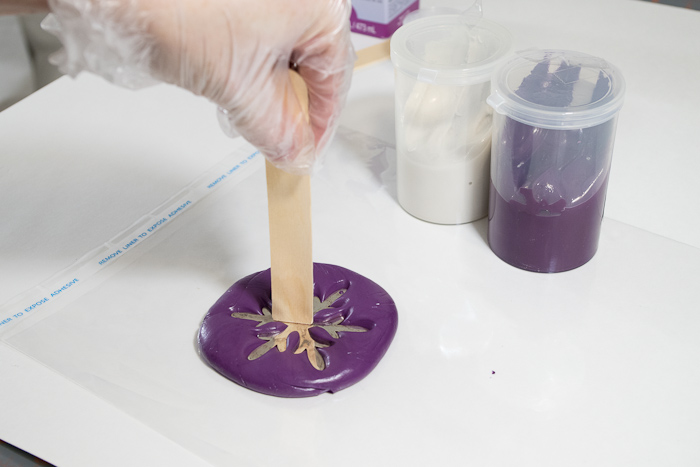
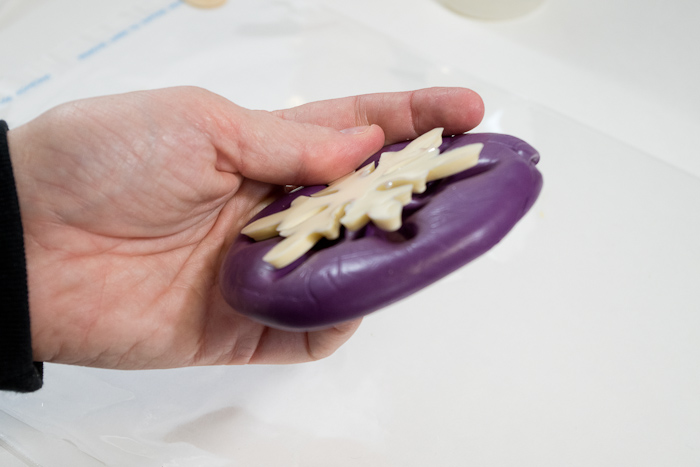
Next, press the entire thing flat, then lay your snowflake ornament down on top of the putty.
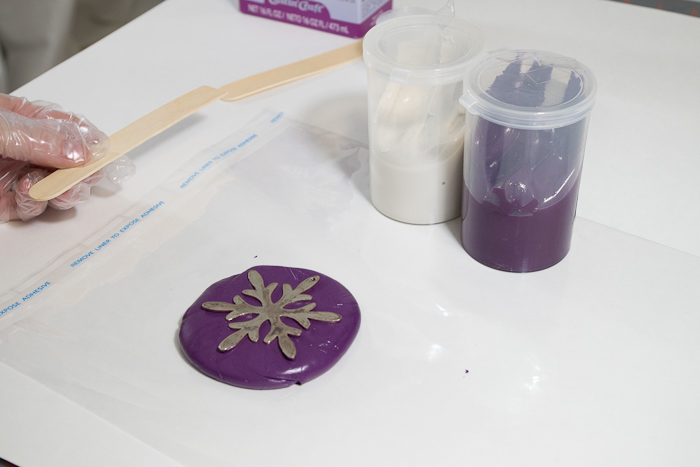
Use a stir stick or some thin object to press down on your snowflake so it is deep enough into the silicone putty. Now let it sit and cure for 30 minutes!
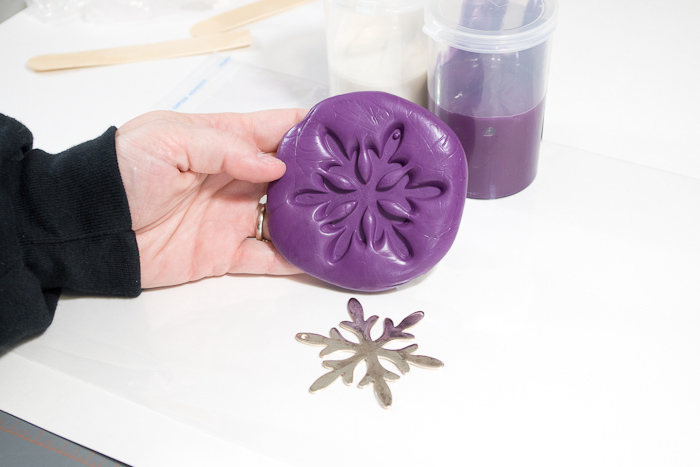
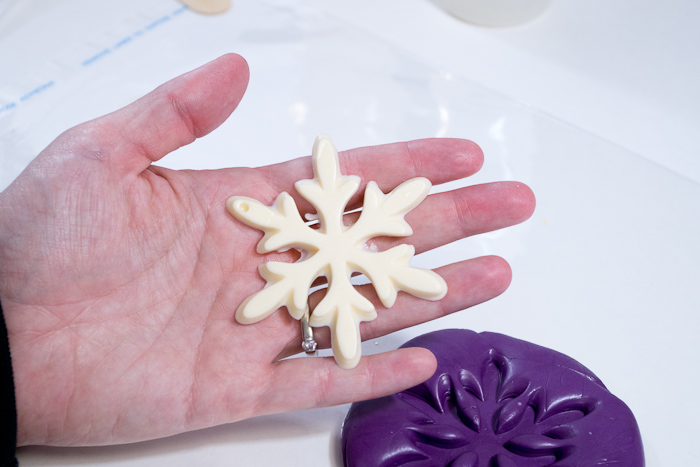
Come back half an hour later and you’ll be able to de-mold the ornament simply by pressing back on the silicone putty, which is now cured and will keep its form.
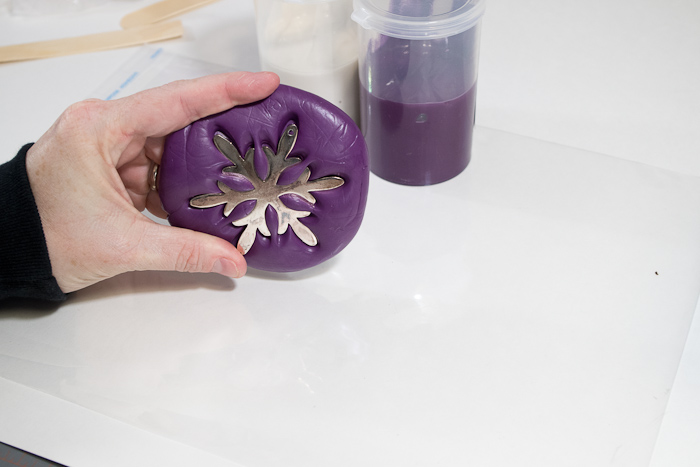
And there you have it, an awesome, perfect snowflake mold. Now time to make more snowflakes!
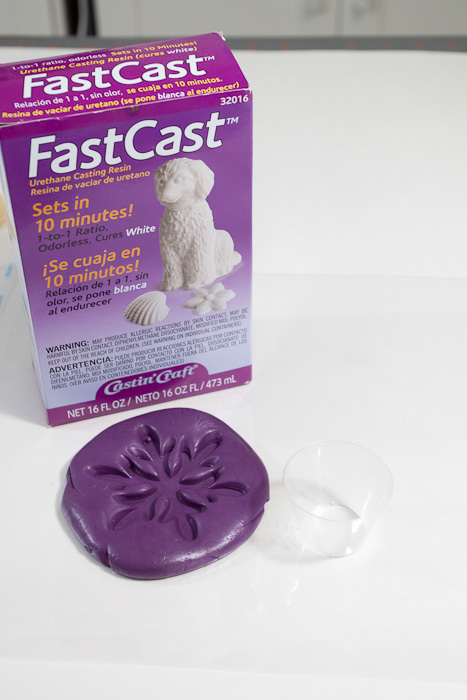
Casting Snowflakes
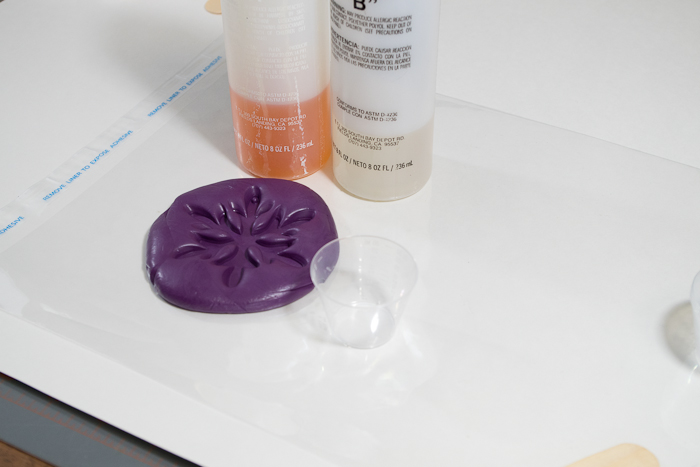
For this part you’ll need to grab the supplies you haven’t used; the FastCast, small measuring cups, stir sticks, and pigment dyes. Oh, and your brand new snowflake mold! I also put a sheet of clear plastic under my working area to protect the table.
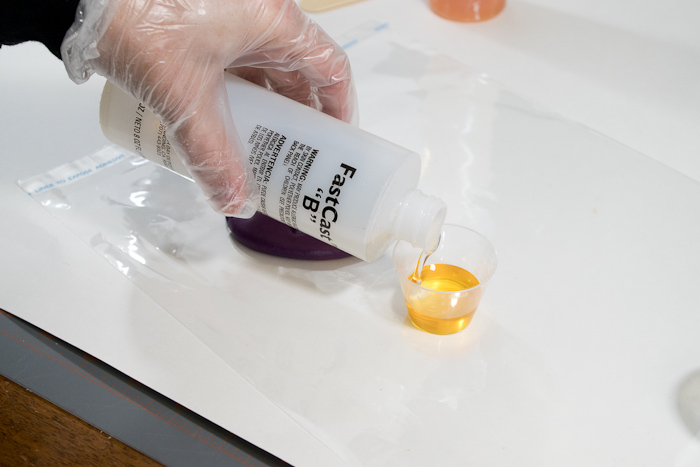
FastCast has two parts. You will need equal amounts of each part for your pour. This mold didn’t need much, so for each pour I only used 1/8th of a fl. oz. You can make a lot of castings with one package of FastCast! Remember to wear your disposable gloves!
Pour Part A into your cup. Again, I only used 1/8th of a fl. oz.
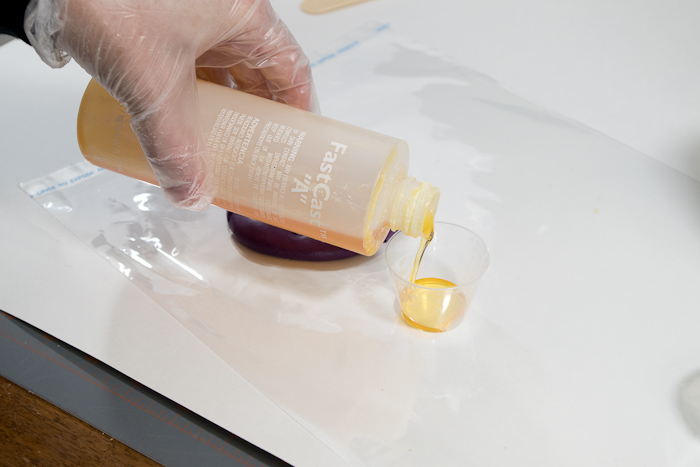
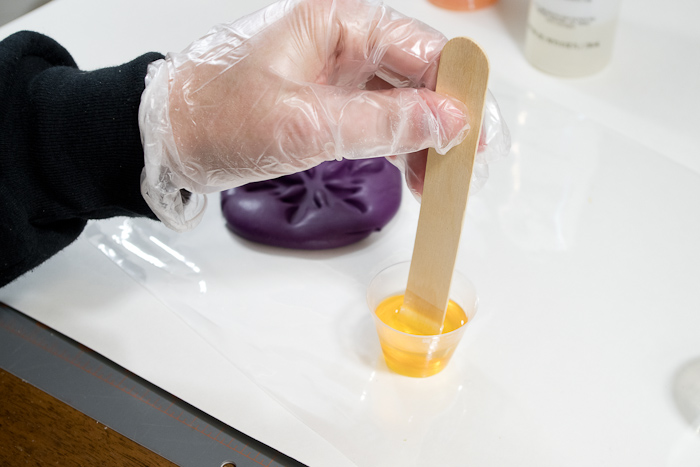
The pour Part B. So, another 1/8th of a fl. oz. Making it total 1/4 fl. oz.
You need to work quickly with this product because it cures in 10 minutes! Mix thoroughly, but do so within one minute.
Once mixed, pour it slowly and carefully into your mold. If you feel the cup getting warm then you’ll know you need to pour as soon as possible.
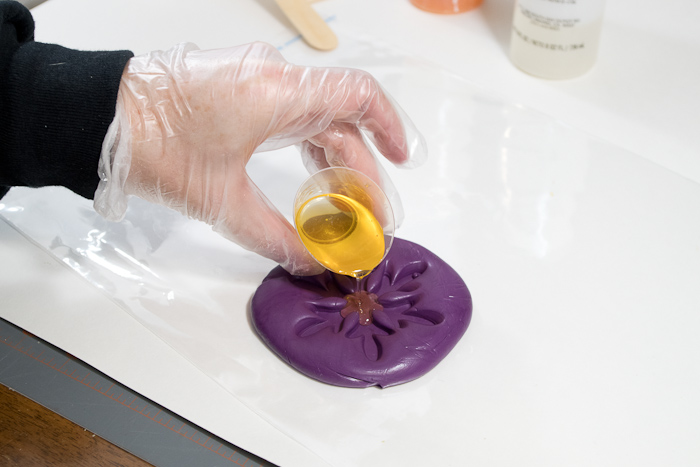
Once it’s in the mold, just wait. Again, it cures in about 10-15 minutes. I do find that shallower pours like this take a little longer to cure than thick pours like my Seashells I’ve posted about previously. As it cures it’ll start to turn white.
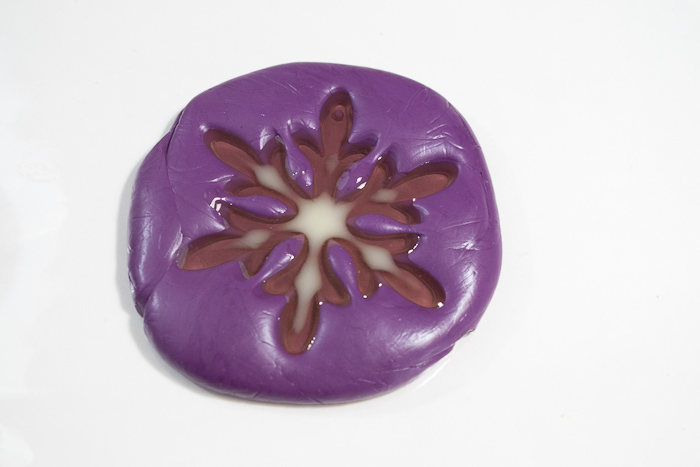
After 15 minutes, de-mold your brand new snowflake! You should just be able to pop it out. If it is a little pliable, you can leave it in longer and it will harden up.
There you have it, a snowflake! This one is the natural off-white color of the FastCast. But you need more than just white on Christmas, right?
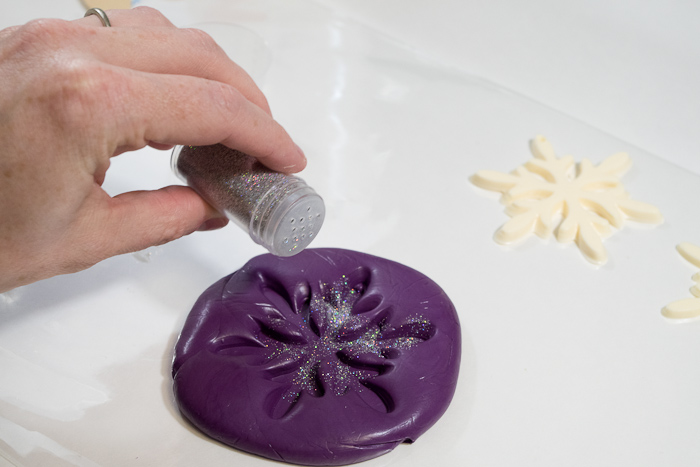
I decided to try one with glitter.
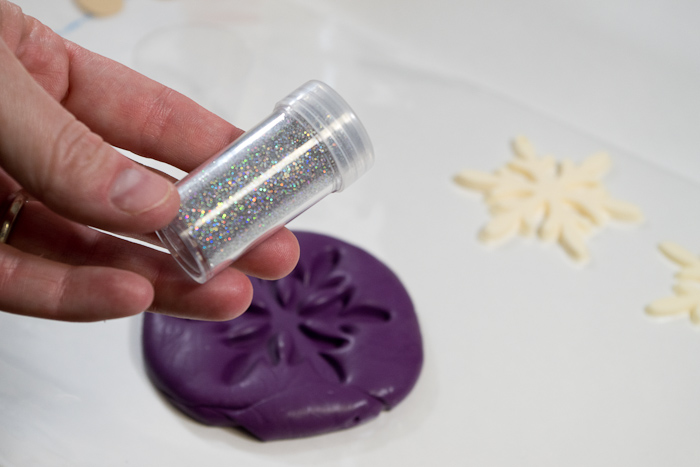
So I sprinkled some glitter into the mold. Then repeated all the steps for making the FastCast
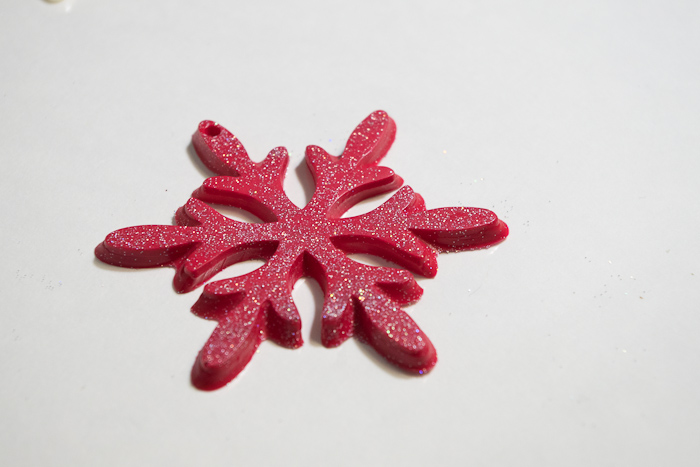
But this time I added red pigment dye!

Again, because FastCast cures white, when you add dyes they will always turn a little more pastel looking than a clear resin would.
So I made a green one too. It is Christmas after all!
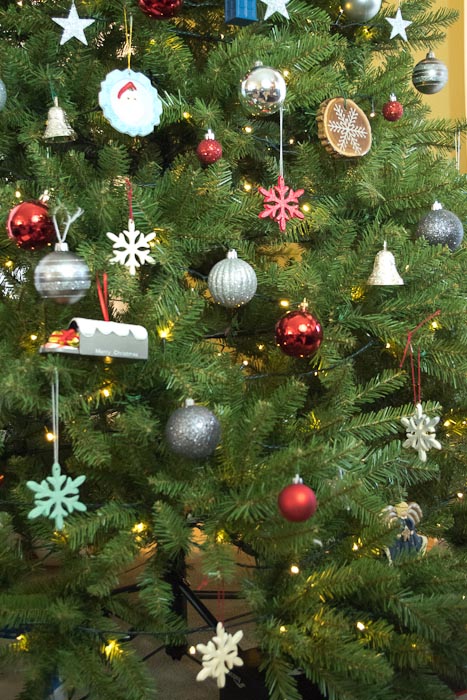
I simply looped some thread through the holes and hung them on my tree! Note: If your hole got filled in during casting, or you original object didn’t have one, you can easily drill into these pieces to make a hole for hanging. Here’s a shot of the red ornament:

And here’s a shot with a few of them hanging around the tree. I made quite a few. Notice how the green one turned rather pastel green? It still looks festive though!
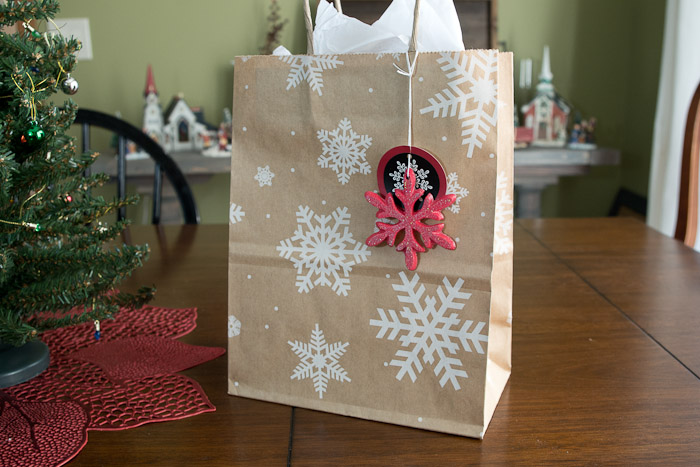
One other use that occurred to me would be to use these on packages or bags along with the gift tags. It’s like adding the gift of an ornament to each one.
Can you think of any other uses for these beautiful snowflakes? Let me know in the comments!
Pin this image if you like this project! We love all to see all of your shares! 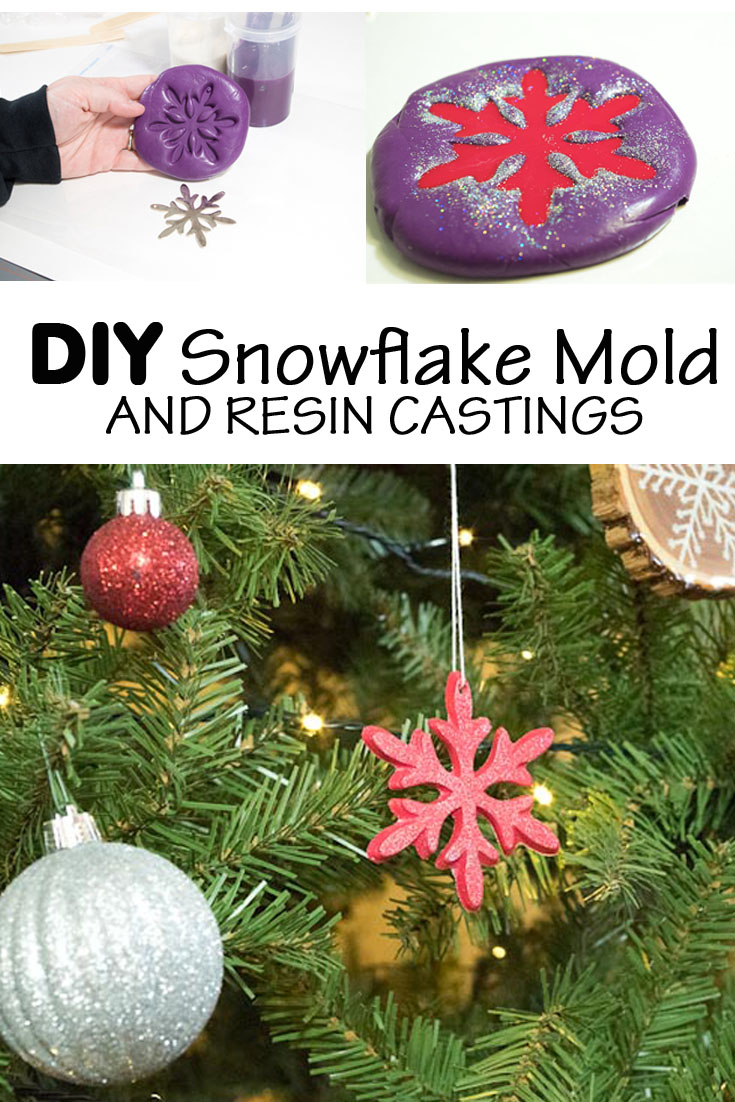
Thanks y’all! Happy Holidays!
~~Sheri~~
Sheri is a Maker and DIY blogger at Hazel + Gold Designs. She is usually in the middle of multiple projects at once and finds great satisfaction and joy in creating something new. She is constantly learning new skills, putting them to the test, and sharing her experience and knowledge with others. Her favorite hobbies are crafting, painting, crocheting and basic woodworking. Her goal is to inspire others to step out of their comfort zone, learn a new skill and have the confidence to make their life a little more beautiful!


Leave a Reply