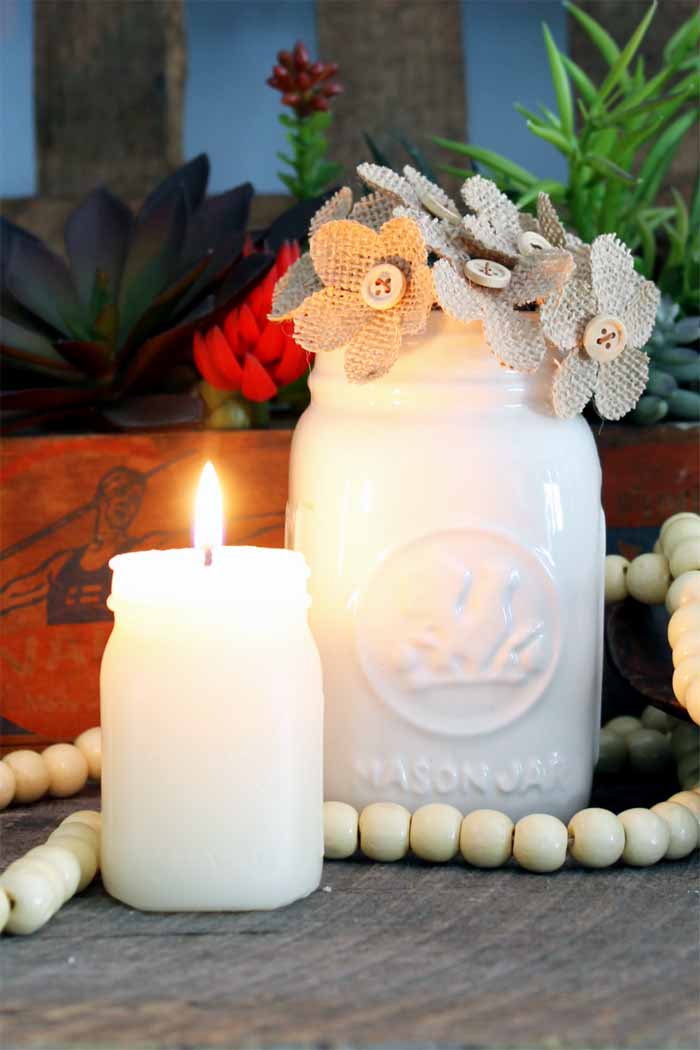
DIY candle making is actually easier than you think. I used it to make these mason jar candles and I love the way they turned out! You can make candles in any shape by creating your own mold. I just had to choose a mason jar however because I love them! We will start with instructions on making your own mason jar mold then move onto pouring the candle. These will look great sitting around your home or as thoughtful gift ideas!
Making a Mason Jar Mold
Supplies needed:
- Castin’ Craft EasyMold Silicone Rubber
- Mini mason jar (I used the new 4 oz mini storage jars from Ball but you can probably find a variety of brands online)
- Mixing cups
- Measuring cups
- Stir sticks
- Hot glue and glue gun
- Scissors
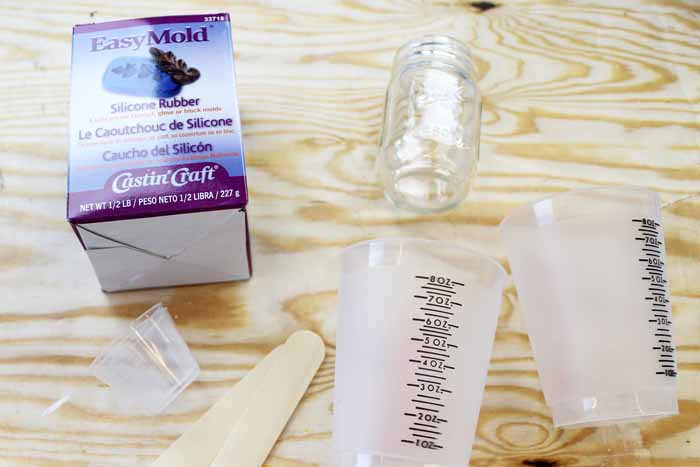
The bottom of the mixing cups are domed but we will need a flat surface to make a mold. I put a layer of hot glue in mine and allowed to cool.
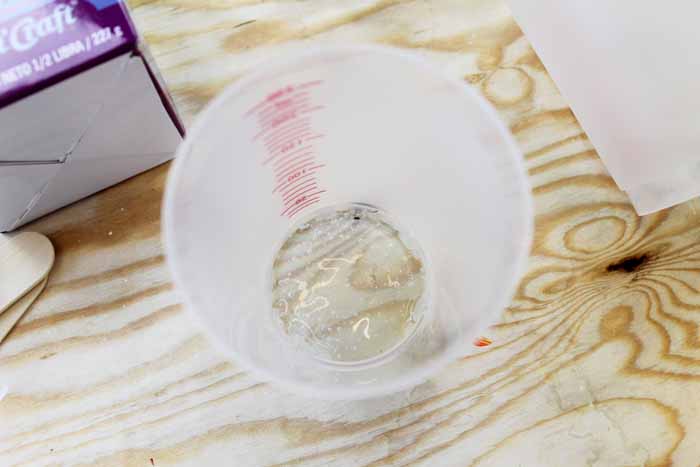
In the meantime, you can begin to mix your product. Pour the two components into a different mixing cup. I used the measuring cup to measure out 2 oz of each component. Use the stirring stick to mix very well being sure to scrape the sides and bottom. Follow the instructions that come with the product and use a two cup mixing technique.
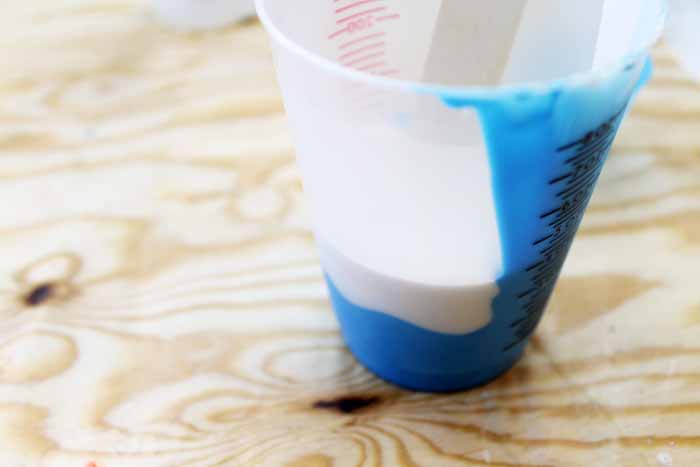
Once mixed, add your mini mason jar to the bottom of the mixing cup that has the hot glue in the bottom. Apply hot glue all the way around the top of the jar and stick it down well into the bottom. You want a tight seal that will not leak.
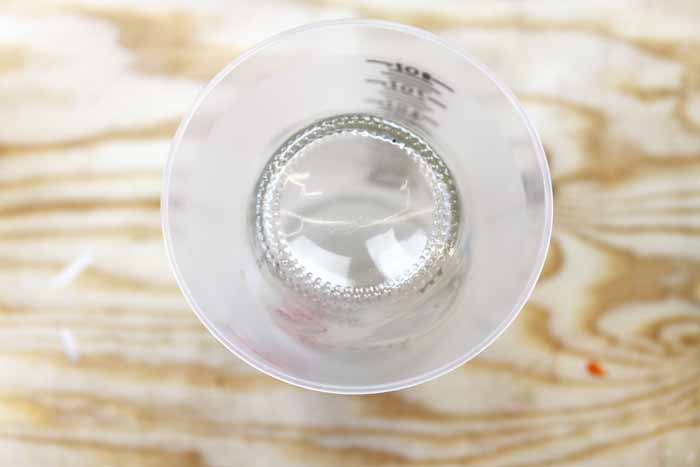
We are now going to begin to make a mason jar mold!
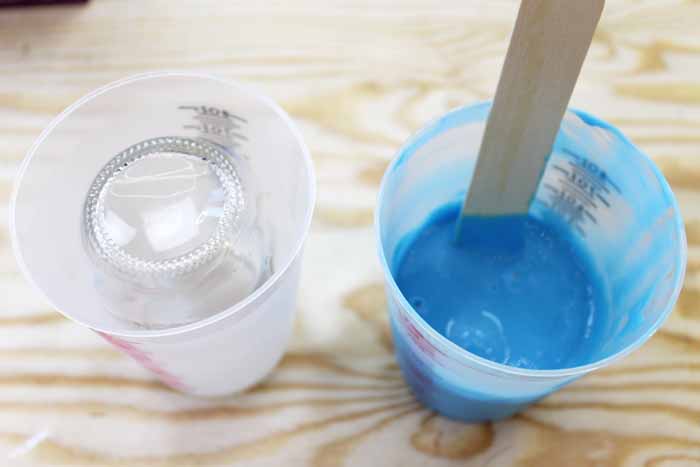
Start slowly pouring the mixture around your mason jar. Read all instructions that come with the product to properly pour and keep bubbles to a minimum.
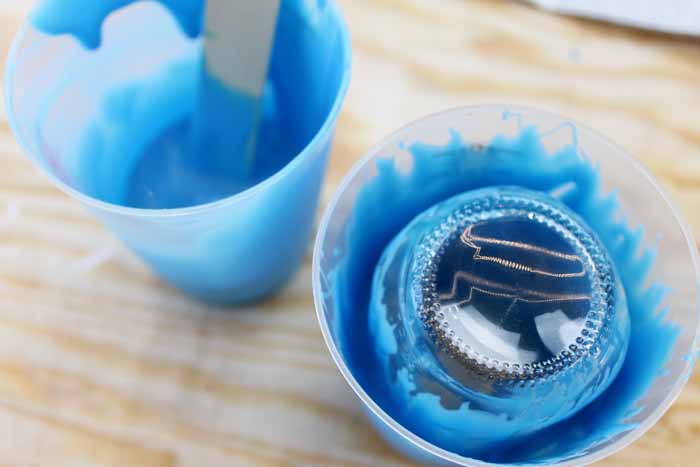
Continue to pour until you get to the area where the mason jar begins to decrease in diameter. We want to be able to get the jar out easy later so leave that area with no product.
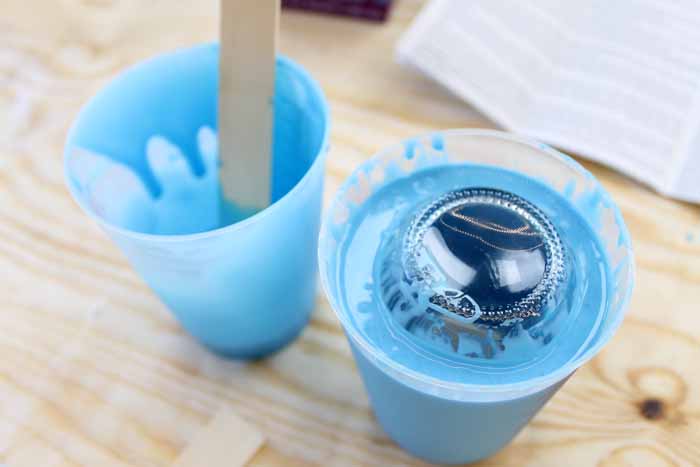
Bubbles will rise to the top as the product cures. I lightly tapped the entire thing on the table for about 20 minutes to get as many bubbles out of the mold as possible.
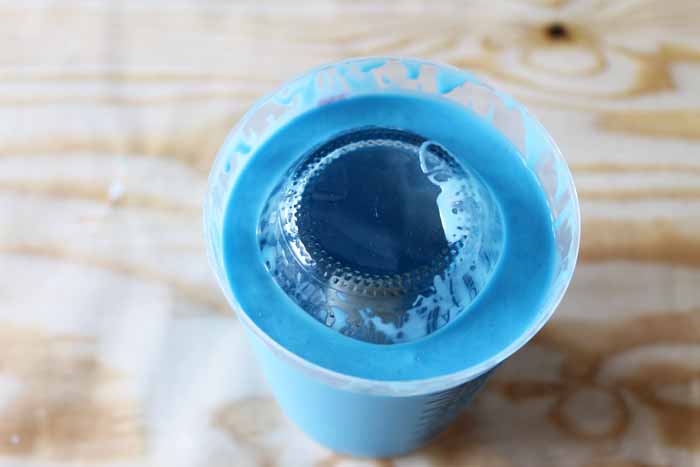
Set aside and allow to cure at least 24 hours. Again be sure to read the instructions that come with the product. Once cured, I found it easiest to just use scissors and cut away the cup. Be careful as the shards will be sharp!
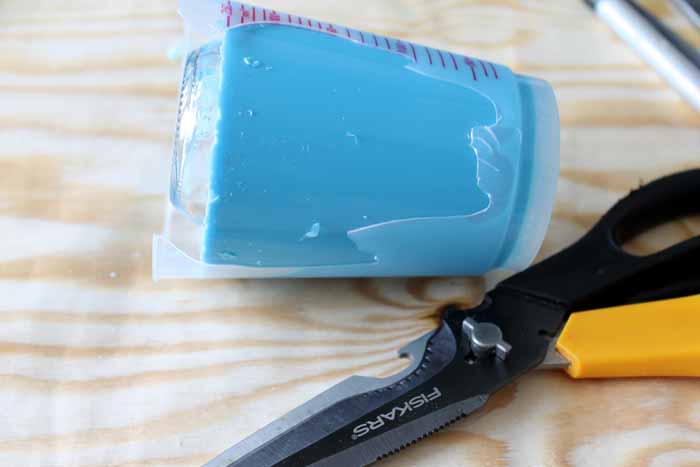
Once the cup is cut away, wiggle the entire thing to release the jar and mold from the hot glue you used in the bottom.
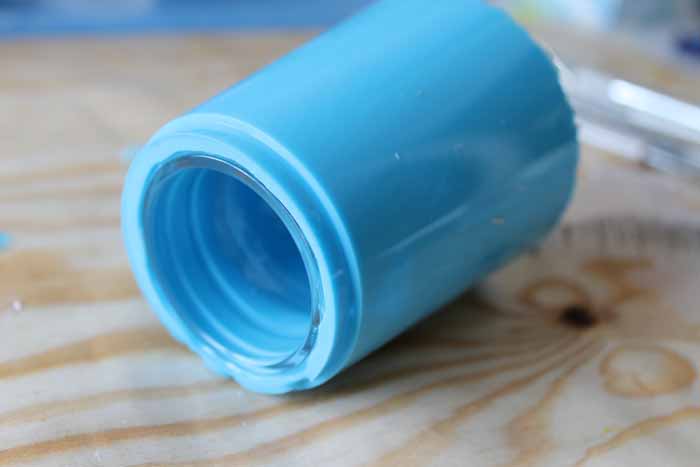
Wiggle the entire thing and push the jar from the threads end. It releases fairly easily.
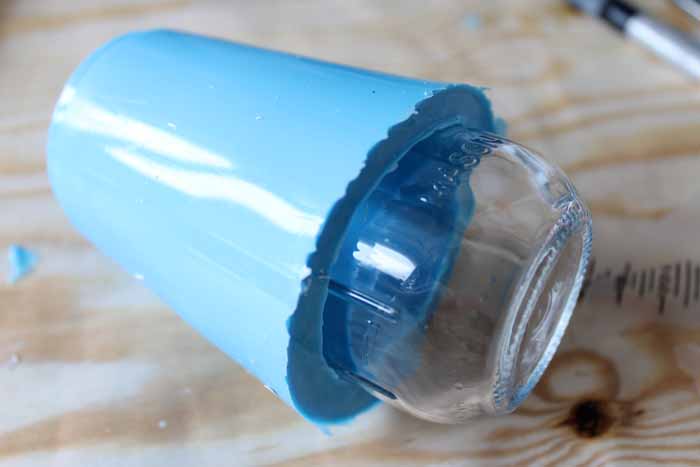
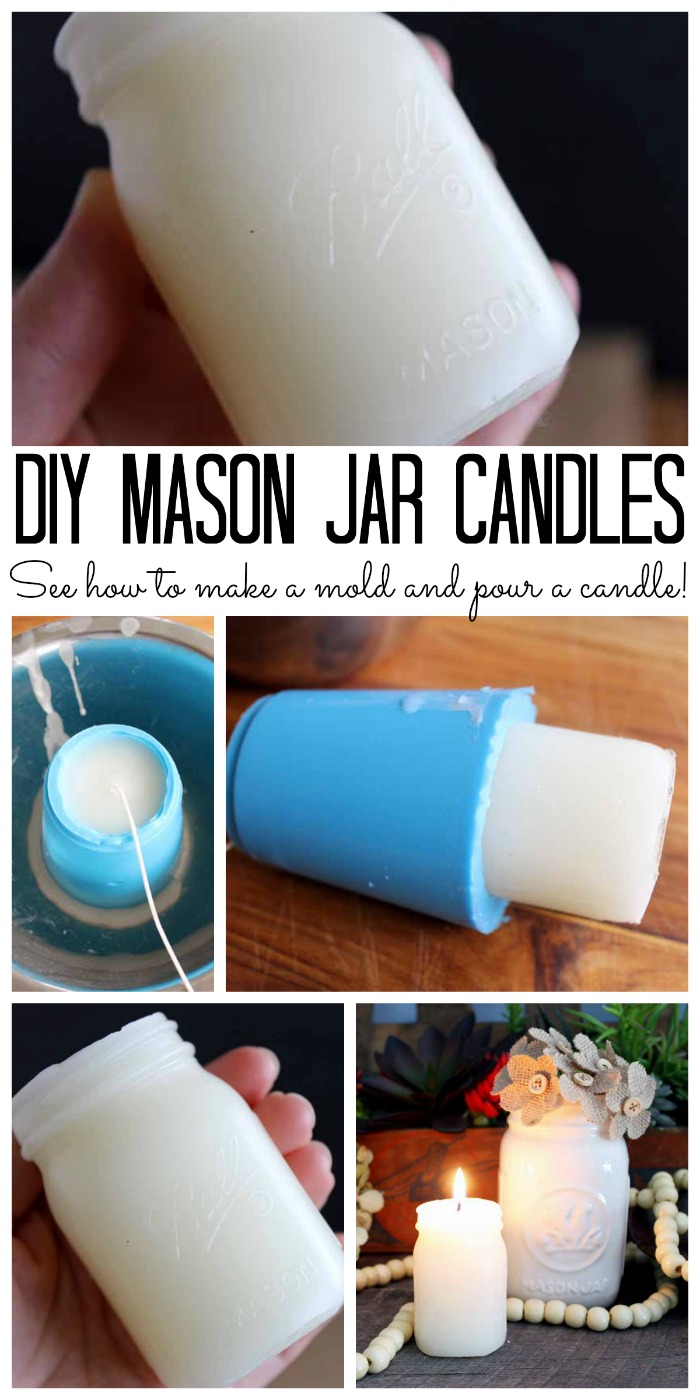
You now have a mason jar mold that can be used for a variety of craft projects! Read on to see how to use it to make mason jar candles.
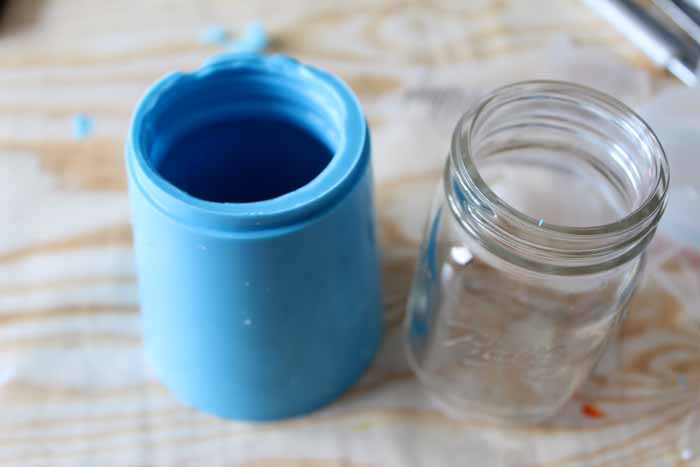
Making Mason Jar Candles
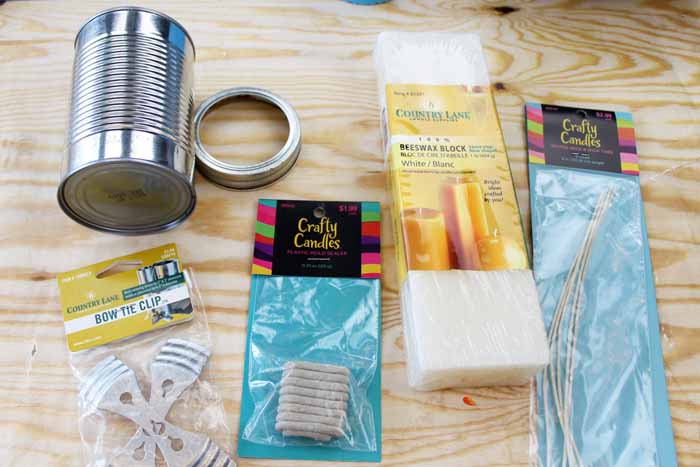
Supplies:
- Castin’ Craft Mold Release and Conditioner
- Metal bowl
- Tin can
- Mason jar ring
- Small cooking pot
- 100% Beeswax block
- Candle waxed wick with wick tab
- Plastic mold sealer
- Wick clips
- Scissors
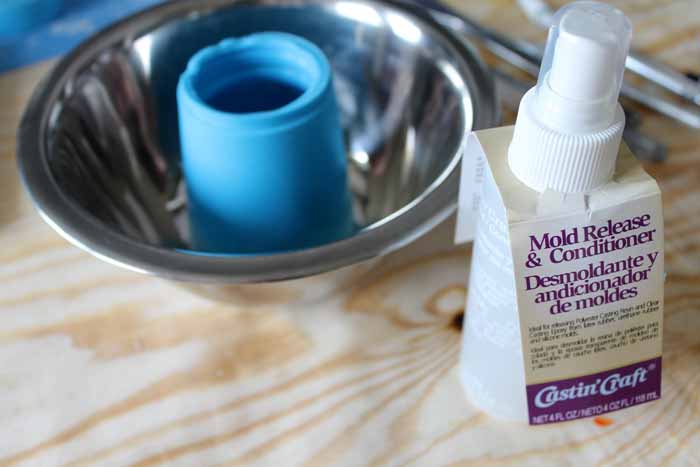
Begin by using the mold release and conditioner on your mold and on the bottom of a metal bowl. You will want to spray well twice allowing to dry in between sprays. Allow to dry completely from the second spray before continuing with making the candle.
Add plastic mold sealer to the bottom of your mason jar mold making sure the area is completely covered.
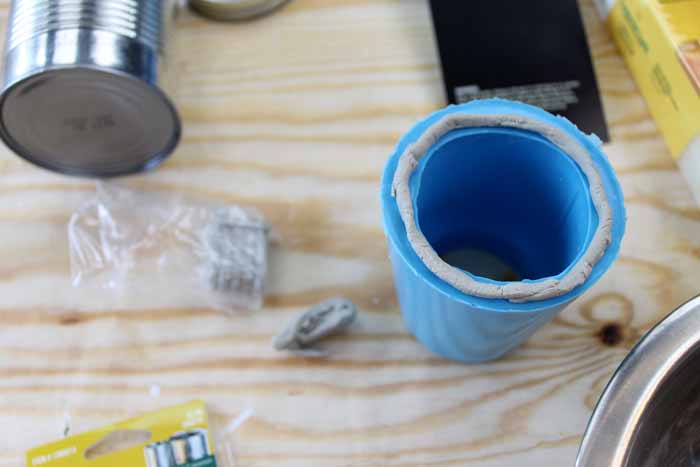
Press it down well into the bottom of a metal bowl.
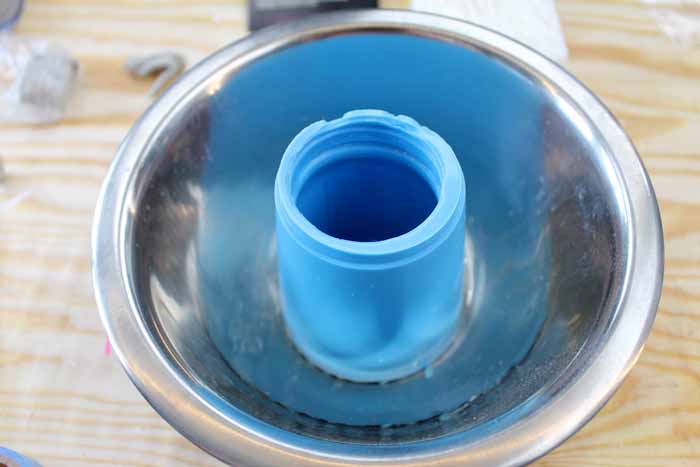
Add the plastic mold sealer to the bottom of your wick tab as well.
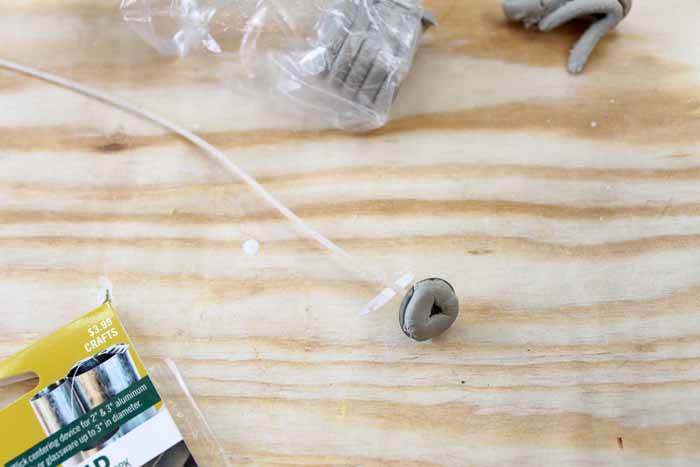
Press it into the bottom center of your mold.
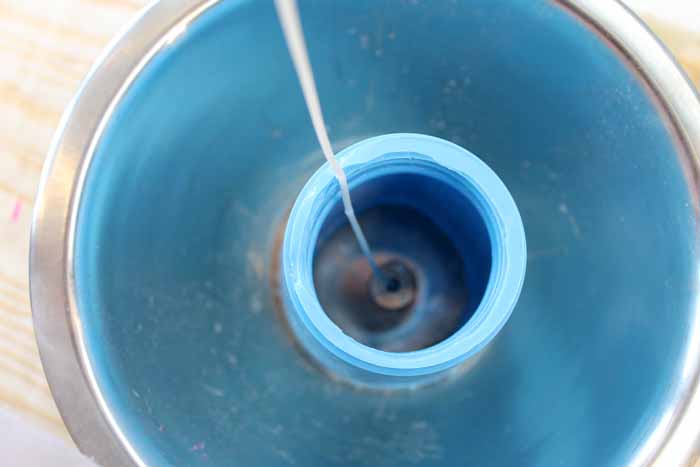
Use the wick clips to ensure your wick stays in the center of your candle.
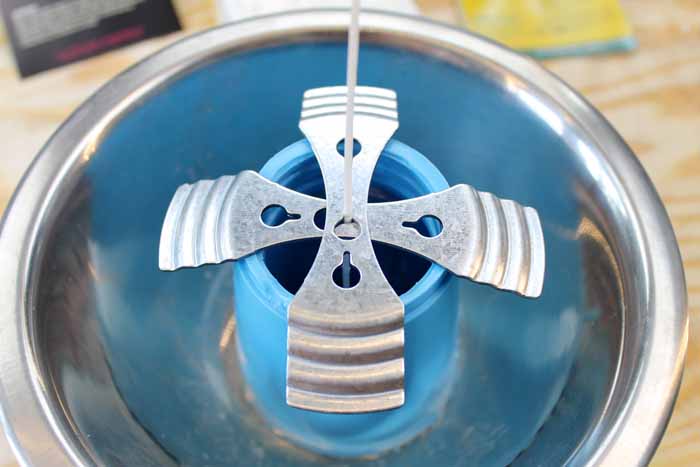
Melt the beeswax in the tin can. Create a “double boiler” by placing the tin can on the mason jar ring in a small pot of water. Melt it slowly and according to the package directions. Remember that wax is very hot so be cautious! I used about half of the block when making this mini mason jar candle. Once completely melted, pour into mason jar mold carefully. TIP: Use a hair dryer on high heat to heat the mold before pouring. The will help to prevent any voids in your candle. The metal bowl will catch any spills. Fill to the threads of the jar mold but be sure that the wick tabs are not in your wax.
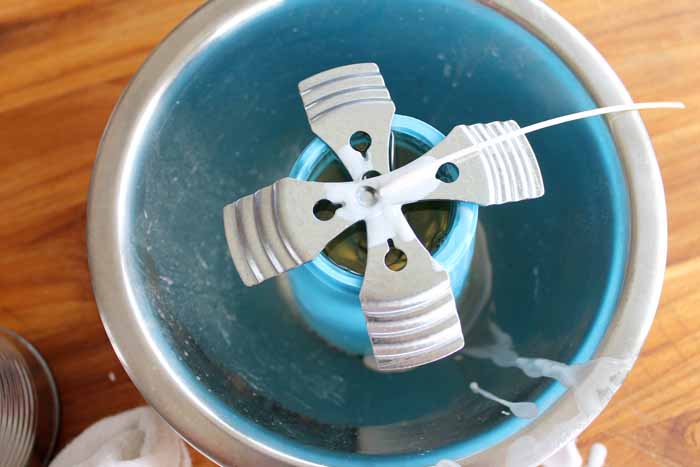
Remove those wick tabs while the candle is still warm but is set.
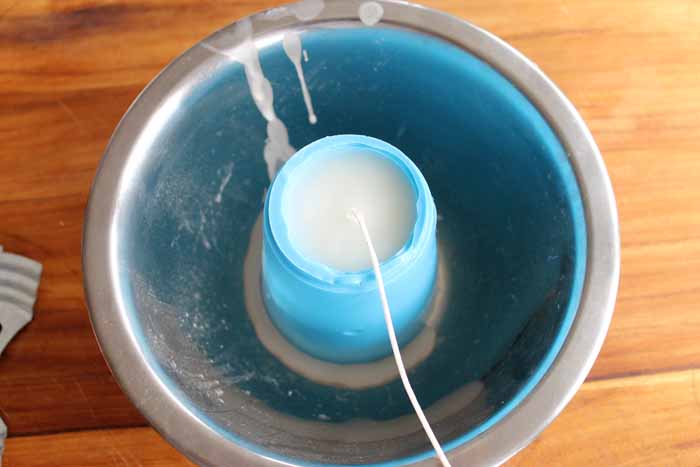
This will take a while to cool completely. I waited 24 hours before touching mine. Wiggle the mold and candle until it releases from the bottom.
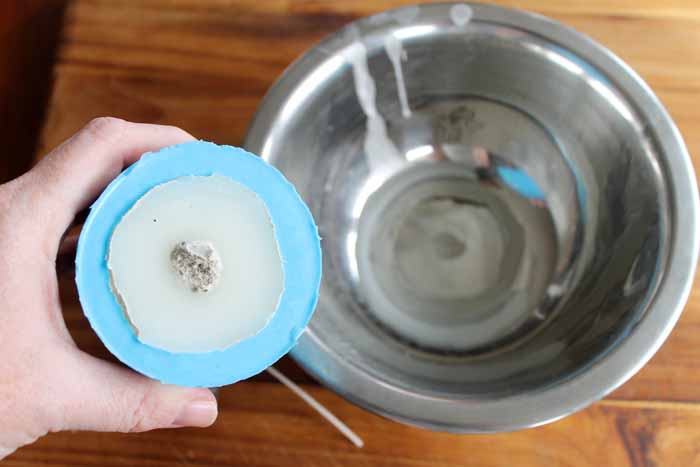
The candle will release fairly easily from the mold. Wiggle a bit and push from the threaded end.
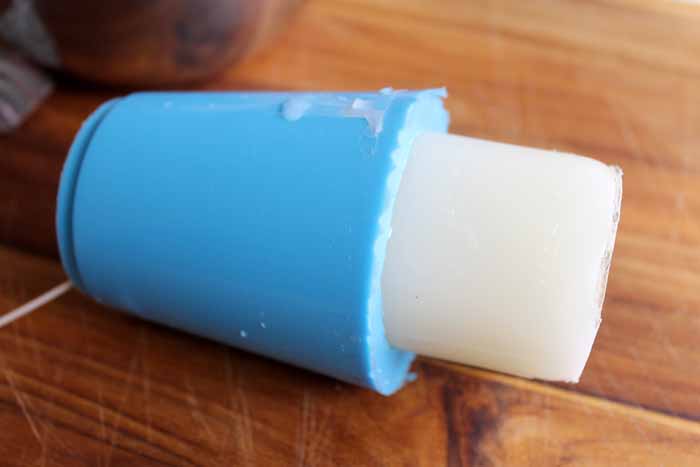
The only edge that was not perfect was around the bottom. You can use a knife to shape and melt by heating an old skillet or holding a lighter around those areas.
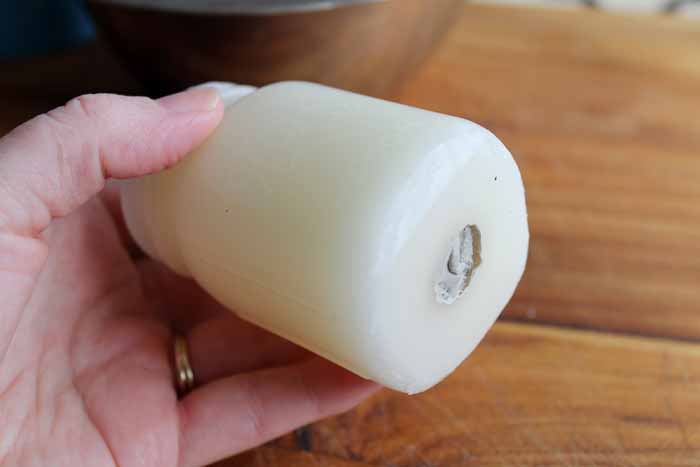
Trim your wick to size with scissors.
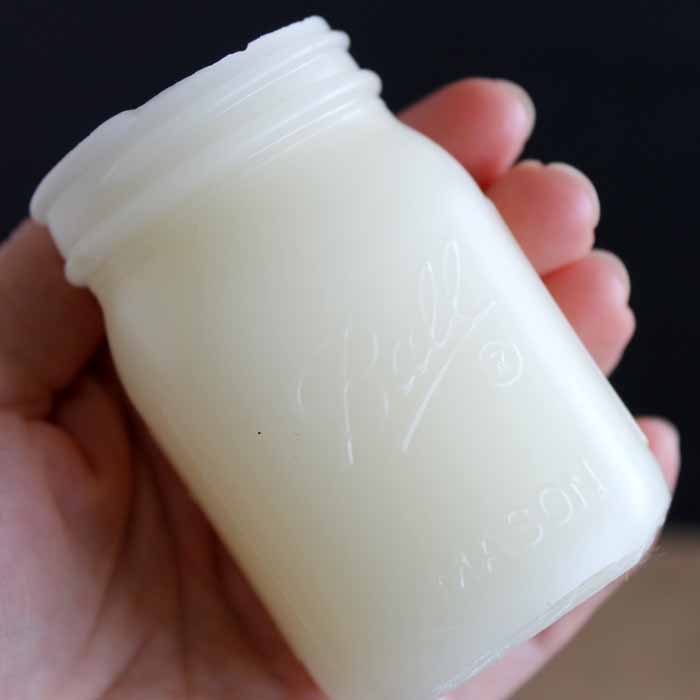
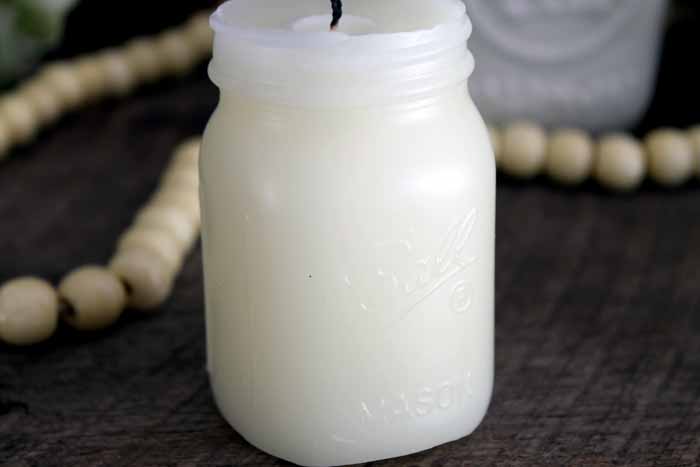
The detail on the candle is amazing! I loved how the entire thing turned out.
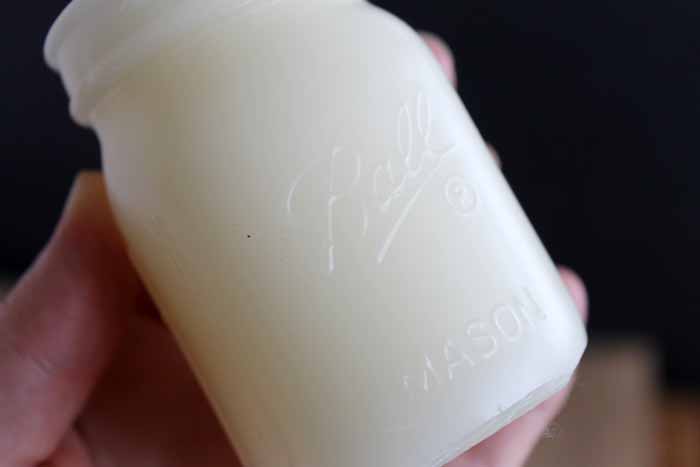
You can read all of the words and measurement markers that are on the jar itself. It is perfect!
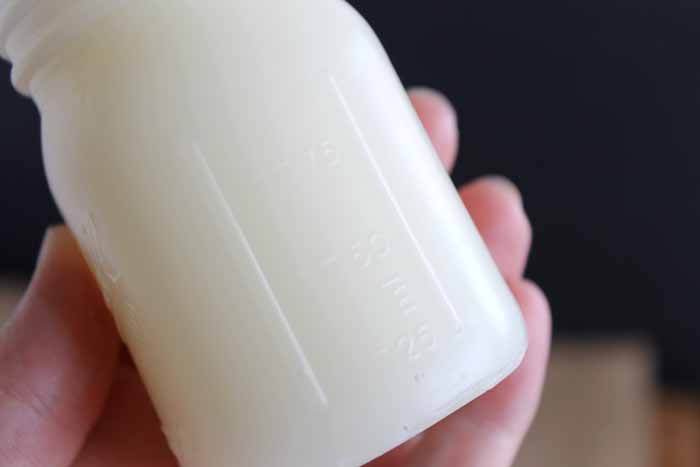
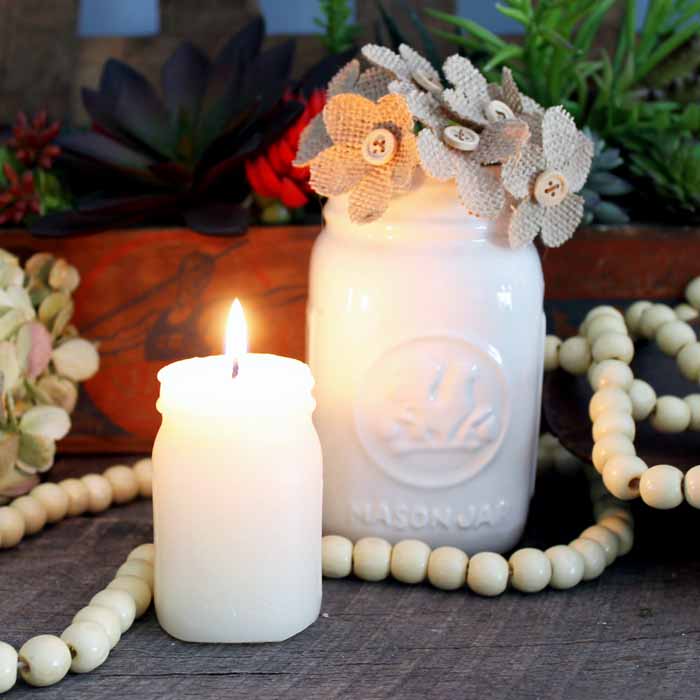
Make several of these mason jar candles for gifts or burn them all yourself. You can research different options with your DIY candle making as well. Add in scents and colors to your candles. The possibilities are endless!
Will you be making mason jar candles or will you create a mold in a different shape? With this technique, you will look at everything with new eyes!
Grab your mold making materials and get started on some DIY candle making. This process may seem overwhelming but it was actually way easier than I thought it would be. Give it a try! I bet the results will be amazing!
Angie has been blogging for over seven years at The Country Chic Cottage where she does a variety of crafts and home decor projects. You can even find a weekly recipe! She lives on a farm in rural Tennessee with her husband and three children. Painting is a favorite of Angie’s because it is a quick and easy way to make a big impact for very little money.

This is so cute! I love the rustic touch of the candle.
This is a really cool project! Love it!
What a cool idea. Love how your ball jar candle turned out.
Hugs,
Bev
What a great idea! I’ve already pinned it. If you’re interested, I recently started a new link up called Be Clean Be Green With Kids and I think this would make a great family-friendly addition to the collection. Would love for you to share! http://www.honestlymodern.com/tag/be-clean-be-green-with-kids/
Hi Angie! At first I thought “oh she used a Mason jar to fill it with wax, neat idea” but then I read the post and realised that you made a Mason jar from wax entirely!! How cool is that?! Would make such a great (Mother’s Day?) gift as well! Thank you for sharing at the Friday Favorites linky party! 🙂
*Maisy
PS: I’ve selected this for my feature at this week’s Friday Favorites linky party: https://be-alice.blogspot.com/2017/04/friday-favorites-week-370.html
See you at the next party I hope 🙂
*Maisy
HA! What a neat idea!
I would love for you to share this with my Facebook Group for recipes, crafts, tips, and tricks: https://www.facebook.com/groups/pluckyrecipescraftstips/
Thanks for joining Cooking and Crafting with J & J!
No ways Angie. When I saw the candles I thought “Oh no, not another mason jar project”. I was so wrong, these are stunning. I’m totally bowled over by how you did this. I love it!!
I used to make candles with my mom when I was little. It is always such fun! This looks fantastic and so pretty! Thank you for sharing at Celebrate It!
So very cool and creative the candle Mason jar looks so real.