Hello everyone! I’ve been working on getting my office organized, and recently realized I needed something to keep my stack of papers from spreading all over my desk, or worse, getting hit by a fan and flying everywhere, so I decided to create a resin paperweight. Today I am going to show you how to create this adorable flower paperweight in this Layering Resin Tutorial. This process takes a few days, but ends up looking really great.

Layering Resin Tutorial
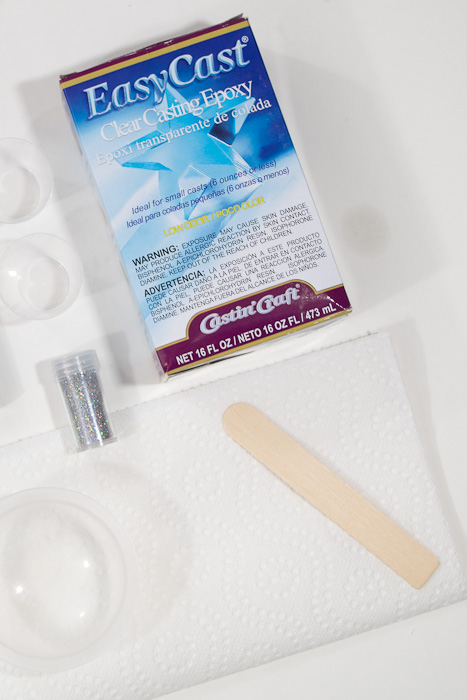
Supplies:
- EasyCast Clear Casting Epoxy
- Mixing Cups and Stir Sticks
- MC-5 PolyMold
- Mold Release and Conditioning Spray
- Paper Flowers
- Envirotex Spray Clear Sealer
- Ultra-Seal Multi purpose Glue Sealer
- Glitter
- Paper Towel
- Micro butane torch (optional, but helpful!)
Layer 1:
First, spray your molds with Mold Release and Conditioner Spray. Let them dry.
Since this mold is domed, the first layer will actually be the top of the paperweight, and I wanted the top of mine to be clear. To create the first layer, mix the EasyCast according to the instructions in the box. Mix equal amounts of Part A and Part B in a small cup. Stir thoroughly.
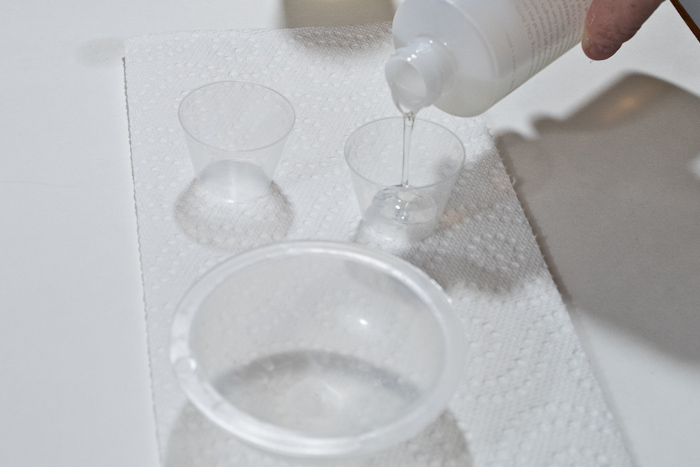
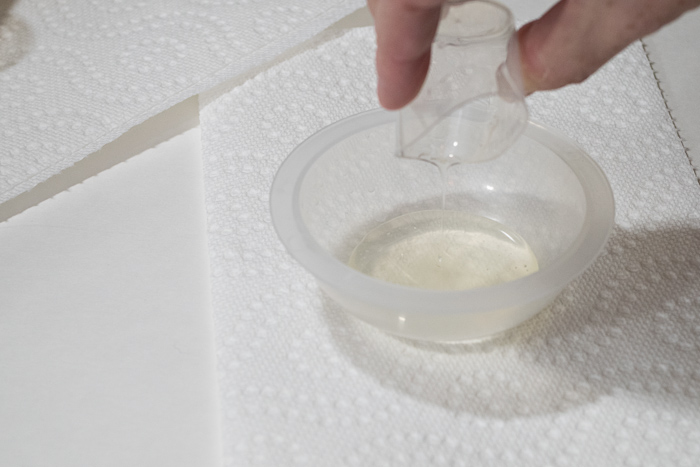
Then pour the mixed epoxy into a new, clean cup and continue to mix thoroughly. This two-cup process ensures that the resin is completely mixed and that no unmixed parts pour into your mold from the sides of the cup.
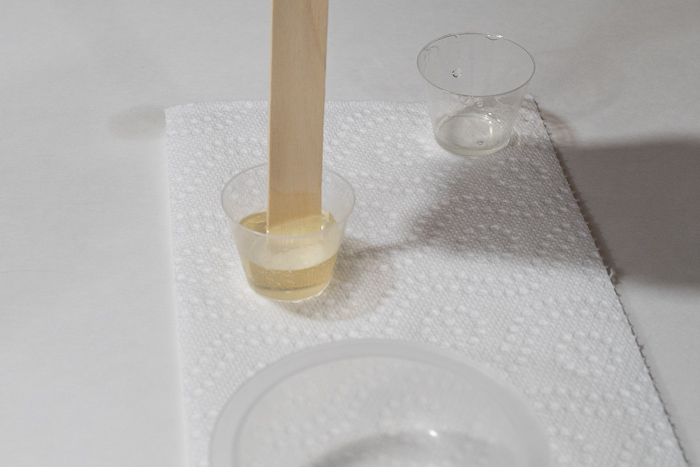
Pour the mixed resin into your mold. There will be bubbles, which you can pop either with a micro butane torch or by exhaling slowly over your resin project.
Once poured, let that cure completely. Mine took about 24 hours. The warmer the room, the faster it will cure.
Layer 2:
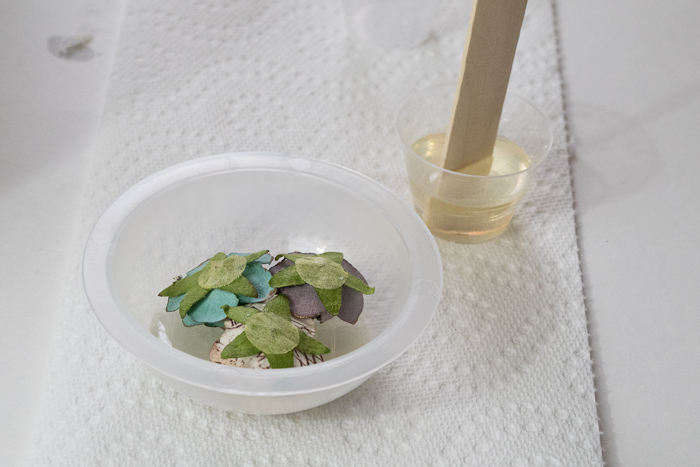
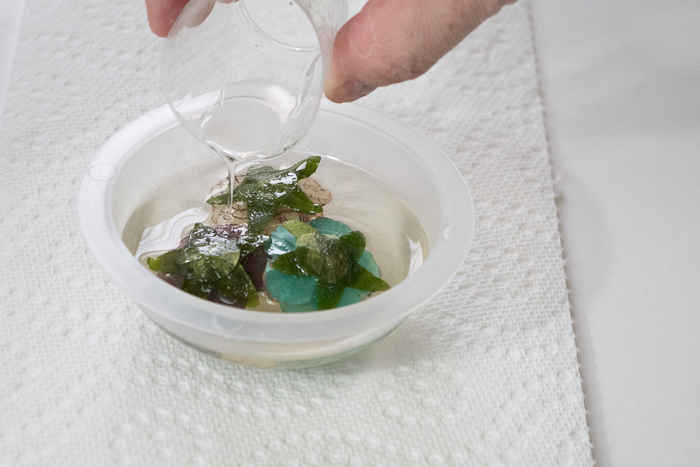
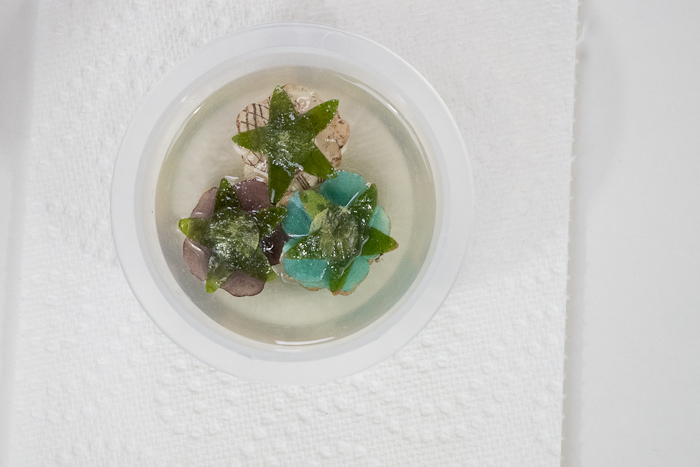
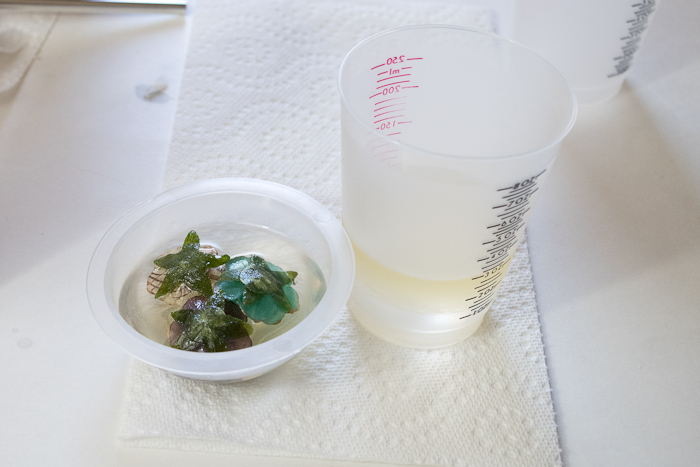
For the second layer, we are going to add some paper flowers. The first thing to do is spray these with the Envirotex Spray Resin Sealer and let them dry. 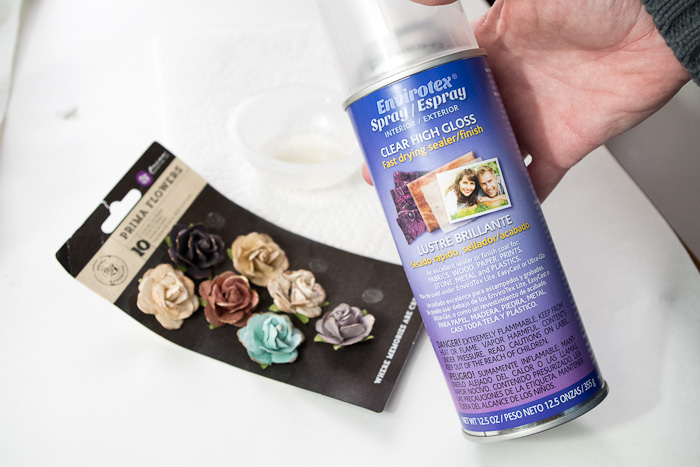
Next, you’ll use the Ultra-Seal multi purpose glue sealer to glue the flowers in place. This glue dries clear so it will not be an issue to use it against the clear resin of the first layer. Once they are glued in place and the glue has dried, mix another small cup of resin as you did before.
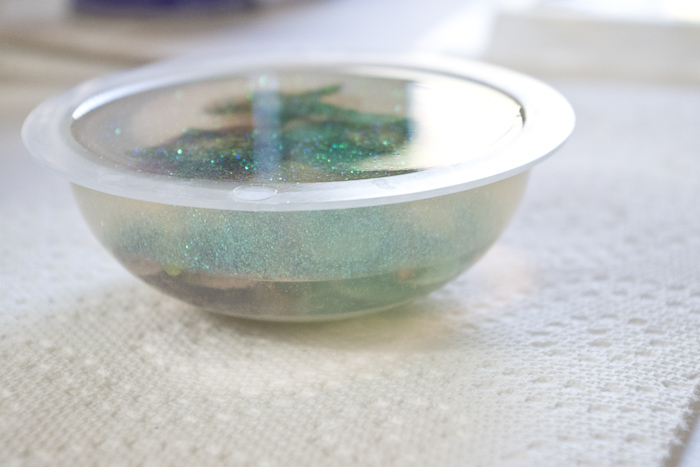
Pour that resin into the mold and over the flowers. I made just enough to almost cover the flowers, but not quite. They stick out just a little because I wanted them to go slightly into the third layer that follows this.
Alright, so let this second layer cure for another day or two.
Layer 3:
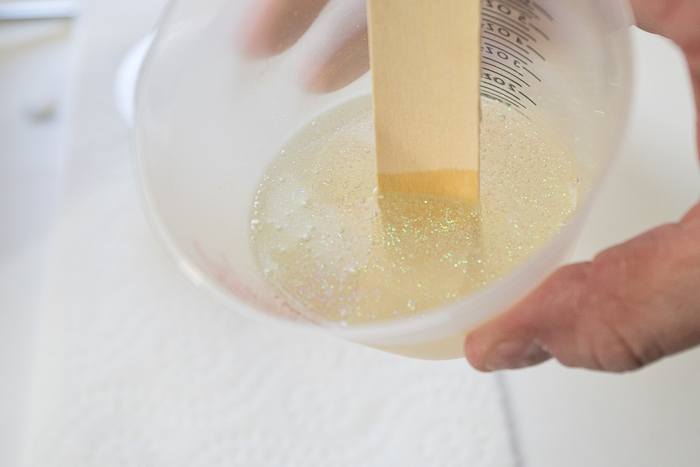
Mix another quantity of resin. I used larger cups this time because I needed more resin.
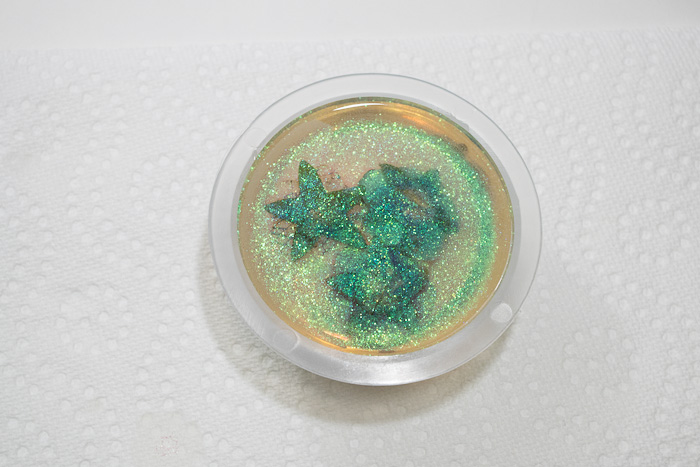
When the resin is mixed, go ahead and pour as much glitter as you want into it to get the coverage you prefer.
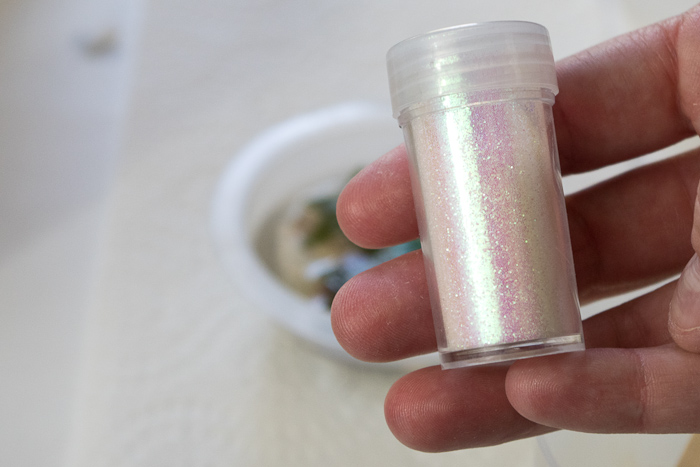
This is what mine looked like. I didn’t want the paperweight to have a solid glitter bottom, I just wanted a little, so I didn’t add as much as some people might in order to get a more solid glitter layer. I was happy with how this looked.
Pour the glitter resin into the mold for the third layer!
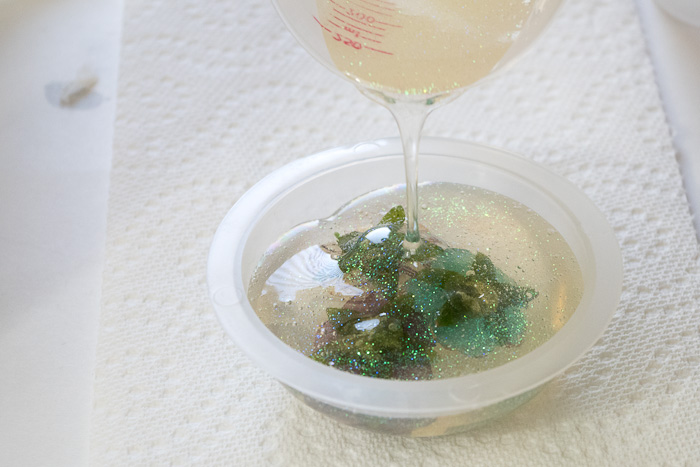
Once the resin is poured, again pop the bubbles in whatever method works for you, and let it cure for another day or two!
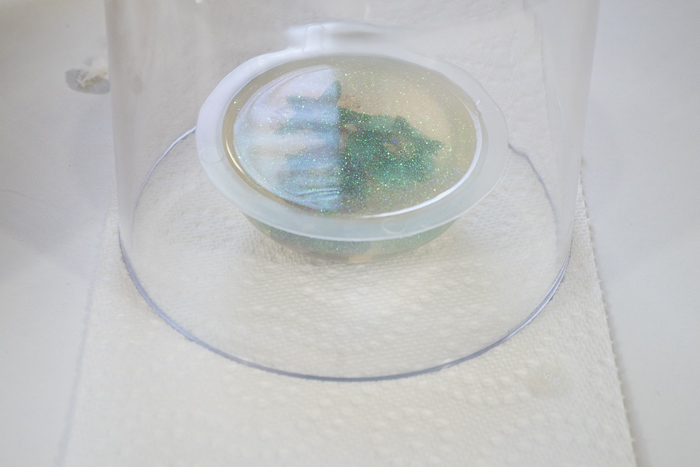
To prevent any dust from getting into my project I covered it with this bell jar type glass container. You can use many things to cover it, just make sure it is clean.
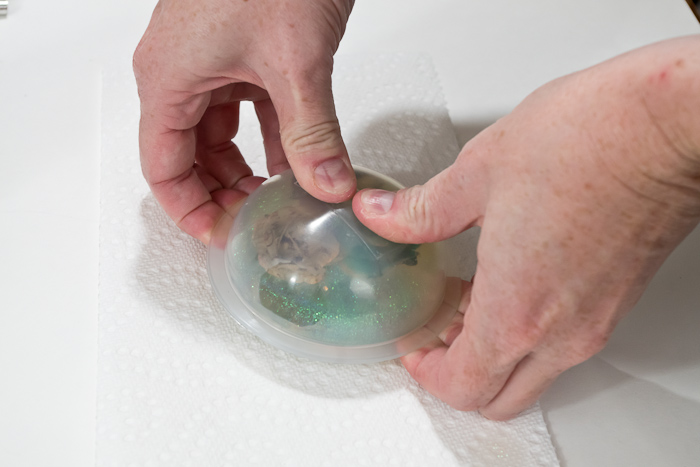
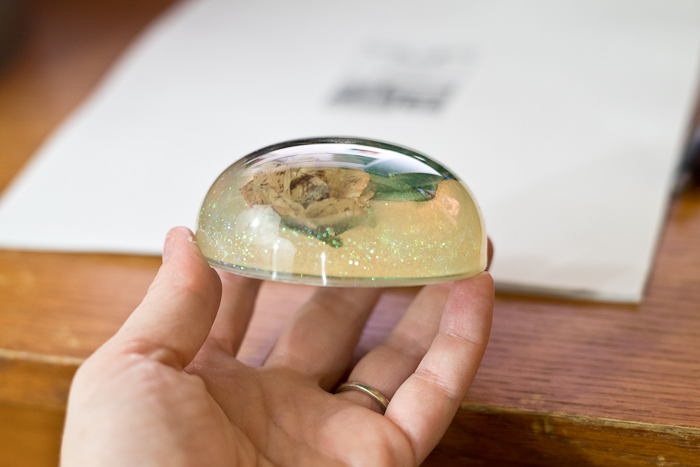
Once the resin is cured, go ahead and remove it from the mold.
I simply flipped the mold over and pushed with my thumbs to get it out. It took a little maneuvering, pushing around on all parts of the mold, but eventually, it just popped right out of there.
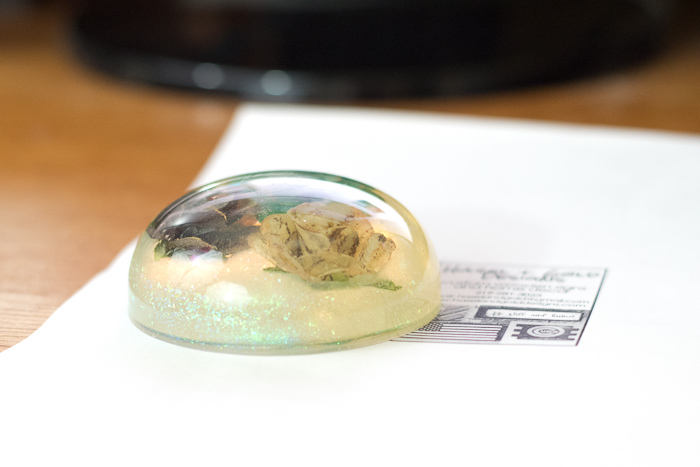
FINISHED!
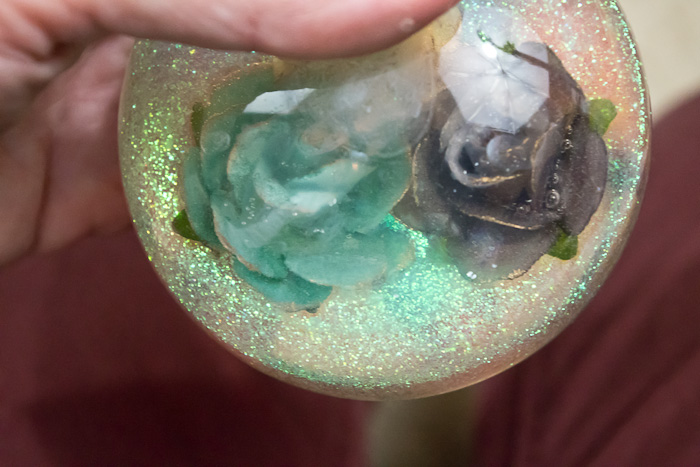
And there you have it! A finished sparkly, floral paperweight. It looks really great! There are a few bubbles on the inside of some petals but you have to get really up close and look carefully to notice, so they don’t bother me a bit. The glitter is a good distraction from the flaws. But with the clear layers of resin, you can see the flowers quite well! And as you see from all of the reflections, it’s beautiful and shiny.
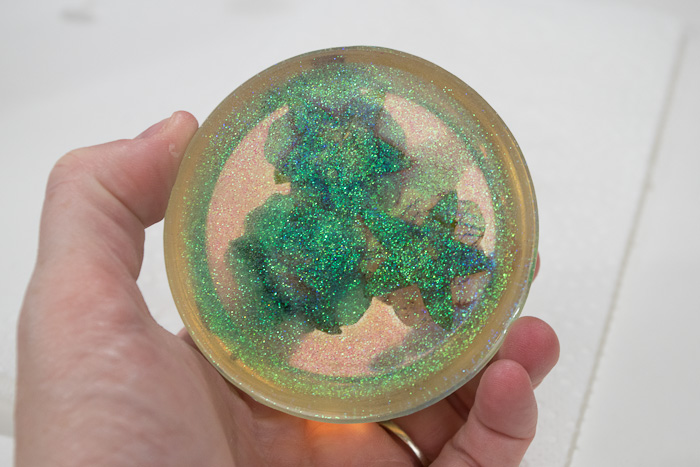
This is what the back looks like. A lot more glitter.
And this shot really shows the separation in the layers, though most angles do not. It actually worked!
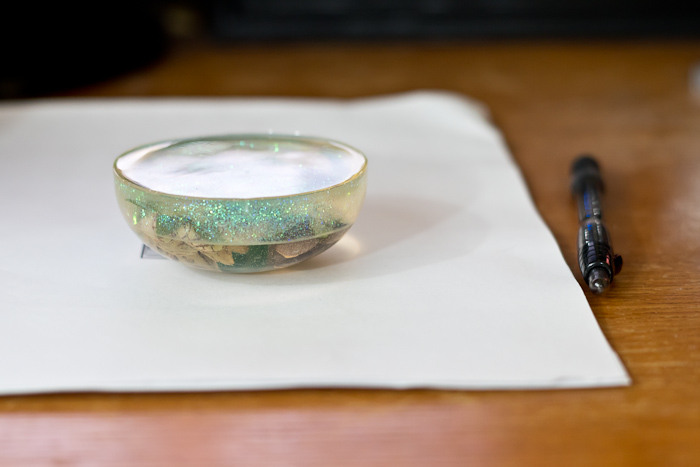
As you can see, from the top, the layers aren’t completely apparent like they were when viewing it from the bottom.
And there you have it, a beautiful DIY Flower Paperweight! Now my papers will stay where I want them!
What do you think? Do you like this project? Would you try layering resin? Please share this image via Pinterest!

~~Sheri
Sheri is a Maker and DIY blogger at Hazel + Gold Designs. She is usually in the middle of multiple projects at once and finds great satisfaction and joy in creating something new. She is constantly learning new skills, putting them to the test, and sharing her experience and knowledge with others. Her favorite hobbies are crafting, painting, crocheting and basic woodworking. Her goal is to inspire others to step out of their comfort zone, learn a new skill and have the confidence to make their life a little more beautiful!


Hola!!!!!!!!!!!! también hice un pisa papeles en forme de corazón pero me quedó plano por arriba y por abajo así que lo convertí en un lindo cuadro ya que usé la foto de mi esposo en ese proyecto; pero si es genial trabajar con resina…..se abren un universo de cosas para hacer!!!!!!!!
Yes, there are so many options!
I like your diy project. I’ll have a try.
really pretty! Question though — what would happen if you didn’t first glue down the flowers in the second layer? I can’t find that glue you referenced. Thanks!
Any kind of clear drying glue would work (mod podge or decoupage). If they aren’t secured they will float in the resin.
Hi there,
Can you use real dried flowers for this project and spray them with resin sealer?
Would love to take some of my garden flowers it it!
Thank you for your time.
You sure can!
do you have to use the resin sealer with the real flowers?
That’s the best thing to do after they’ve been dried to help them keep their color.