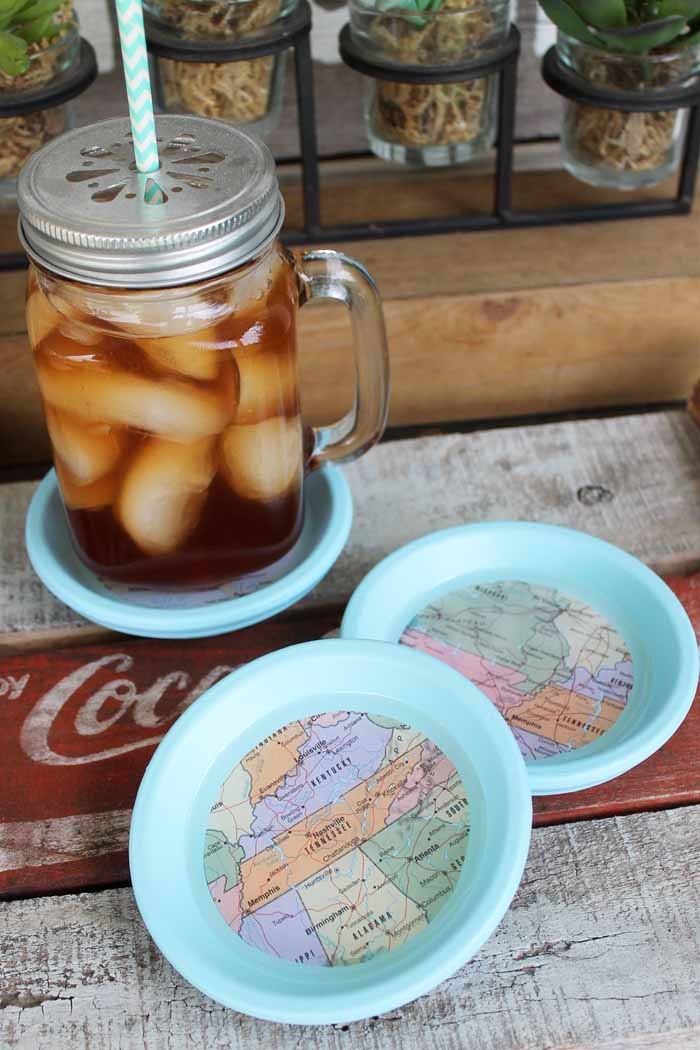
I have a thing for old maps. So adding them to some DIY map coasters was a project I was all over! Plus they are so easy to make when you use terra cotta saucers. Hunt down an old book of maps at a thrift store near you and get started on this project.
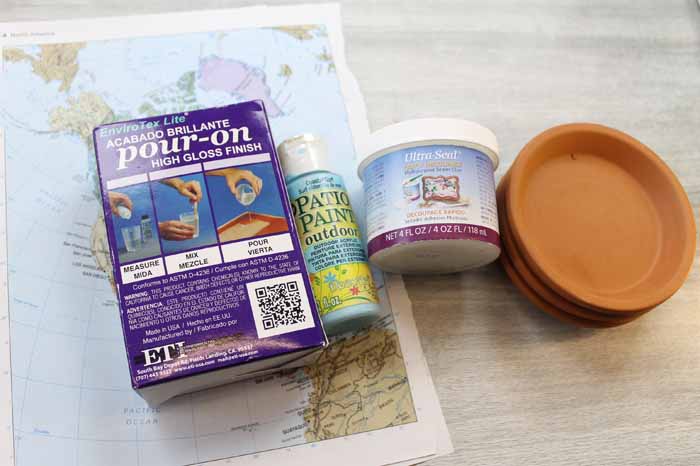
Supplies needed to make these DIY map coasters:
- EnviroTex Lite Pour-On High Gloss Finish
- Ultra Seal Multi-Purpose Sealer / Glue
- Maps
- Terra cotta saucers
- Outdoor paint in the color of your choice
- Circle template or cutter
- Mixing cups
- Measuring cups
- Stir sticks
Instructions:
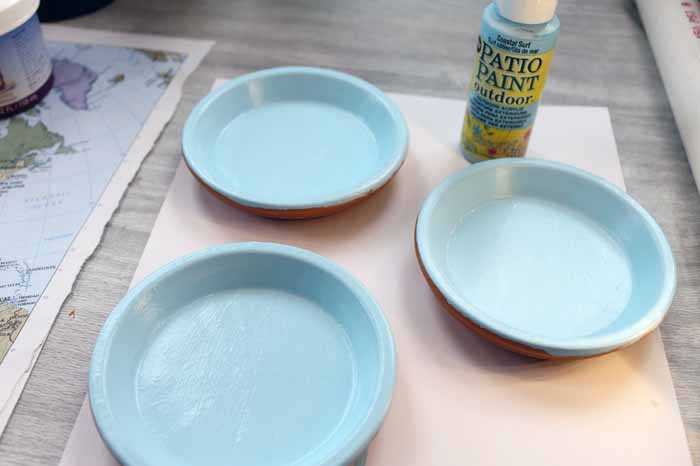
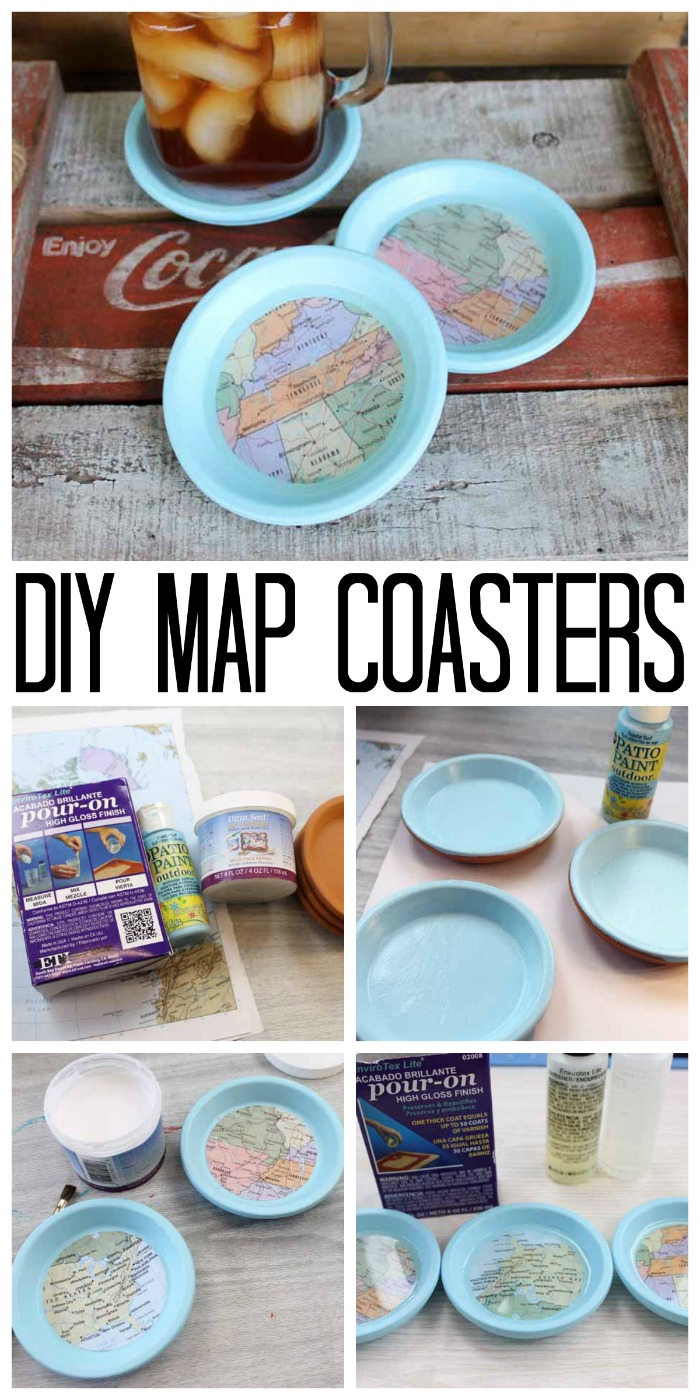
Start by painting your terra cotta saucers with a good quality outdoor paint. These coasters will see a ton of moisture and you don’t want the finish ruined. I find that two coats of this paint works perfectly.
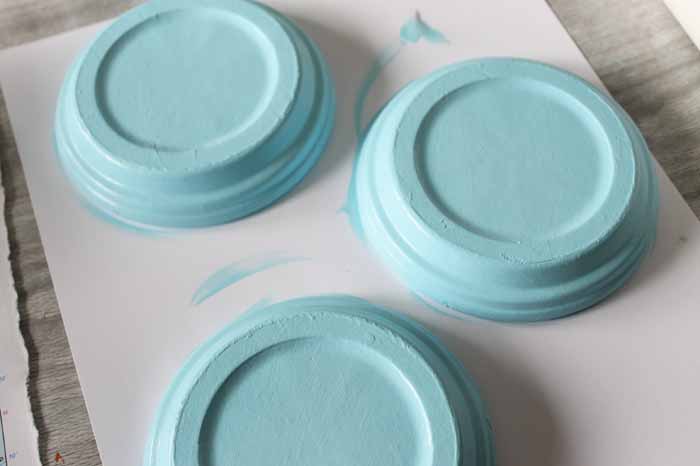
Turn over and paint the other side as well for a finished look to your final project.
Once the paint has dried, cut your maps in a circle shape that will fit in the bottom of the saucers. You can use a circle template or cutter. TIP: Use a coat of the Ultra Seal Multi-Purpose Sealer / Glue on the back of each of the circle pieces and allow to dry before adding to the coasters. This will minimize any bubbles or wrinkles in your paper.
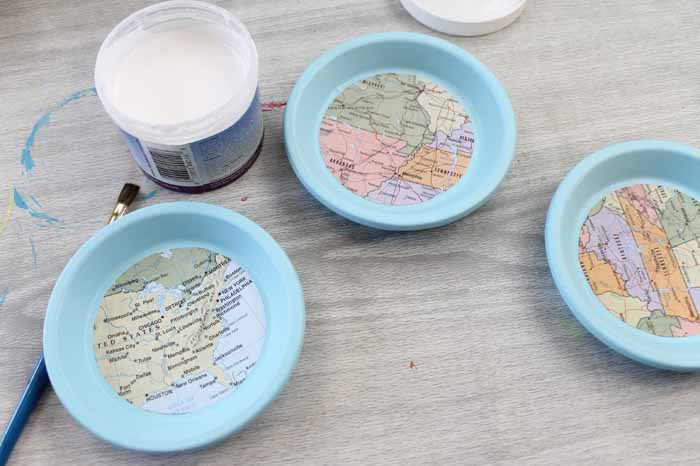
Then use a coat of Ultra Seal Multi-Purpose Sealer / Glue to adhere the map pieces to the bottoms of the saucers. Allow to dry completely. Then use two coats of the sealer over the top of the maps allowing to dry in between coats. Once dry, you can break out the EnviroTex Lite Pour-On High Gloss Finish to finish off your DIY map coasters.
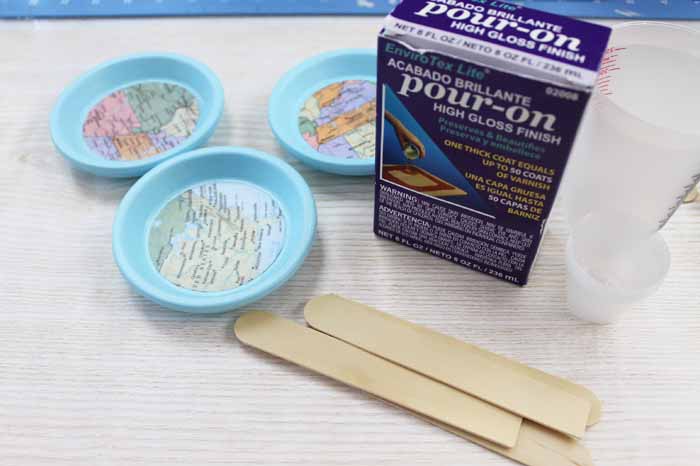
Measure equal parts of the 2 part system using measuring cups. Pour both parts into a mixing cup and stir according to the package directions. Be sure to use the two cup mixing procedure to ensure a proper mix.
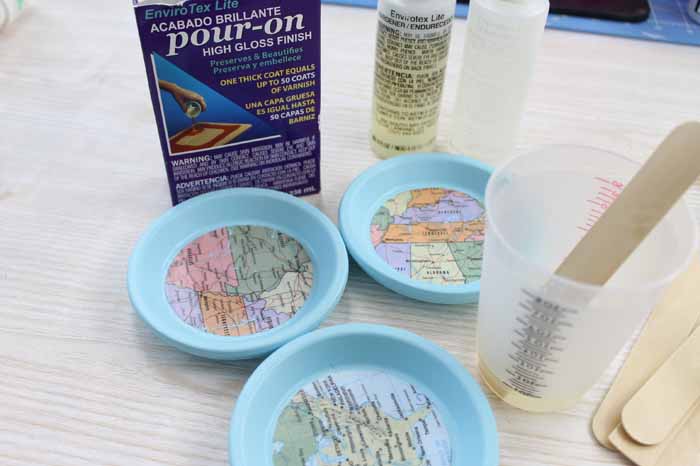
Then pour the mixture into your coasters. Make sure you get a nice even layer on each coaster. Pop any bubbles that may rise to the surface. You can find instructions for popping bubbles in the package.
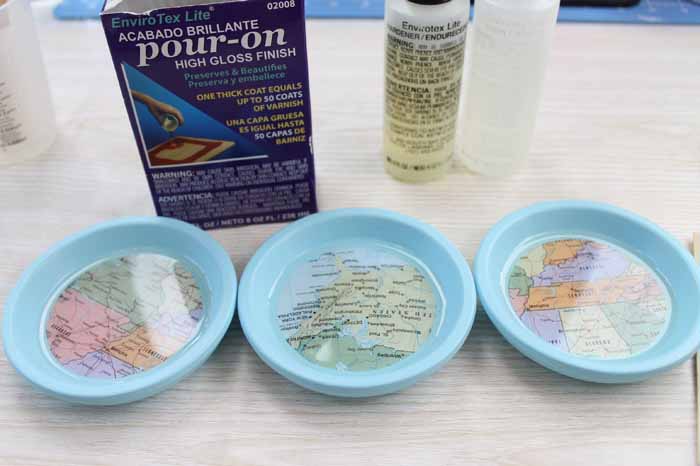
Allow your DIY map coasters to cure and they are ready to be used in any room of your home.
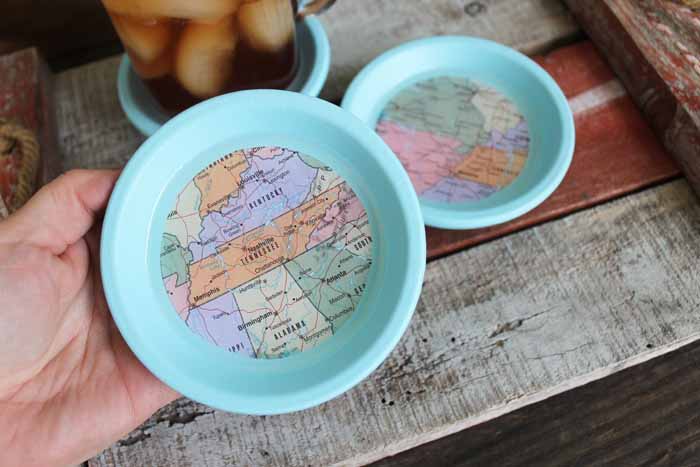
Make as many of these as you would like. They are the perfect coasters for entertaining or daily use.
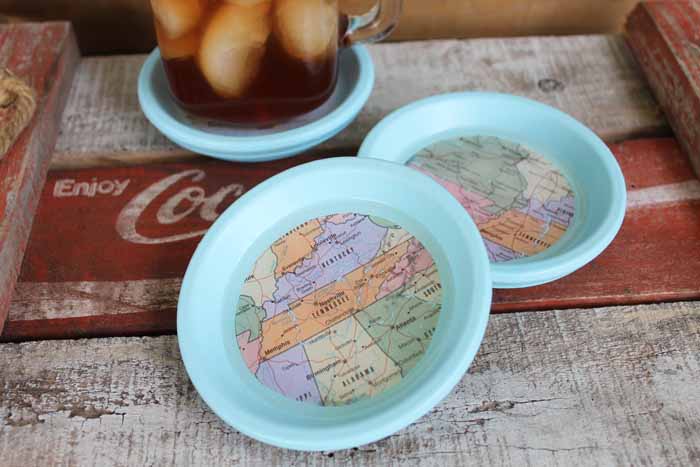
Change up the color to match your decor and pick maps of places that are meaningful to your family.
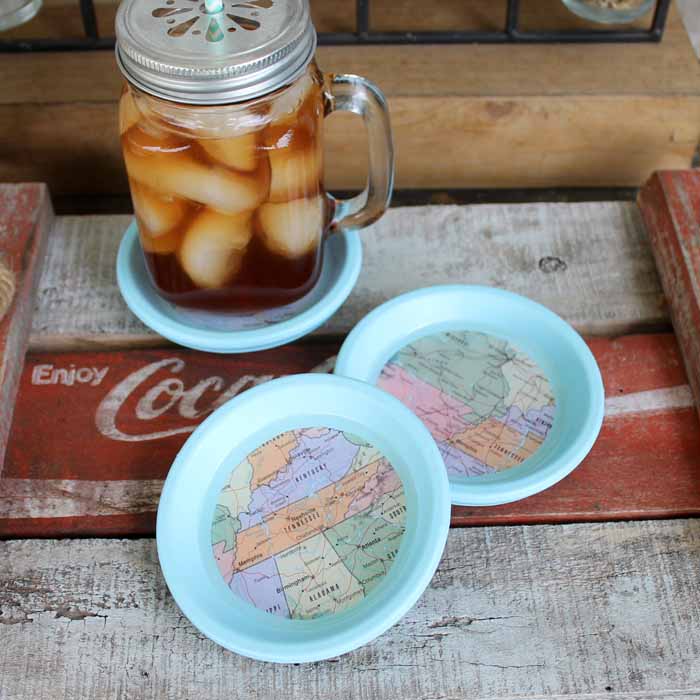
Plus everyone loves a gift of some DIY map coasters so be sure to make extras!
Angie has been blogging for over seven years at The Country Chic Cottage where she does a variety of crafts and home decor projects. You can even find a weekly recipe! She lives on a farm in rural Tennessee with her husband and three children. Painting is a favorite of Angie’s because it is a quick and easy way to make a big impact for very little money.

I love how these are little terracotta pot saucers! Makes for a unique set of coasters. I can imagine an image of succulents, and a pale blue or orangey color. Pinning.
I recently started a new link up on my EyeLoveKnots blog, and would love if you came to link up! Here is the current one: http://eyeloveknots.blogspot.com/2018/04/super-crafty-sunday-link-up-4-cotton.html
Nice idea. Thanks for sharing. They are beautiful.
These are super cute. Thanks for sharing at the Inspiration Spotlight party @DearCreatives pinned, and sharing. See you again soon.
Oh my gosh, I LOVE this idea! I love maps and coasters and have seen other types of DIY map coasters, but the idea to make them out of saucers is total genius! Pinning! 🙂 Lisa
This isn’t quite so easy … No matter how many coats of paint I do, I can still see the terra cotta. And I left them to dry a week … And still the paint peels right off. I’m going to try a spray sealant on the paint before adding the circles and resin.
We hope that worked for you!
Hi rgarding the resin coasters. Does the heat from hot drinks stick to the resin? Thank you
No it doesn’t. Enjoy!
It was amazing and so lovely <3
just i wanna know that can i except Ultra Seal Multi-Purpose Sealer / Glue use mod podge glue?
many thnx <3
Hi Marigold! Yes you can use Mod Podge.