Make your own DIY Mermaid Jewelry Dish made of resin to display your favorite pieces of jewelry and hang your rings on the mermaid’s tail!
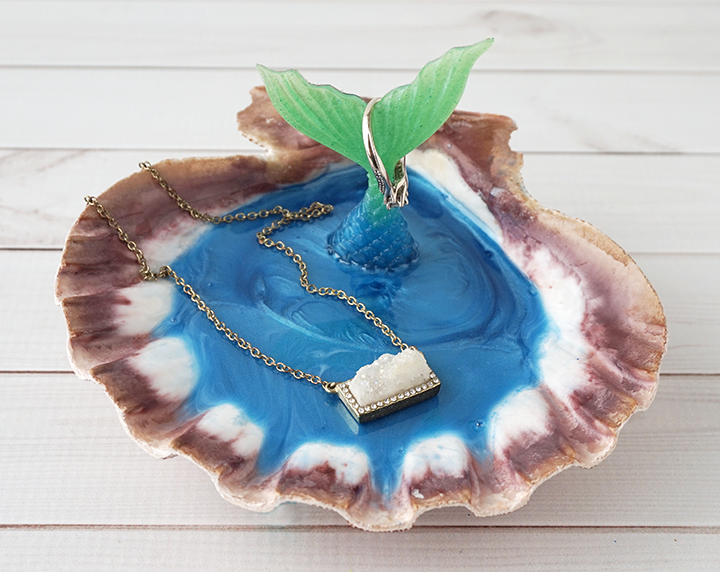
Hello, Resin Crafters! Lindsay here with a shiny new resin project! Mermaids are all the rage, and what better way to bring them into your decor than with your very own DIY Mermaid Jewelry Dish?! This piece was a lot of fun to make, and is a great way to display your favorite pieces of jewelry! It’s been wonderful to keep on my nightstand to hold my rings at night.
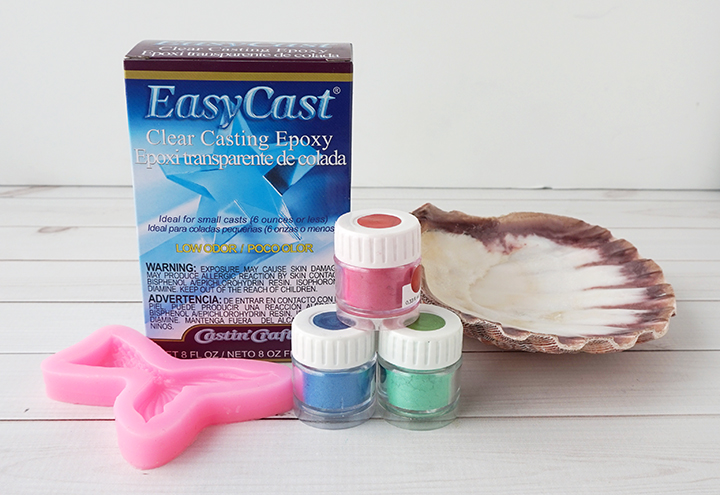
SUPPLIES NEEDED:
- EasyCast Clear Casting Epoxy
- Gloves, Mixing Cups, Stir Sticks
- Mica Powders or Castin’ Craft Opaque Pigments – blue & green
- Mermaid Tail Silicone Mold
- Large Scallop Seashell (3-4″)
STEP 1:
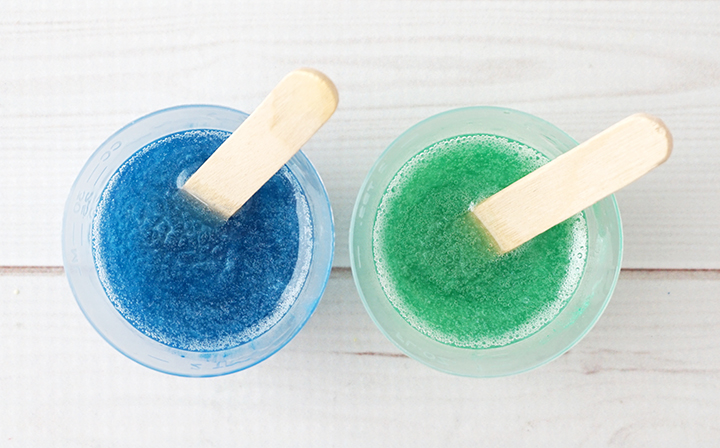
Prepare the EasyCast Clear Casting Epoxy according to package directions. Be sure to work in a well-ventilated area and wear disposable gloves! Pour in equal parts of resin and hardener to the mixing cup. Stir the resin mixture together with a stir stick for two minutes, and then pour the resin into a clean mixing cup. Stir the resin again for another minute or two with a clean stir stick.
Split the resin into two clean cups. Add a small amount of green mica powder (or pigment) to one cup, and blue to the other. Stir the resin mixtures together well until the powder has been evenly incorporated. I love how these mica powders have a pearly/metallic look!
STEP 2:
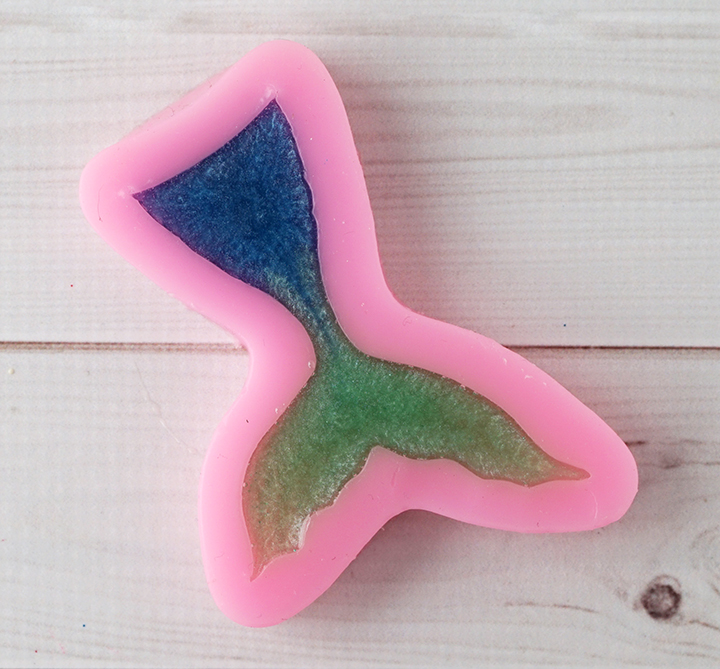
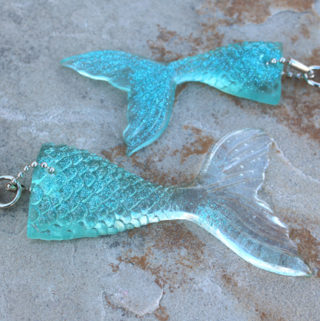
I wanted to give the mermaid tail a gradient look. To do this, pour a little bit of the blue resin at the base and then some green at the end of the tail. Keep pouring a little bit resin into each end until the mold is filled. Pop any bubbles with a lighter or by blowing through a straw.
Leave the resin to cure in an undisturbed area for 24 hours. You will know that the resin is completely cured when it is no longer tacky.
STEP 3:
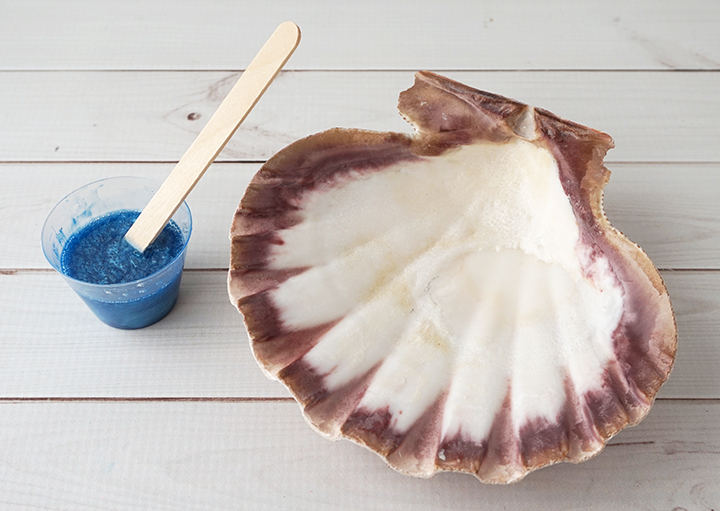
After the mermaid tail has cured, remove it from the mold and set it aside. Now it’s time to work on the base of the jewelry dish, which is just a large scallop shell. Using one you find on a trip to the beach would be ideal, but I’m not so lucky. I found this one at the craft store! Lay the shell down with the inside facing up. If it is too wobbly, you can add some “feet” to the bottom using a little hot glue for more stability.
Mix about 1/2 cup of resin together following the packaging directions. Stir the resin mixture together with a stir stick for two minutes, and then pour the resin into a clean mixing cup. Stir the resin again for another minute or two with a clean stir stick. Add in some blue mica powder (or pigment) and mix well until combined.
STEP 4:
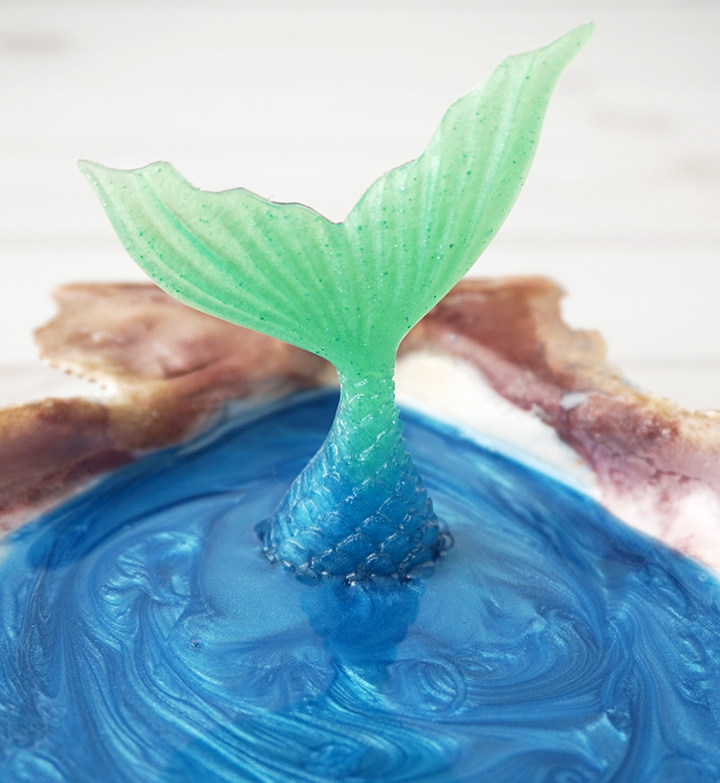
Slowly pour the resin into the scallop shell. Wait about 10 minutes and carefully set the mermaid tail base-down into the resin. It should stand it in the shell on its own, but if it doesn’t, you can use something like extra stir sticks to prop it up and hold it in place until the resin cures.
STEP 5:
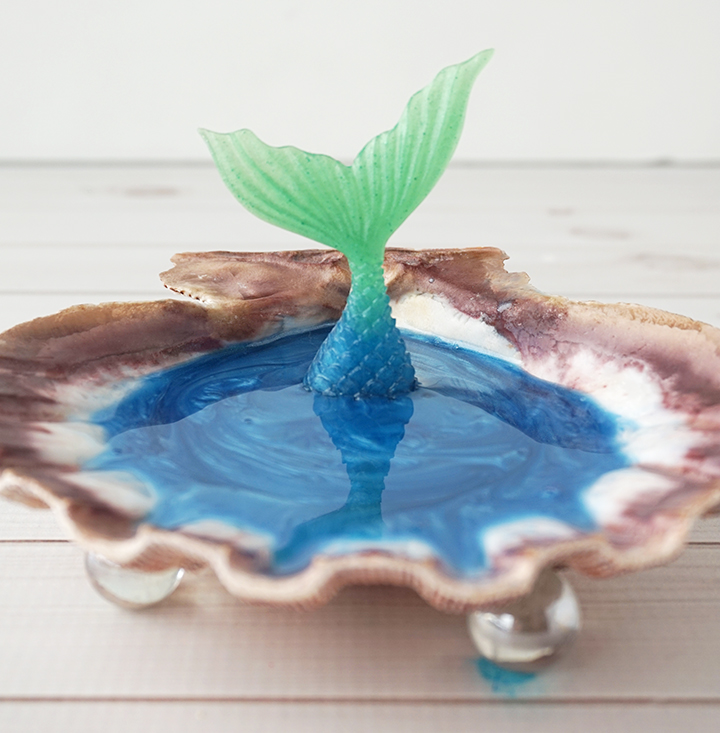
If the resin starts to get close to the scalloped edges, place something underneath to hold that end up just a little bit so that the resin doesn’t run off of the shell. I used two small glass marbles.
Leave the resin to cure in an undisturbed area for 24 hours.

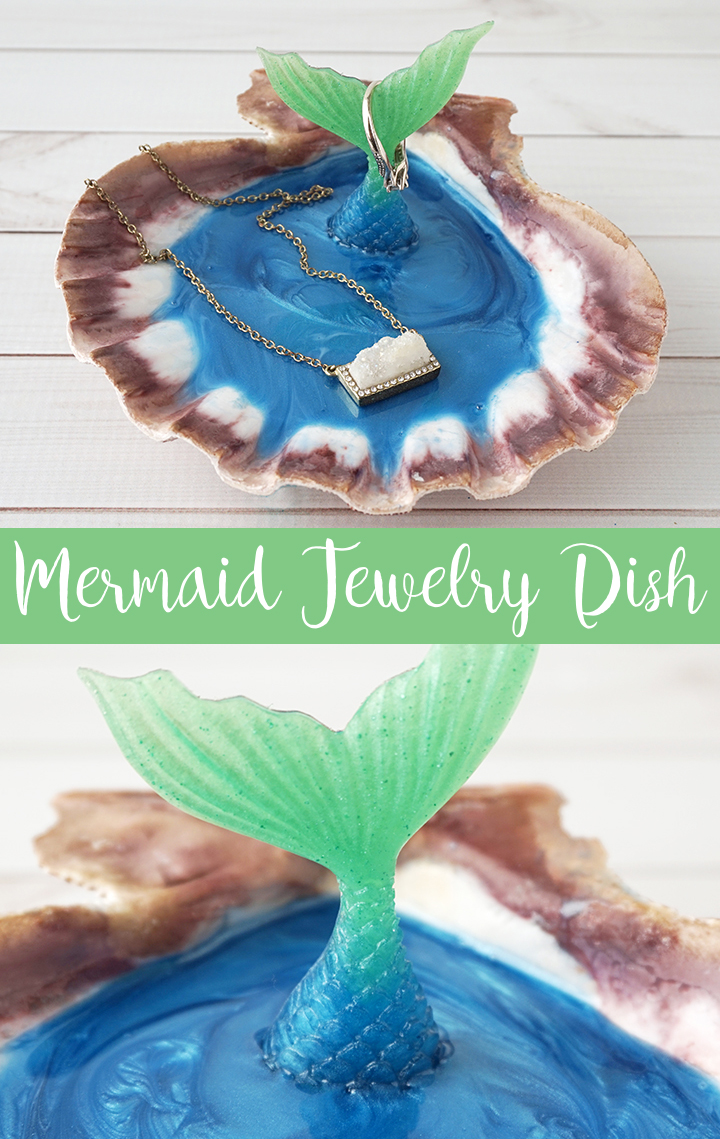
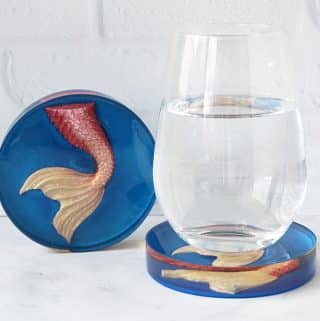
Now you can place the Mermaid Jewelry Dish on your nightstand, vanity, or wherever you like to add or remove your jewelry. One of my favorite things about this dish is that you can hang your rings on the mermaid’s tail! This dish would also be a clever and unique gift idea to someone who loves mermaids!
By the way, if you love mermaids, be sure to also check out these creative Resin Mermaid Projects!
Don’t forget to Pin, Like, and Share!
Lindsay is a crafter, graphic designer, and glitter enthusiast from Utah. She’s passionate about homeschooling her creative daughter, traveling, and spending time in the craft room. Lindsay shares DIY project tutorials, printables, recipes, kids crafts, and more on her blog, ArtsyFartsyMama.com, where she inspires readers to live a creative life.

It sounds unique and looks fantastic. This is a wonderful piece of art and one of the most different but attractive thing that I have seen. Thanks for sharing this amazing DIY.
Thank you! I’m so glad you like it!