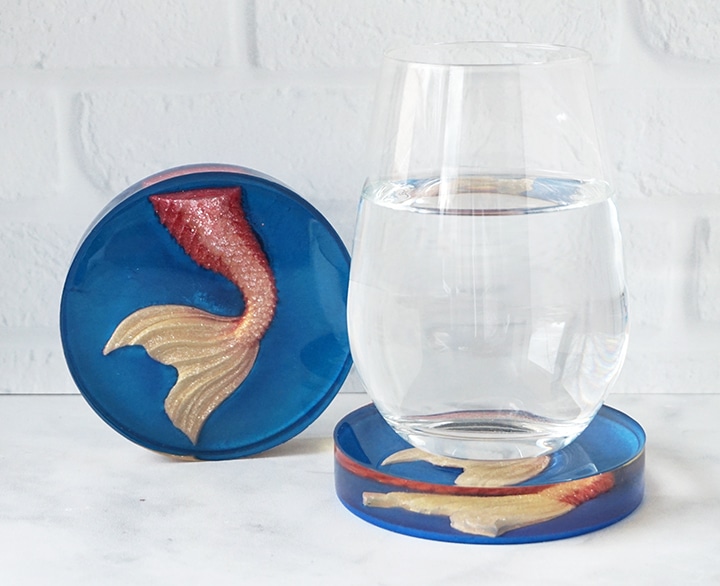
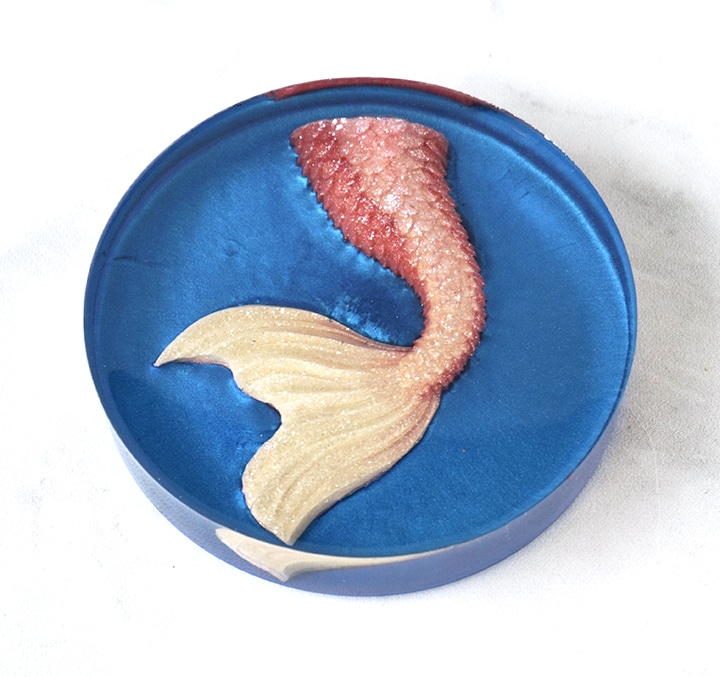
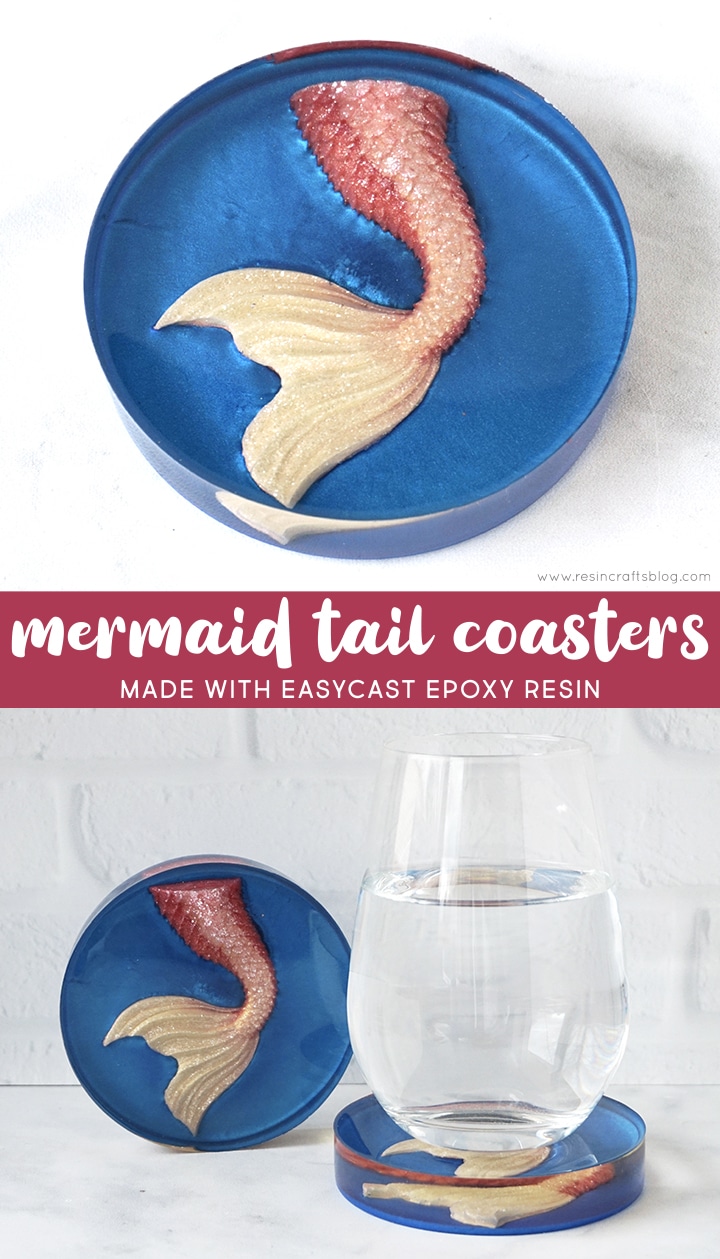
Hello, Resin Crafters! Lindsay from Artsy-Fartsy Mama here with a new and colorful resin project for you to try! Using PolyColor Resin Powders and EasyCast Clear Casting Epoxy, this set of vibrant Resin Mermaid Tail Coasters are an eye-catching project that will bring a touch of the ocean into your home. Coasters are one of my favorite things to make using epoxy resin, and this set is such a simple project that resin crafters of any skill level can complete with confidence.
Out of all of the different types of resins, EasyCast Clear Casting Epoxy is the perfect one to use for this project. It’s easy for both beginners and experts to use when casting in molds. Not only does it cure crystal clear, but you can also easily incorporate resin dyes and pigments to create colorful and unique resin projects.

TO MAKE A SET OF RESIN MERMAID TAIL COASTERS, YOU WILL NEED THESE SUPPLIES:
- 8 oz EasyCast Clear Casting Epoxy
- Mold Release and Conditioner Spray
- Mixing Cups
- Stirring Sticks
- Disposable Gloves
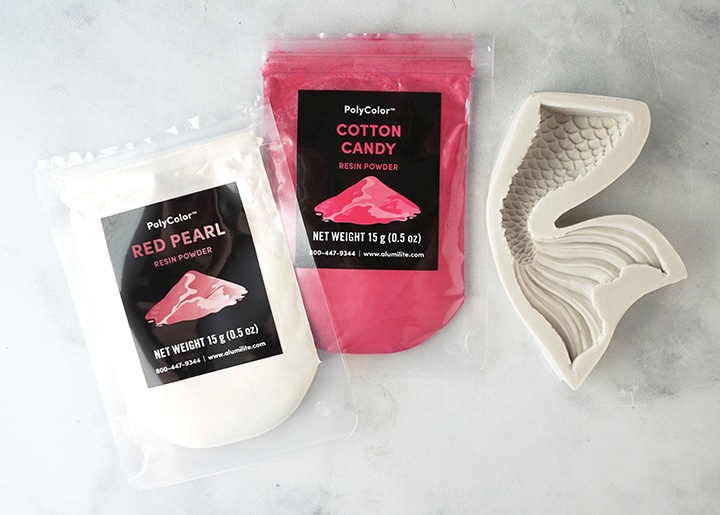
- PolyColor Resin Powder – Ocean Blue Metallic, Red Pearl, Cotton Candy
- Silicone Mermaid Tail Mold
- Silicone 4″ Coaster Mold
Safety first! Before you start working with resin, make sure that you’re wearing disposable gloves & protective eyewear, and that your work surface is covered and are working in a well-ventilated area.
STEP 1:
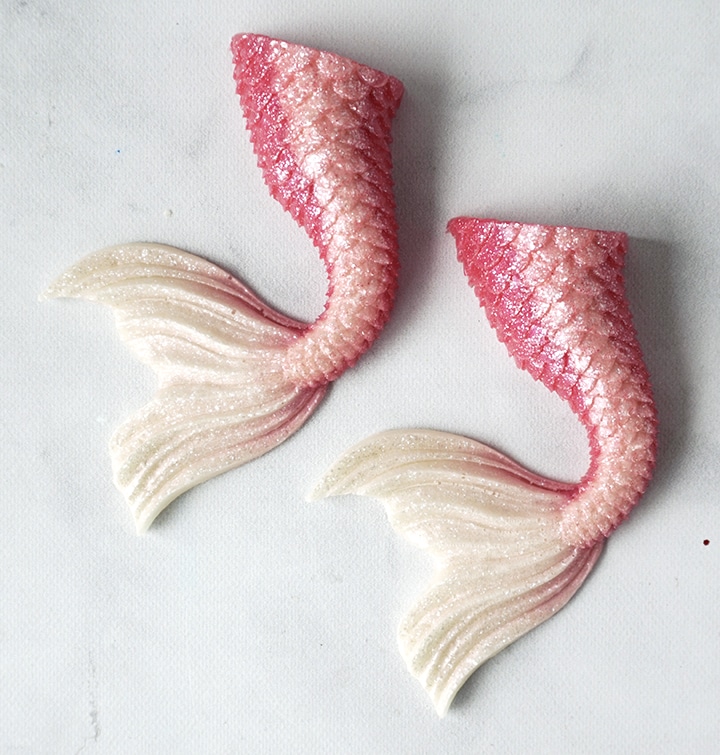
First you need to make some mermaid tails out of resin to put in the coasters. For best results, prep your silicone mermaid tail mold with Mold Conditioner and Release Spray and let it dry completely. This will help to make sure your projects come out perfectly every time and will also extend the life of the molds. You will also need to choose two colors of PolyColor Resin Powders for the mermaid tail. I decided on Cotton Candy Pink and Red Pearl, a white powder with a red iridescent tint to it.
STEP 2:
Prepare the EasyCast epoxy according to package directions. Be sure to work in a well-ventilated area, wear disposable gloves, and protect your workspace.
Add equal parts resin and hardener to the mixing cup. Each mermaid tail mold will need about 22.5 ml of resin. Stir the resin mixture together with a stir stick for two minutes, making sure to scrape the bottom and sides of the mixing cup. After 2 minutes, pour the resin into a clean mixing cup and stir the resin again for another minute or two with a clean stir stick.
If the resin mixture is still cloudy, you will need to keep stirring until it becomes clear. To keep the bubbles down to a minimum, don’t stir too fast, and then give the resin a minute or two to “rest” after mixing to let any bubbles rise to the top.
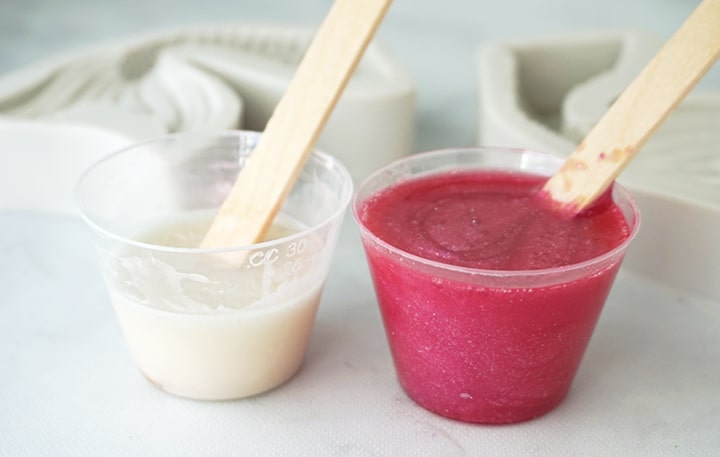
Split the resin into two mixing cups: 7.5 ml and 15 ml. Add in some Cotton Candy PolyColor Resin Powder into the 15 ml of resin, and Red Pearl powder into the 7.5 ml. Stir each of the resin mixtures well until the powders are combined.
STEP 3:
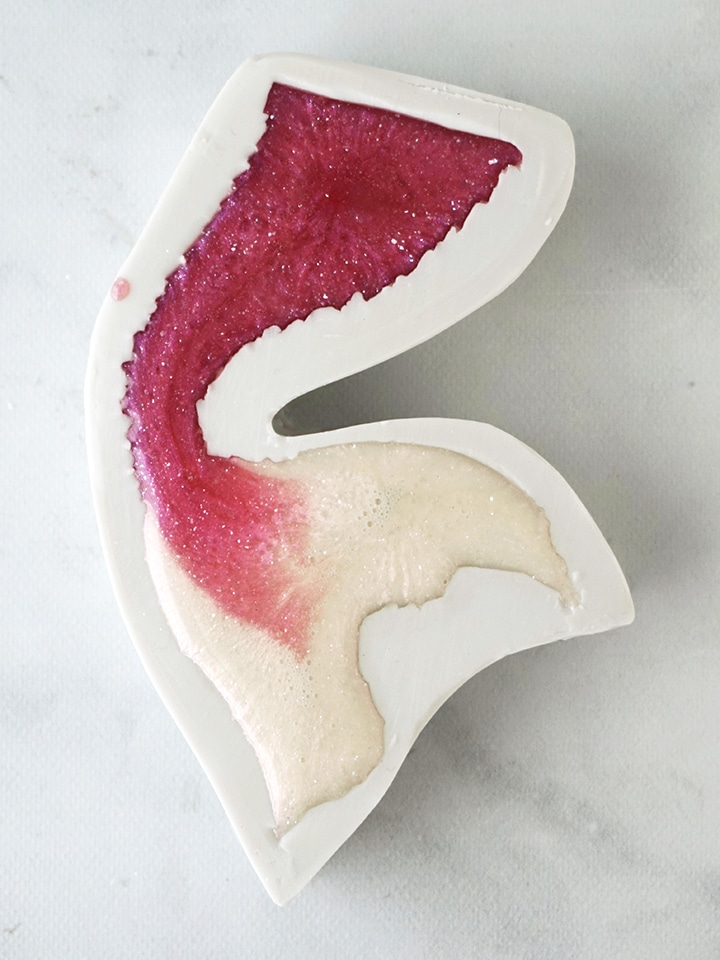
Slowly pour some of the pink resin into the top end of the mold, just until it reaches the tail. Next, slowly pour some of the white resin into the tail portion of the mold. Alternate pouring the resins into the mold until it’s filled to the top. Use a butane torch, blow through a straw, or spritz the resin with alcohol to remove surface bubbles.
Leave the resin to cure in an undisturbed area for at least 12 hours. You will know that the resin is cured and ready to be removed from the mold when the surface is no longer tacky and pulls away from the mold edges.
STEP 4:
Remove the mermaid tail from the mold, and repeat the process for as many coasters as you need. Alternatively, you could purchase multiple mermaid tail molds and make them all at the same time. Either way, I love how the PolyColor Resin Powder shimmers in the light, and makes the mermaid tails look so magical!
STEP 5:
To make the bottom layer of the coasters, mix up 15 ml of EasyCast epoxy per coaster. Add equal parts resin and hardener to the mixing cup. Stir the resin mixture together with a stir stick for two minutes, making sure to scrape the bottom and sides of the mixing cup. After 2 minutes, pour the resin into a clean mixing cup and stir the resin again for another minute or two with a clean stir stick.
If the resin mixture is still cloudy, you will need to keep stirring until it becomes clear. To keep the bubbles down to a minimum, don’t stir too fast, and give the resin a minute or two to “rest” after mixing to let any bubbles rise to the top.
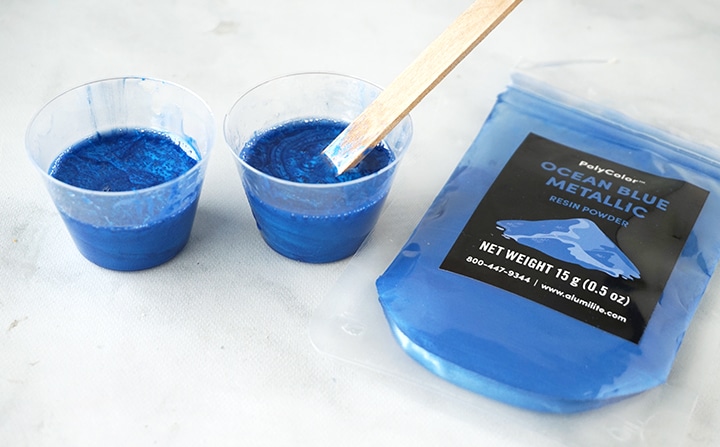
Add some Ocean Blue Metallic PolyColor Resin Powder into the resin and mix it well until completely combined. Pour 15 ml of resin into the coaster mold, and use a butane torch, blow through a straw, or spritz the resin with alcohol to remove surface bubbles.
STEP 6:
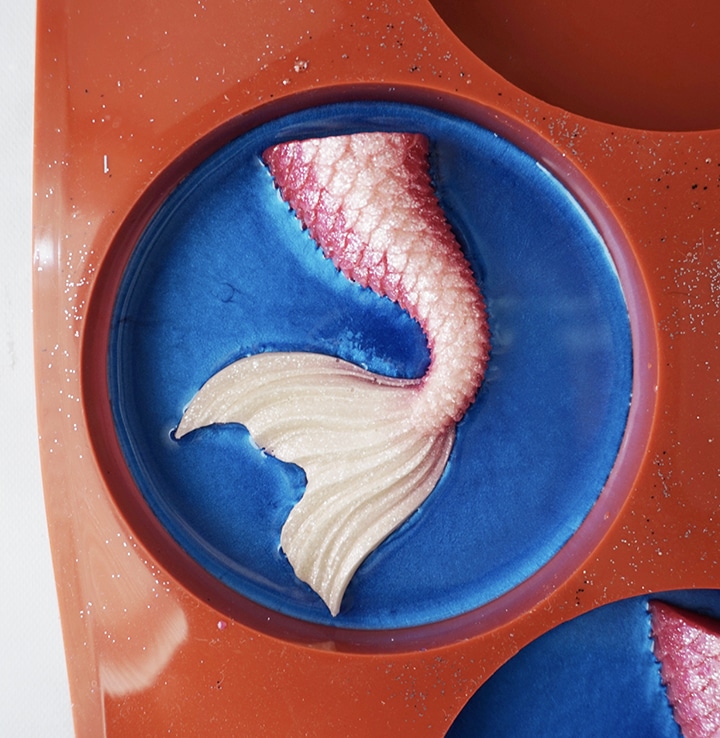
Let the resin cure for about 3 hours or until it’s in a “gel” form. Gently place the mermaid tail in the center of the resin and press it down so that just the edges are submerged. Leave the resin to cure for at least 2 hours.
STEP 7:
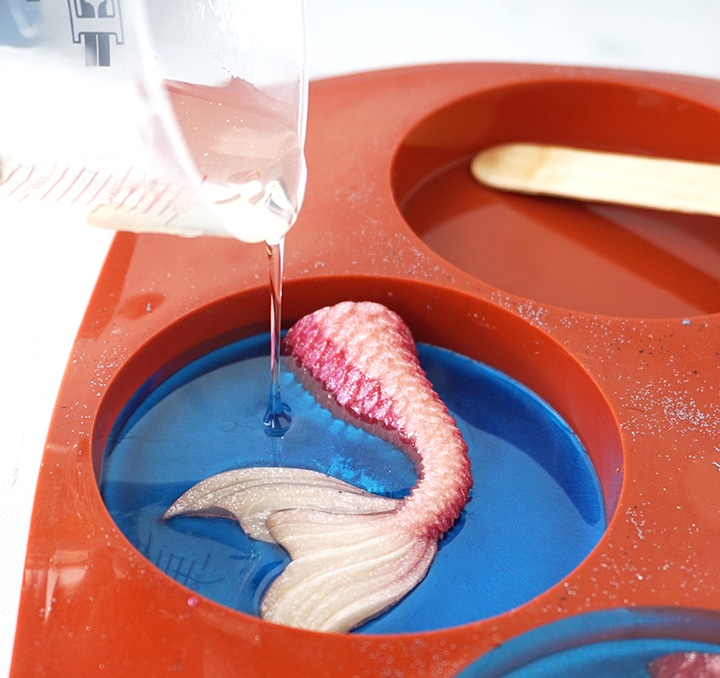
After at least 2 hours, you can add another layer to the coaster without a problem. Mix up 3 ounces of EasyCast epoxy per coaster, the same way as before and according to package directions. Slowly fill up the rest of the mold cavity with resin, starting the pour at the lowest points first to reduce the amount of bubbles. Use a butane torch, blow through a straw, or spritz the resin with alcohol to remove surface bubbles. Since the resin pour is thicker this time around, wait 10-20 minutes to remove any more bubbles that rise to the top.
Leave the resin to cure in an undisturbed area for 24 hours. You will know that the resin is completely cured when it is no longer tacky and pulls away from the edges.
STEP 8:
Carefully remove the coasters from the mold and admire your work. I love the vibrant powder colors, and how the mermaid tail looks against the blue! I also think would be fun to make mermaid tails in a variety of colors, so that your coasters are all a little bit different. If you have any rough edges, you can trim it away with scissors or sand then down if necessary. You can also add a thin top coat at this point if you’d like.
I am loving how this set of colorful Resin Mermaid Tail Coasters turned out, and they were a lot of fun to make. If you are new to resin, this would be a simple project for you to try! These would make a gorgeous gift, and will certainly be a unique conversation piece on your coffee table at home. I would love to hear what you think, and would be thrilled to see your own resin coaster projects in the Facebook Group!

Lindsay is a crafter, graphic designer, and glitter enthusiast from Utah. She’s passionate about homeschooling her creative daughter, traveling, and spending time in the craft room. Lindsay shares DIY project tutorials, printables, recipes, kids crafts, and more on her blog, ArtsyFartsyMama.com, where she inspires readers to live a creative life.


Leave a Reply