Learn how to create a unique and beautiful floral wood and resin tray with MAS Epoxies Table Top Pro epoxy resin! This piece will leave your friends and family drooling and wanting one of their own!
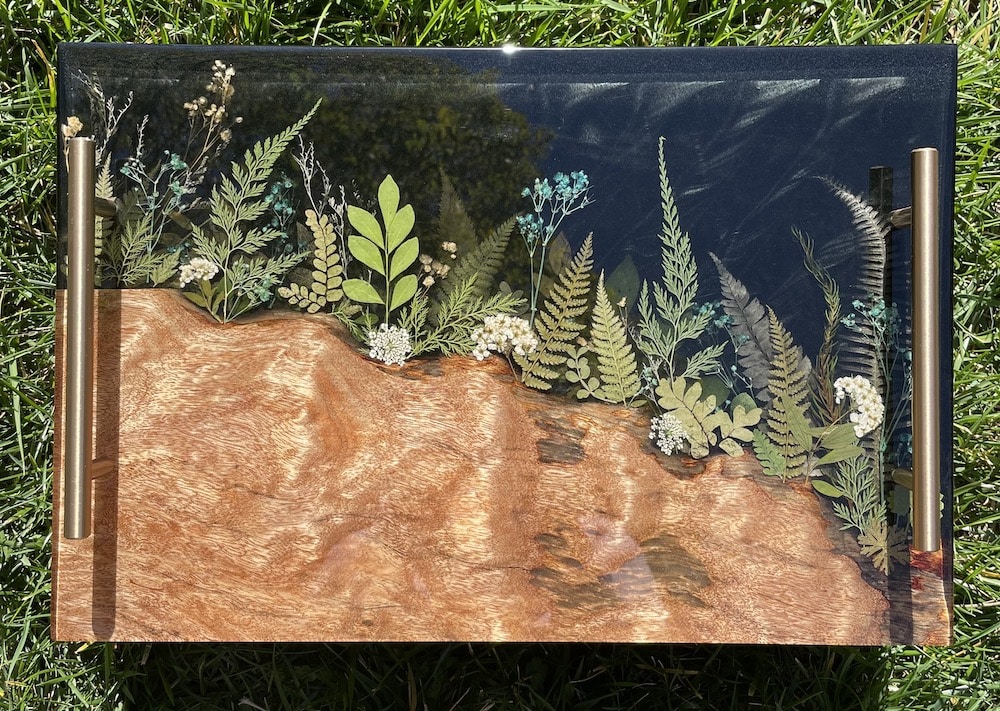
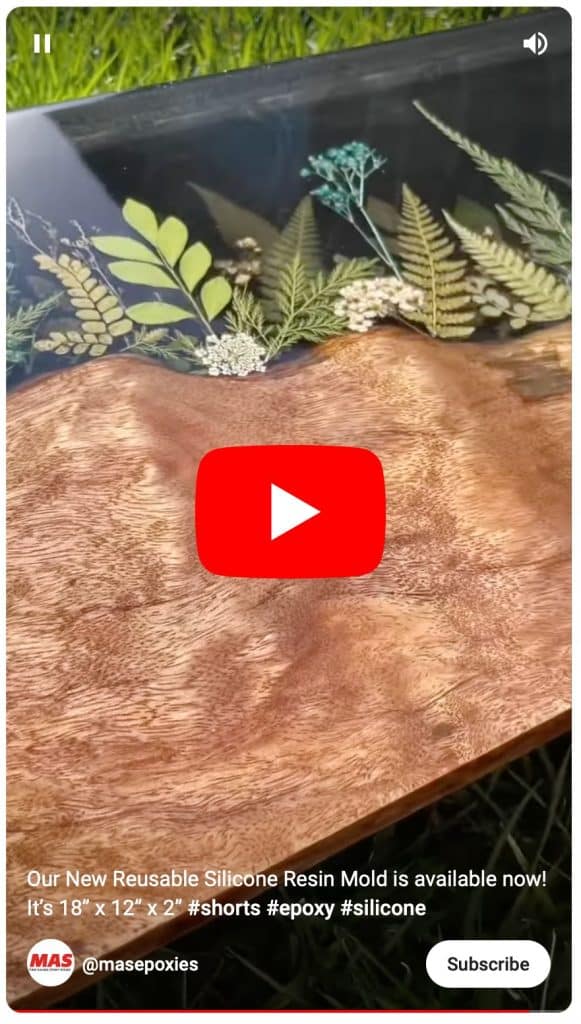
Hey there Resin Crafters, it’s Kelly here! I’m bringing you behind the scenes to show you how I created this whimsical woodland wood and resin serving tray and how EASY it is for you to create one at home! With the help of MAS Epoxies new reusable silicone charcuterie tray mold and their awesome Table Top Pro epoxy, you can’t go wrong!
Supplies to Make a Pressed Flower Wood & Resin Tray
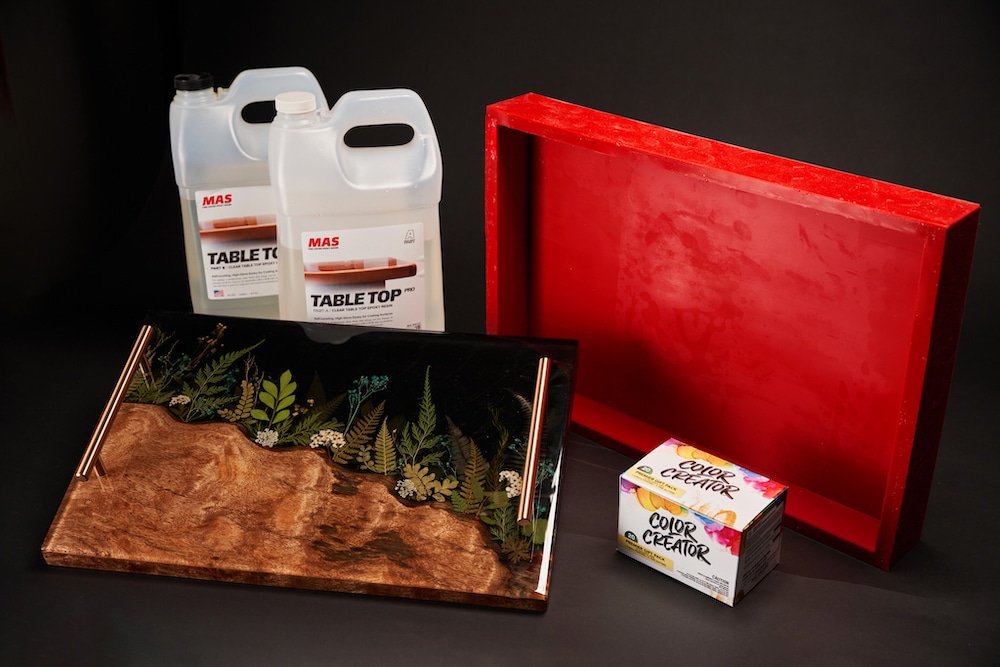
- MAS Epoxies 18x12x4 Silicone Tray Mold
- MAS Epoxies Table Top Pro (I used about 108 oz total)
- MAS Epoxies Penetrating Epoxy
- MAS Epoxies mixing cups, mixing sticks, and plastic spreader
- Color Creator mica powder, alcohol ink, and glitter
- Wood slab
- Pressed/dried flowers and leaves
- Tray handles
- Torch
- Bosch palm sander and drill


How to Make a Floral Epoxy and Wood Serving Tray
Video and printable instruction card below!
Step 1: Sealing the Wood Slab
Before we dive into this project, we need to prep our wood slab. This piece of wood will be going into our mold and be encased with epoxy resin. The first thing that comes to mind when I think about epoxy and wood is…BUBBLES! Sealing the wood with MAS Epoxies Penetrating Epoxy system will significantly reduce the amount of bubbles popping up in your epoxy layers.
Step 2: Adding the Base Layer of Epoxy Resin
Once you have your sealed piece of wood nestled into the mold and weighted it down, it’s now time to pour in the first layer of tinted epoxy. I wanted to use a system with a quicker working time so that I could complete more steps/layers in a single day. That’s why I chose MAS Table Top Pro! Table Top Pro has a 30-minute working time, easy 1:1 mix ratio, and I’ll be able to re-coat about every 4 hours.
After measuring, mix MAS Epoxies Table Top Pro according to package directions. Pour in equal parts resin and hardener into a mixing cup. Stir the mixture together SLOWLY with a stir stick for 2 – 3 minutes. If the resin still has streaks running through it, keep mixing until it becomes clear.
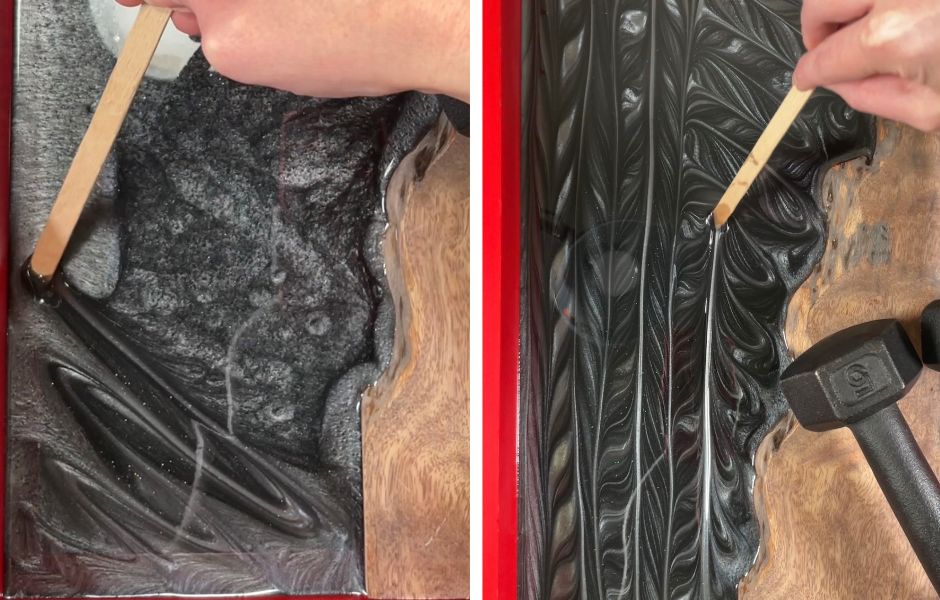
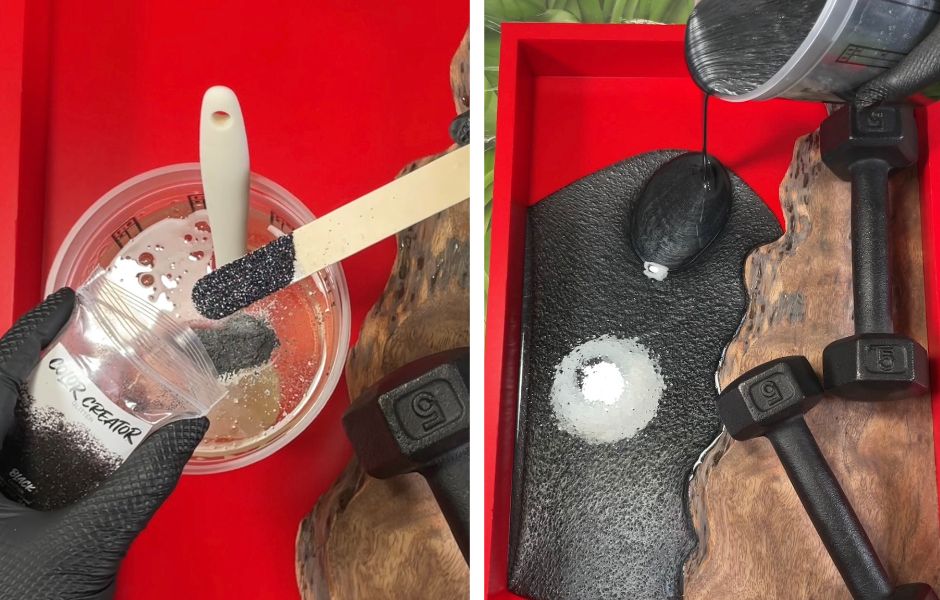
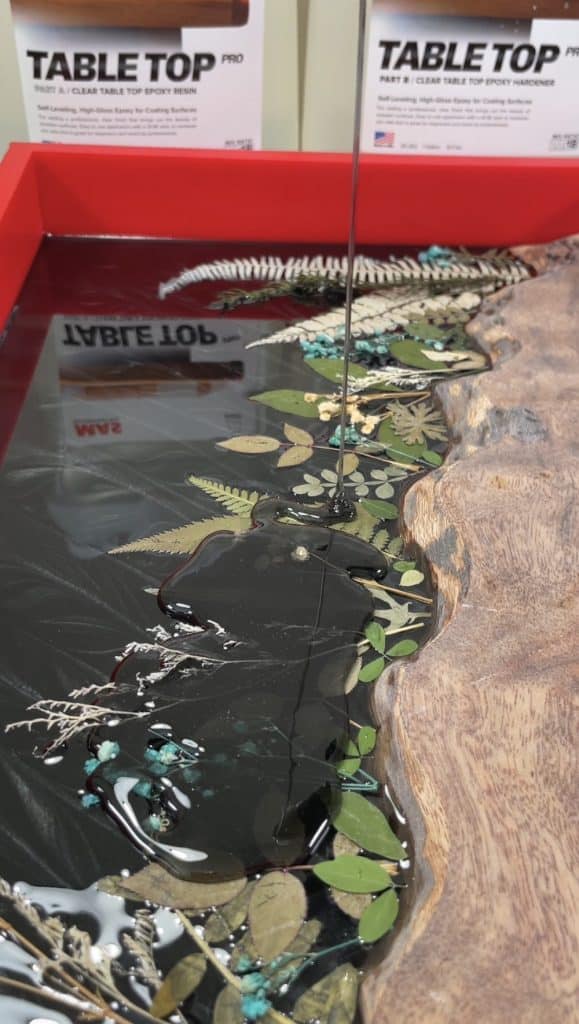
This first layer will be the darkest, and most opaque layer of the whole piece. To get this midnight forest vibe, I mixed Color Creator’s silver metallic mica powder, black glitter, and black alcohol ink into the epoxy resin. Pour this mixture into your mold until it is about 1/8” deep.
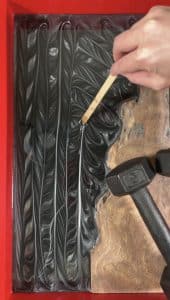
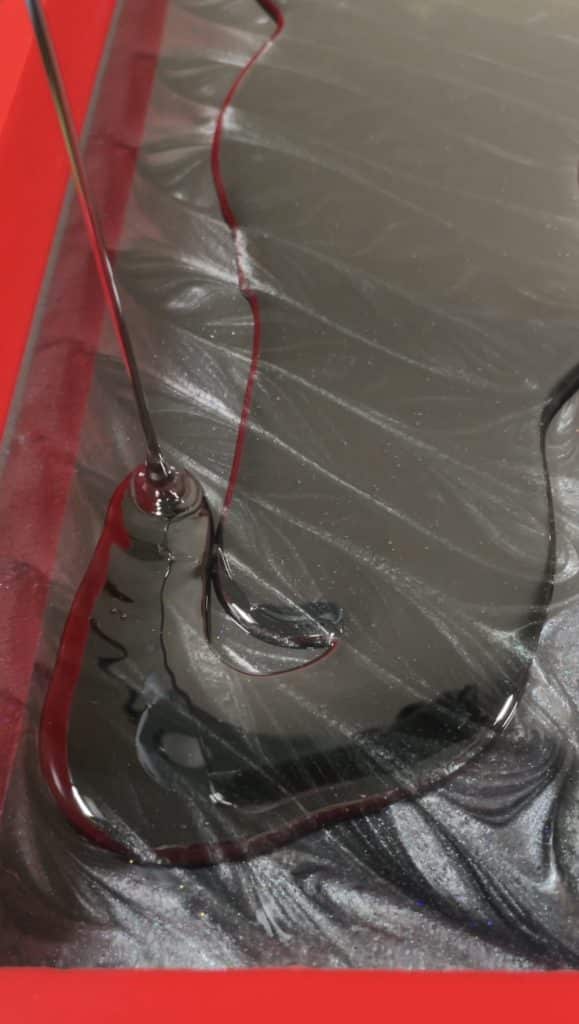
If you would like your base layer to have a design, now is the time to run a popsicle stick through the epoxy to form a pattern of your choosing. (Note: This design will probably shift during the curing process.)
Step 2a: Muting the Design
Once the epoxy has cured for about 4 hours, mix up another batch of MAS Table Top Pro and lightly tint it with the same black alcohol ink that we used in the previous step. Pour this transparent black epoxy onto the first layer to slightly mute and blur the design.
Step 3: Placing the Dried/Pressed Florals
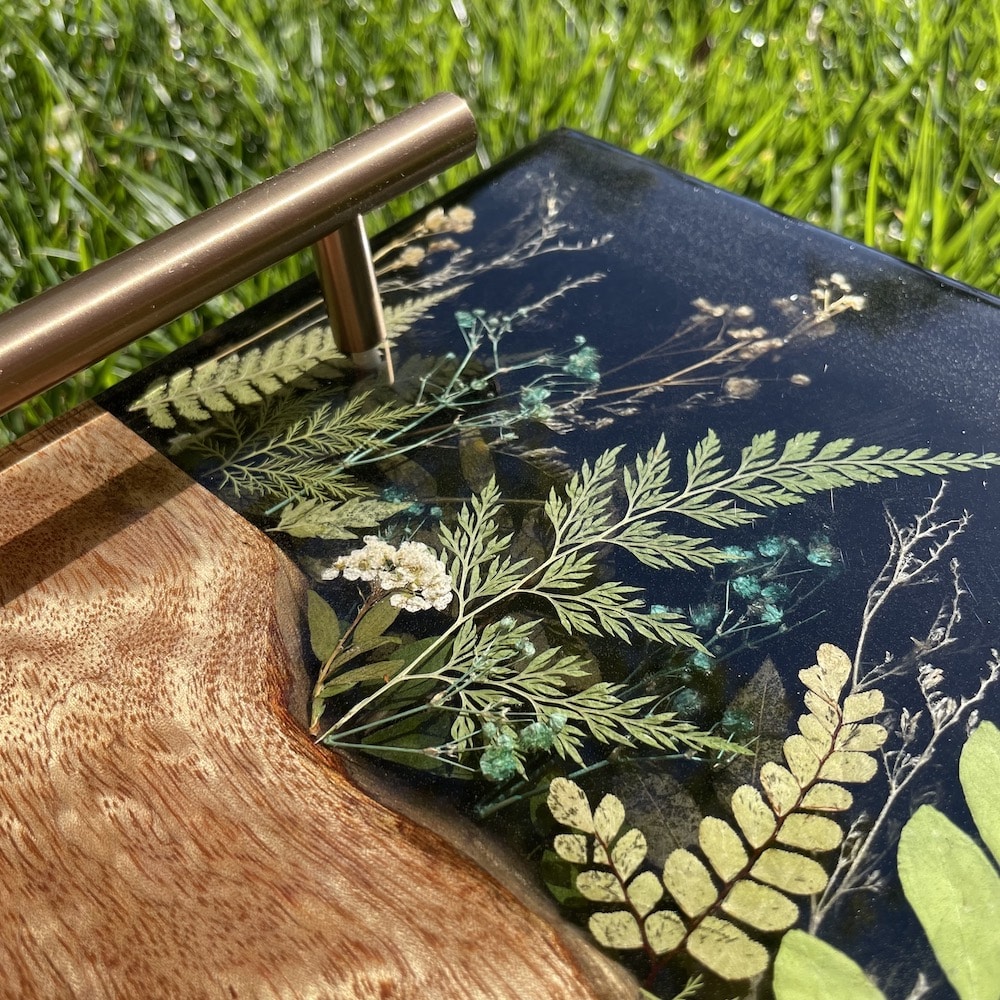
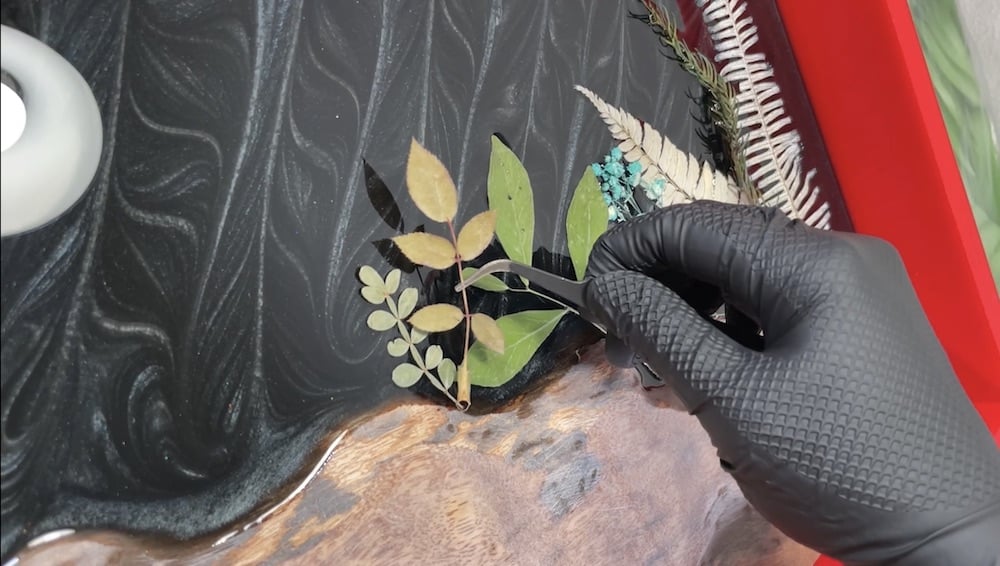
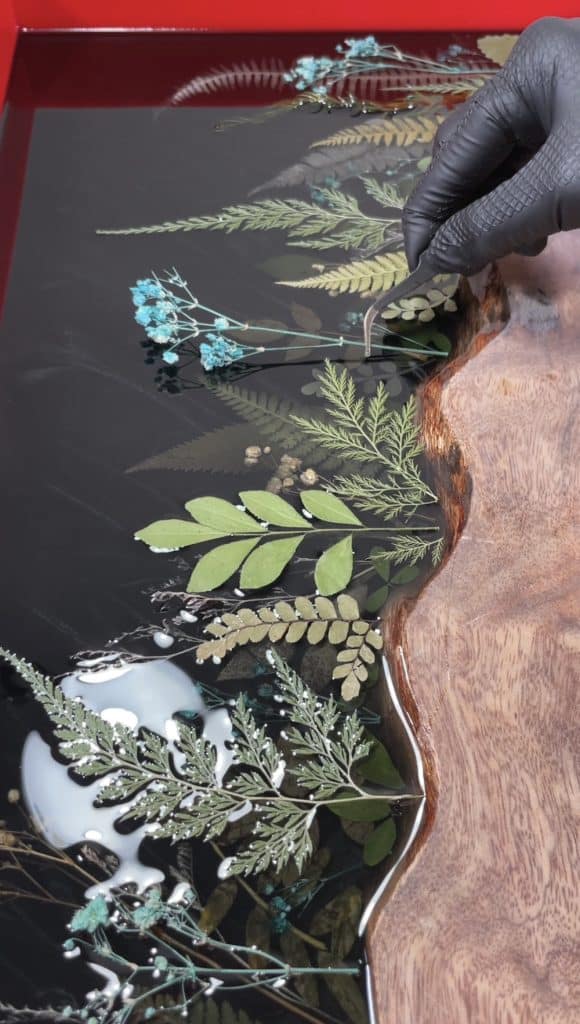
Before the epoxy resin has fully cured (it should still be quite sticky), start placing your dried flowers and leaves. For this first layer of florals, I tried to use the tallest and biggest flowers and leaves I had available. Since these will be behind another layer of florals, I wanted them to still be seen and not be totally covered by the top layer of flowers. Once you have your florals placed exactly where you want them, let the epoxy cure completely before moving onto the next step.
Step 4: Adding Depth
To add even more depth to this tray, let’s make it look like the first layer of florals is deeper down (further back) than it really is! Mix up another batch of MAS Table Top Pro and lightly tint it with the black alcohol ink. Remember to only use a few drops of ink at first, mix, and keep adding a little more at a time. You want it dark enough to “smoke out” the floral layer, but light enough that you can still see the flowers and leaves through the tinted epoxy.
Step 5: Last Floral Layer
After letting the previous layer of epoxy cure for about 4 hours, mix up yet another batch of clear MAS Table Top Pro and pour it onto the surface. If surface bubbles are present, you can pop them with a heat gun or torch. Let it firm up just a bit until it’s at its gel state and start placing your last layer of florals.
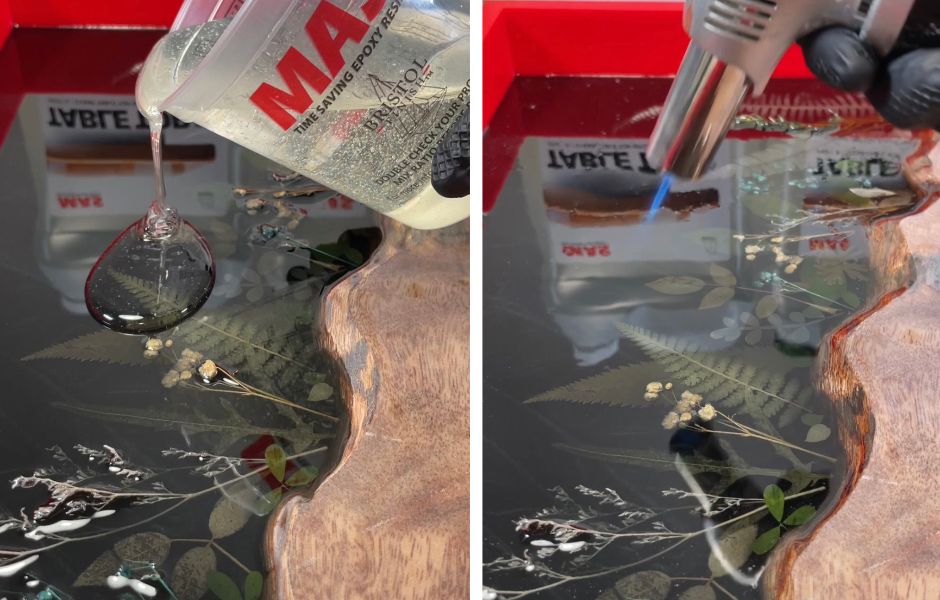
Step 6: The Flood Coat
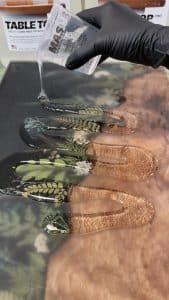
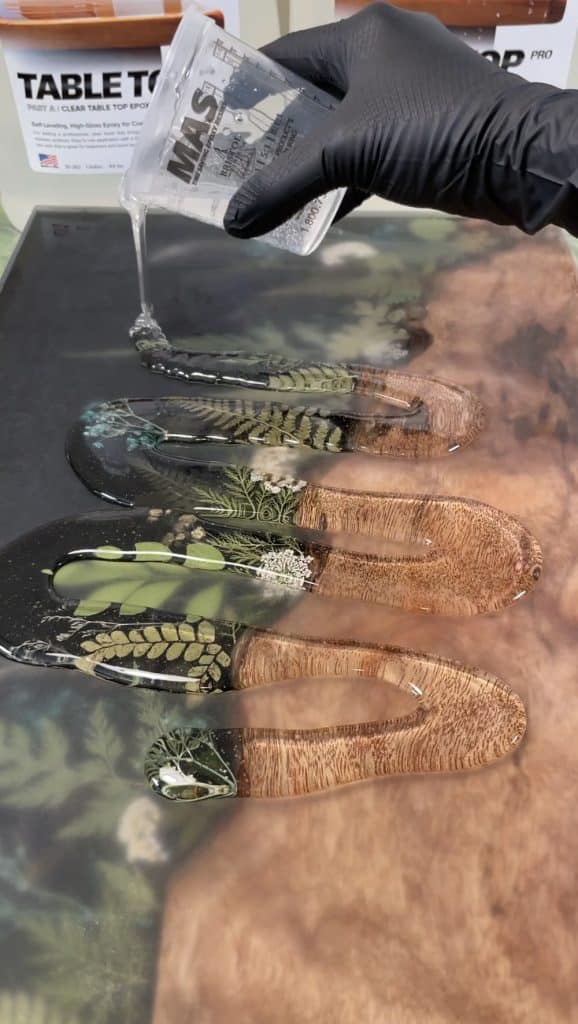
Once your epoxy has cured for about 4 hours, add another layer of clear MAS Table Top Pro to level off the entire surface and cover the wood. Let this layer cure FULLY before moving on to the next step.
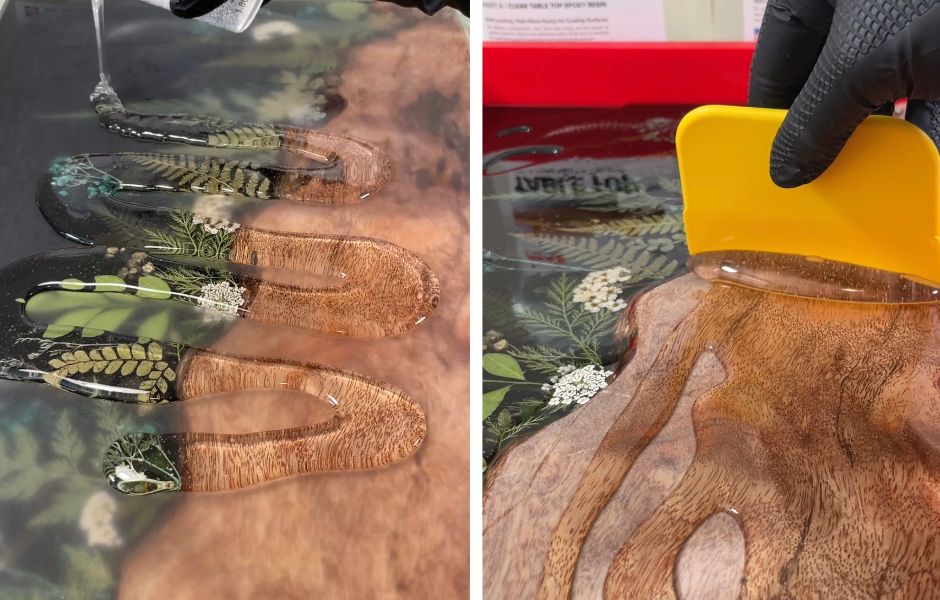
Step 7: Demolding and Sanding
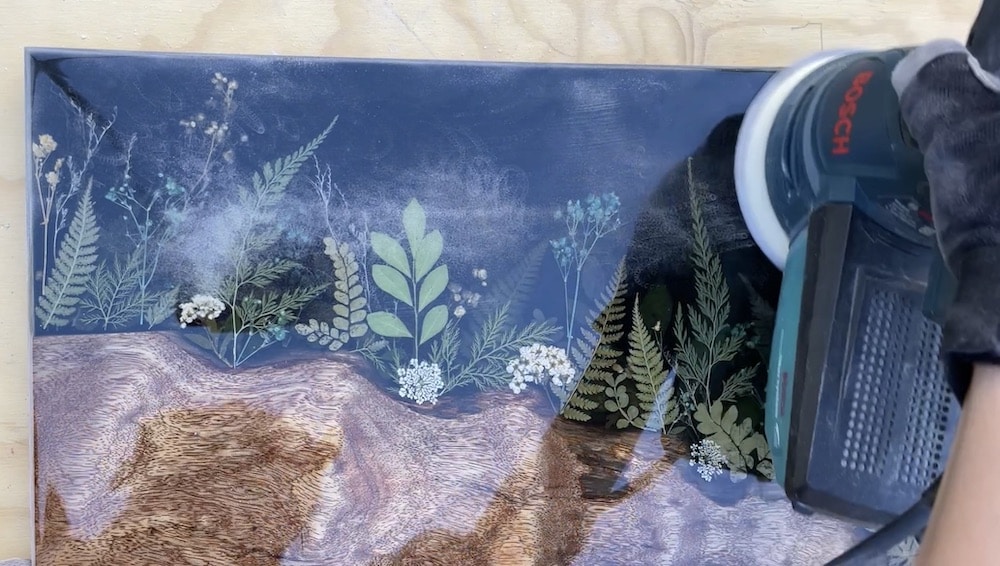
Now it’s time to demold! With MAS Epoxies reusable silicone tray mold, your project will slip right out with ease! Once you’re done admiring your work, you can make the decision to either sand it, or leave it as is. My wood piece was not perfectly flat, so I had some epoxy seep under my piece and a few flecks of dust on the top, so I decided to sand it. I sanded both the back and the front before adding the final layer of epoxy to both sides. Make sure to let your tray cure fully before adding the finishing touches.
Step 8: Finishing Touches – turn this beauty into a gorgeous wood and resin tray!
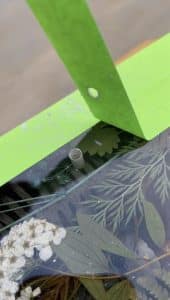
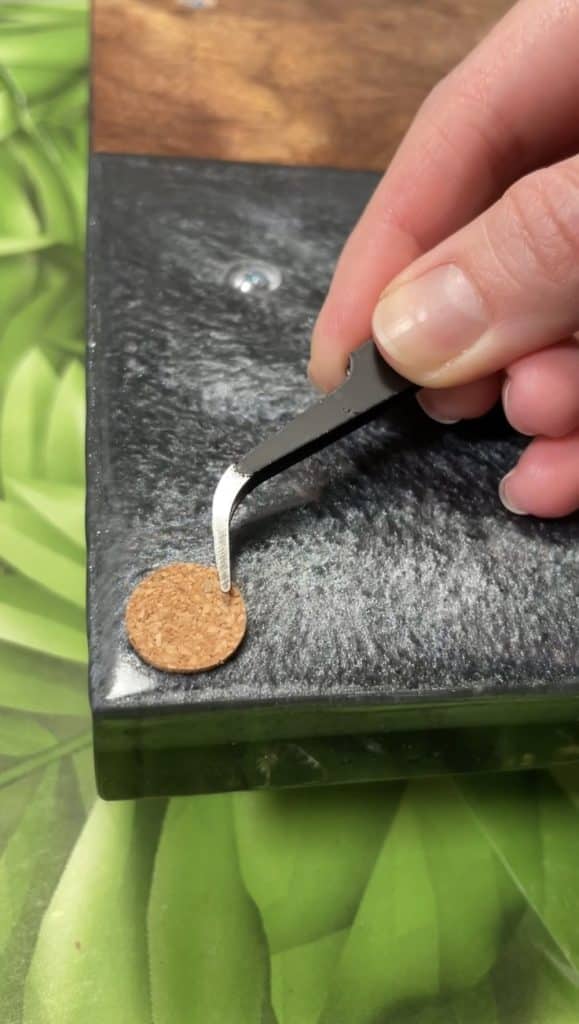
Now it’s time to put your handles on and turn your masterpiece into a beautiful epoxy and wood serving board! After measuring, drill out the holes and attach the handles with the provided screws. I also added little cork feet to the bottom of the tray to protect your table surface and the tray itself.
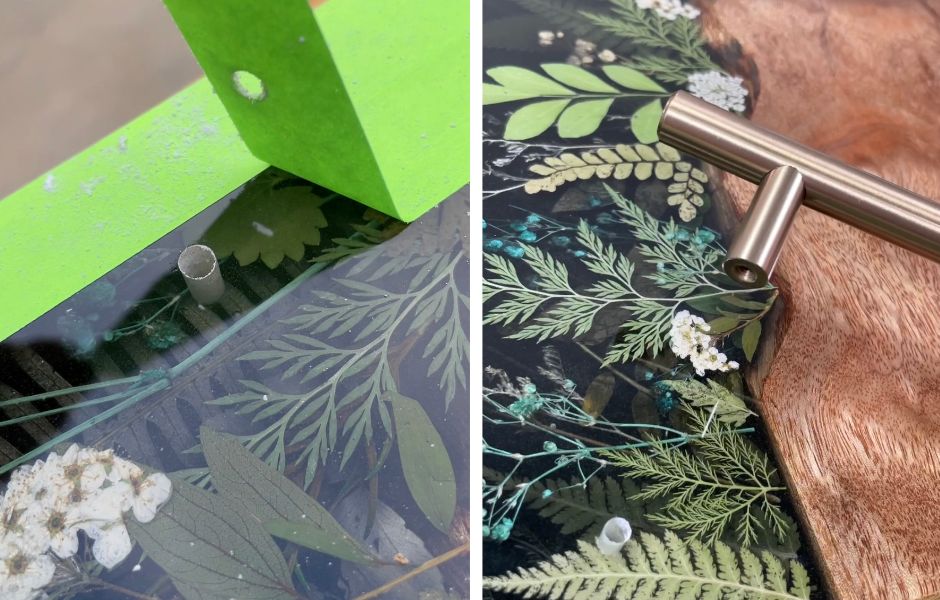
After following these steps, you will be left with a functional and beautiful piece of art that is sure to be a conversation starter! If you felt inspired by this tutorial to create a piece of your own, I would LOVE to see it! Tag @kellyybellyy62 and @resincraftsblogbyeti on Instagram! I love seeing makers explore new ways to craft! Stay Kreative and Happy Crafting!
Thank you for following along on this floral adventure!
Pressed Flower Wood & Resin Tray
Materials
- MAS Epoxies 18x12x4 Silicone Tray Mold
- 108 oz MAS Epoxies Table Top Pro (roughly)
- MAS Epoxies Penetrating Epoxy
- MAS Epoxies mixing cups
- MAS Epoxies Mixing Sticks
- MAS Epoxies Plastic Spreader
- Color Creator Premier Gift Pack mica powder, alcohol ink, and glitter
- Wood slab
- Pressed/dried flowers and leaves
- Tray handles
- Torch
- Bosch palm sander and drill
Instructions
- Seal Wood Slab with MAS Penetrating Epoxy to prevent bubbles. Place into mold and weigh it down with a heavy object(s).
- Once you have your sealed piece of wood nestled into the mold and weighted down, it’s now time to pour in the first layer of tinted epoxy. Mix equal parts MAS Epoxies Table Top Pro Resin and Hardener and add Color Creator’s silver metallic mica powder, black glitter, and black alcohol ink into the epoxy resin. Pour this mixture into your mold until it is about 1/8” deep.
- Run a popsicle stick through the epoxy to form a pattern of your choosing, if desired. Allow to cure for about 4 hours.
- Mix up another batch of MAS Table Top Pro as above and lightly tint it with the same black alcohol ink that we used in the previous step. Pour this transparent black epoxy onto the first layer to slightly mute and blur the design.
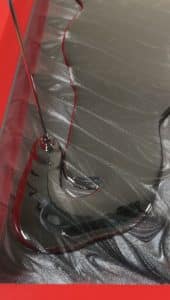
- Before the epoxy resin has fully cured (it should still be quite sticky), start placing your dried flowers and leaves. For this first layer of florals, I tried to use to tallest and biggest flowers and leaves I had available. Since these will be behind another layer of florals, I wanted them to still be seen and not be totally covered by the top layer of flowers. Once you have your florals placed exactly where you want them; let the epoxy cure completely before moving onto the next step.
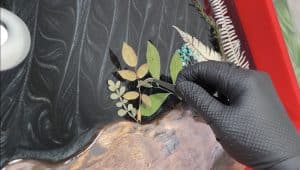
- To add even more depth to this tray, let’s make it look like the first layer of florals is deeper down (further back) than it really is! Mix up another batch of MAS Table Top Pro and lightly tint it with the black alcohol ink. Remember to only use a few drops of ink at first, mix, and keep adding a little more at a time. You want it dark enough to “smoke out” the floral layer, but light enough that you can still see the flowers and leaves through the tinted epoxy. Allow to cure for about 4 hours.
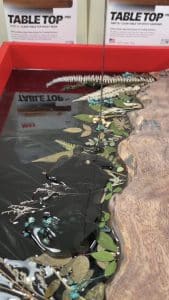
- Mix up yet another batch of clear MAS Table Top Pro and pour it onto the surface. Let it firm up just a bit until it’s at its gel state and start placing your last layer of florals.
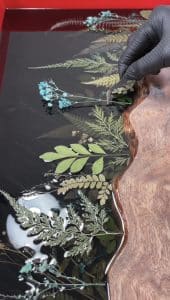
- Once your epoxy has cured for about 4 hours, add another layer of clear MAS Table Top Pro to level off the entire surface and cover the wood. Let this layer cure FULLY before moving on to the next step.
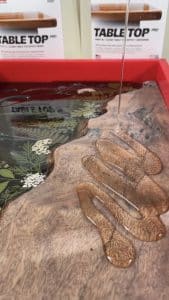
- With MAS Epoxies reusable mold, your project will slip right out with ease! Demold the tray. My wood piece was not perfectly flat, so I had some epoxy seep under my piece and a few flecks of dust on the top so I decided to sand it.
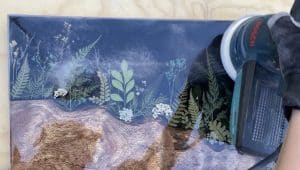
- After I sanded both the back and the front, I added the final layer of epoxy to both sides. Make sure to let your tray cure fully before adding the finishing touches.
- Now it’s time to put your handles on! After measuring, drill out the holes and attach the handles with the provided screws. I also added little cork feet to the bottom of the tray to protect your table surface and the tray itself.
Notes

Kelly from @Kellyybellyy62 is a California based, multimedia artist who works as a full time crafter and content creator. She loves to explore all forms of art and enjoys the entire creative process. Kelly uses her social media platforms to teach, entertain, and bring joy to viewers all around the world. She hopes that her work can inspire others in the way others have inspired her.




Whenever I have tried to use dried florals in resin, they turn brown and sometimes the resin stays soft in spots near the greenery. How do you avoid this? I have tried spraying with resin spray with no success.
Hi there! The key is to make sure they are very thoroughly dried before spraying them. Here’s a great tutorial for making sure they’re ready! https://youtu.be/4_LMl-OfnR8
Hi. I’m new to this. Can you kindly let me know what / where I can purchase a wood slab and what the ideal dimensions for the wood I need for this project should be. Lovely work ! Bravo !
Hello there and thank you so much! I actually was gifted this piece of wood from a coworker but I would search for lumber yards near you and see what they have available! The silicone mold I used is 18x12x2, so I chose a piece of wood that fit snuggly into that size. – Kelly
Such great and clear instructions! Definitely helpful, and makes me want to do this craft.