Hello resin crafters! Today I am excited to share this fun upcycle project with you. In our home we have a nice glass chess set but I am constantly worried about my kids breaking it (because, let’s be real, they are the reason I can’t have nice things.) To fix this problem I wanted to create a new one that they could play on that would be much more sturdy and they could take it to play anywhere in the house. We have an excess supply of tile from when our bathroom was tiled and it occurred to me the other day that it would be the perfect size to make a chess board!
In this post I am going to share how I upcycled an old tile and turned it into a Resin Coated Chess Board. Next month I will show you how you can duplicate all the pieces and make them any colors that you want, so stay tuned for that project in a couple weeks. Here’s how I made this chess board:
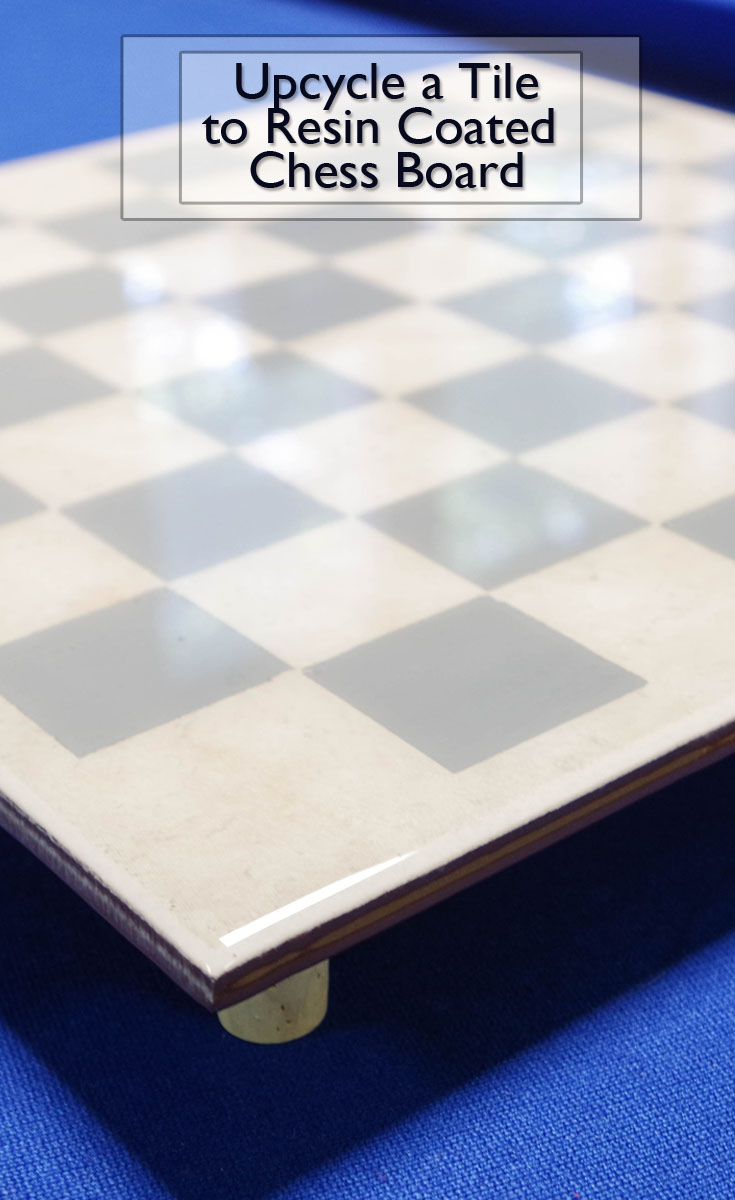
Upcycle Tile to Resin Coated Chess Board
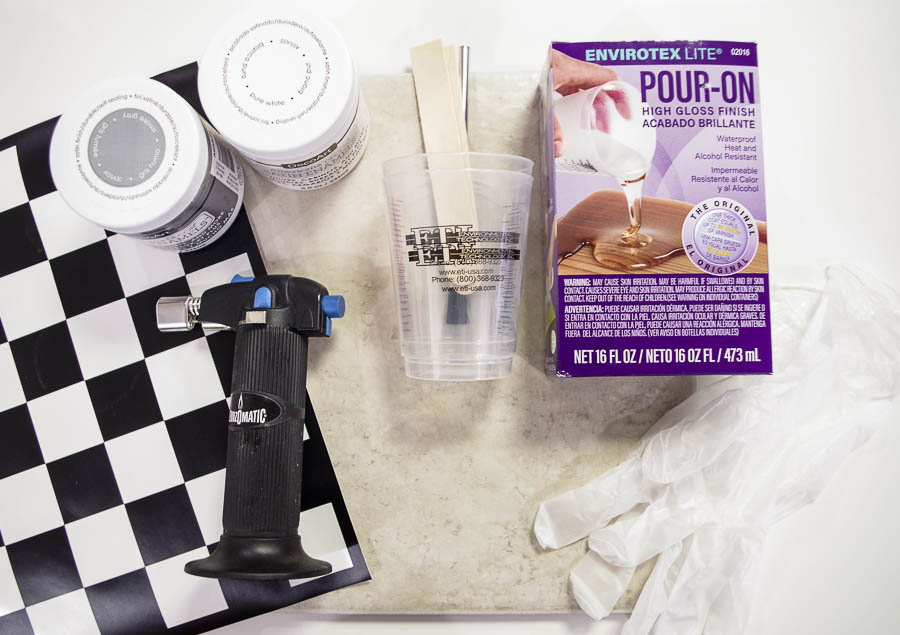
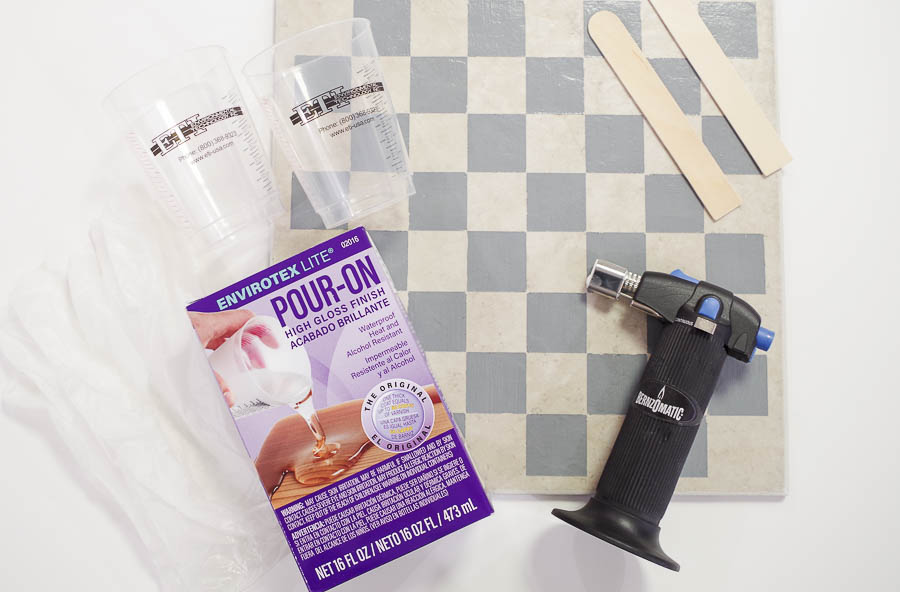
SUPPLIES:
- An old 12″x 12″ tile
- Stencil for chess board (You could also create your own with tape. I used a vinyl cutting machine.)
- Paint and paint brush
- Envirotex Lite Pour On Epoxy
- Disposable measuring cups and stir sticks (2)
- Vinyl Gloves
- Disposable work surface (I used cardboard box)
- Micro-Butane Torch
- Cork pieces for bottom
- Super glue
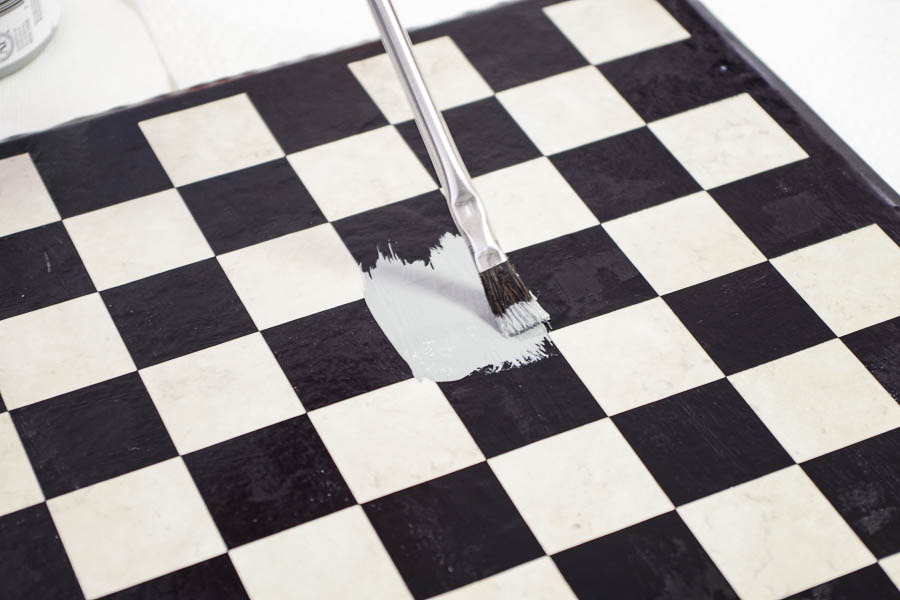
Step One: Paint Tile
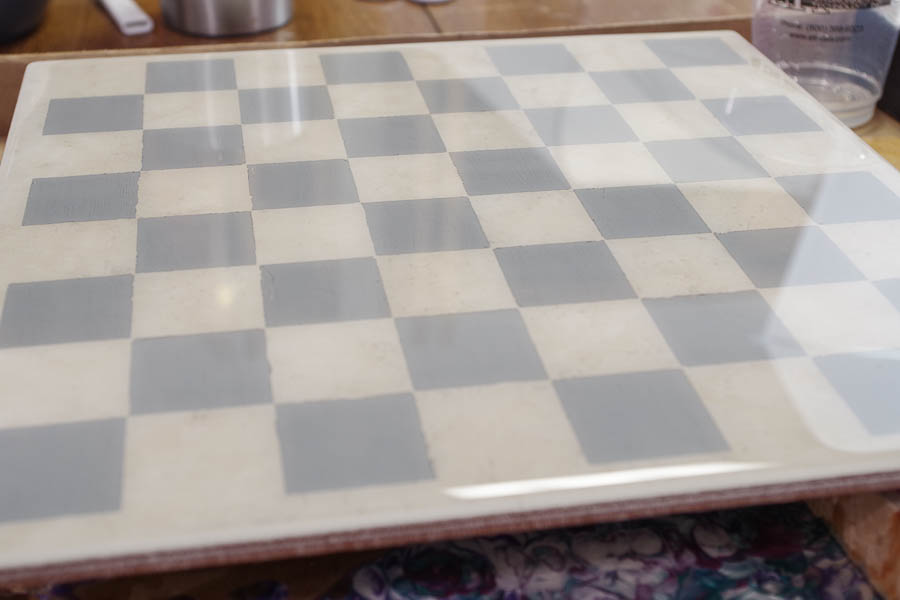
Place your stencil onto your tile and paint it with your chosen paint. I went with a gray paint that matched my tile.
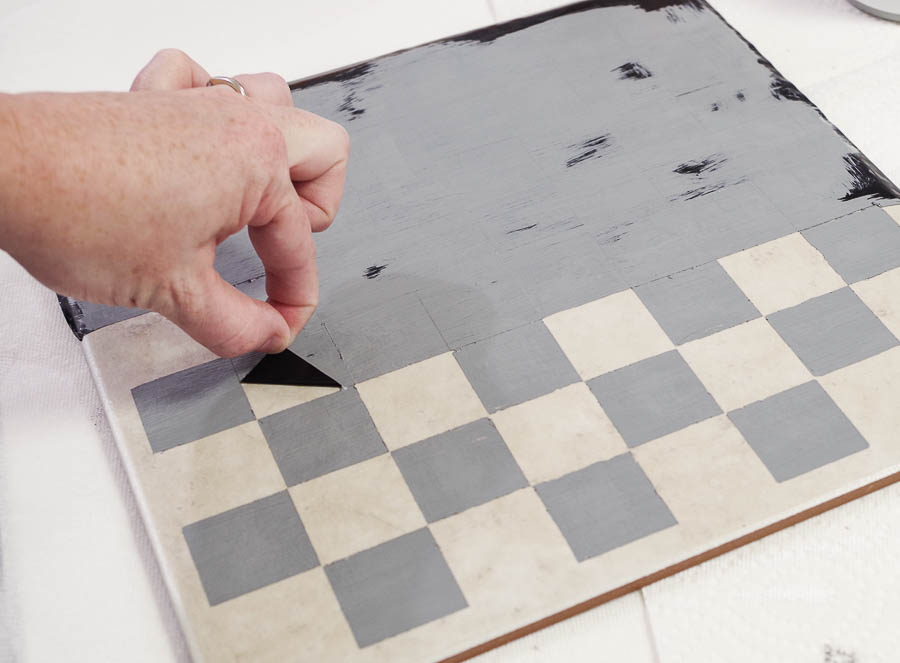
Peel your stencil away from the tile once the paint is dry.
Step Two: Resin
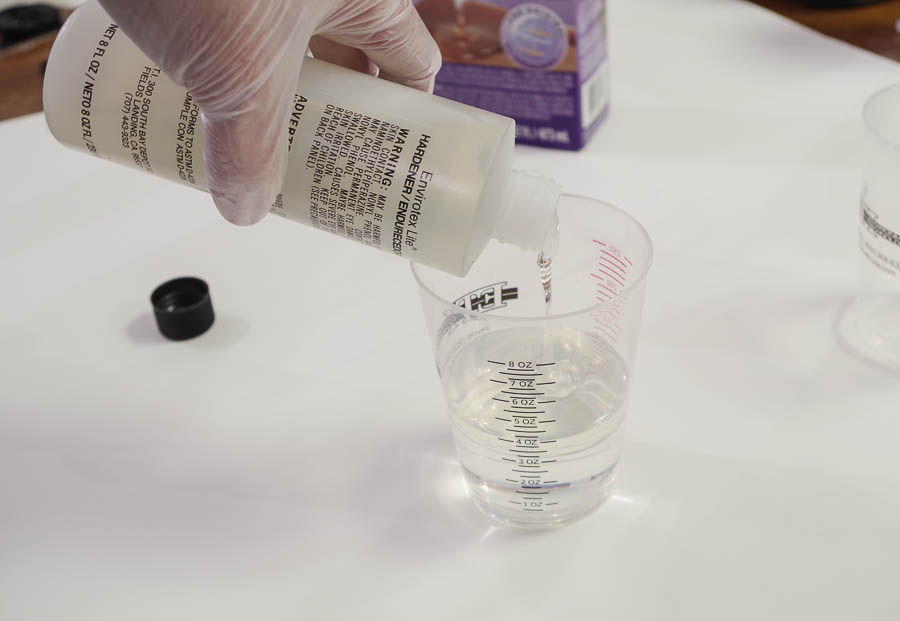
Gather your supplies for the resin portion of the project. You want to have everything close at hand.
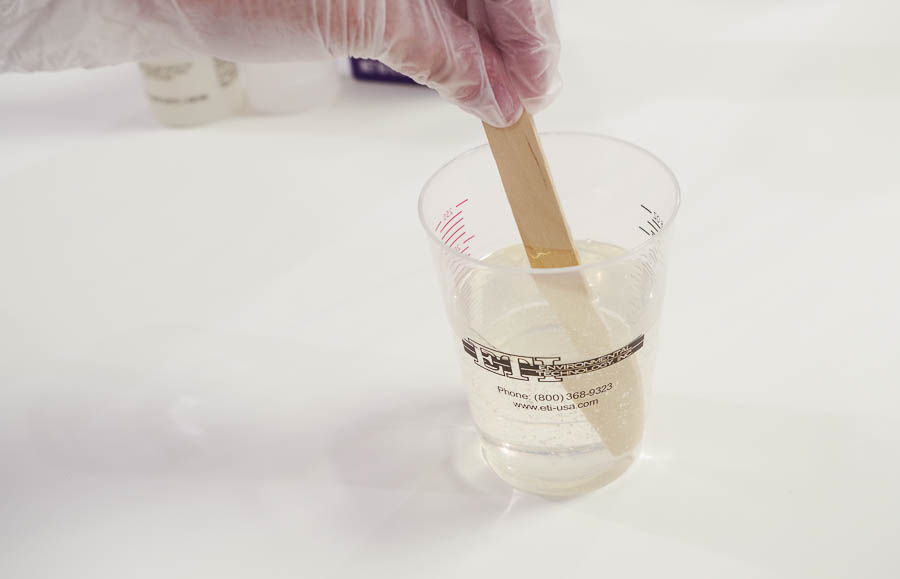
Put on your gloves and begin with the Envirotex Lite mixing. Pour 3 oz. of Part A into a disposable measuring cup.

Pour the same amount, 3 oz., of Part B into the cup.
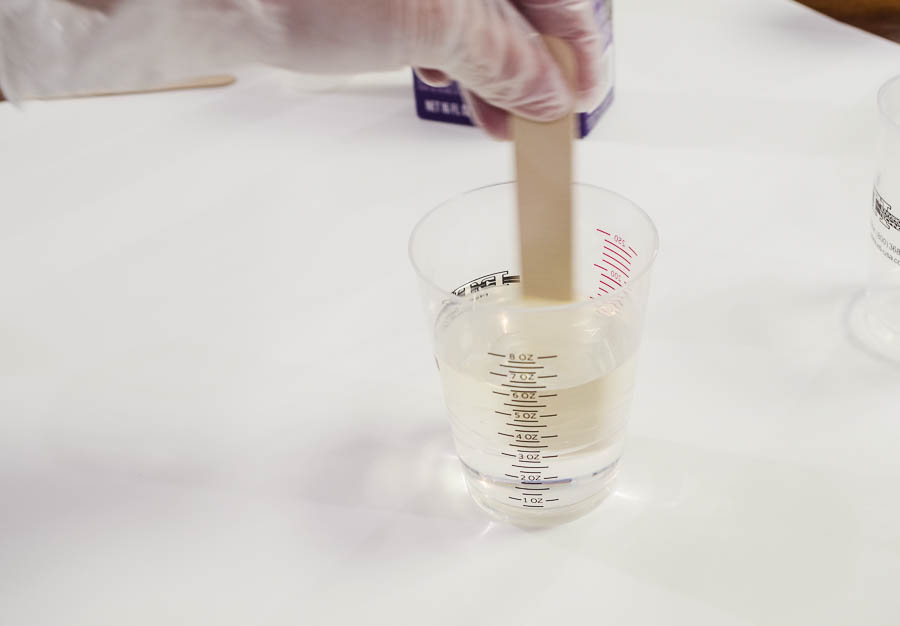
Mix thoroughly with a wooden mixing stick. Stir until the mixture is clear, not cloudy.
Pour the mixture into the second cup and mix again.
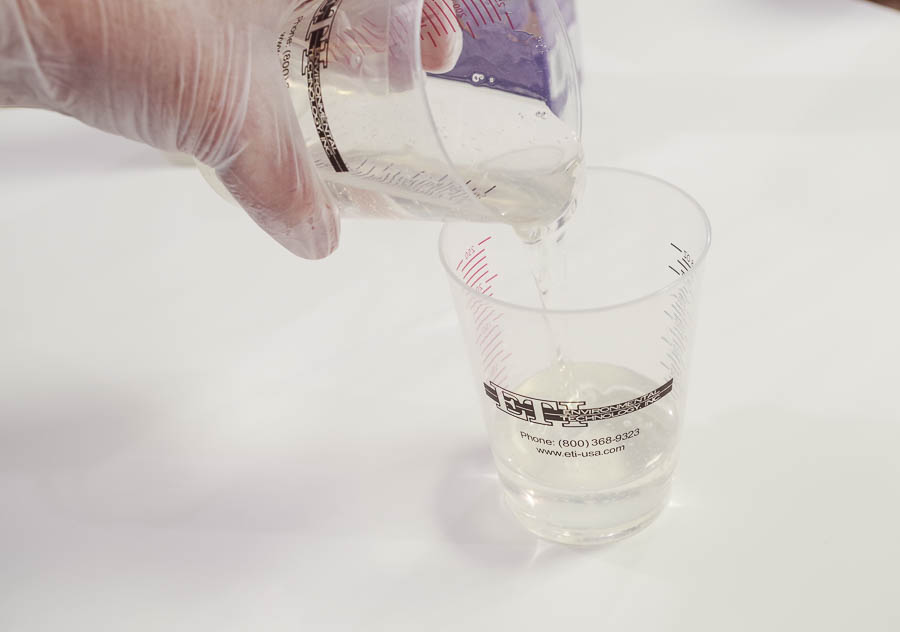
This is called the two-cup method and is important to ensure that the entire amount is completely mixed.
Place your tile over an old cardboard box or some other disposable work surface that will catch any excess resin. As you can see, I’ve used my box for a couple resin pour projects so it has colorful resin in the bottom of it.
Pour the resin onto the painted tile.
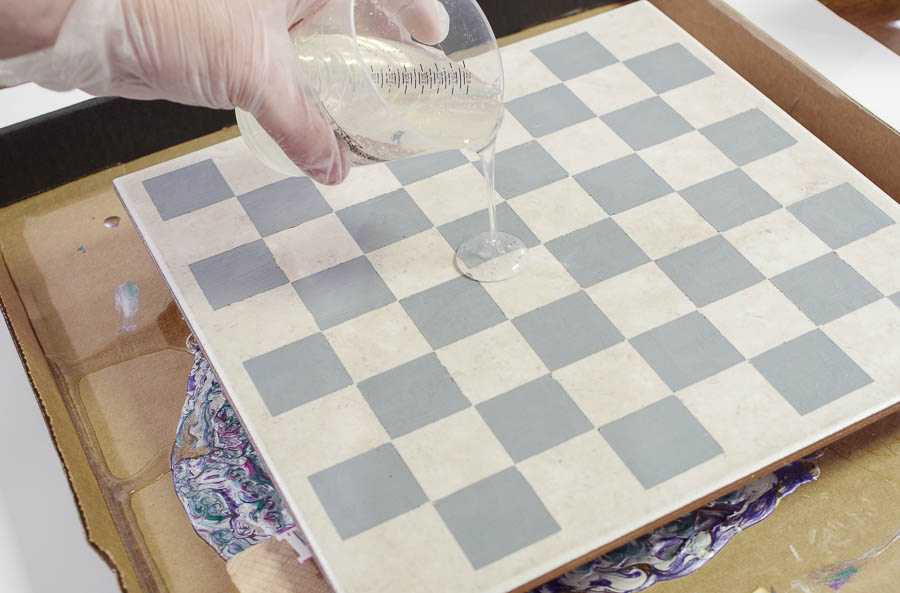
I like to be sure to pour some toward the corners to make it easy to cover the entire tile. You may need to tip the tile slightly to get it to the edges.
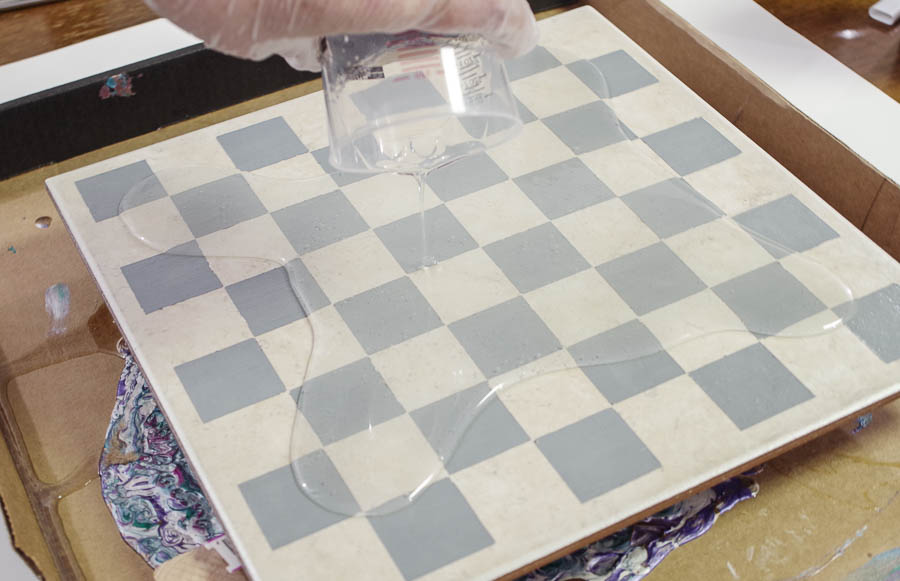
Make sure you completely coat the entire tile, like so.
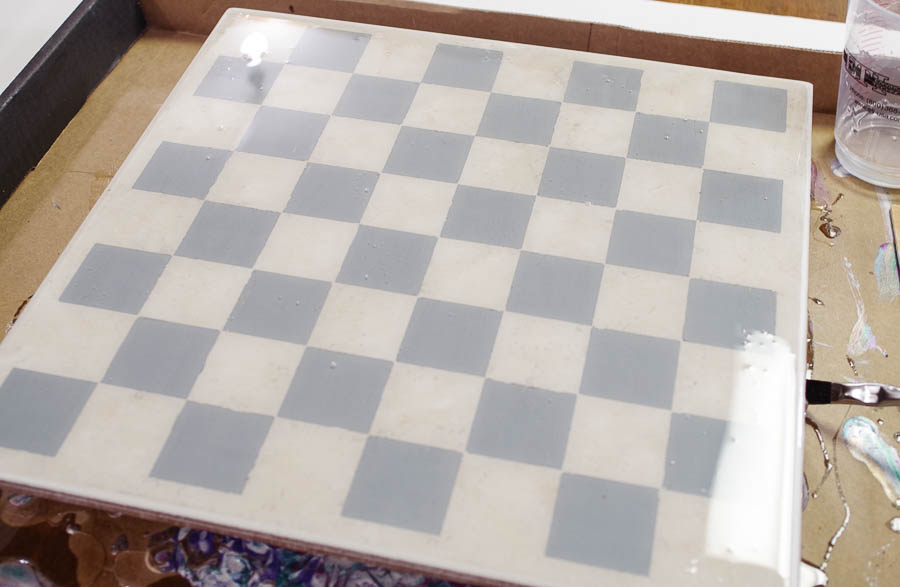
Use your micro-butane torch to pop all the bubbles. Quickly run it over the surface but be sure not to leave it for long because it can burn the resin.

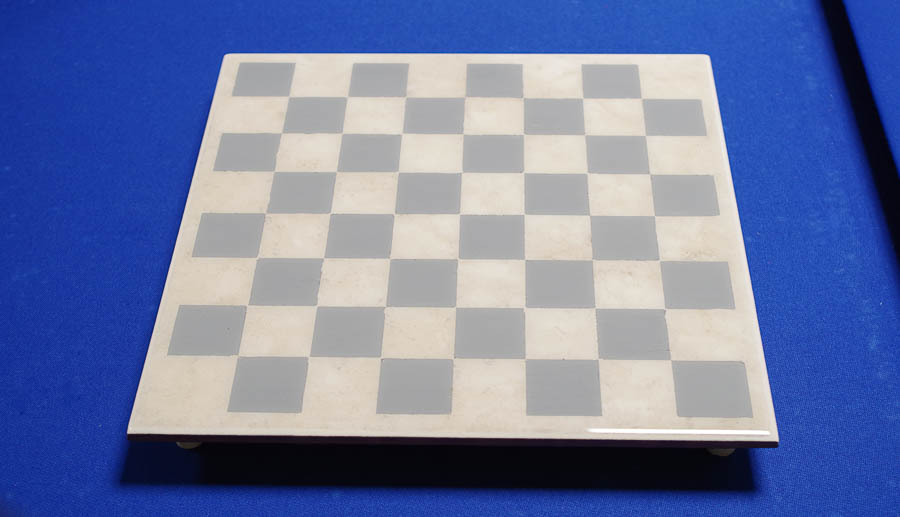
Now that all the bubbles are gone, it’s a beautiful glass-like surface! Make sure it is in a warm and dust-free area and let it cure for 24 hours.
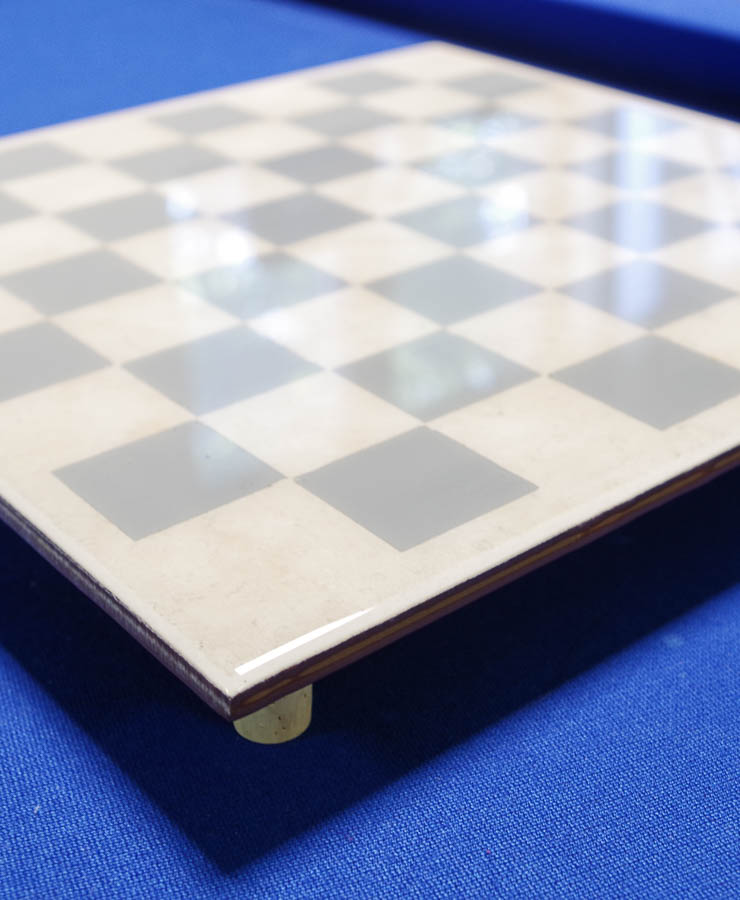
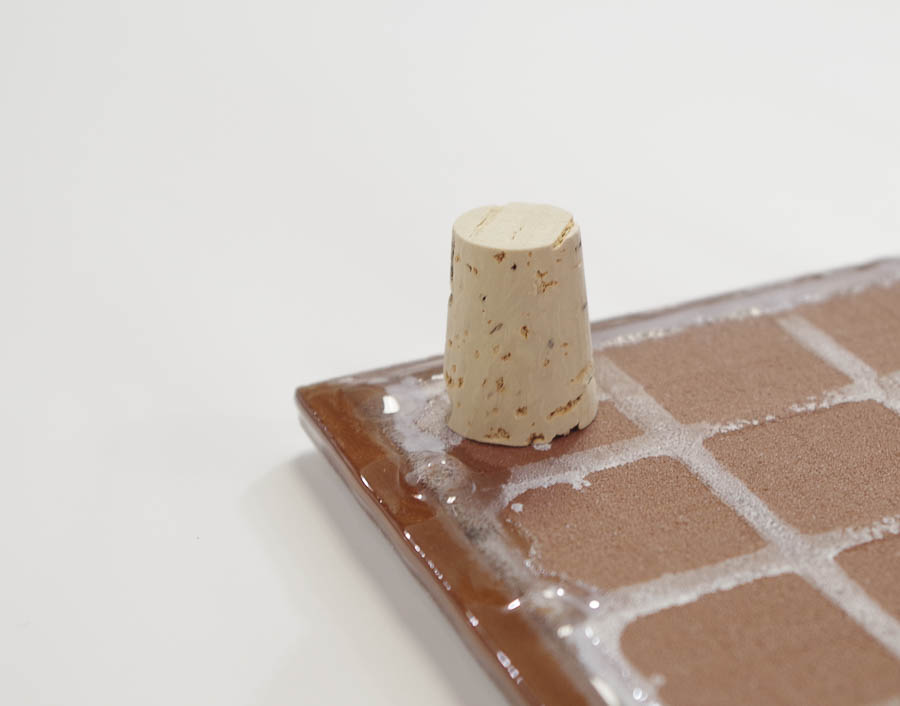
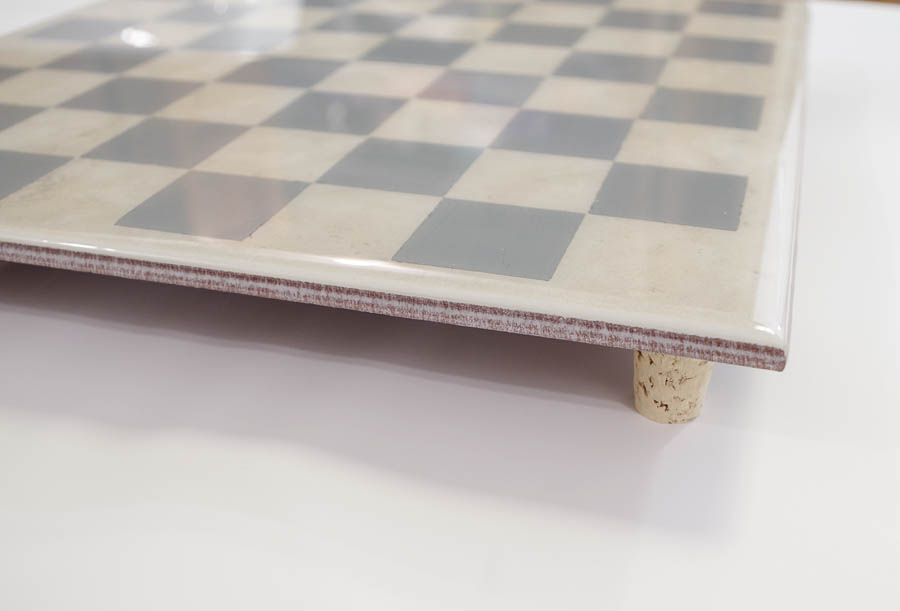
Super glue cork stoppers to the bottom so that it raises to tile off of a table surface making it easier to play anywhere but also preventing scratching any table.
Finished!
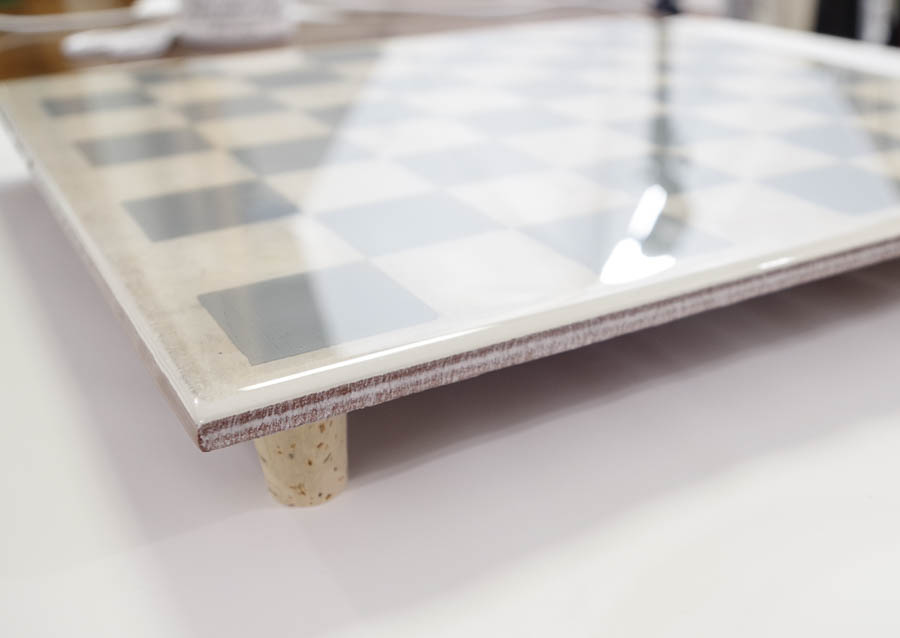
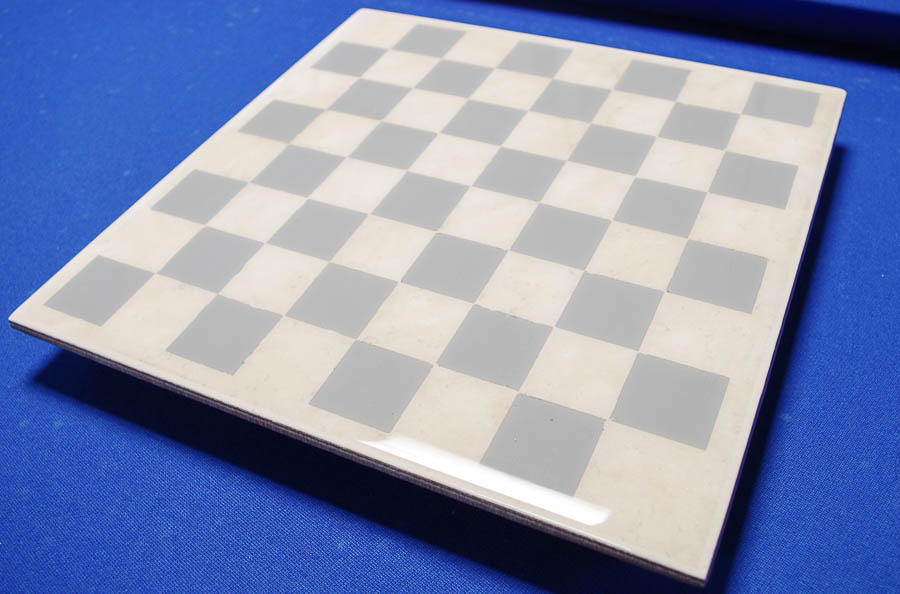
And there you have it! A beautiful, shiny, glass-like chess board that can be moved and played anywhere.
See how perfect and shiny that surface is? I just love it.
Place it on your game table and get ready for an epic chess battle. Just as soon as you create the pieces…I’ll have the full tutorial for duplicating chess pieces next month to add to this board! What colors would you use for each player? Let me know in the comments!
I hope you like this tutorial! Let me know in the comments if you have any questions or ideas for the color of the pieces.
I’d also love it if you’d share this on Pinterest so you don’t lose it (and others can see it!)
Thanks again for reading!
–Sheri
Sheri is a Maker and DIY blogger at Hazel + Gold Designs. She is usually in the middle of multiple projects at once and finds great satisfaction and joy in creating something new. She is constantly learning new skills, putting them to the test, and sharing her experience and knowledge with others. Her favorite hobbies are crafting, painting, crocheting and basic woodworking. Her goal is to inspire others to step out of their comfort zone, learn a new skill and have the confidence to make their life a little more beautiful!


I would go classic with the colors of the pieces, maybe black and grey. I am guessing that you maybe making them out of chess piece silicone mold? I will have to wait and see 😉 Look forward to ypur next post!!! I am not sure if you know of this or not, so I’ll share my favorite resin brand ; Stone Coat Art Resin, it is awesome and with more durable heat resistance and contains the best non-yellowing UV properties. If you haven’t tried it I highly recommend Stone Coat 😉 It is especially easy to use and no VOC’s.
Thank you so much for your comments! I’ll consider those colors for the pieces. It should be fun to make them!
Such a fabulous idea. You are so creative using the resin to protect the chessboard. I like it!
Thank you so much, Cindy!
-Sheri
I was wondering your not concerned about the kids dropping it and the tile breaking. I love what you did and I am waiting for my silicone chest pieces molds to come in so I can make mine. But I wasnt sure what to use to make the board. Does the resin protect the tile if it falls?
Hi Ruta! The resin is very durable! 🙂