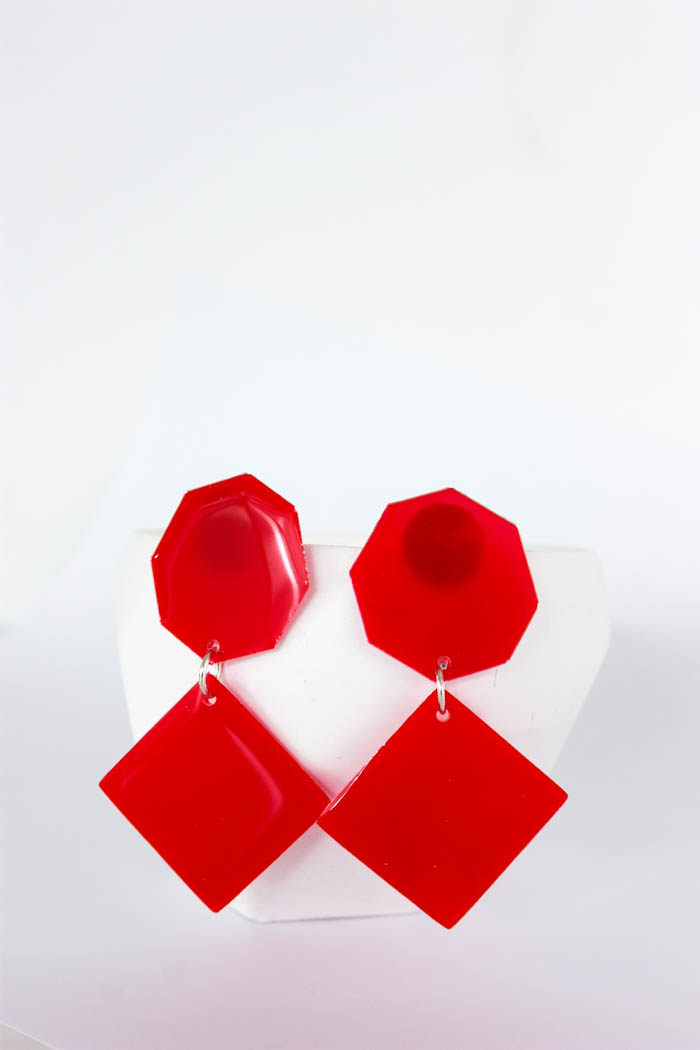
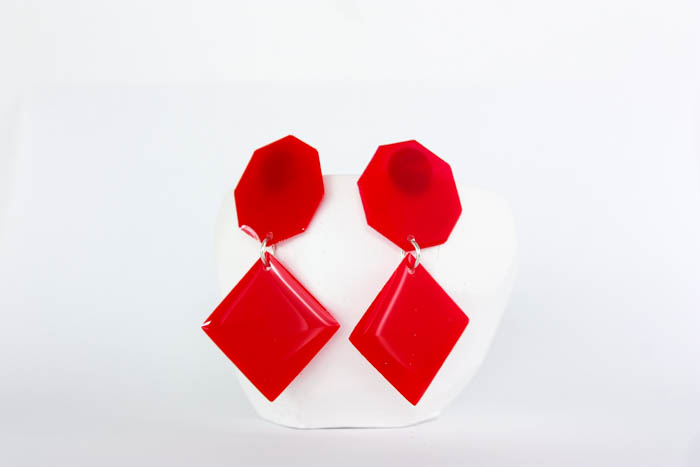
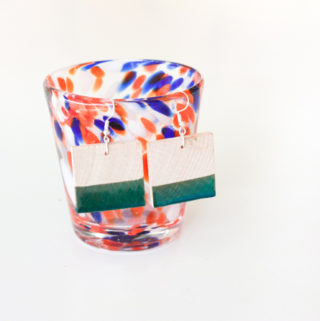
Create beautiful DIY resin statement earrings that are simple to customize in different shapes and colors!
Hey Resin Crafters! Amber Oliver here with another great resin craft. My very first resin craft was my resin dipped earrings, and I feel like I’ve come full circle with this project! When I first started working with resin I was really nervous because there seemed to be so many instructions and I was afraid I was going to forget something and mess the whole project up. After just a few projects, I feel like I’m a pro! Working with resin is actually pretty simple once you get the hang of it and WOW are the possibilities endless as far as what you can CREATE! These DIY statement earrings took minutes to make and are so easy to customize. Make a pair in every color!
SUPPLIES NEEDED FOR RESIN STATEMENT EARRINGS:
- EasyCast Clear Casting Epoxy
- Castin’Craft Opaque Pigments in the color of your choice
- Earring posts with backs
- Jump rings
- Molds
- Mixing Cups
- Stir Sticks
Step 1: First, prepare the EasyCast Clear Casting Epoxy. This is a multi-step process so don’t start mixing until you are ready to do the whole process from beginning to end!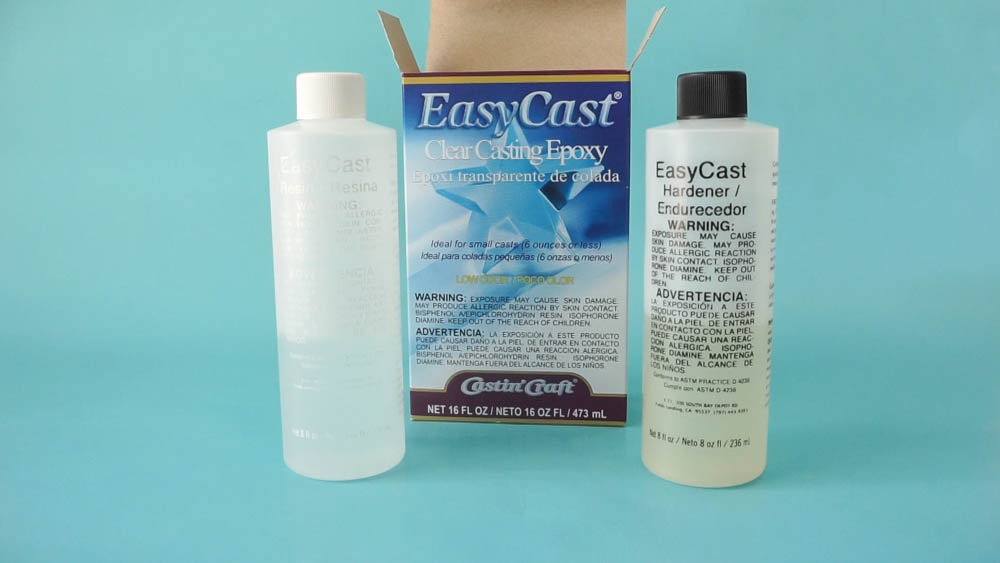
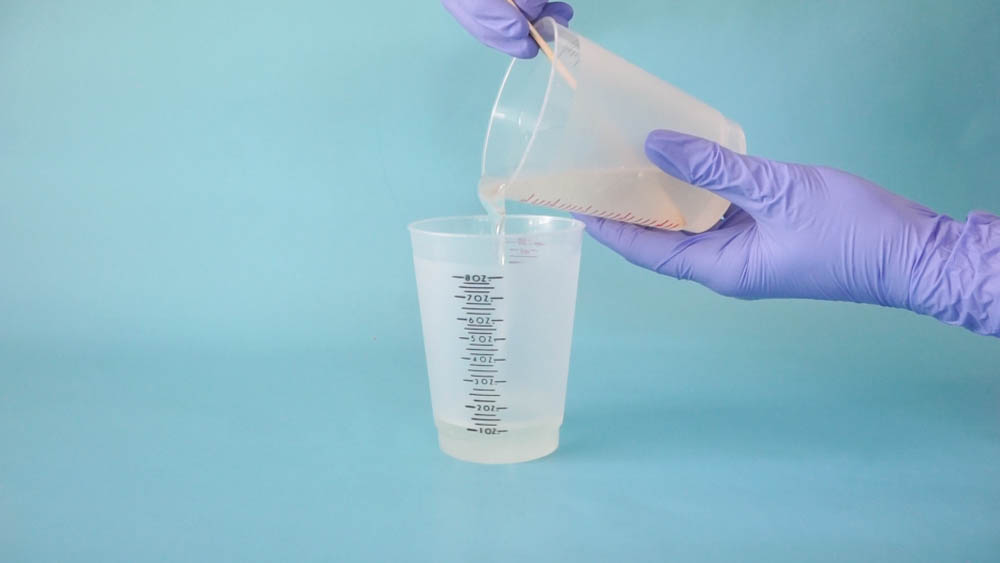
Start by mixing EQUAL parts of the Hardener and the Resin.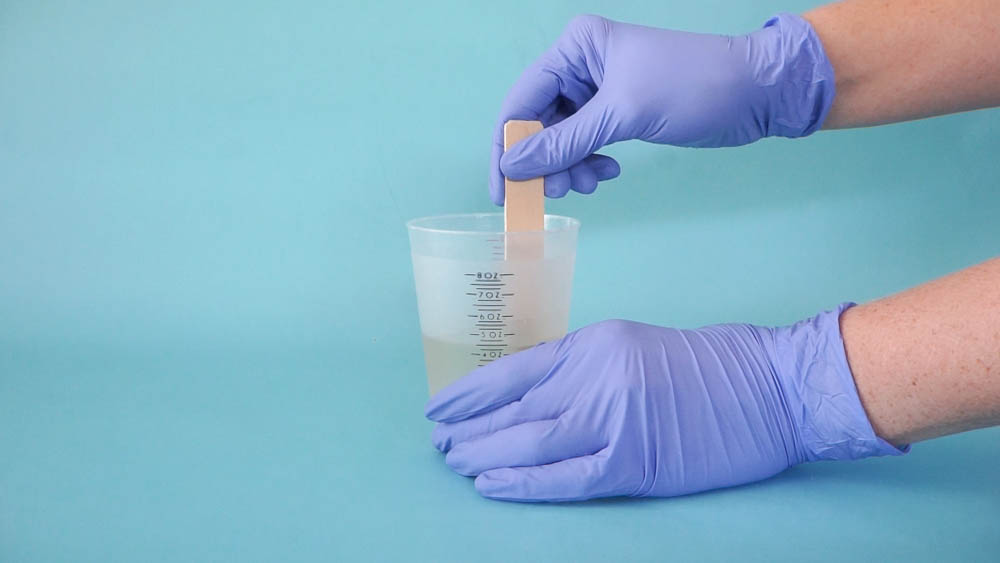
Stir for two minutes (be sure to scrape the bottoms and sides) then pour from the first cup into a second and mix with a new stir stick for another minute.
Step 2: After your mixture is ready, pour into two smaller cups and stir in a few drops of Castin’Craft Opaque Pigment so you’ll have earrings in the color of your choice!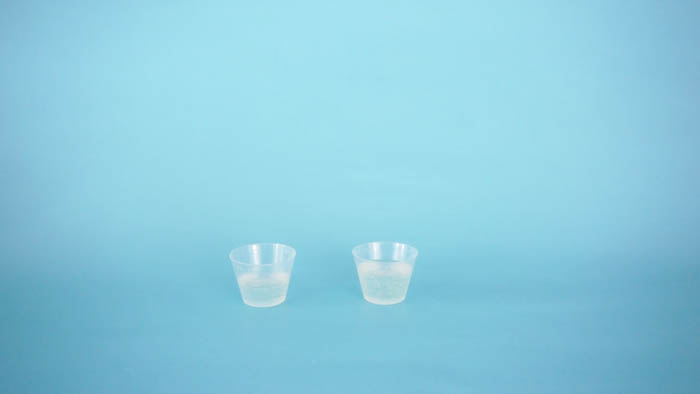
I tried both the translucent and opaque pigments and like the opaque one better! 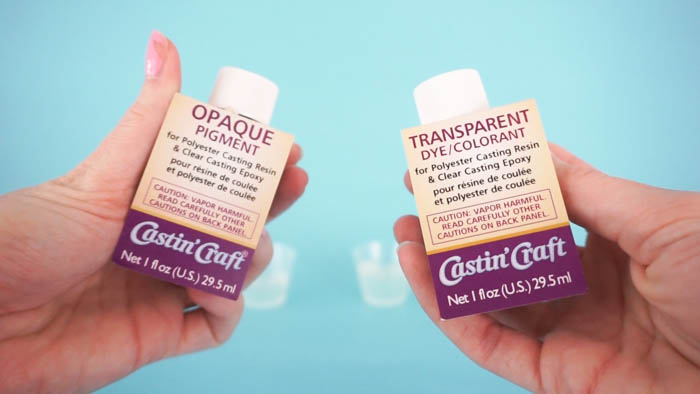
Step 3: Now it’s time to pour into your molds. Pour slowly and only a small amount so your earrings aren’t too thick!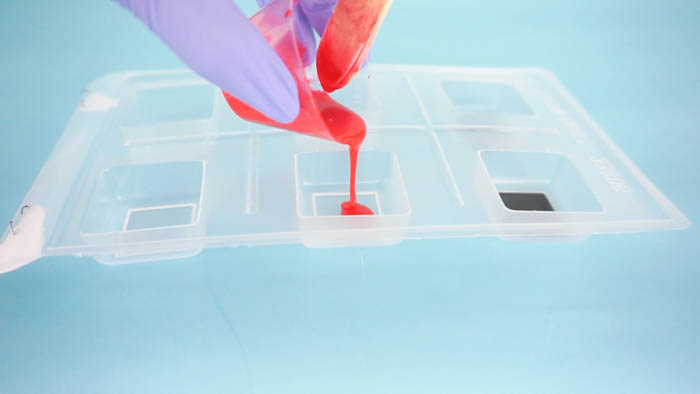
Step 4: After you’ve allowed enough time for the resin to cure, you can remove from the molds.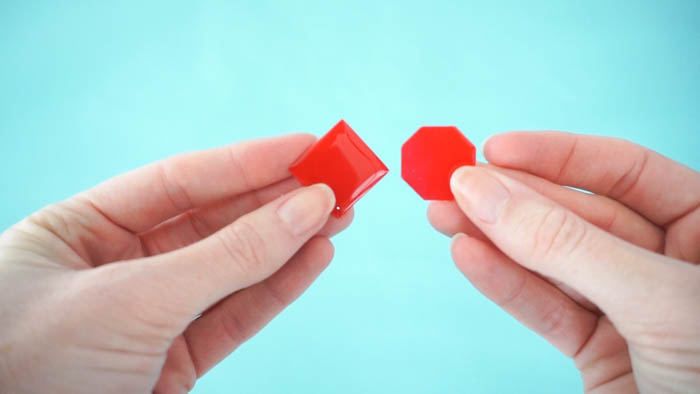
Step 5: For the dangling statement earrings: drill a small hole in the bottom of the top piece and in the top of the bottom piece.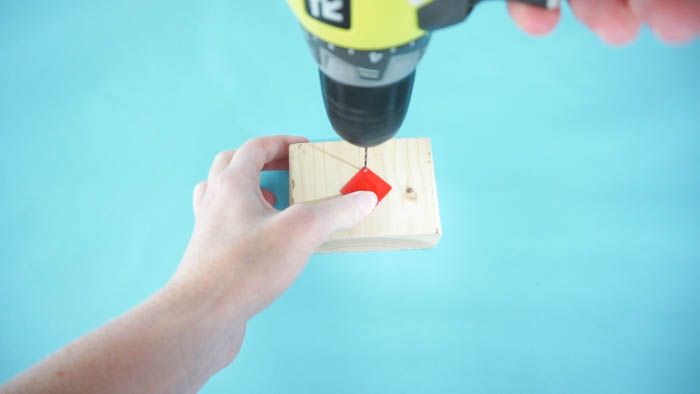
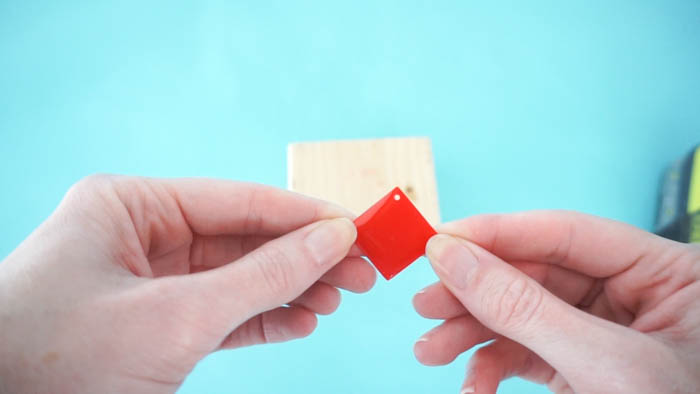
Step 6: To connect the pieces, use a small metal loop (these are called jump rings!)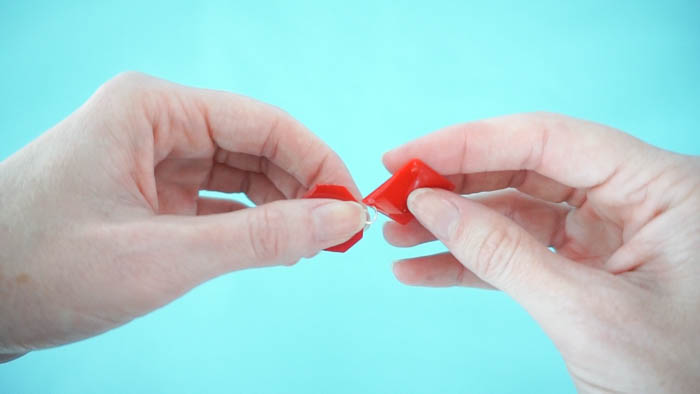
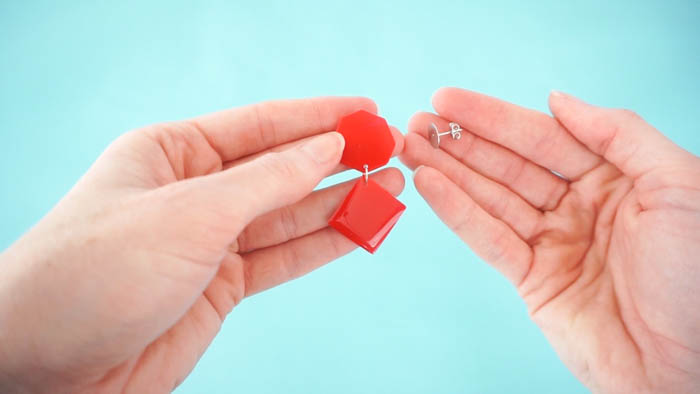
Step 7: Lastly, glue earring posts onto the top piece!
Amber Oliver is a DIY and lifestyle blogger who shares easy DIY tutorials, colorful crafts, and more on her blog, Amber Oliver. She’s a native Oklahoman living “in the loop” in Houston, TX with her husband and dog. She’s an avid reader, world traveler, loves Tex Mex food, and creating everything from woodworking projects to websites. She focuses on budget friendly projects for the home and empowering women to try new things.
Such an inspiring project. Im glad you told us opaque colors work better for the earrings. You need opaque for the top piece to hide the post. TY, creativity is the only limit for this project.
Thank you for your comment! I hope you make some beautiful pieces 🙂