I’ve been getting quite frustrated each time I go into my jewelry drawer and pull out a tangled mess of necklaces. Now, with just a piece of wood and some resin, I have a pretty rustic glam jewelry organizer to quickly get to my accessories.

Hello crafty friends. This is Jane from Sustain my Craft Habit, a DIY, craft and home decor blog I write with my sister Sonja.
Although we’ve loved exploring new and creative ways to use resin over the past couple of year, one of my favourites is for jewelry making. EnviroTex Jewelry Resin is so versatile and has inspired a number of lovely pieces including:
-
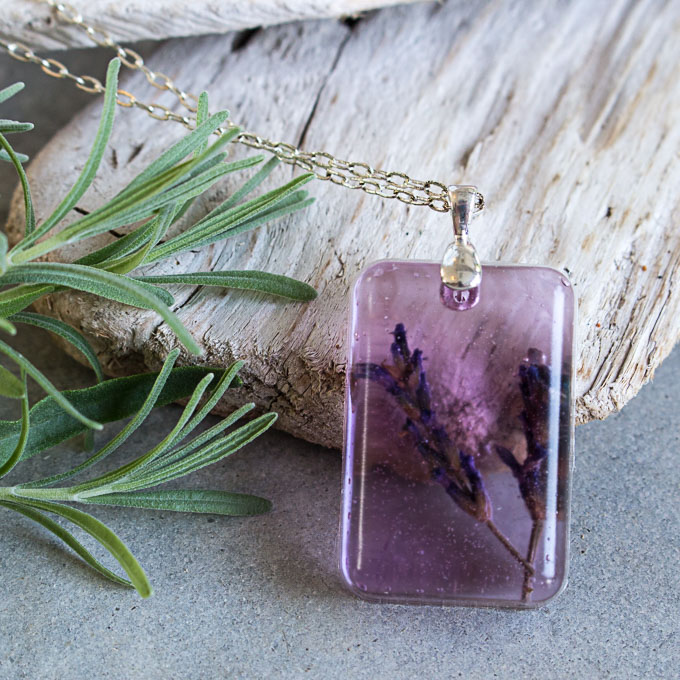
- Lavender Pendants
-
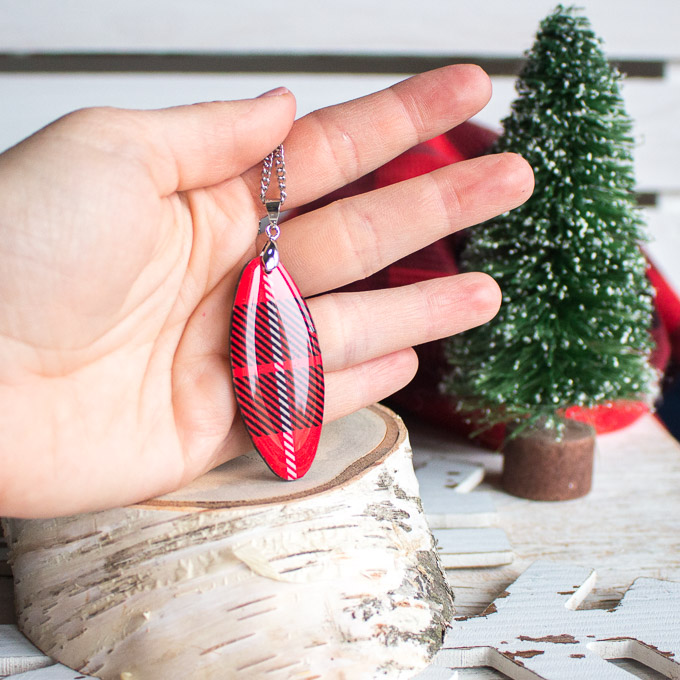
- Buffalo Plaid Jewelry
-
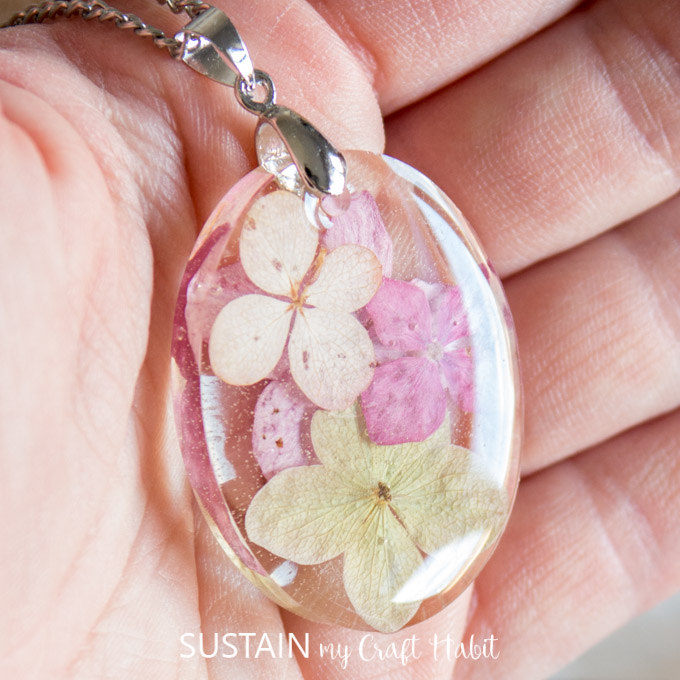
- Hydrangea Pendants
-
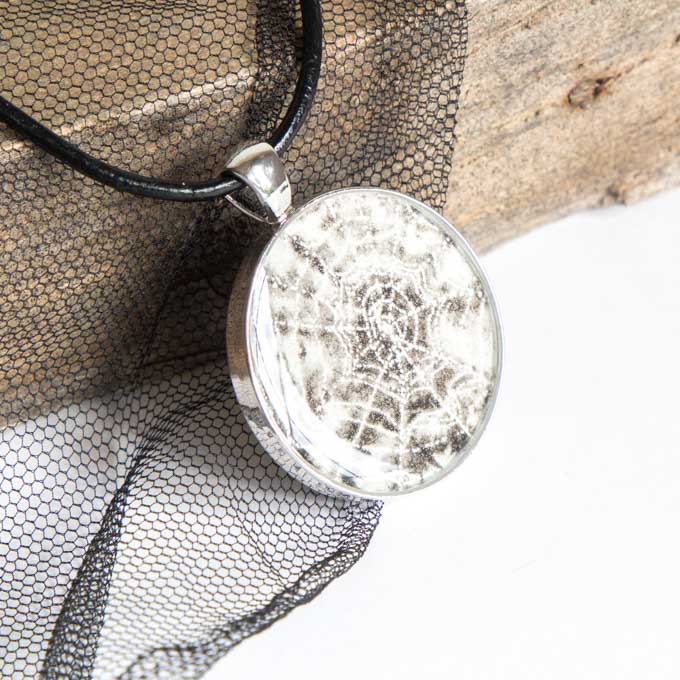
- Spider Web Pendants
-
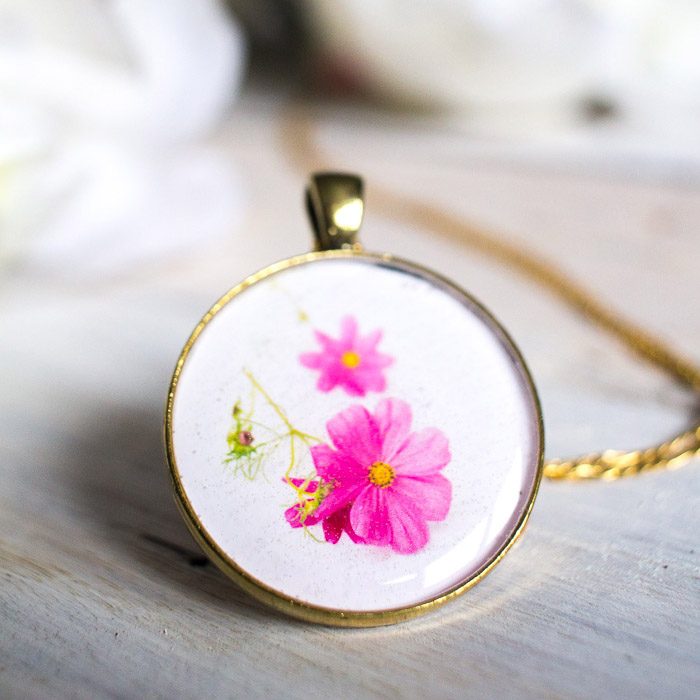
- Birth Month Flower Pendant
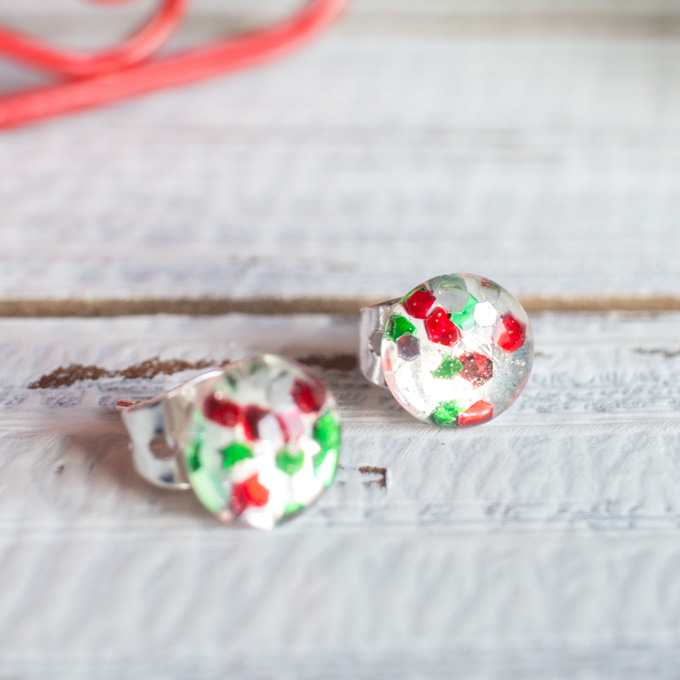
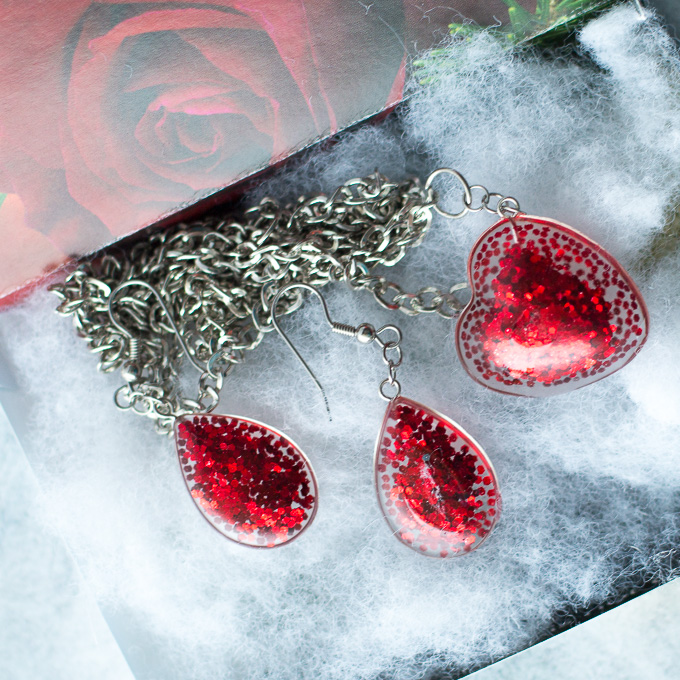
The possibilities are truly endless! One of the simplest ways to make beautiful resin jewelry is with glitter! Last Christmas we made glittering sets of Christmas stud earrings and necklaces which I gave to my nieces as presents. We’re also used red glitter to make dangle earrings and pendants for Valentine’s.
I had a bit of resin left over from our recent Buffalo Plaid Christmas jewelry project. I always have an extra mold on hand to use up any leftover resin. In this case, I poured the resin into a mold I intended to make more earrings with, and then sprinkled some multi-coloured glitter over top. Once cured, I set them aside to use later.
These glittering little gems came to mind when I started thinking about making a jewelry organizer. I contrasted the glam of the glittering resin with a piece of painted and distressed wood to create a truly unique organizing idea.

Materials needed to make your own rustic glam jewelry hanger:
- Wood plaque
- Chalky finish gray paint (we used Decoart Chalky Finish in Relic) and brush
- Fine sand paper
- EnviroTex Jewelry Resin
- Small plastic measuring cups
- Gloves, wooden craft sticks, paper towels, straw
- Stud earring jewelry mold
- Multi-colored glitter
- 12 small flat-head screws and screwdriver
- E6000 Jewelry adhesive
- Eyelets
- Twine

How to make a rustic glam jewelry hanger:
Preparing the wood plaque
Gently sand down any rough areas of the wood plaque. Paint with one coat of grey paint. Let dry.

Lightly distress areas of the painted plaque with sandpaper, focusing on the edges. Wipe off any paint dust.

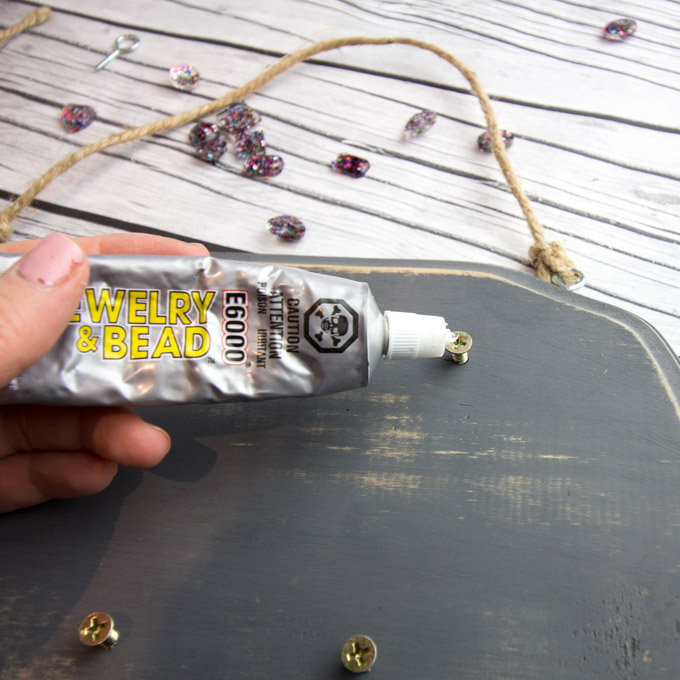
Add eyelets and twine to the top of the plaque for hanging.

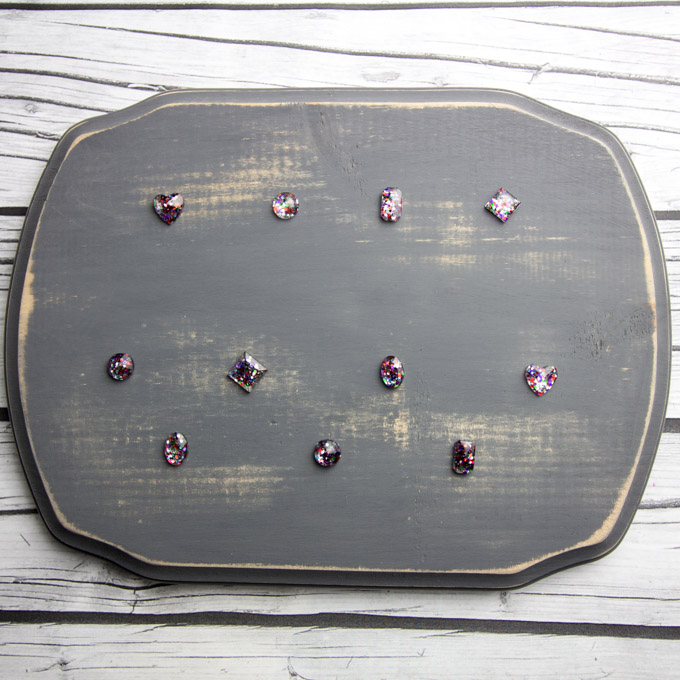
Plan out the positioning of the posts. Attach the flat-head screws into place.

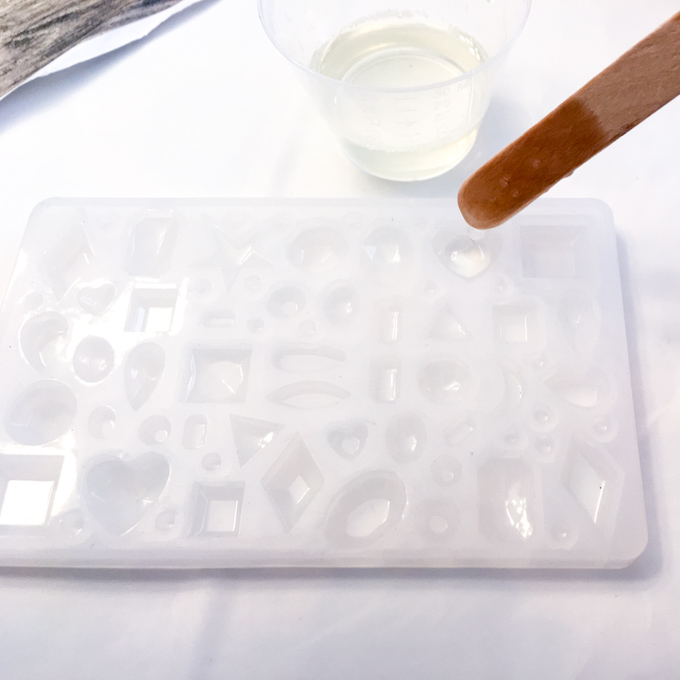
Pouring the Resin
Work in the well ventilated area and be sure to read all the instructions on the products before beginning your project. Protect your work surface.
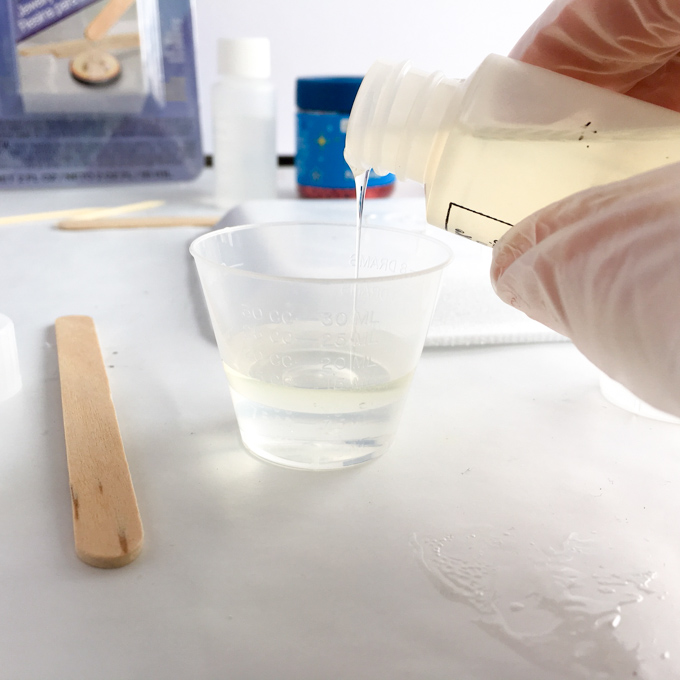
Mix exactly equal amounts (¼ ounce of each) of Resin and Hardener into one measuring cup.
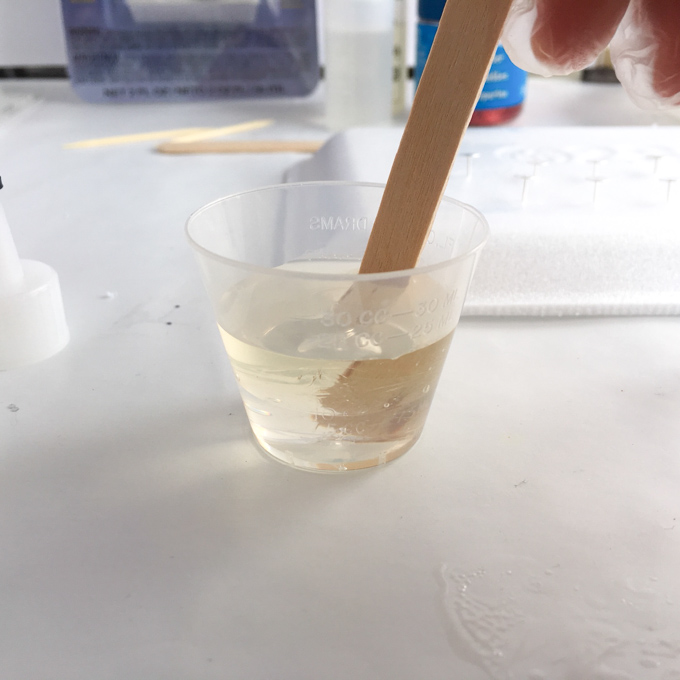
Stir continuously for 2 minutes, scraping the sides of the container.
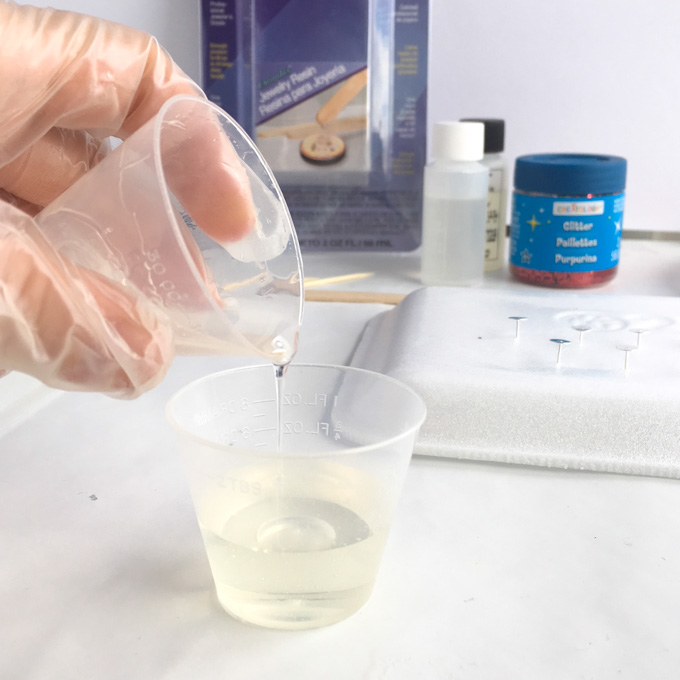
Pour the mixture into a second cup and stir for an additional minute, scraping the sides of the container and stir stick.
Using the stir stick drop small amounts of the resin mixture to fill the compartments of the jewelry mold.
After about 15 minutes, pop any small bubbles that rise to the surface of the resin using by gently blowing through a straw.
Generously sprinkle the surface with multi-coloured glitter.
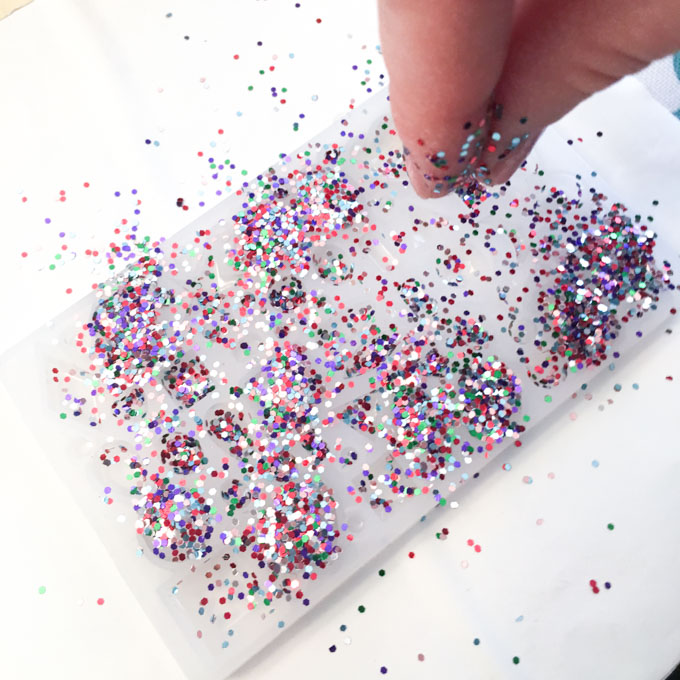
Cover the pieces to keep dust out and let cure overnight. 24 hours for a soft cure and up to 72 hours for fully cured jewelry.
Once fully cured, glue the resin jewels onto the head of the screws.
I’m so happy with how this rustic glam jewelry hanger turned out.
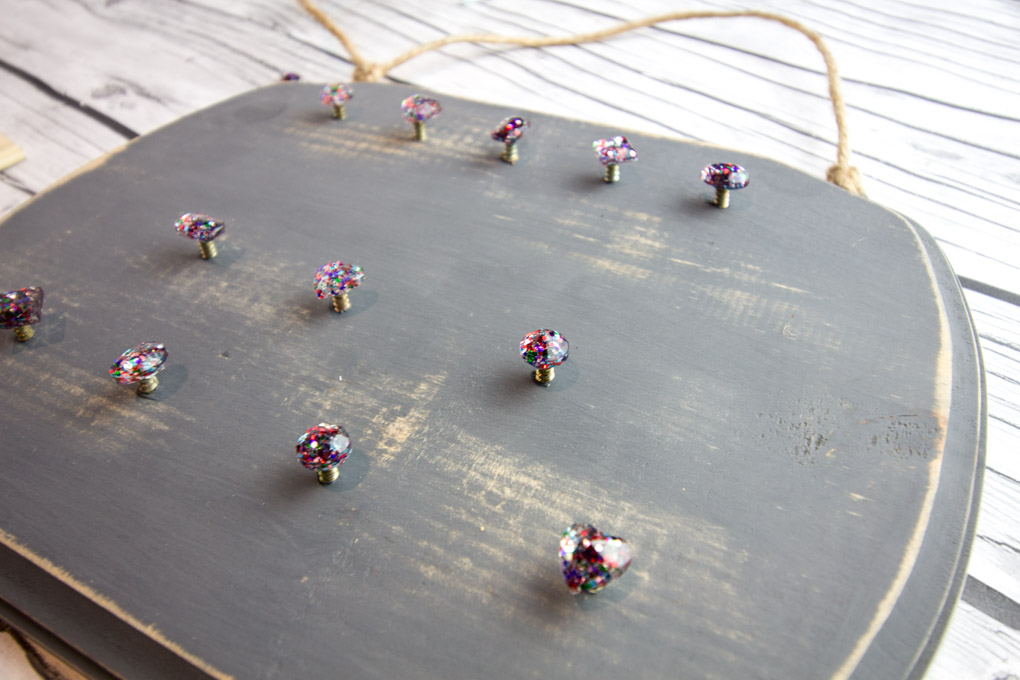
The glittering caps along with the distressed wood look like an art piece on their own! And with my jewelry added on, the piece looks extra-special.

I laid out the posts so that I could hang some shorter pieces such as earrings and bracelets on the top and the longer necklaces on the bottom.

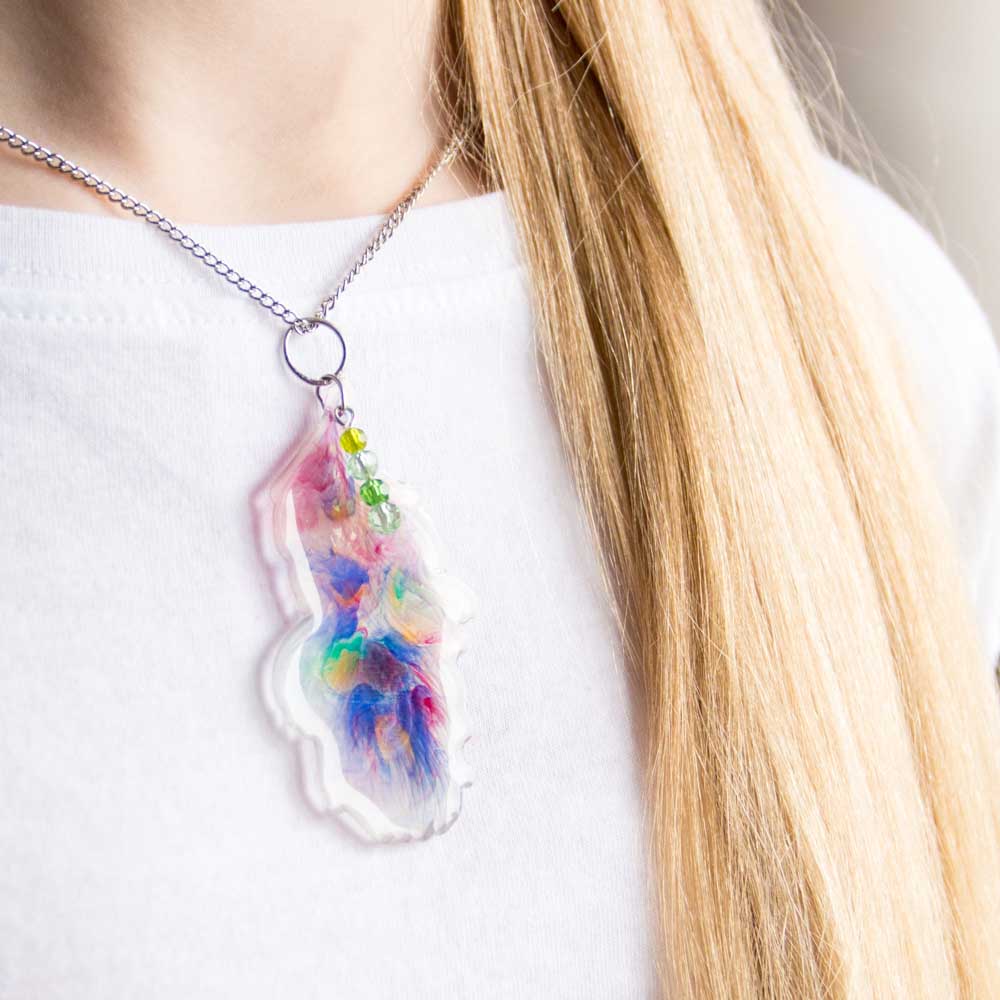
Can you spot my resin hydrangea pendant and feather pendants? 🙂

For additional creative home organization ideas, come see how we transformed a tissue box to a decorative storage box and organized Sonja’s closet with a new shelving system.
Do you have any tips for keeping your jewelry organized?
Like it? Pin it for later!

Jane and Sonja are sisters, moms and lifelong craft addicts both living near Toronto, Canada with their families. They share their love of creativity, nature and coastal DIY ideas on their blog Sustain My Craft Habit. They craft and decorate their homes using repurposed and upcycled items and materials found in nature.


Leave a Reply