I am always on the look out for items to pour resin in….and use up some of the supplies I have on hand. I found some 8″ x 8″ wood pieces at Michael’s that would be perfect and created a decorative trivet using EnviroTex Lite®.

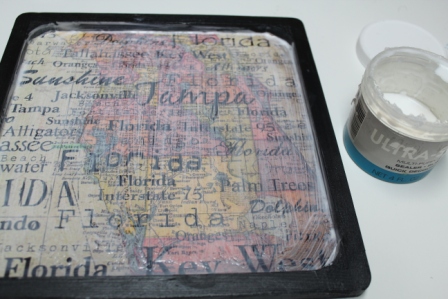
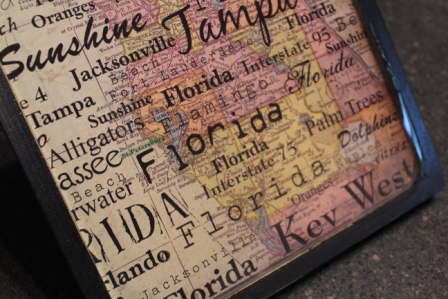
Here is photo with some of the supplies I used in this project. I found this piece of scrapbook paper in my supplies with the state of Florida on it, which I knew would be perfect to use to create a trivet for my mom as she lives in Florida.
Materials:
- EnviroTex Lite®
- Ultra-Seal™
- Paint, black
- Wood frame, 8″ x 8″
- Wood knobs, 3/4″ (4)
- Paper trimmer
- Mixing cups
- Stir sticks
- Craft glue
- Craft brush
- Paint brush
- Lighter
- Highlighter (optional)
Please note: I used the highlighter to highlight where my mom lives on the map.
Project Instructions:

Paint the knobs along with the back side and edges of the wood piece. Let dry. Glue the knobs onto the bottom of the wood , about 1/2 inch away from the corners. Trim the paper to fit into the bottom of the wood. Apply the Ultra-Seal™ to the bottom of the wood and back side of the paper then, adhere the paper to the wood. Let dry.
Apply a generous coat of Ultra-Seal™ to the top side of the paper. Let dry. Repeat and let dry overnight.

Measure out equal amounts of the resin and hardener, stir together for 2 minutes.
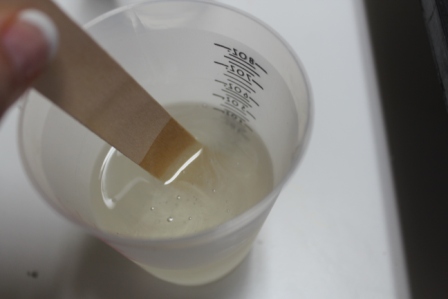
Pour into a second cup and stir for another minute.
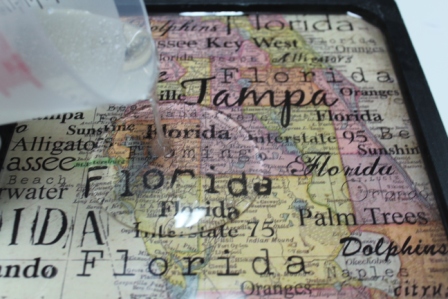
Pour resin onto the surface.

Use a lighter to remove any air bubbles that rise to the surface. Let dry for 12 hours. I did a thin layer and repeated with two more layers of resin.
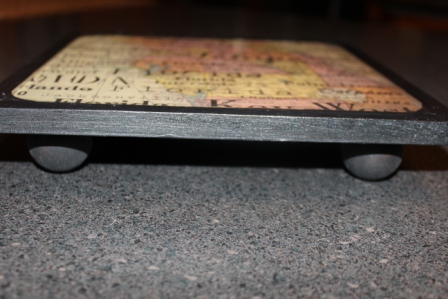
From this angle you can see the knobs work perfectly for feet on the trivet.

I will set this aside for 72 hours to cure completely. While it is decorative, it can be used for a tea pot, or with something warm. I would not use it to put a pan that comes directly out of the oven.
This is a quick and easy project that would make a great gift as you can personalize it for the person you would be giving it to, just like I did! Enjoy!!


This comment has been removed by the author.