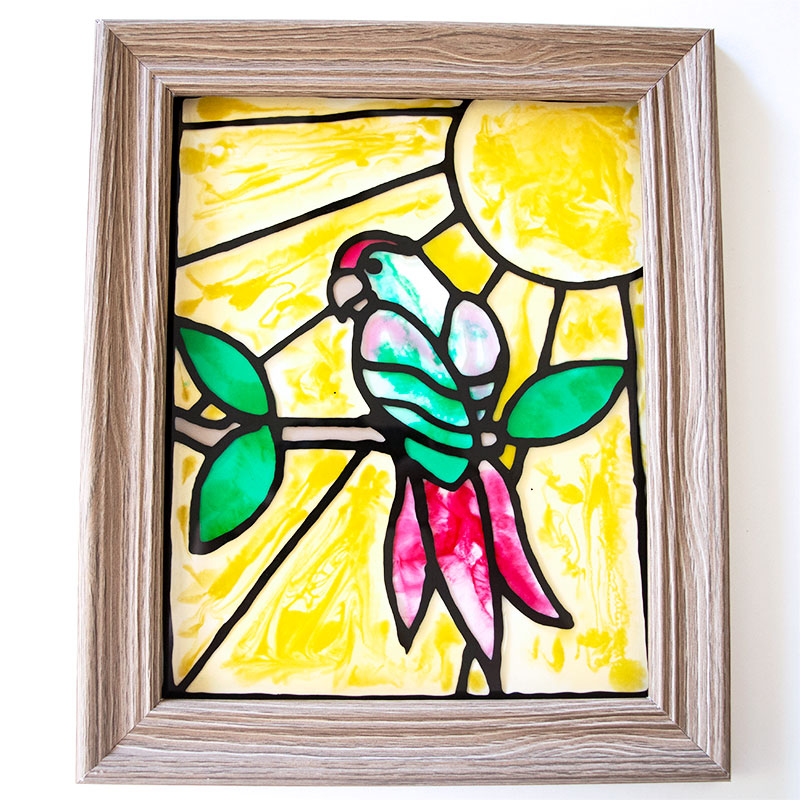
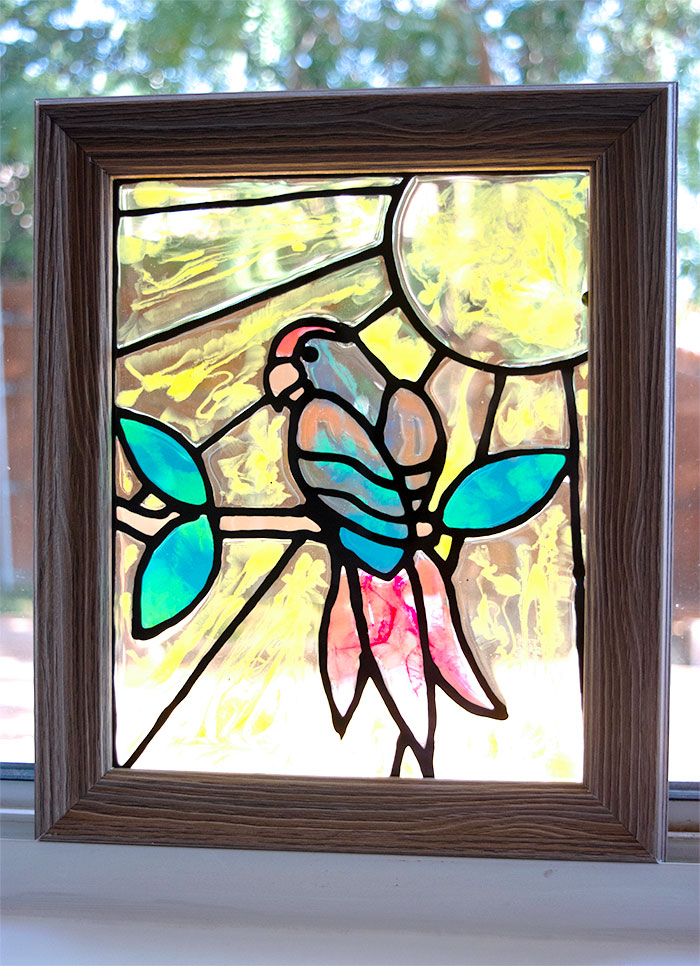
Hello, Resin Crafters! I think that stained glass suncatchers are so beautiful. Making your own real stained glass is very difficult though, and sometimes finding a suncatcher that matches your style or decor can be near impossible or very pricey. I’m so excited today to show you how you can make your own easy, custom, faux stained glass suncatcher with Envirotex Lite Pour-On Epoxy!
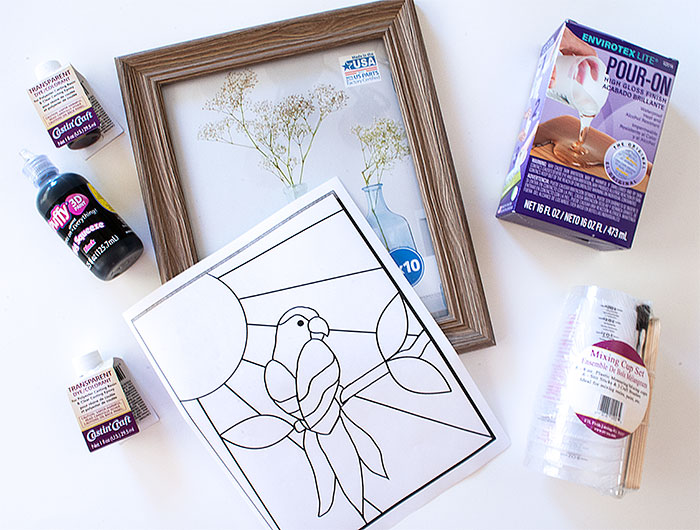
Faux Stained Glass Suncatcher Supply list:
- EnviroTex Lite Pour-On Epoxy
- Picture frame with removable glass or Glass panel in the size you’d like
- Printed design outline
- 3D Puff Paint
- Transparent Dye and Opaque Pigments
- Mixing Cups and Stir Sticks
- Safety Glasses and Gloves
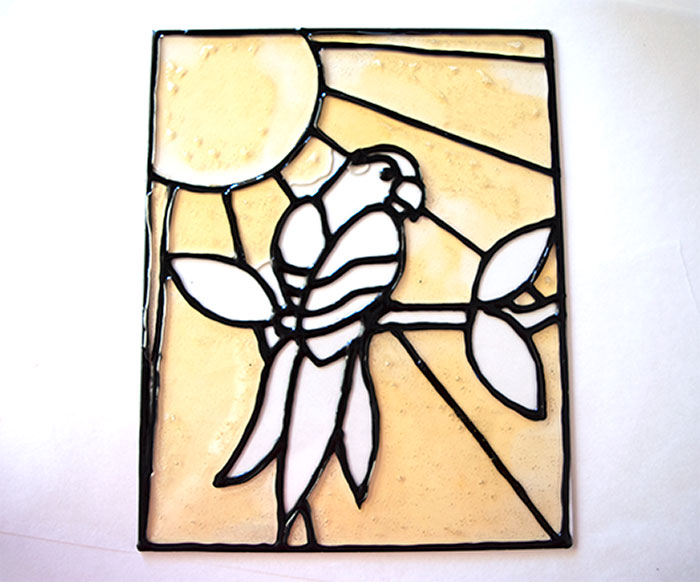
The first step in this project is to find or create a design you love. You can draw one yourself, or you can find free templates by searching for stained glass design outlines. I created my own using my pet parrot as inspiration. Print out the design in the same size as the glass piece you are choosing to work with. Mine is 8×10
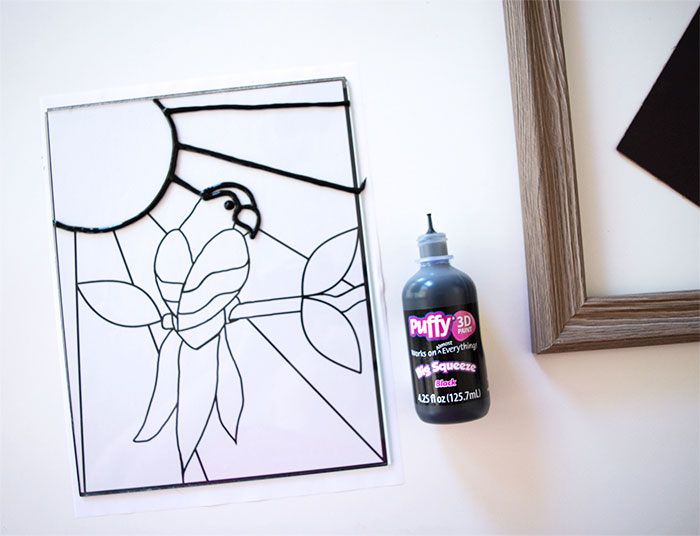
Remove the glass from the frame and make sure it’s nice and clean. Place your design under the glass and trace it using the puff paint on top of the glass. Allow the puff paint to dry for at least 4 hours before moving on to the next step.
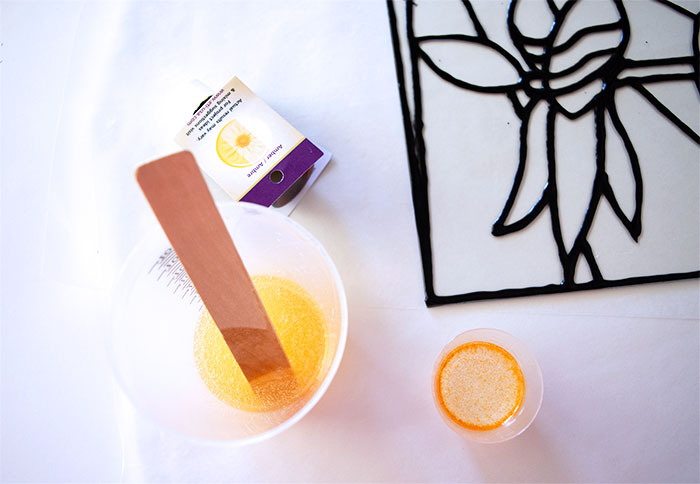
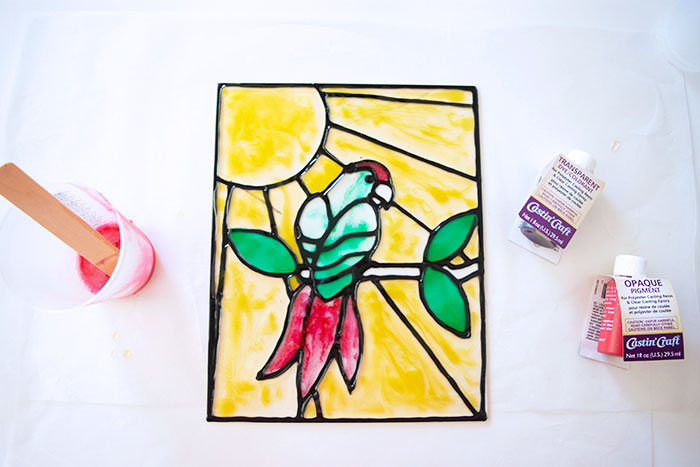
Once the puff paint is dry you will need to mix your Pour-On Epoxy. This project requires very small amounts of epoxy. Mix 1/2 – 2oz of each color depending on the size you’ll need to cover. Follow the instructions on the packaging carefully. Combine equal parts of the Resin and Hardener and stir for 2 minutes. After 2 minutes, pour the epoxy into a clean cup and mix for an additional minute. After you’ve finished mixing the Epoxy, add several drops of the pigments or dyes and stir until combined. Use the epoxy mixture immediately after mixing.
*Project tip: Keep a prepared mold on hand to pour extra epoxy into to avoid waste. Make some buttons or jewelry pendants, maybe even some cabinet knobs with any extra epoxy you might not need on the suncatcher. Prepare these molds before you start the suncatcher so they are ready to go if any epoxy is leftover.
I filled in the background first and used about 2oz of epoxy to fill it. The transparent dyes are super light in color. If you mix a tiny bit of the opaque pigments into it, they’re still pretty transparent, but darker in color. I used a little of both. Use a heat gun, torch or your warm breath to remove any bubbles that rise to the surface after you pour the epoxy.
Allow the background pour to cure for a few hours. If you try to do it all at once, all of the colors will just bleed together over the lines. I allowed my yellow background to cure for at least 4 hours before moving on. Allow each color to cure a few hours before moving on to the next.
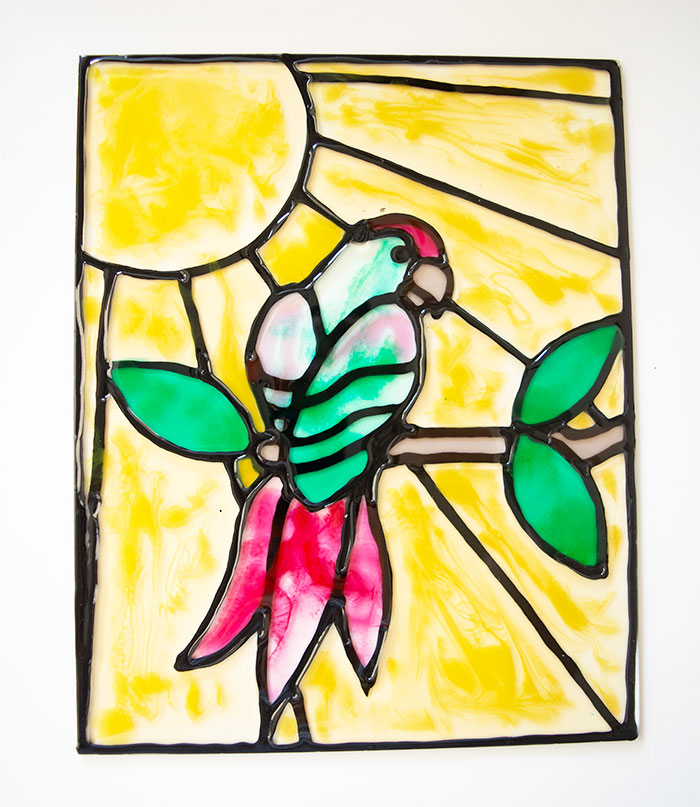
Once you have all of the colors finished and the stained glass filled in, allow the suncatcher to cure overnight.
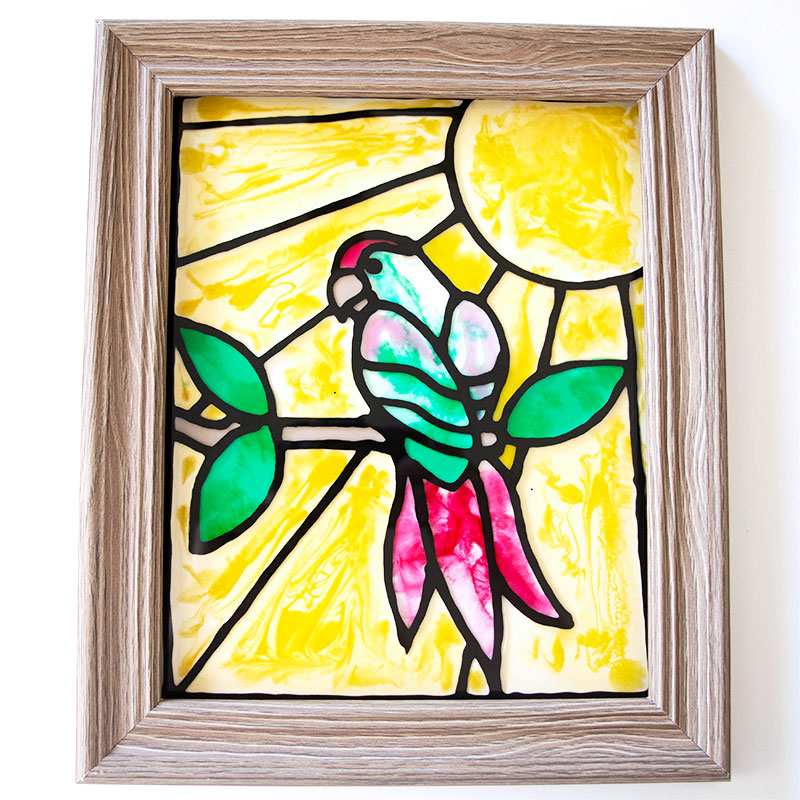
Put the glass back into the frame. If you wish to hang the suncatcher, you can attach a wire to the frame for hanging.
With a little bit of practice, you could make some very intricate and beautiful designs!
I think I will add a faux stained glass to my china cabinet doors next! What stained glass design will you create for your suncatcher?
After studying Culinary Arts in Portland Oregon, Kelli went back home to the sunny South West where she decided she wanted to do different kinds of Art. This busy mom of three spends all of her available free time creating in her Craft Shack “she shed” where she can be found wood burning, repurposing old stuff, crafting, and painting just about anything she can get her hands on. She loves to learn new craft techniques and frequently finds inspiration in the world around her. Her motto in life is that you should never be too busy to make something pretty!



[…] sharing this fun process of making Faux mosaic suncatchers over on the resin crafts blog. Pop on over to check it […]