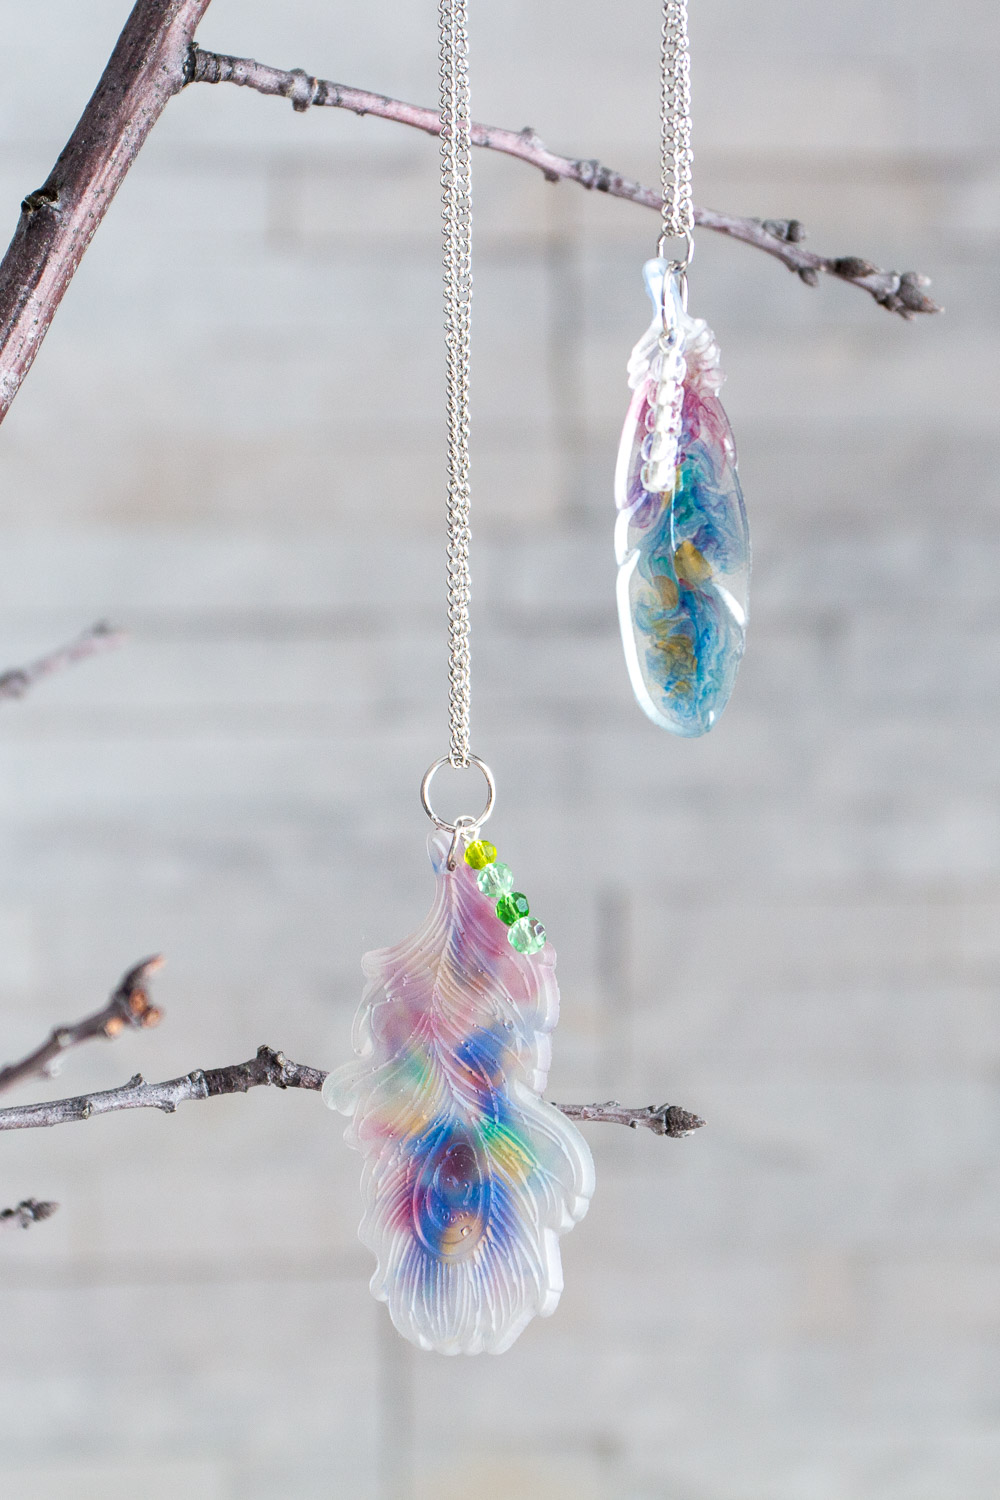
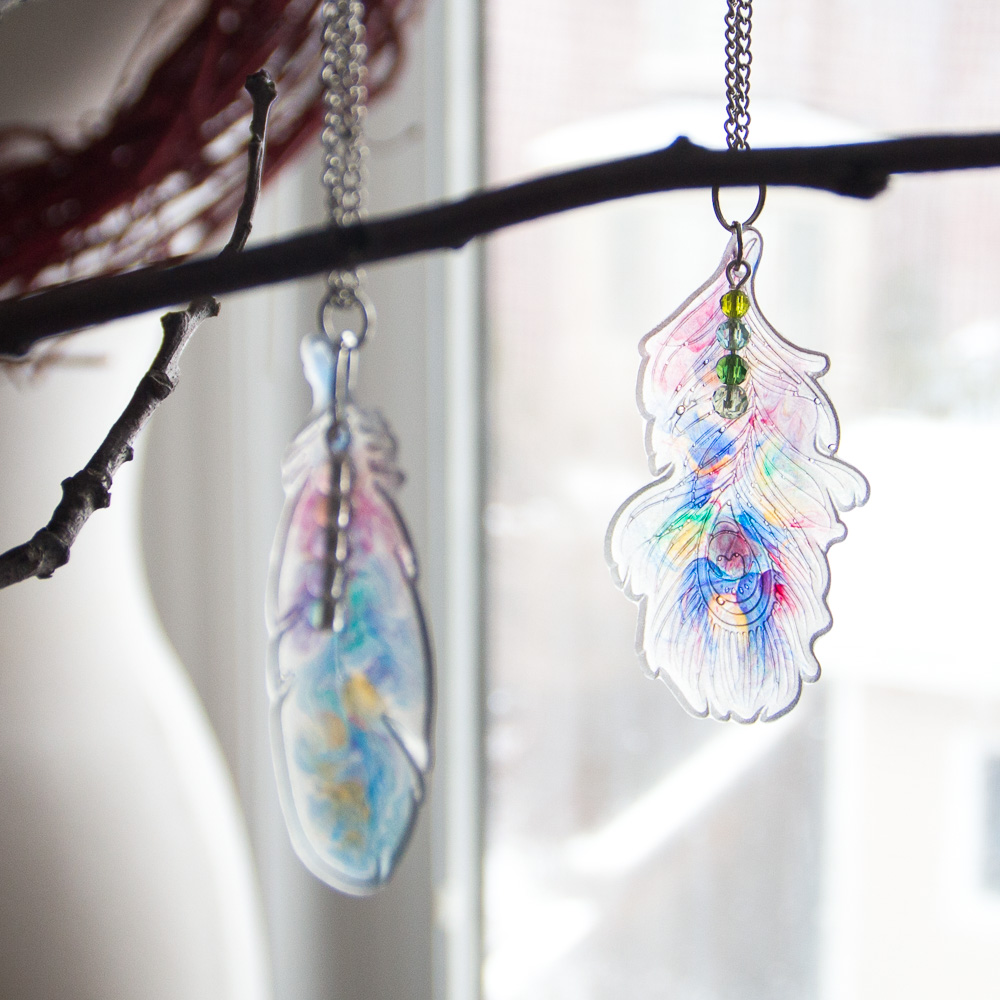
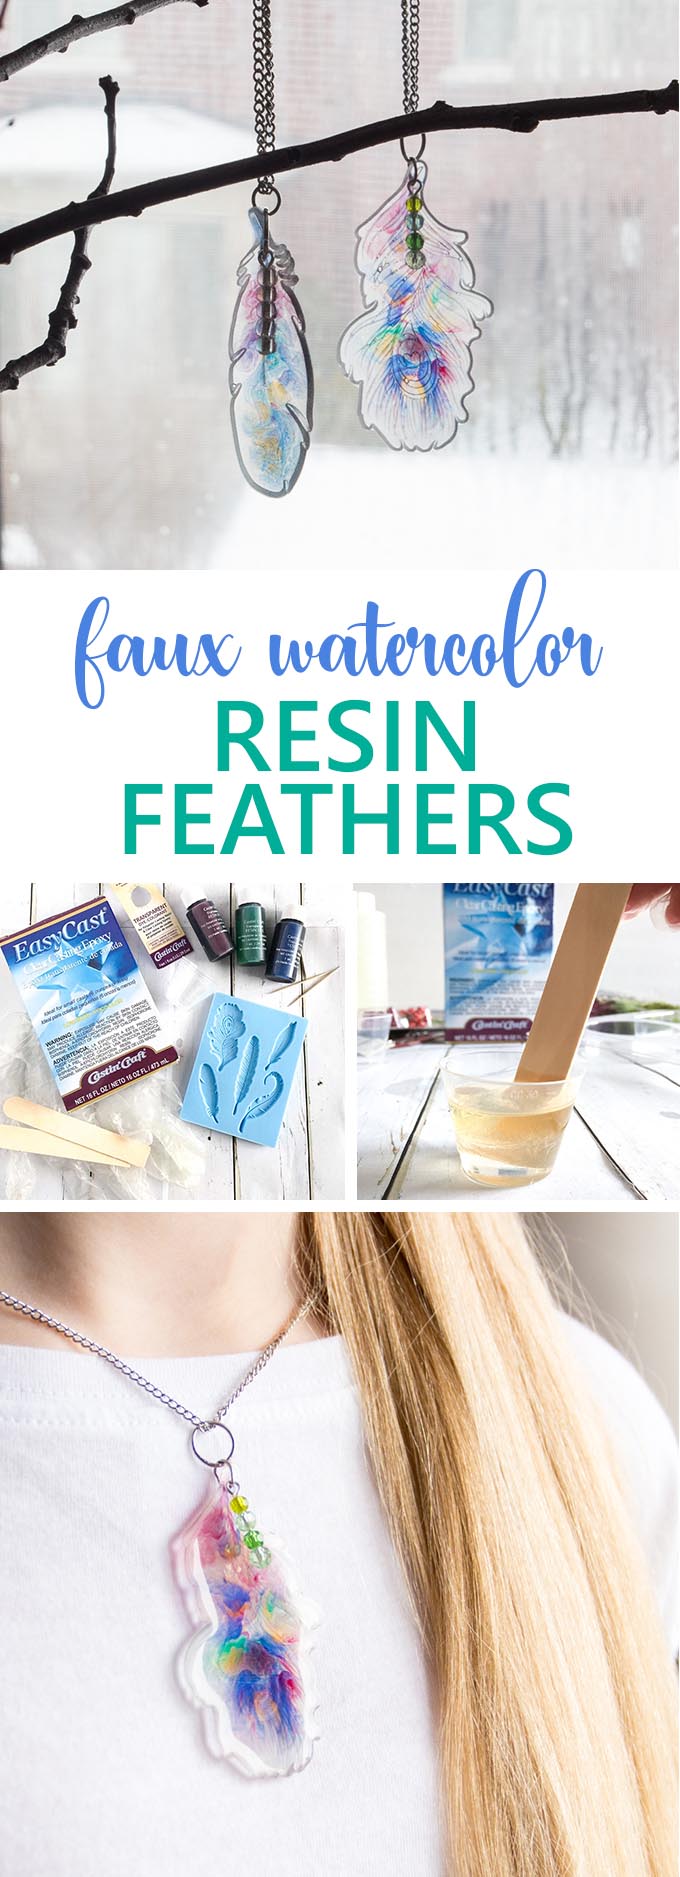
Add a touch of nature to your wardrobe with pretty watercolor-inspired resin feather pendants.
DIY Resin Feather Pendants
Hello! This is Jane from Sustain My Craft Habit, a DIY, craft and home decor blog I write with my sister Sonja. Over the past couple of years I have been admiring watercolor painting and learning it myself. We have a number of watercolour printables available on our blog including a “Hugs for Free” cactus wall art, watercolor spider web Halloween art and printable Christmas place cards.
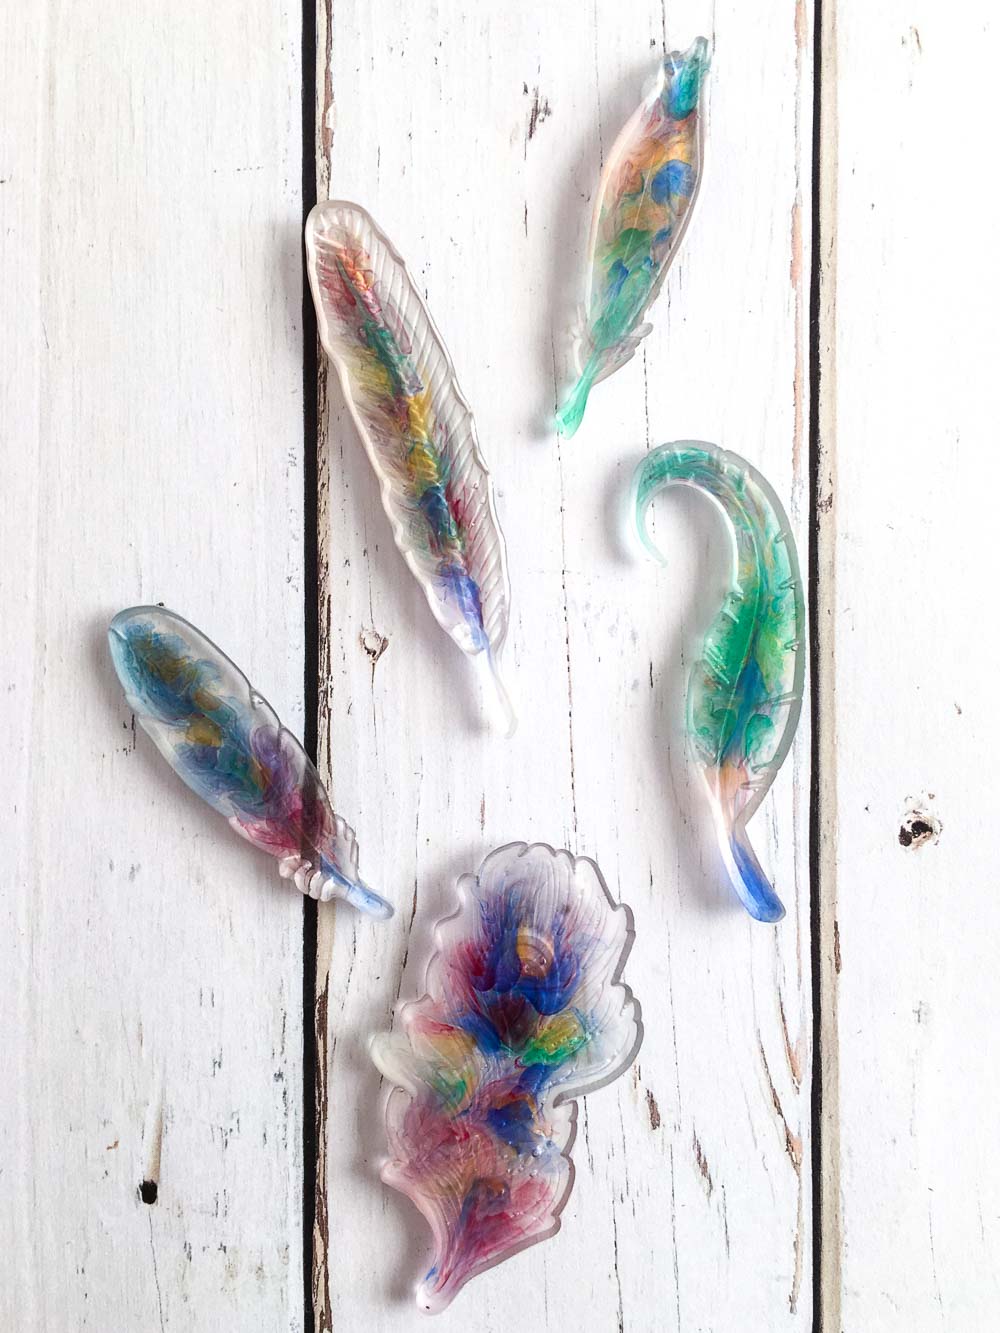
So when I spotted this great feather silicone mold I wondered if I could recreate a watercolor effect with resin. Not only did the feathers turn out beautifully, but they were so much fun to “paint”! They’ve given me the desire to try other faux-watercolor projects with resin.
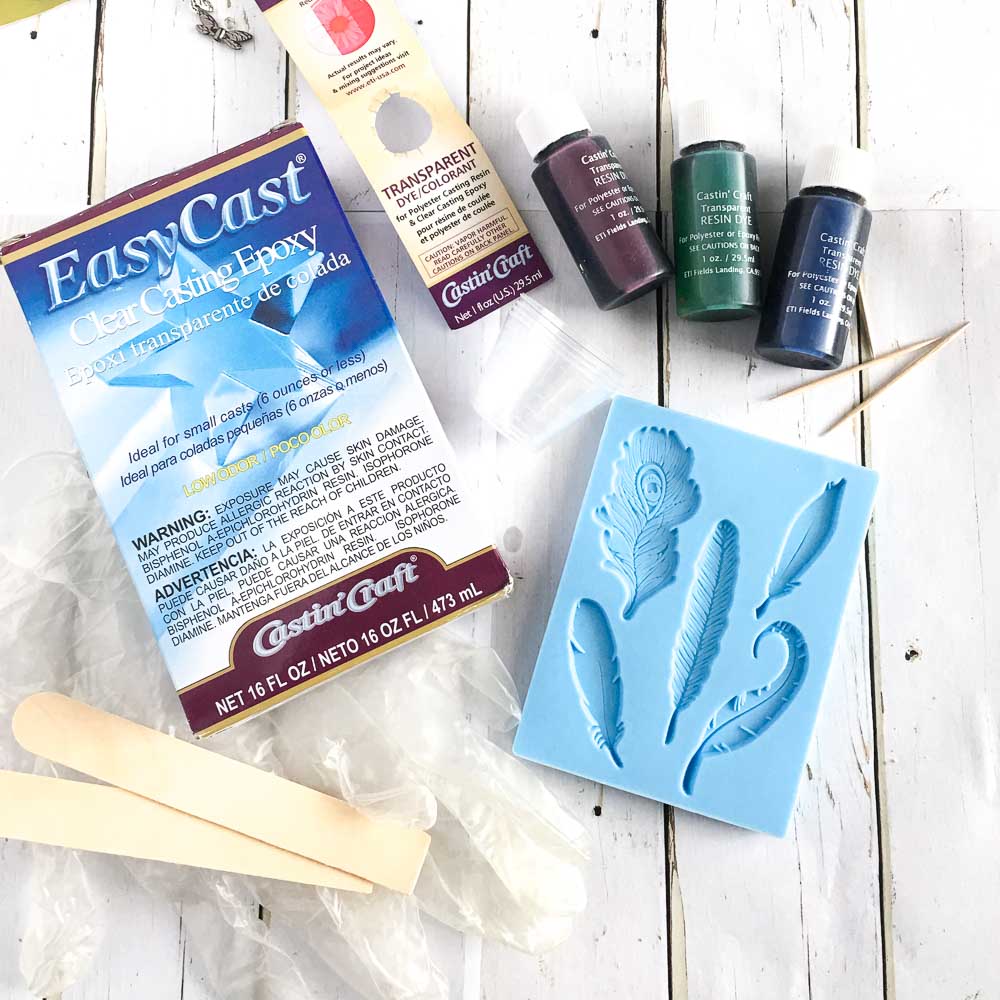
Materials Needed to Make the Resin Feather Pendants
- Feather silicone mold
- Mold release/conditioner
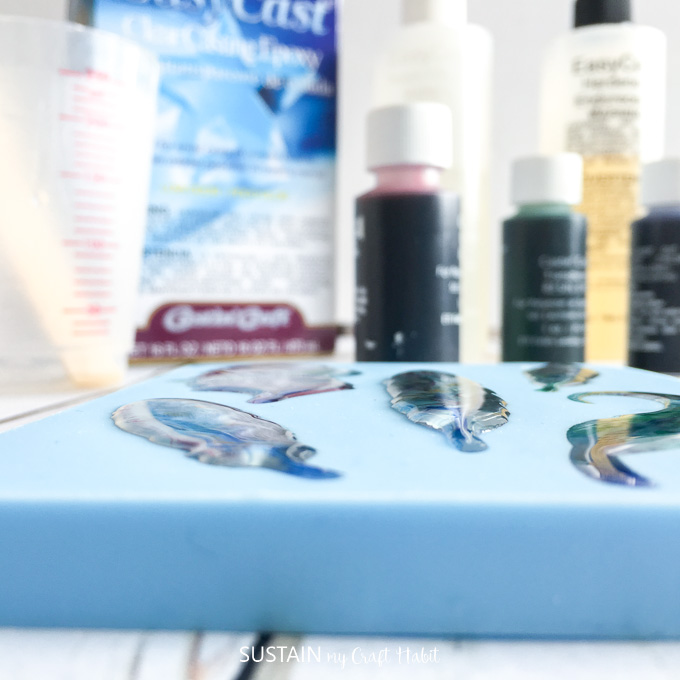
- EasyCast Clear Casting Epoxy
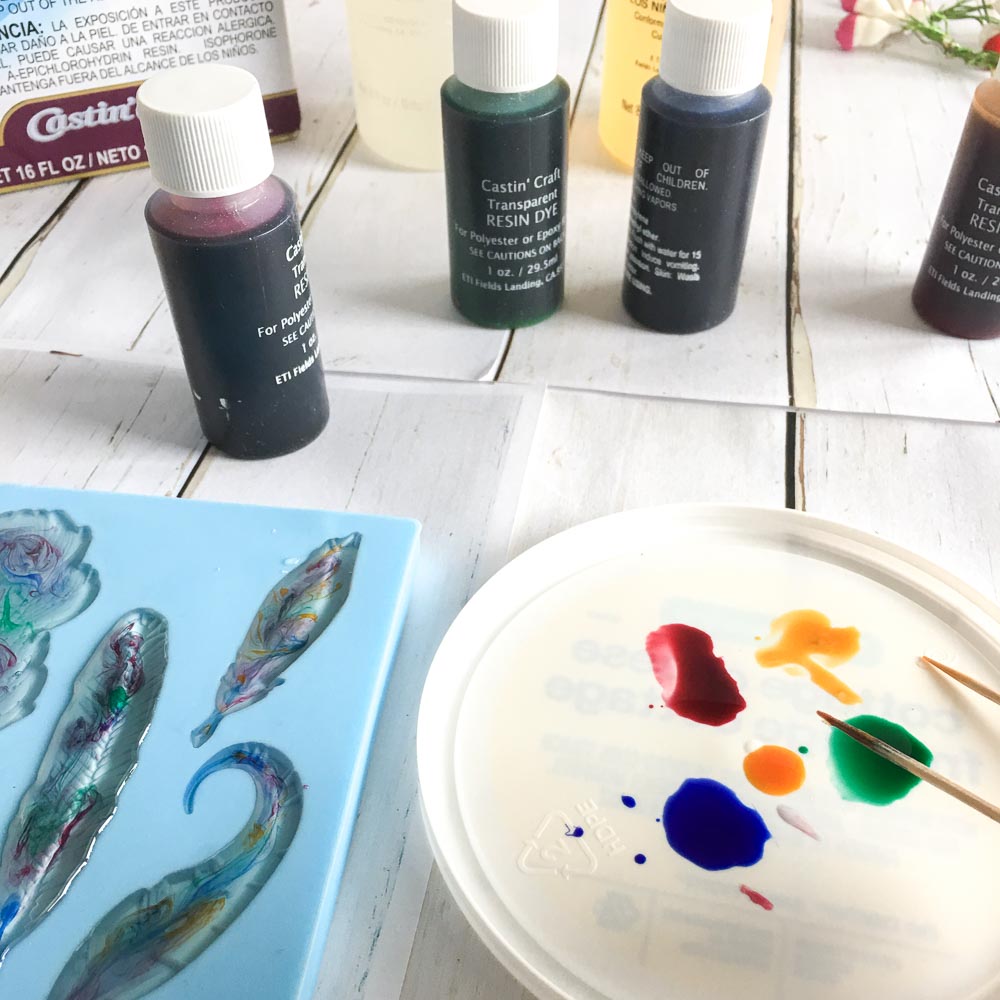
- Green, Red, Yellow and Blue Transparent Dyes
- Toothpicks
- Disposable work surface/gloves/cups/stirring sticks
- Drill and drill bits
- Jewelry hardware
How to Make Faux Watercolour Resin Feather Pendants
Prior to starting your project be sure to read through the packaging instructions to acheive the best results. Use gloves and work in a well-ventilated area.
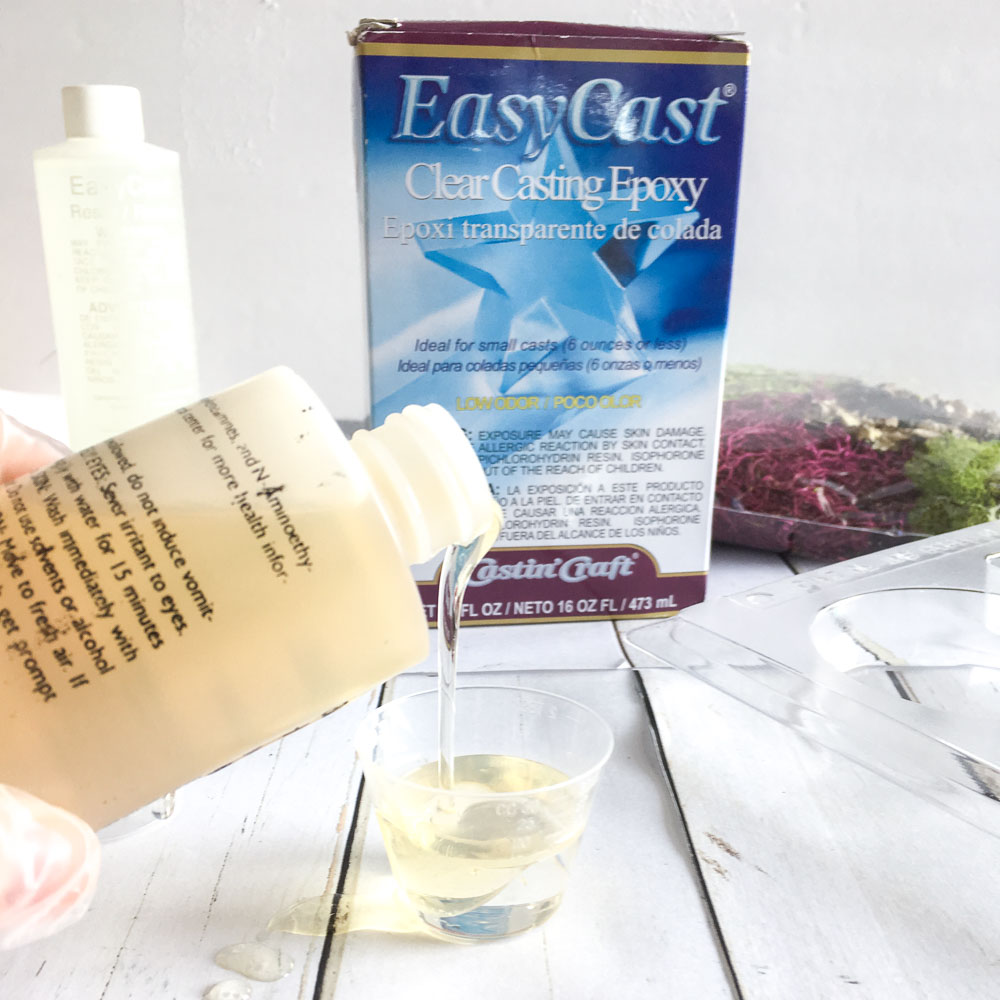
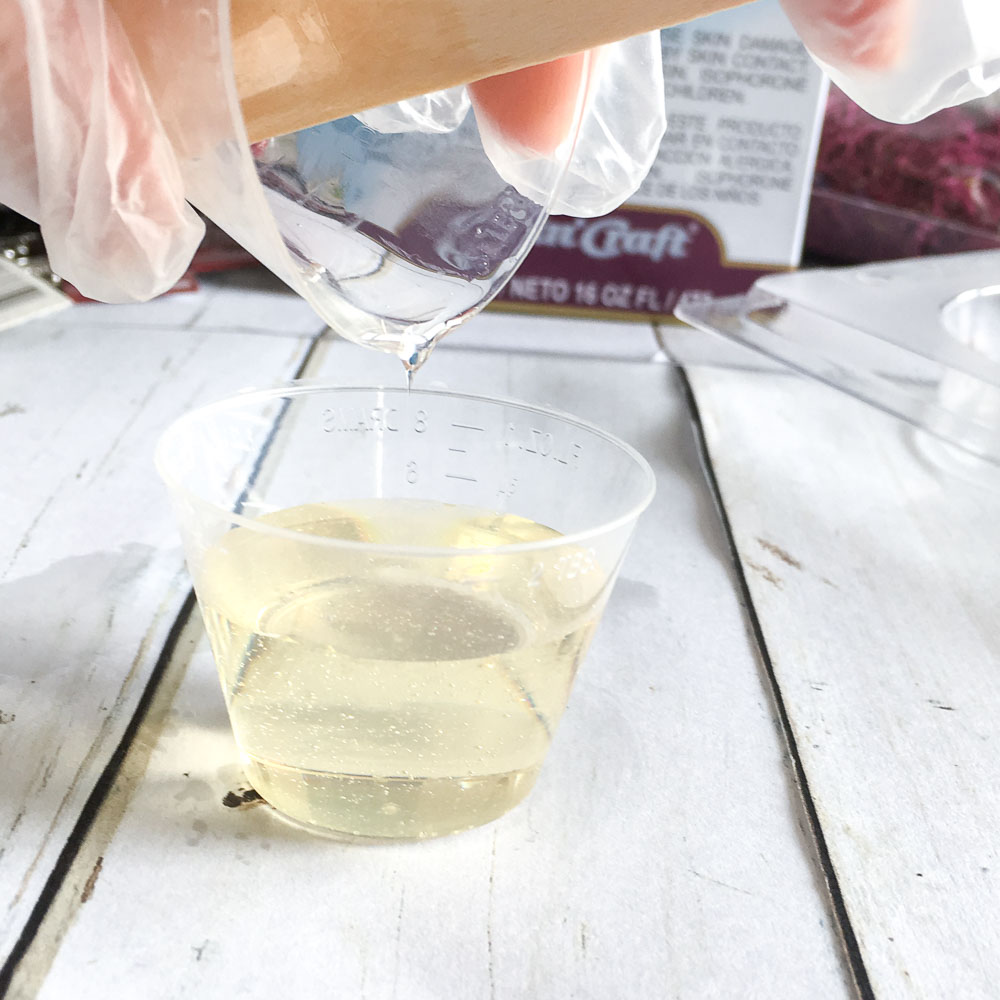
To begin, mix exactly equal amounts of Resin and Hardener into a small measuring cup.
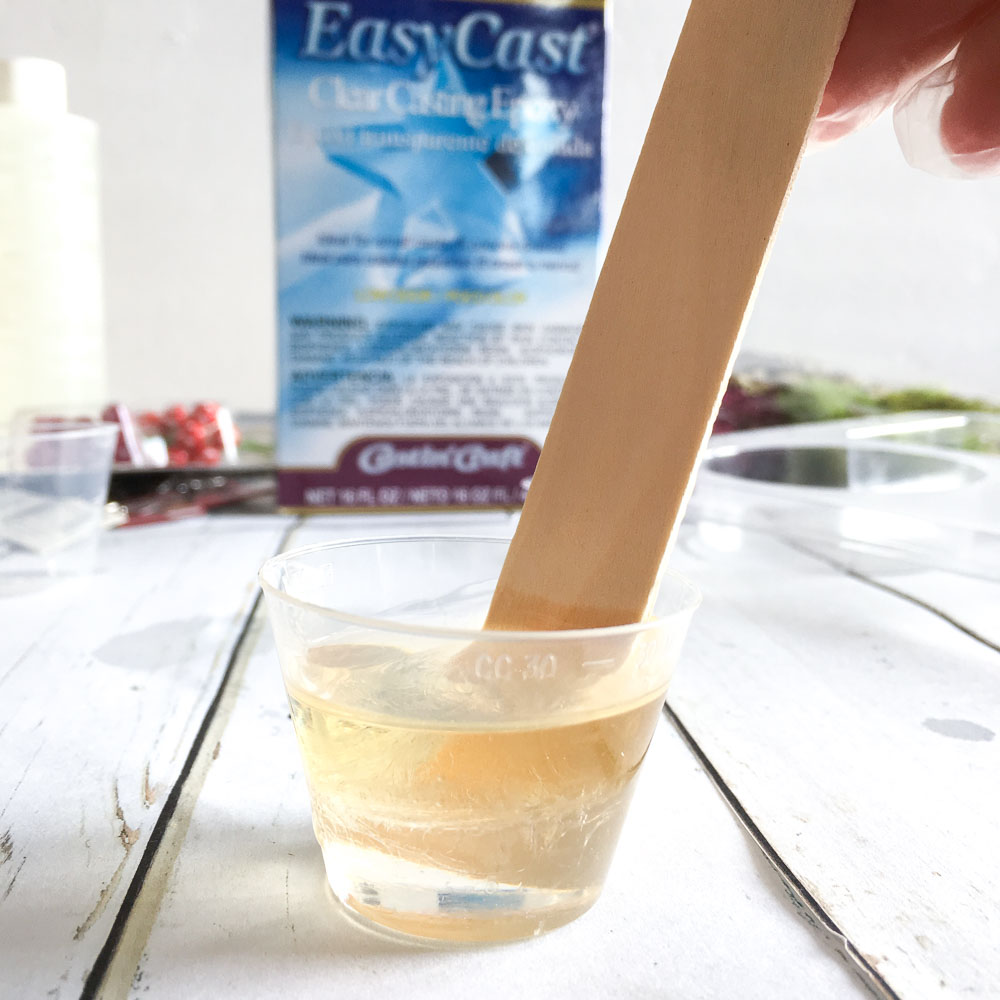
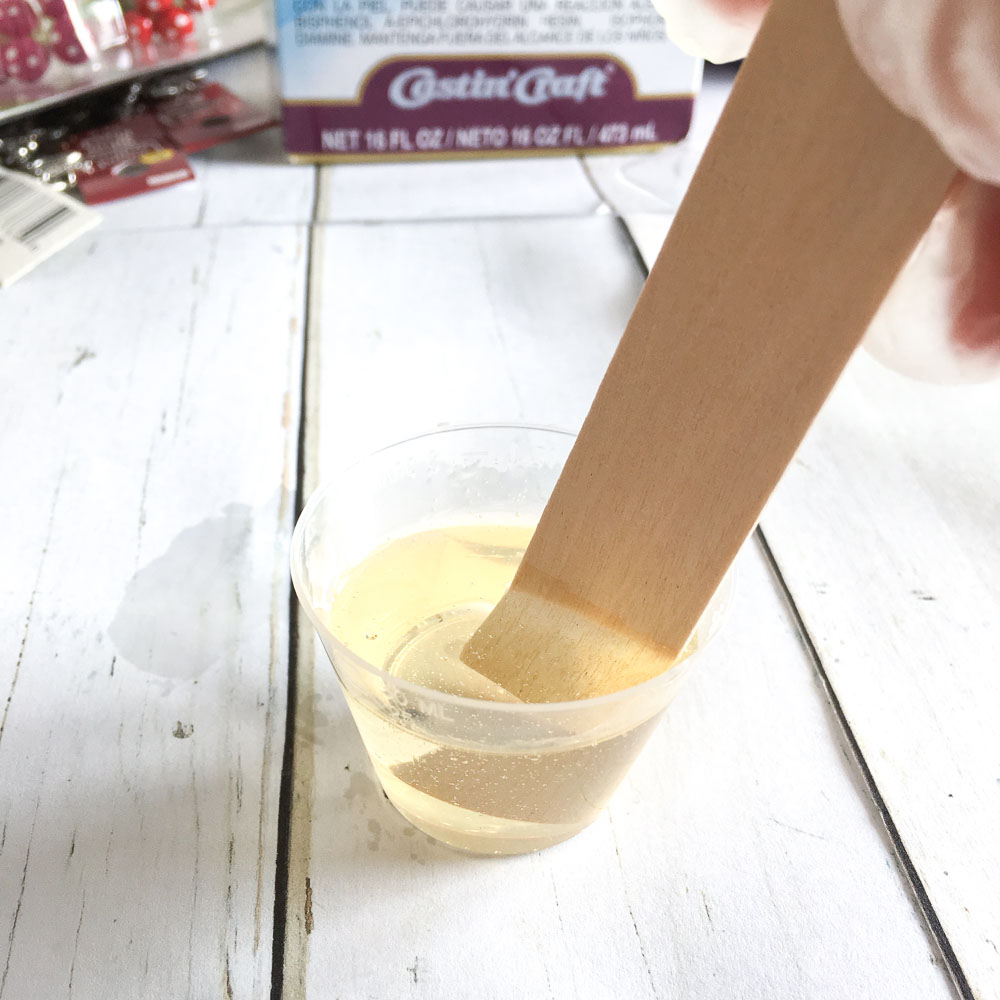
Stir continuously for 2 minutes, scraping the sides of the container.
Pour the mixture into a second cup and stir for an additional minute (use a new stir stick). Scrape the sides of the container as you mix.
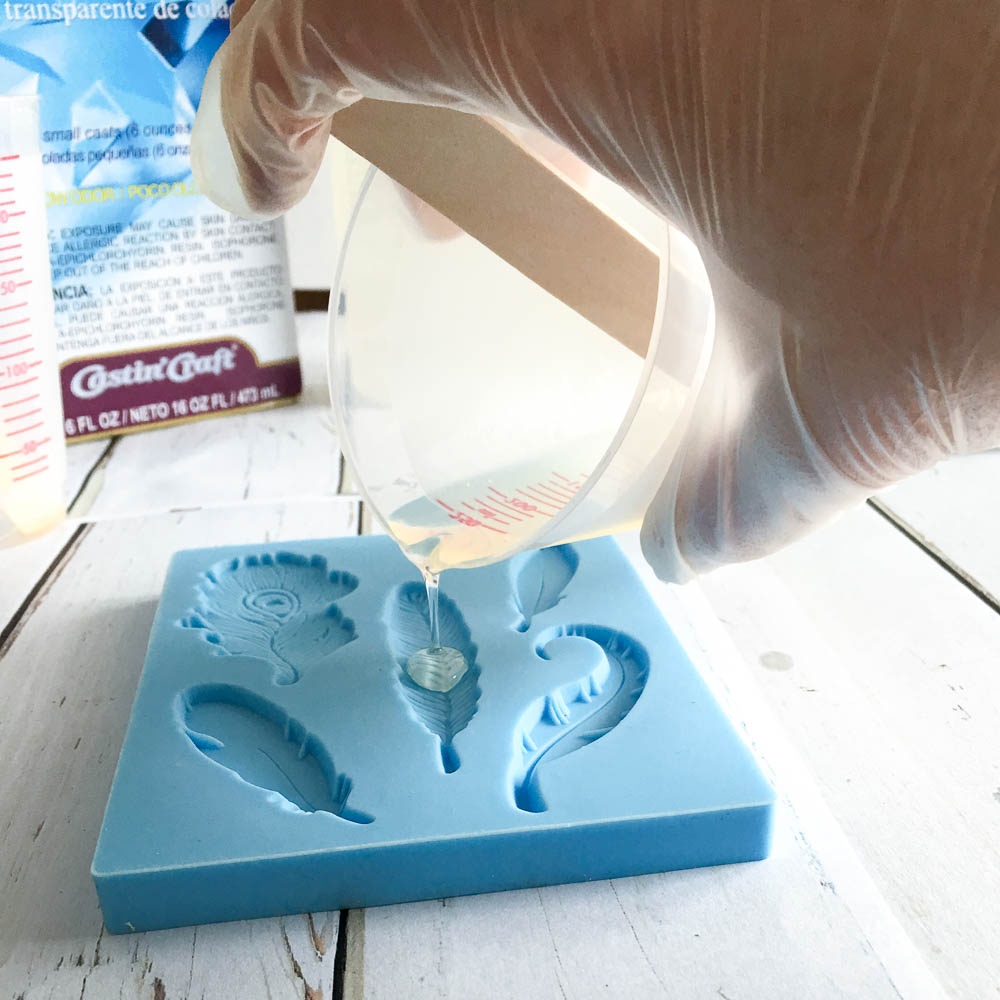
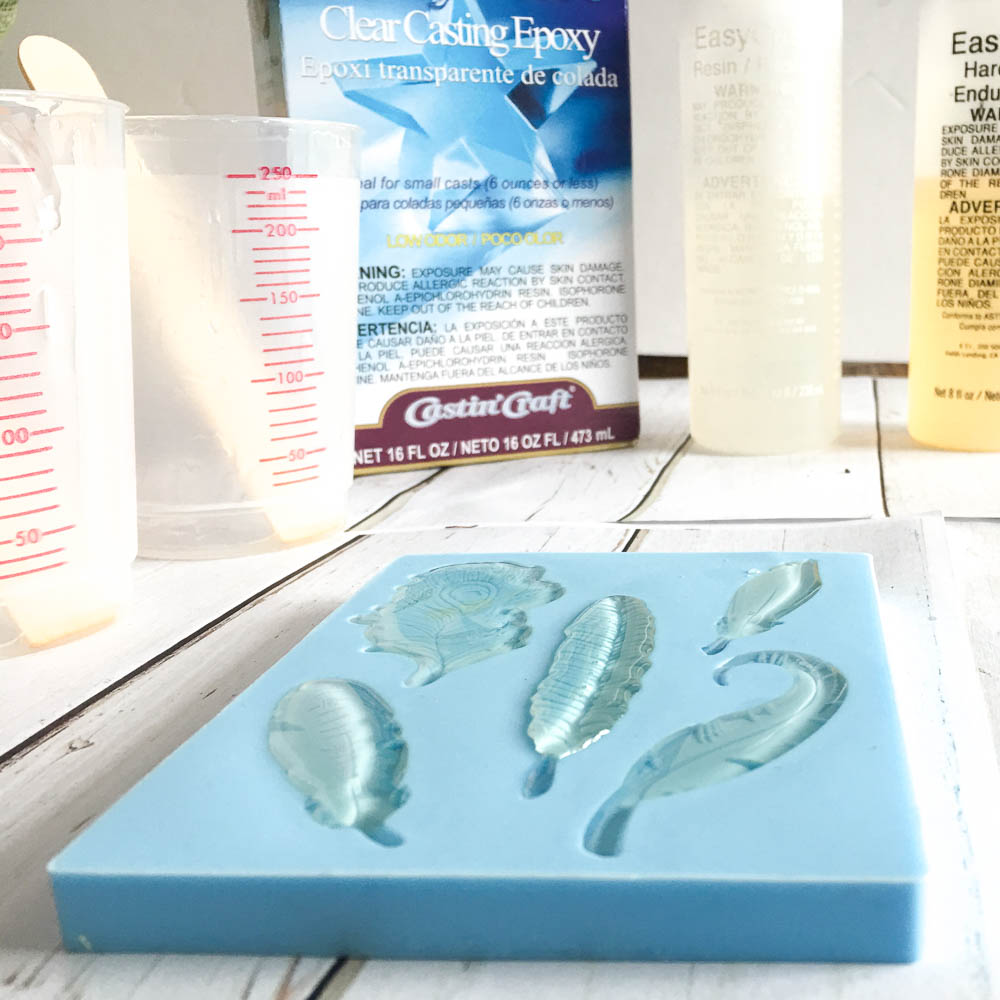
Carefully pour the resin into the feather mold compartments. Be careful not to overfill.
Use a toothpick to guide resin into the smaller areas of the mold.
Carefully place one drop each of red, blue, green, orange and yellow (or any colours your choose) transparent resin dye onto a plastic plate.
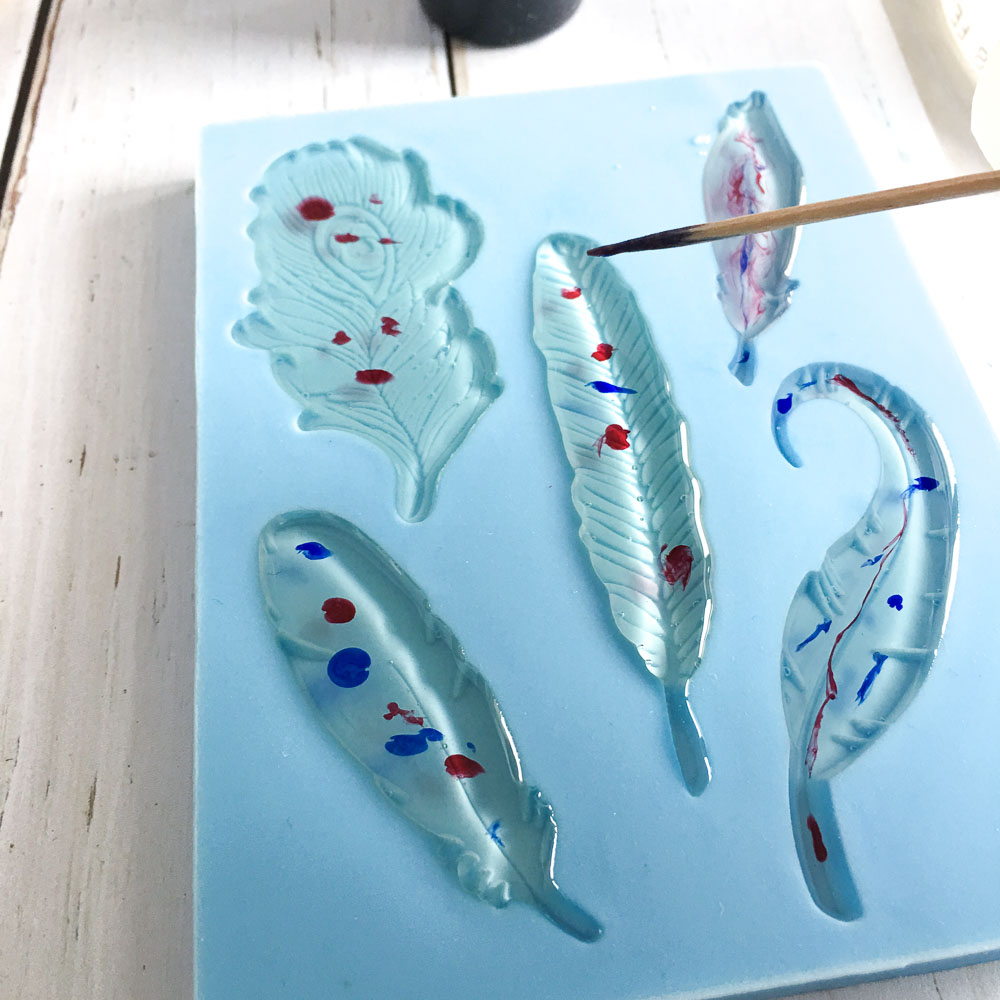
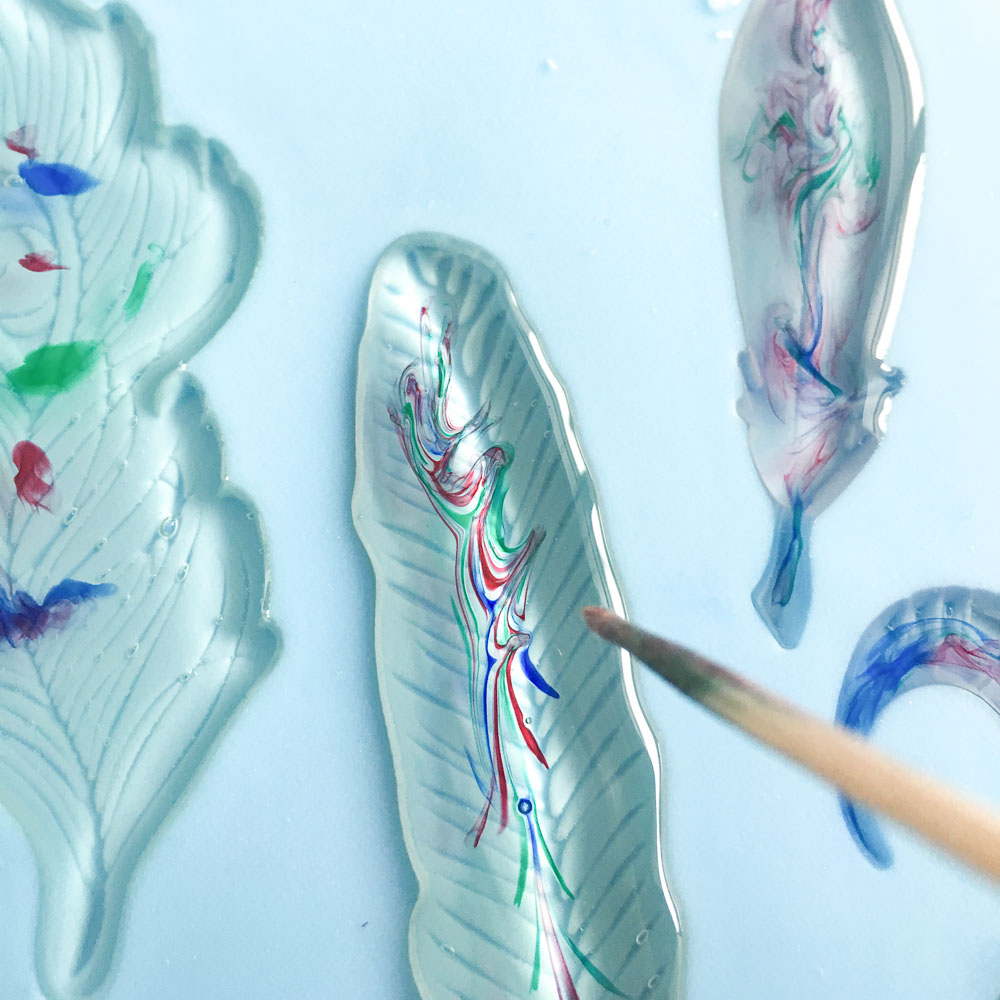
With a toothpick, randomly place drops of different colours throughout the liquid resin.
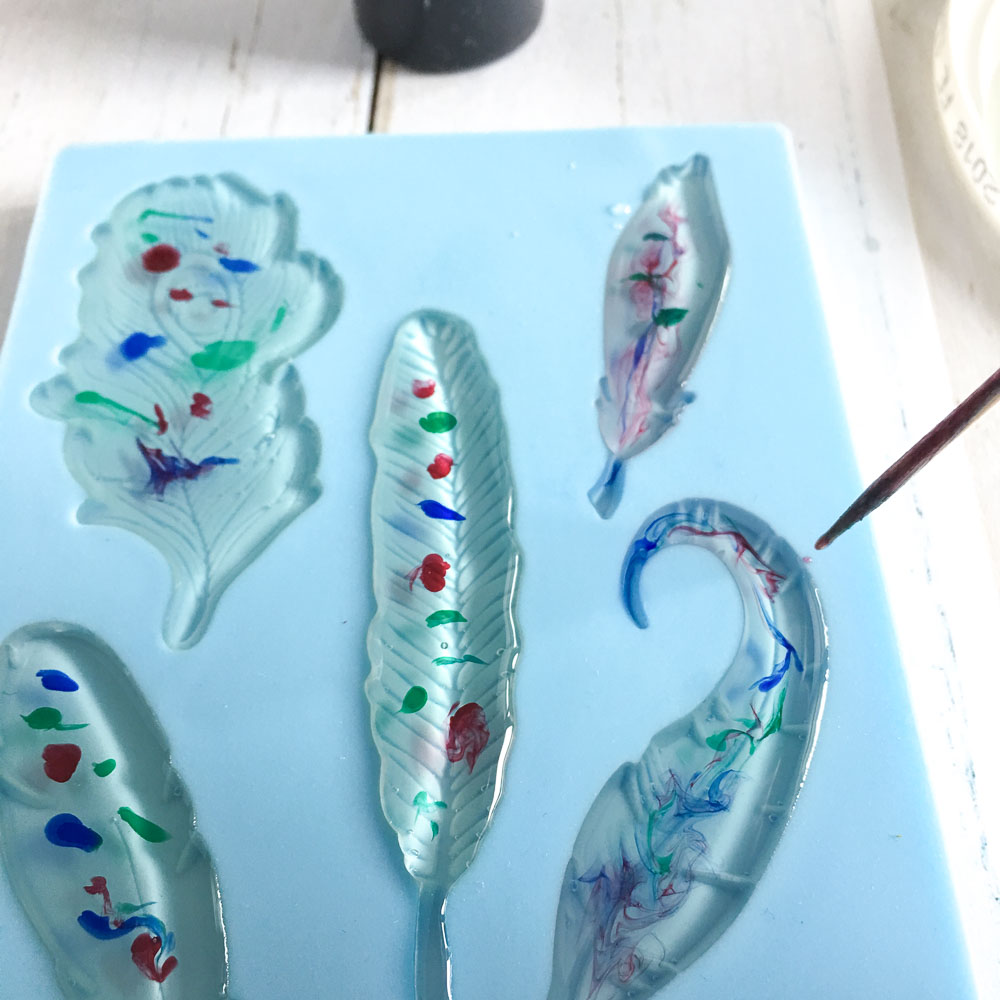
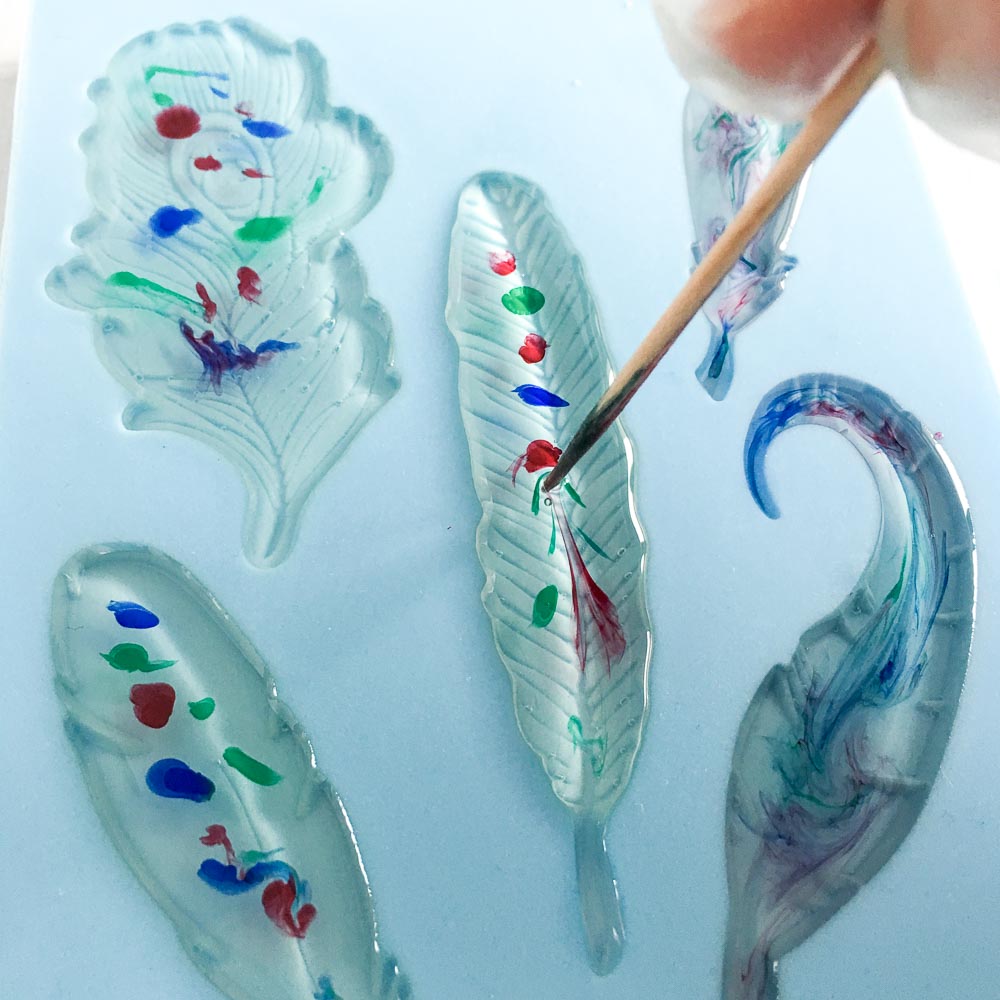
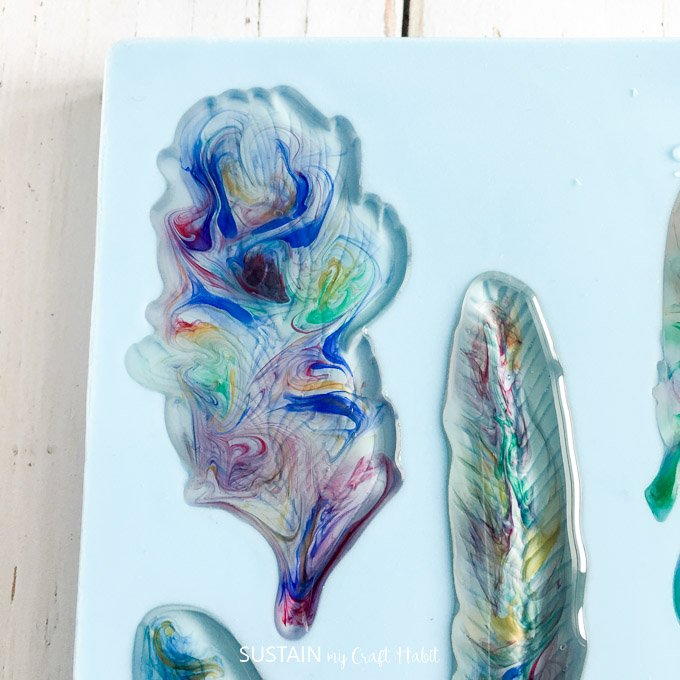
Using the toothpick, draw out the drops of dye through the resin. Try and follow the patterns in the feather mold.
Continue adding colours and drawing them through the resin until you’re happy with the effect.
Take your time, yet don’t overwork the colours or they will all blend together.
Once finished with the dye, carefully blow off any airbubbles from the surface of the resin using a straw.
Cover the resin feathers and allow to cure for 24 hours (will fully cure after 72 hours).
To make the feathers into pretty, nature-inspired pendants, carefully drill a small hole through the stem of the feather. Add a 5mm jump ring through the hole and string on any other embellishments you’d like. Add a 10mm jump ring for hanging.
We love how these resin feather pendants turned out. They have the perfect boho-style feel to them, don’t they? They reminded us of this faux-stone bracelet we made last year and these peacock feather resin coasters made by our fellow Resin Crafts Creative team member Kelli.
Like it? Pin it for later!
Jane and Sonja are sisters, moms and lifelong craft addicts both living near Toronto, Canada with their families. They share their love of creativity, nature and coastal DIY ideas on their blog Sustain My Craft Habit. They craft and decorate their homes using repurposed and upcycled items and materials found in nature.


well done girls have a great xmas
Thank you so much Eddie. We hope you have a wonderful Christmas as well!