Create super fun, fillable resin charms with EasyCast Clear Casting Epoxy!
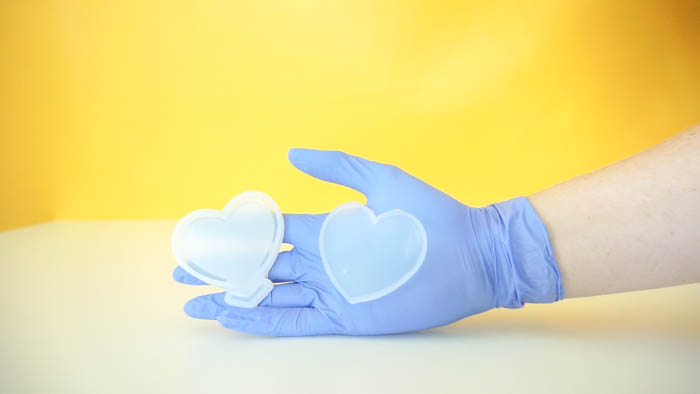
Hey Resin Crafters! Amber Oliver here with another great resin craft. I recently bought some crazy cool new molds that I couldn’t WAIT to try out with EasyCast Clear Casting Epoxy! The molds create shapes in two pieces with a small opening and there’s a third tiny piece you use to “plug” after you’ve cast and filled your project. These three parts allow you to make fillable resin “shaker” charms!
SUPPLIES NEEDED FOR FILLABLE RESIN CHARMS:
- EasyCast Clear Casting Epoxy
- Shaker Molds
- Glitter and embelishments
- Water dropper and water
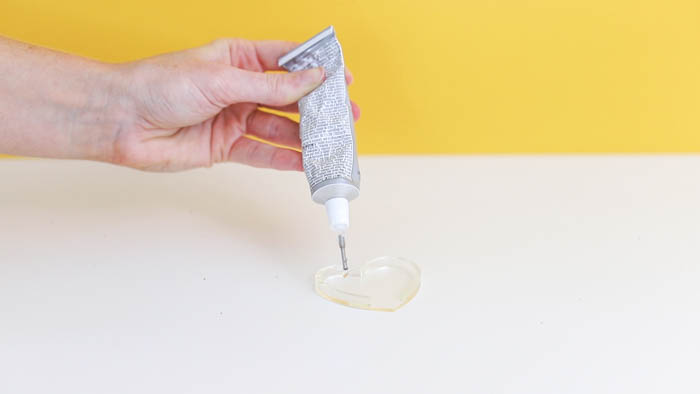
- Glue (I used E6000)
- Mixing Cups
- Stir Sticks
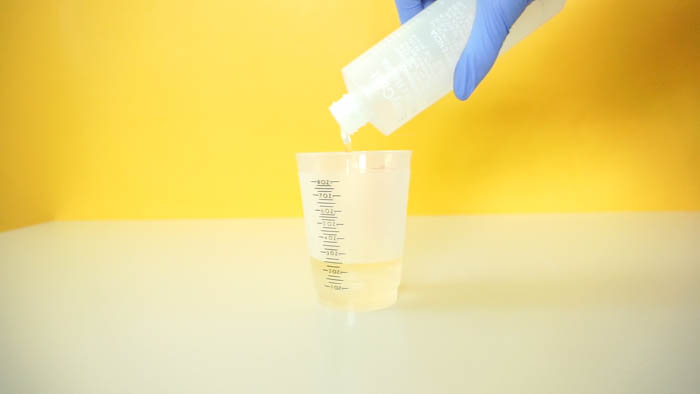
Step 1: First, prepare the EasyCast Clear Casting Epoxy. This is a multi-step process so don’t start mixing until you are ready to do the whole process from beginning to end! Start by mixing EQUAL parts of the Hardener and the Resin.
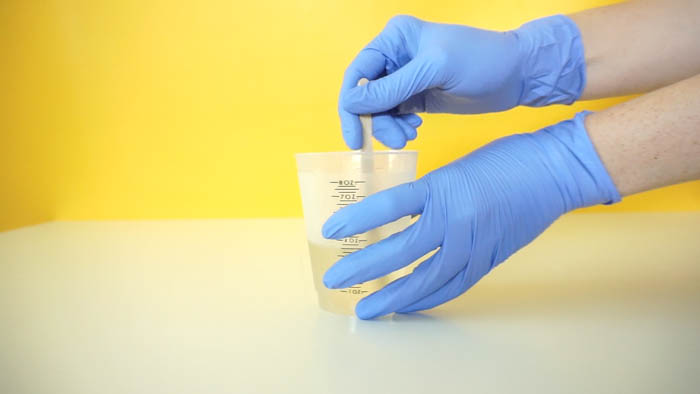
Stir for two minutes (be sure to scrape the bottoms and sides) then pour from the first cup into a second and mix with a new stir stick for another minute.

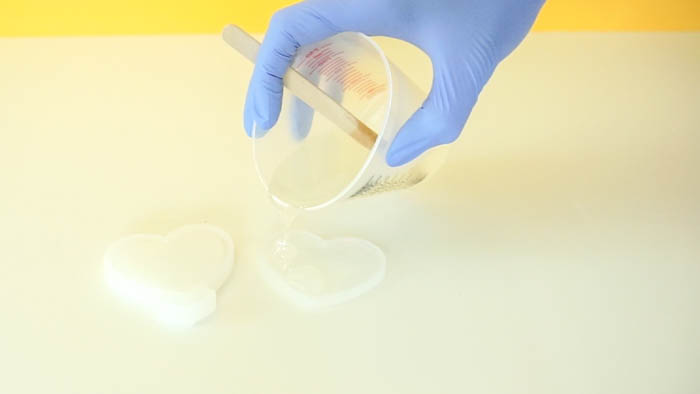
Step 2: Once your resin in ready, pour into each piece of your mold.
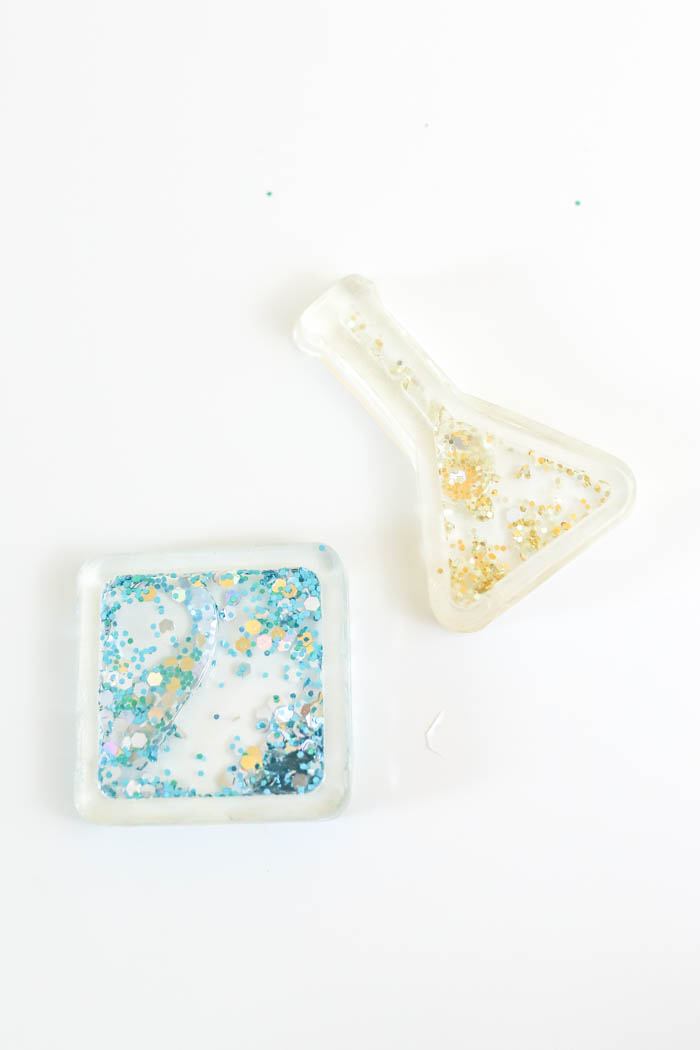
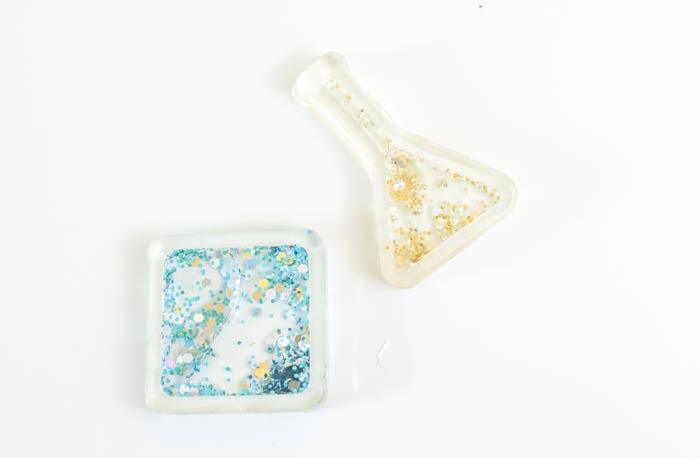
Step 3: After you’ve allowed enough time for the resin to cure, you can carefully remove from the molds.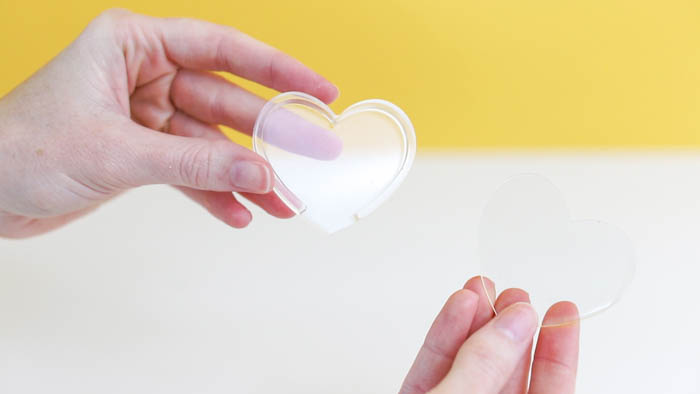
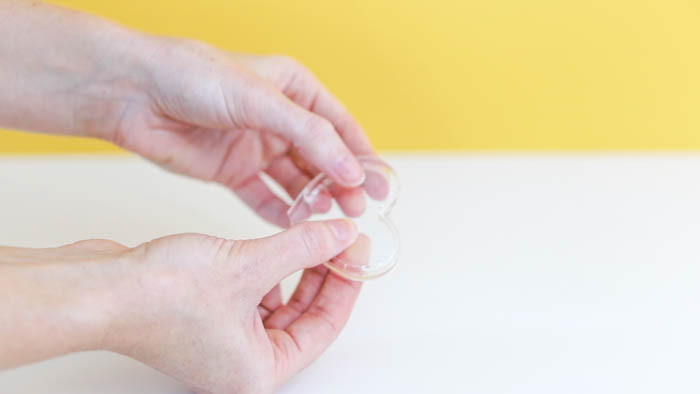
Step 4: Next, connect the 2 parts carefully with glue and then wait for it to fully dry.
Step 5: Use clothespins or clamps to put pressure on the pieces while they dry.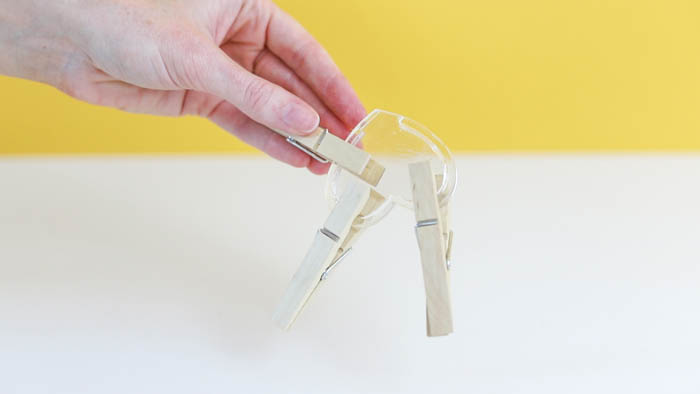
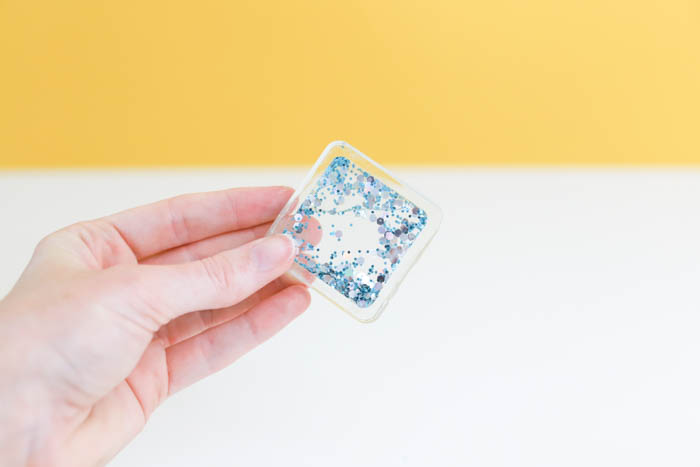
Step 6: After the glue dries, add glitter and embellishments inside your resin charms. 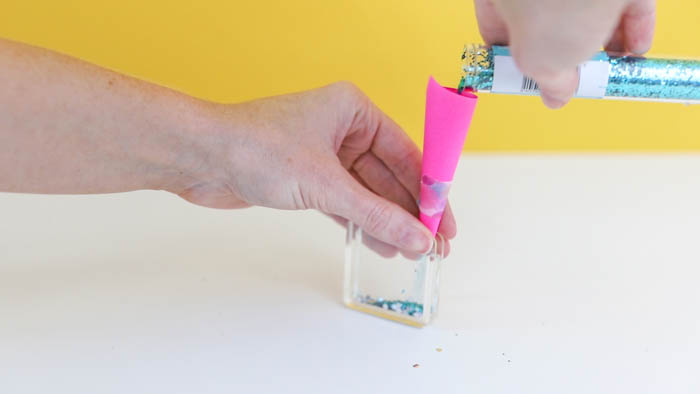
Step 7: After you’ve added the embellishments, use a dropper to fill with water.
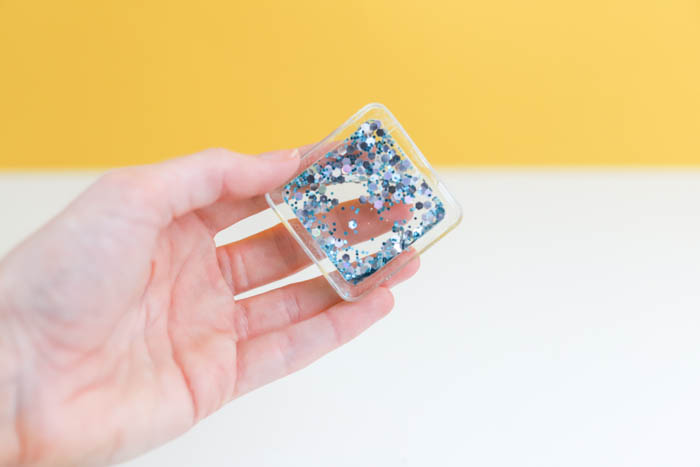
Step 7: Finally, seal your resin charm by gluing the last small piece in place.
This was my first try at creating these fillable resin charms, but I learned a few things for next time:
- You can cast the “back” piece in any color and and cast the front piece in clear resin for an even cooler design!
- Fill with oil instead of water to help the glitter float better!
- Fill with beads and all sorts of fun items – not just glitter!
- These make really fun key chains or an interesting addition to your cell phone case!
Amber Oliver is a DIY and lifestyle blogger who shares easy DIY tutorials, colorful crafts, and more on her blog, Amber Oliver. She’s a native Oklahoman living “in the loop” in Houston, TX with her husband and dog. She’s an avid reader, world traveler, loves Tex Mex food, and creating everything from woodworking projects to websites. She focuses on budget friendly projects for the home and empowering women to try new things.


Thank u it was really great.will try soon
Glad you liked it! 🙂
What a fun,fabulous idea. I might try glycerin in the middle to “float” my glitter. Where did you find the shaker molds? I LOVE your inspiration!
Great idea! I used these from Amazon: https://amzn.to/2H2wxSm
Good luck with your creations!
Hello! Thanks for the tutorial – it is very helpful! I was wondering if you could provide an update on how the E6000 glue held up. I notice in a lot of videos, they adhere the two pieces together with the UV resin and cure it. I’ve been wondering if one was better than the other. Thoughts? Thanks!!
Hi Mel!
I didn’t have any problems with the E6000 – just make sure you get it all the way around. It dries clear! Just wipe the excess away. I haven’t tried UV resin, but the quick dry time is certainly appealing!! If you try, it’d love to hear how it works for you 🙂
Hi, would this work if I use Elmer’s Clear glue? I’m a little concerned about using resin (not to mention it’s pretty pricey)
I haven’t tried that glue but worry it might not be strong enough. Since it dries clear, I would say give it a try!