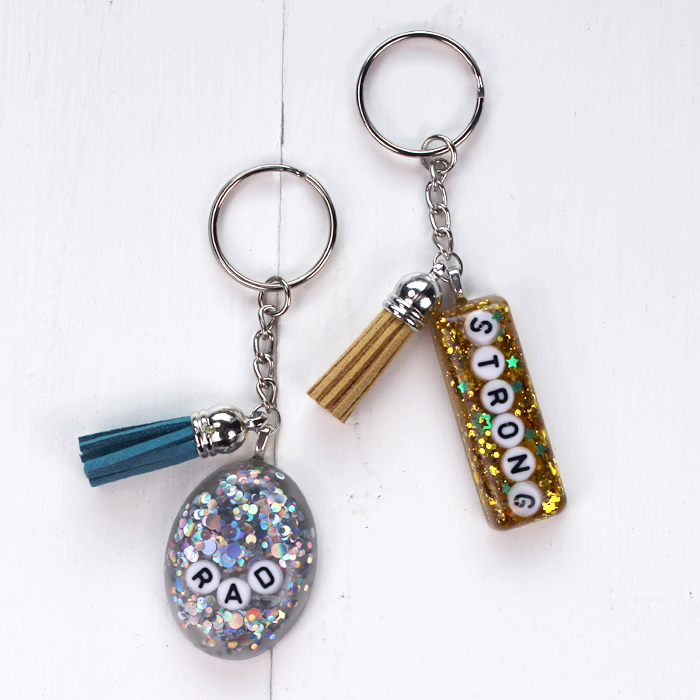
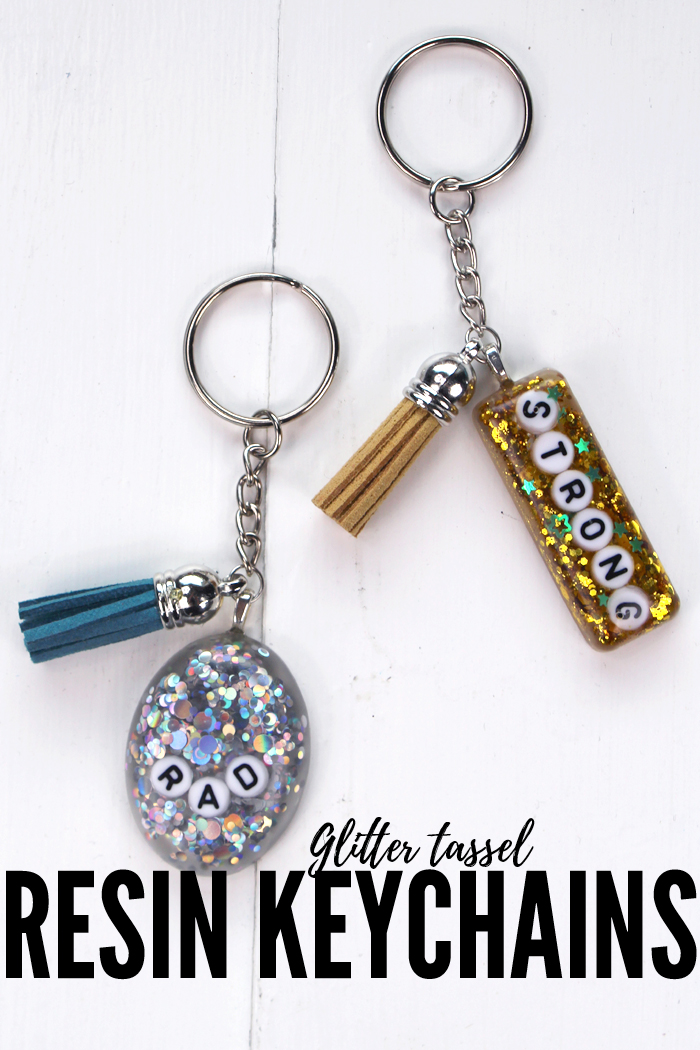
Glitter Resin Keychains with Power Words DIY
Hi Resin Crafters, it’s Natalie from Doodlecraft showing how to make glitter resin keychains with power words. These glitter keychains are a great resin craft for beginners. Learn to make glitter resin keychains with power words using EasyCast Resin, letter beads, tassels and keychain hardware.
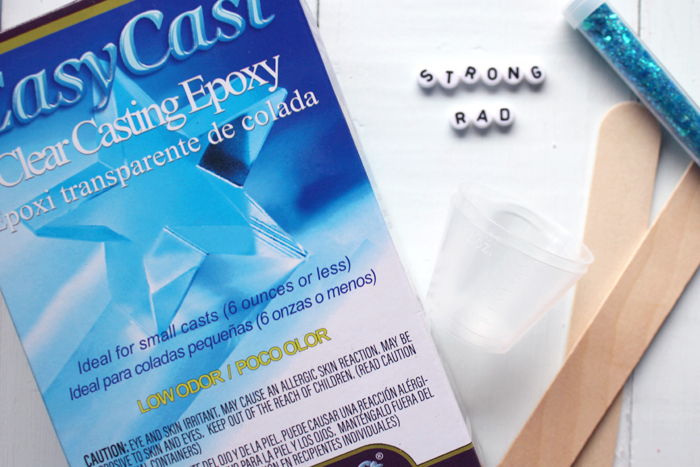
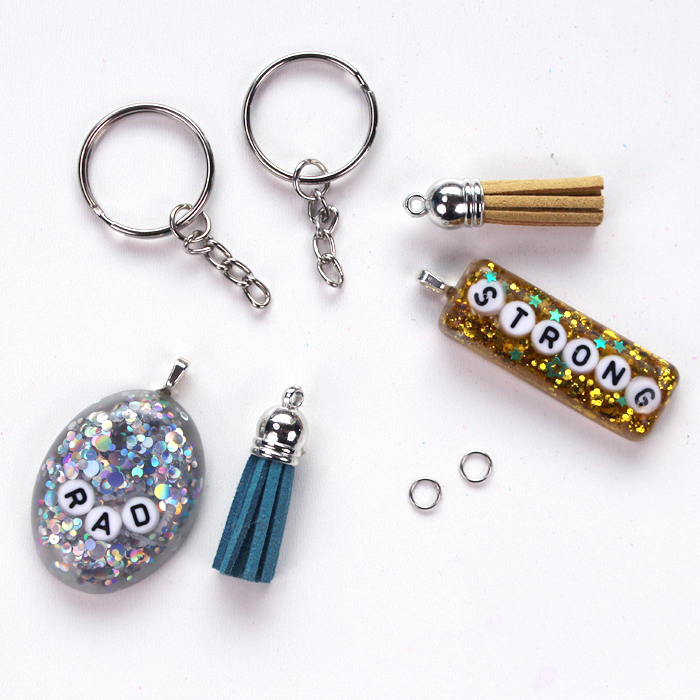
Supplies Needed for Glitter Keychains:
- EasyCast Clear Casting Epoxy
- Letter Beads for your power word
- Chunky Glitter
- Mixing Cups, Stirring Sticks, Disposable Gloves
- Resin Mold
- E6000 Glue
- Keychain Hardware (Keyring with chain, jump ring and pendant bail)
- Suede Tassels
- Jewelry Pliers
Step 1: Casting the Resin
Begin by reading the directions for the resin carefully. Resin crafting is fun and straight forward, but it must be mixed properly. Mix a 1/2 ounce of resin with a 1/2 ounce of hardener and stir for 2 full minutes with a stirring stick. Then pour the resin into a second mixing cup and stir with a second stick for 1 more full minute. Mix slowly so that excess bubbles are not formed. Scrape the sides of the cup and stick while mixing.
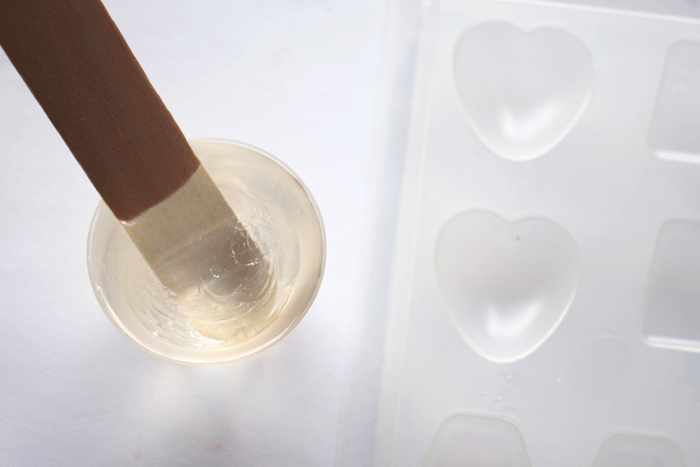
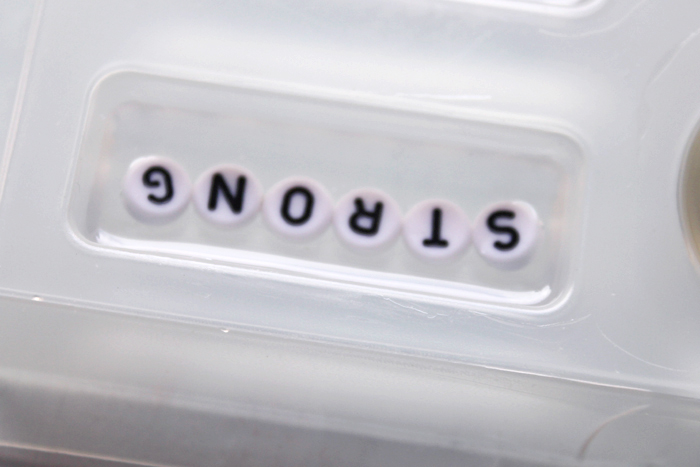
Then pour a little resin into the mold. Let the resin sit and “gel” for about 1 hour. Then place the letter beads in the resin.

Lift the mold carefully to make sure the word is going the right direction and the letters are facing the right way. It will look upside down and backwards from the top.
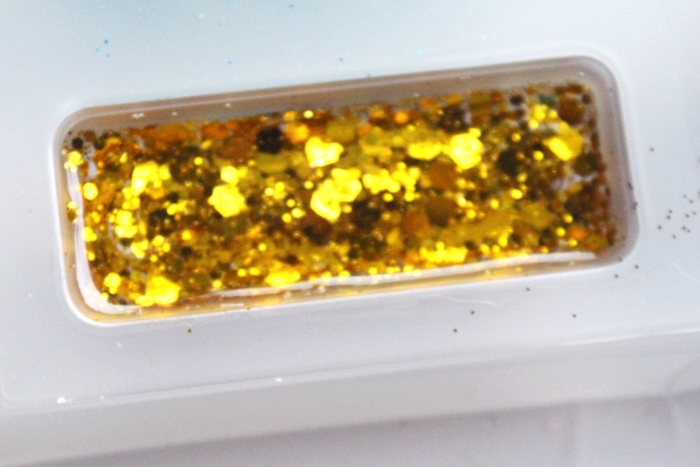
After about 1-2 more hours of setting, mix the same amount of resin again to fill up the back of the mold. Then sprinkle in the chunky glitter. Some of it will drift into the resin and give it dimension…but it won’t sink in front of the beads, because the resin holding them in has already set.
Then let the resin set completely (12 – 24 hours depending on climate).

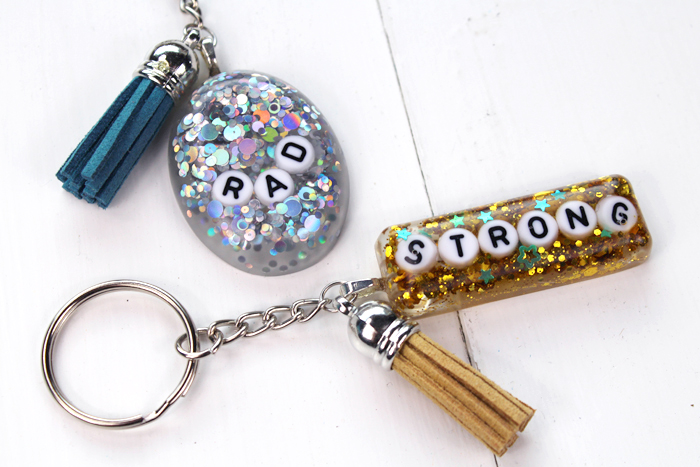
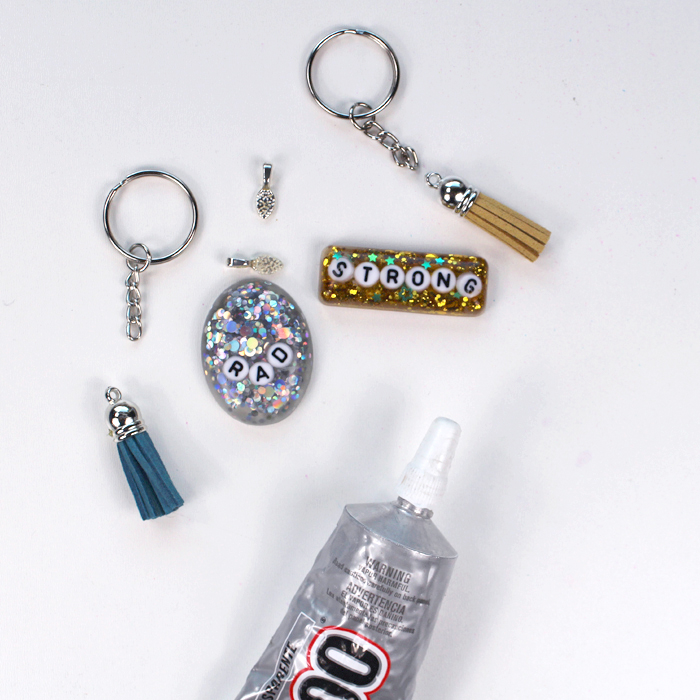
After the resin has set completely (typically it will not even smell like resin anymore), pop the resin out of the molds. I love how they turned out!

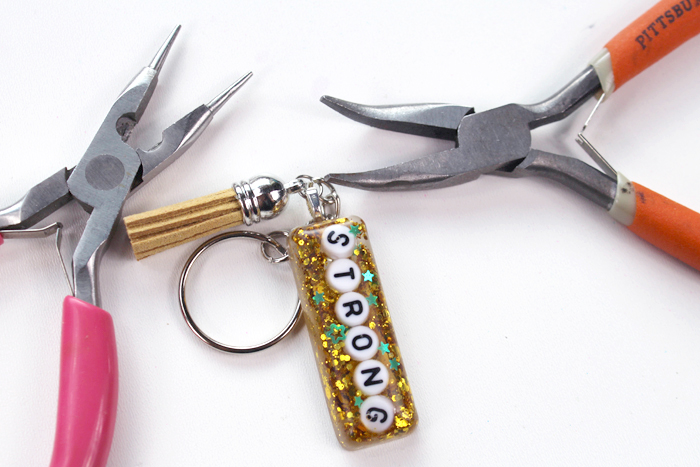
Step 2: Attaching Keychain Hardware
Now they are ready to turn into keychains. You will need a pendant bail, keyring with chain, jumpring and tassel for each keychain.
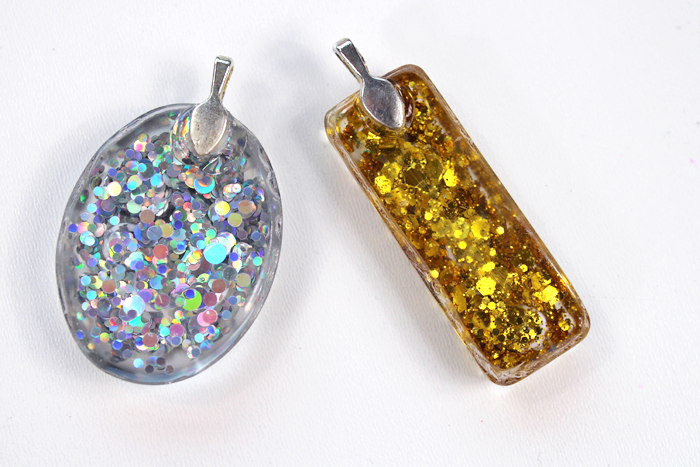
Use the E6000 glue to attach the pendant bails to the back of the resin. Even the glitter on the back looks stunning! Let the glue dry for at least 4 hours.
Then attach the key ring chain, tassel and glitter resin casting to each other using the jump ring and some jewelry pliers.
Simply open the jump ring by pinching both sides of the wire near the opening and sliding them away from each other in a twisting motion. Do not pull them apart.
After sliding the items onto the jump ring, use the pliers to slide the wires back together, butting the ends of the jump ring wire together closely. That’s it!
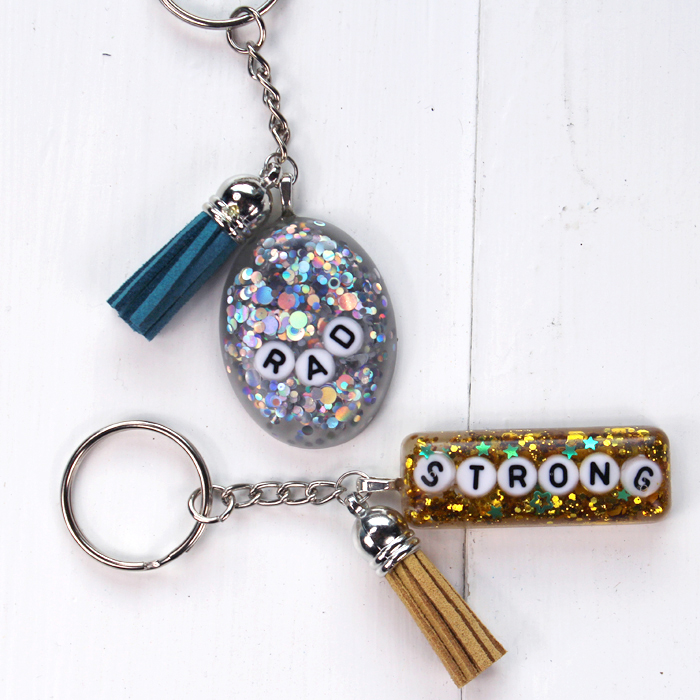
Now these keychains are ready to add power to your keys, purse or zipper pulls with their stunning glitter and power word!
Natalie Shaw is a Craft/DIY blogger at Doodlecraftblog.com. She loves sci-fi, fantasy and video game geekery and that comes out in many of her projects. She posts budget conscious DIY’s, crafts, jewelry, kid friendly projects, upcycled treasures and other fun on her blog 5 days a week.


Love these key chains!! I haven’t done key chains yet but I think I will start trying to do some. I have been more into the unique cubes, pyramids and spheres. Key chains are definitely a must now that I’ve seen yours
Hi! Love how these turned out. Would you mind sharing the link for the mold again. The one above took me to the resin. Thank you! ????
The link takes you to the Amazon Environmental Tech Store, but here’s a direct link: https://www.amazon.com/Environmental-Technology-33610-EasyCast-Jewelry/dp/B00114OTXI/ref=sr_1_29?dchild=1&keywords=Environmental+Technology+mold&qid=1597294765&sr=8-29
Thanks so much!!
very clear and good article easy to understand. Thank you
Thank you!