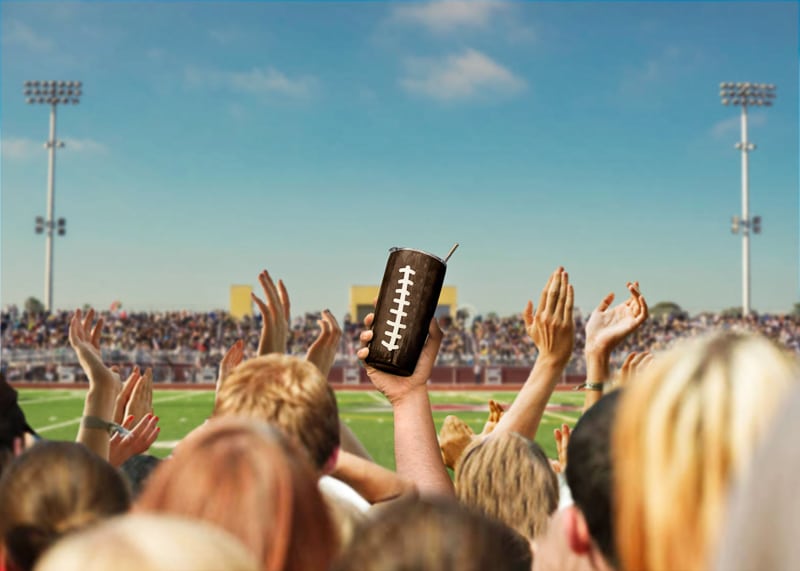
Create a completely customized epoxy tumbler with this step by step DIY guide. These football-themed resin stainless steel tumblers are perfect for your next tailgate… drink in style while keeping your drink hot or cold!
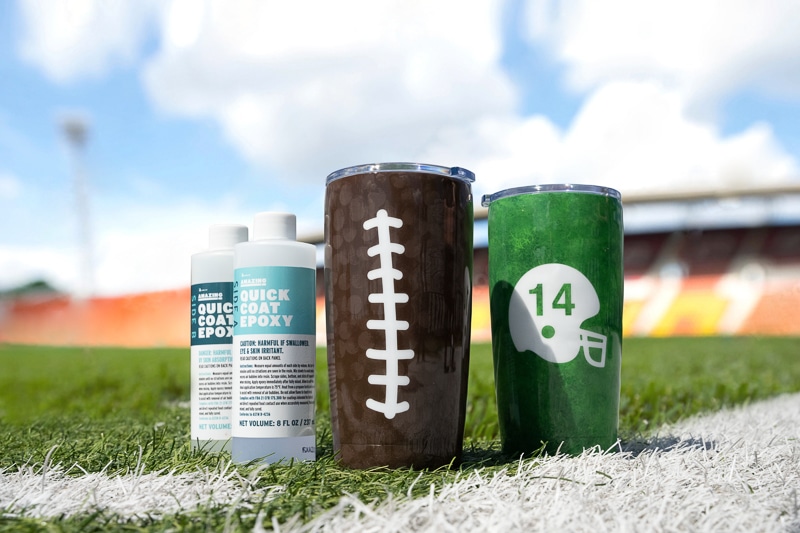
Epoxy tumbler crafts came into massive popularity a few years ago and the trend is still going strong. Covering a tumbler with your own unique design and sealing it with epoxy not only makes a great personal accessory, but a great gift ideas as well. An epoxy tumbler is FDA approved when mixed, poured and cured as per the instructions (you can see more about epoxy resin food safety here).
Making a resin tumbler is not as difficult as you may think… tumbler turners make for very easy work of the process and using a quick drying epoxy like Amazing Quick Coat means you’ll have your customized tumbler ready to party in as little as 4 hours.
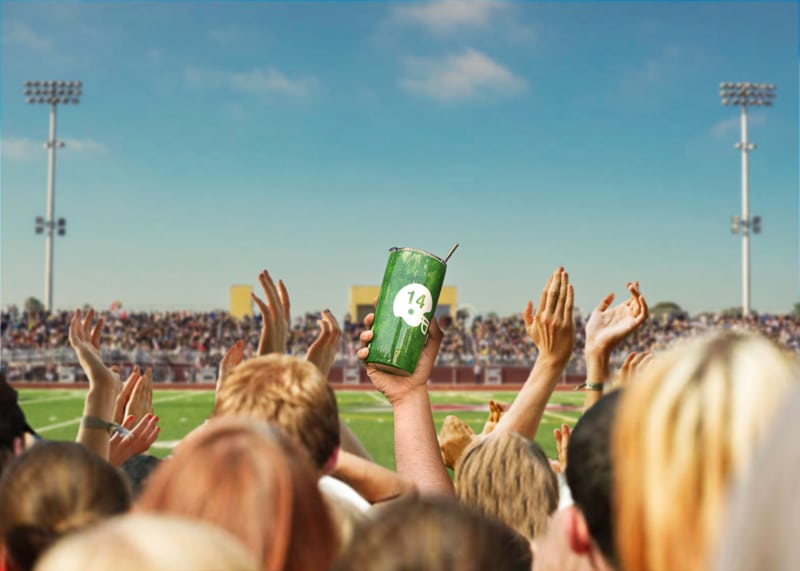
With football season in full swing, we thought it would be fun to make these football-themed versions. They’re perfect for football fans and for players, too. Athletes need their water to stay cold while they work up a sweat! We made 2 rough and tumble (see what we did there?) versions for you with step by step instructions (both photo and video below).
Supplies to Make an Epoxy Tumbler
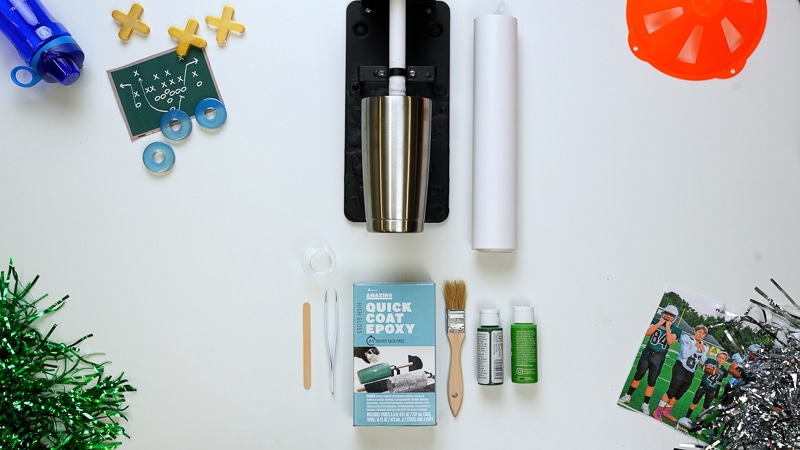
- Stainless steel tumbler (use a double wall tumbler to keep drinks hot or cold)
- Rubbing alcohol
- Alumilite Amazing Quick Coat Epoxy
- Tumbler turner
- Aluminum foil
- Brown acrylic paint
- Paint brush and stencil dauber
- Measuring cups and stir sticks
- Electronic cutting machine with white adhesive vinyl
- Transfer tape
- Your football spirit!

How to Make Football Themed Epoxy Tumblers
Step 1: Paint the Tumbler
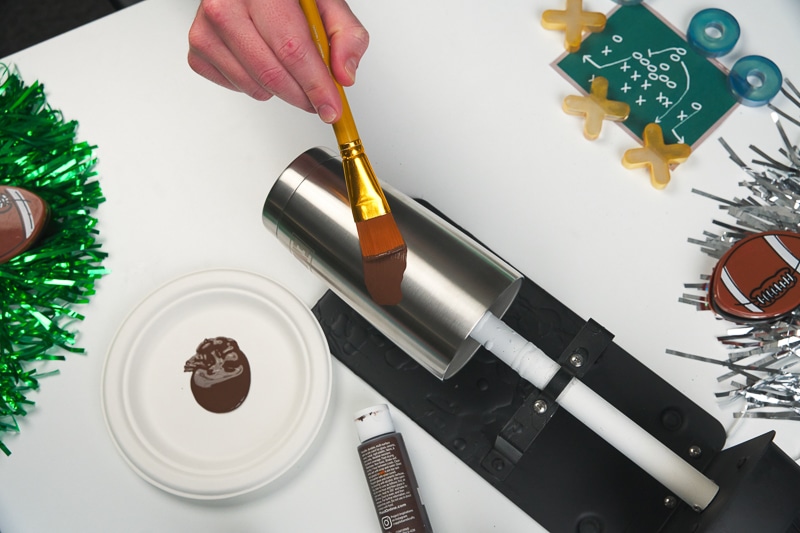
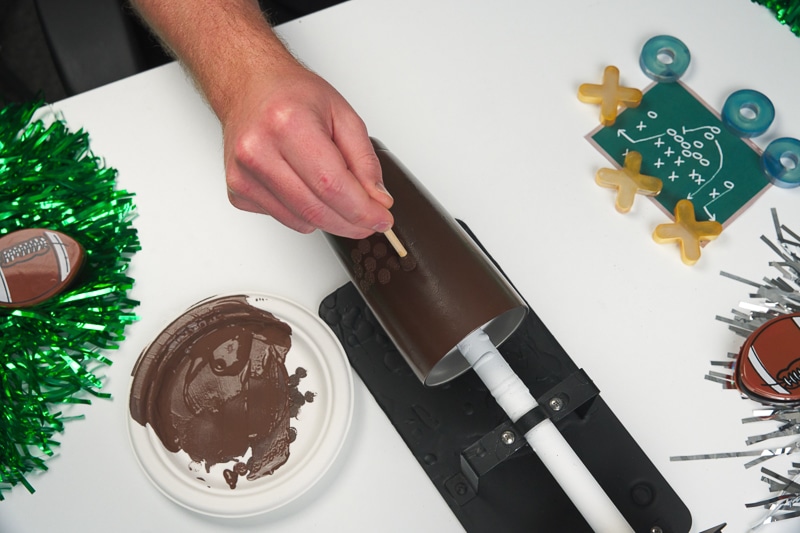
For best paint adhesion, wipe down the stainless steel tumbler with rubbing alcohol and allow to dry. Position your tumbler on the turner and turn it on. Paint the tumbler with dark brown craft paint and allow to dry. Once the base coat of paint has dried, dip a small stencil dauber into the brown paint and pounce it over the entire surface of the tumbler. This creates the illusion of dimpling that you see on an actual football.
Allow to dry completely (overnight, or use a hair dryer to speed up the drying process if you’d like). Leaving the tumbler turner on will help speed up the drying process as well. It’s crucial that the paint is completely dry for the epoxy to cure evenly.
Step 3: Apply the Vinyl Design
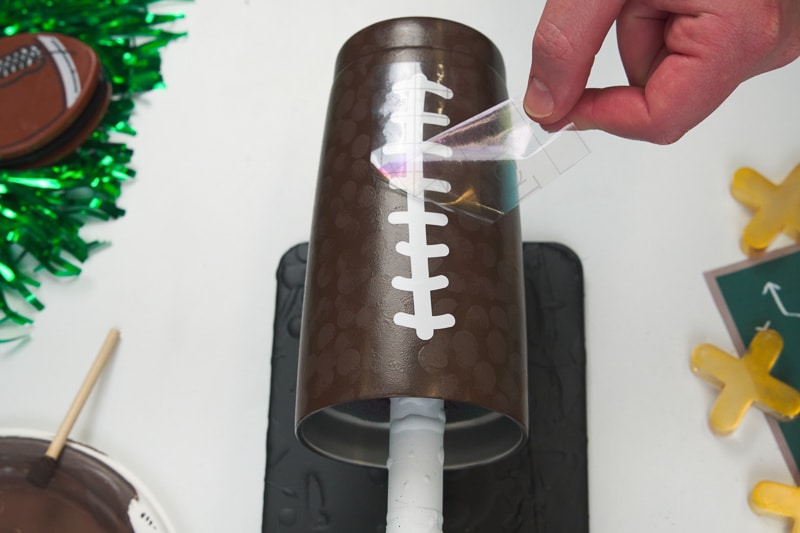
Applying a vinyl decal to a tumbler is is super easy with a Cricut or other cutting machine. Simply cut the football laces design, weed the excess vinyl and cover the image with transfer tape (smooth it with your finger to ensure the entire design adheres to the transfer tape). Remove the design from the vinyl backing (make sure it is adhering to the transfer tape as you peel). Position the design onto the tumbler and gently peel back the transfer tape.
Step 4: Measure and Mix the Epoxy
As always, whenever working with epoxy, make sure to wear gloves, protective eyewear and that you are working in a well-ventilated area. If you don’t have access to a well-ventilated area, wear a respirator.
How much epoxy do you need to cover a tumbler?
The amount needed will vary based on the size of the tumbler. A good rule of thumb is to use about 1.5 ml per ounce of the tumbler size. Since this stainless tumbler is 20 oz, we mixed a total of 30 ml per coat (15 ml of Side A and 15 ml of Side B).
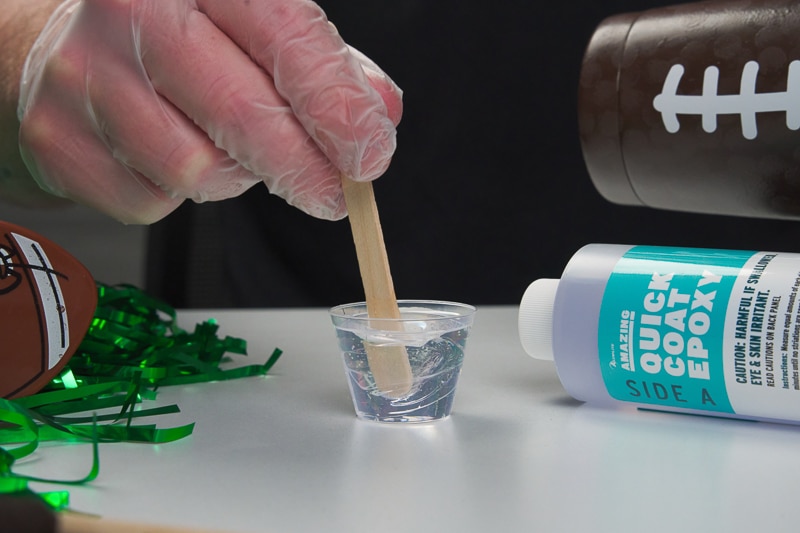
After measuring, mix Alumilite Amazing Quick Coat according to package directions. Pour in equal parts resin and hardener into a mixing cup. Stir the mixture together SLOWLY with a stir stick for 2 – 3 minutes. If the resin still has streaks running through it, keep mixing until it becomes clear.
Step 5: Pour the Epoxy over the Tumbler
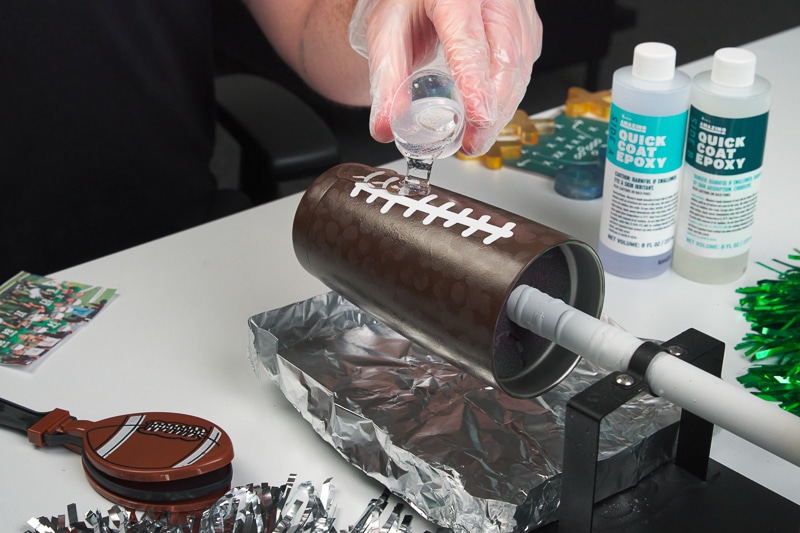
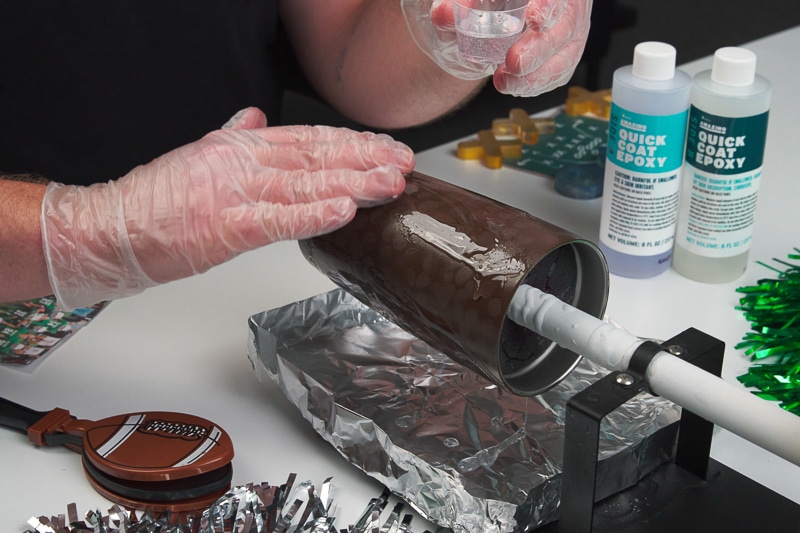
Place aluminum foil under the cup turner and fold up the edges to catch epoxy drips. As the tumbler spins, pour the epoxy over the tumbler and smooth it over the surface with a gloved hand. Take care not to pour the epoxy too close to the top of the tumbler to ensure that none of it leaks into the inside. Use your hand to spread it to the top portion to control the placement.
Check on the tumbler for bubbles after about 15 minutes. If there are any air bubbles visible, use a heat gun or kitchen torch to pop them. Check the tumbler periodically for the first hour or so for drips along the top and remove with a stir stick.
After 1.5 – 2 hours, repeat steps 4 and 5 for a second coat of resin. If you want to add a 3rd layer of epoxy, repeat steps 4 and 5 again after another 2 hours.
Check out this video with another fun variation… this stainless steel cup is painted to look like football turf and can be personalized with your favorite player’s number.
Amazing Quick Coat can be fully cured and tack-free in as little as 4 hours after pouring the final coat. Depending on the temperature and humidity where the tumbler is curing, it may take longer. Around 75 degrees F with no or low-humidity is ideal when working with resin and epoxies.
Now your tumblers are game day ready!
We love this iridescent resin tumbler and this epoxy resin glitter tumbler, too. Check them out for more epoxy tumbler inspiration!
Lydia Nordhoff is the creator of Lydi Out Loud, a blog where she shares her adventures in crafting and DIY. Lydi Out Loud has been featured on the Home Depot Blog, House Beautiful, Good Housekeeping, Southern Living, Elle Decor, Brit + Co., Buzz Feed, Cricut and Somerset Home Magazine.
Leave a Reply