Learn how to make trendy DIY macrame placemats made with macrame cord, burlap, and Fiber-Lok Non-Skid Backing.
Do you love the boho-chic look of macrame, but haven’t dared to try it because you think it might be too complicated? Well, have we got a tutorial for you!
Hello, Resin Crafters! Michelle from Our Crafty Mom here with a super fun home decor project. I’ll show you how to make your own set of DIY macrame placemats using Fiber-Lok.
This versatile product will give your placemats a non-stick backing so they stay where you want them to.
Get ready to add some textured charm to your next dining event!
SUPPLIES NEEDED TO MAKE DIY MACRAME PLACEMATS
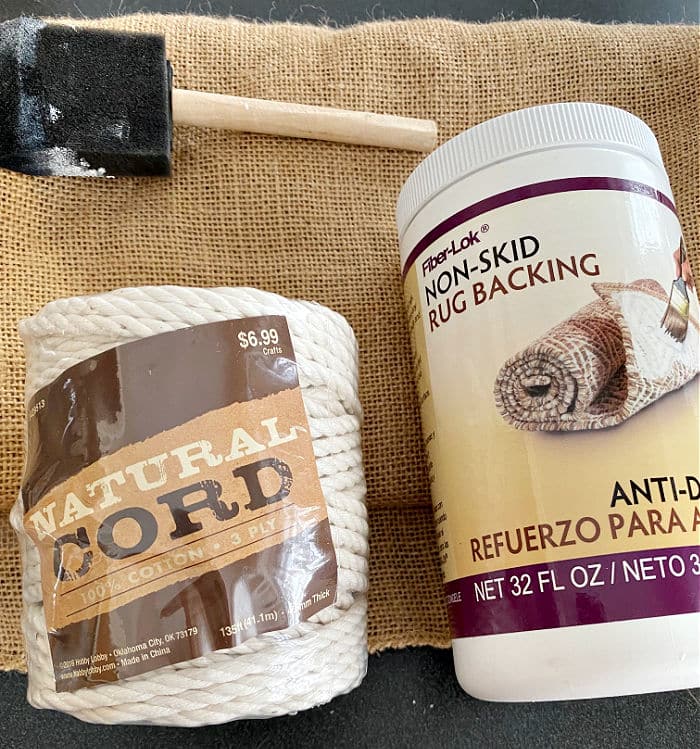
Here is what you need to make this project:
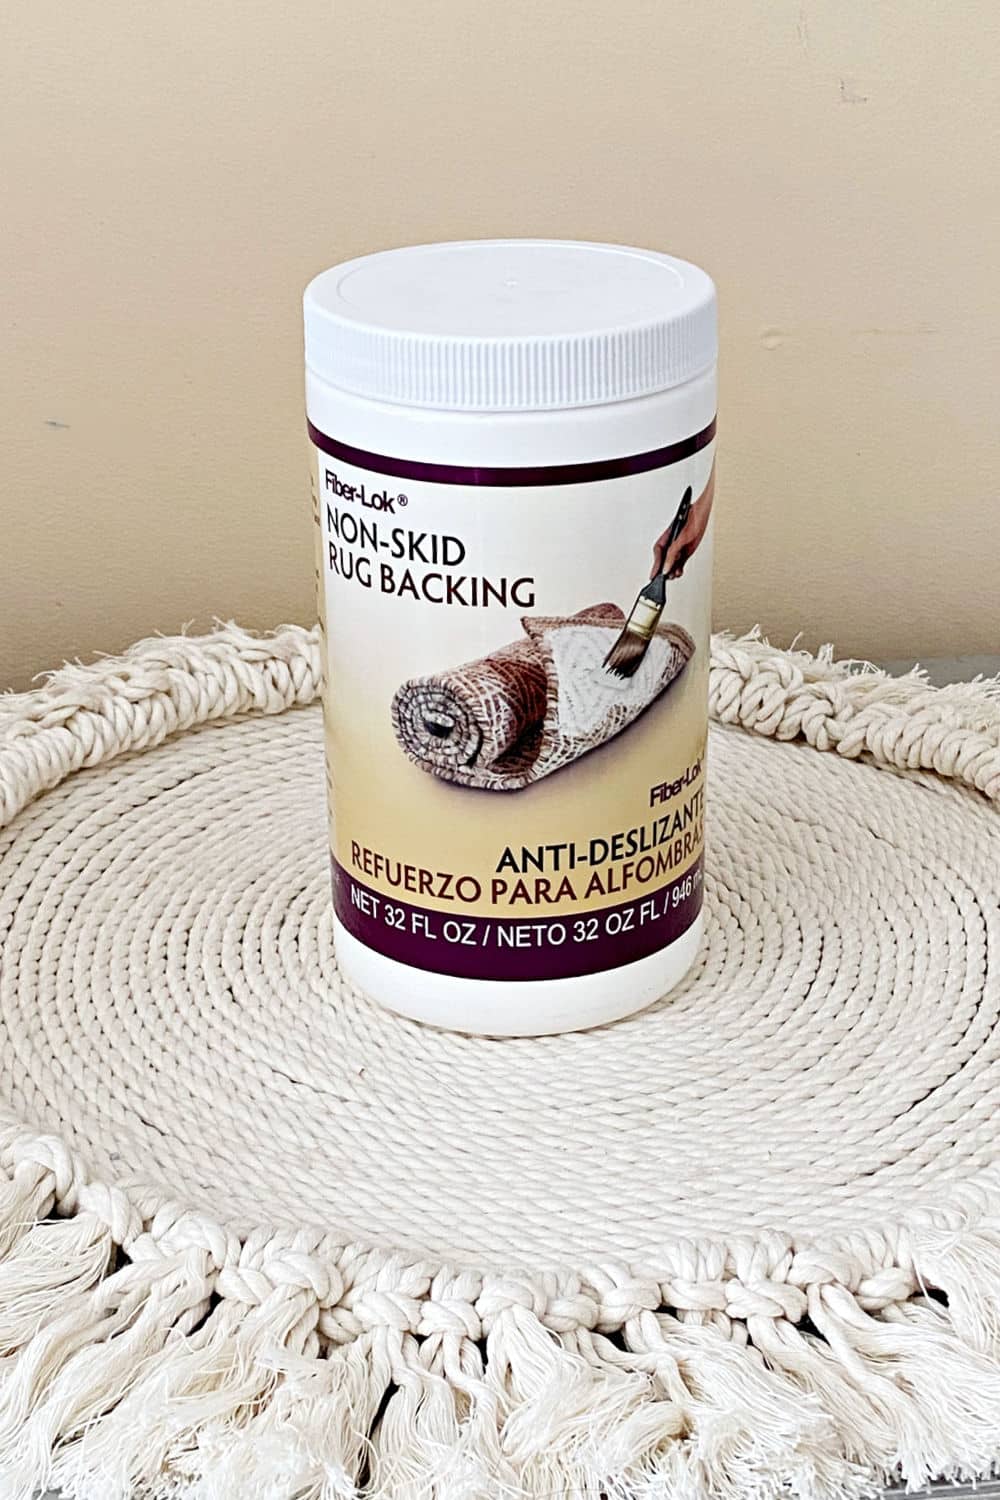
- ETI Fiber-Lok Non-Skid Rug Backing
- Macrame Cord – I used 4.5mm
- Hot Glue Gun
- Fabric Scissors
- Burlap Fabric
HOW TO MAKE MACRAME PLACEMATS
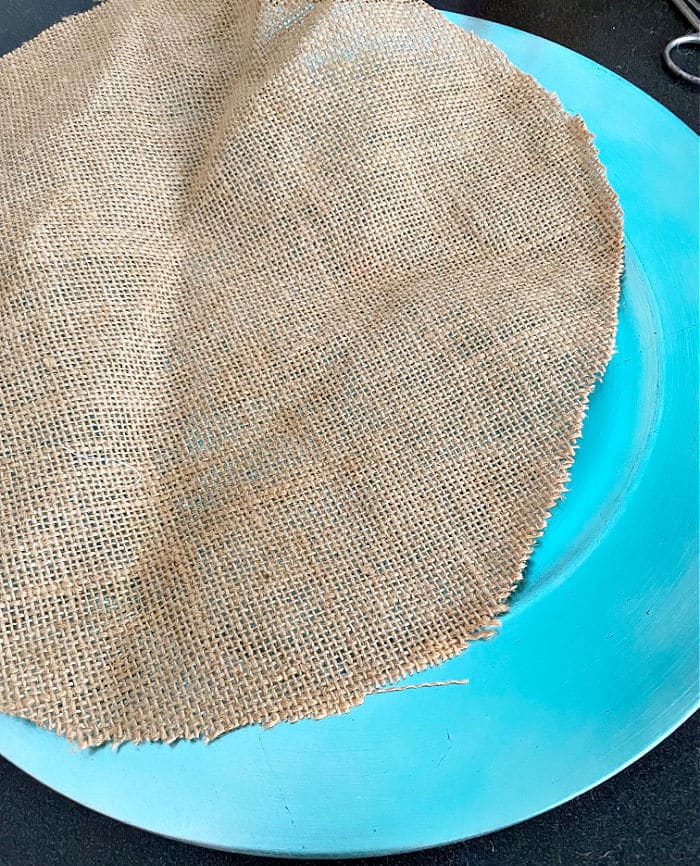
STEP 1. CREATE A TEMPLATE
Place a charger onto a piece of burlap. Use a pen to trace around the edges.

STEP 2. CUT OUT THE BURLAP
Use a rotary cutter or fabric scissors to cut out the burlap. You can use this as a template for as many placemats as you like.
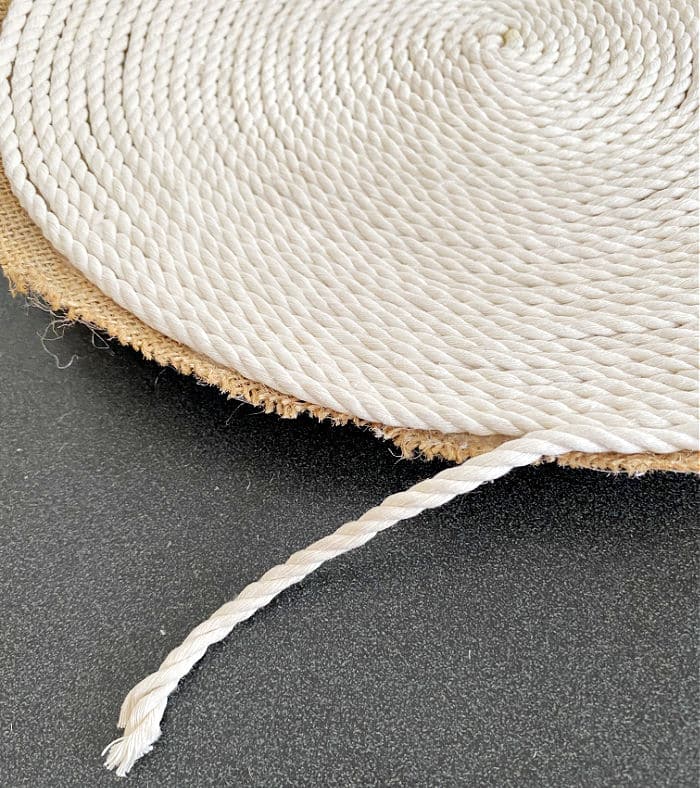
STEP 3. ADD THE MACRAME CORD
Mark the center of the burlap circle with a pen. Begin hot gluing the macrame cord to the center of the burlap.

STEP 4. CONTINUE GLUING THE MACRAME CORD
Continue to hot glue the macrame cord in a circle around the burlap. Be sure to place the macrame cord nice and snug against the previous layer. You don’t want any spaces in between the cord.
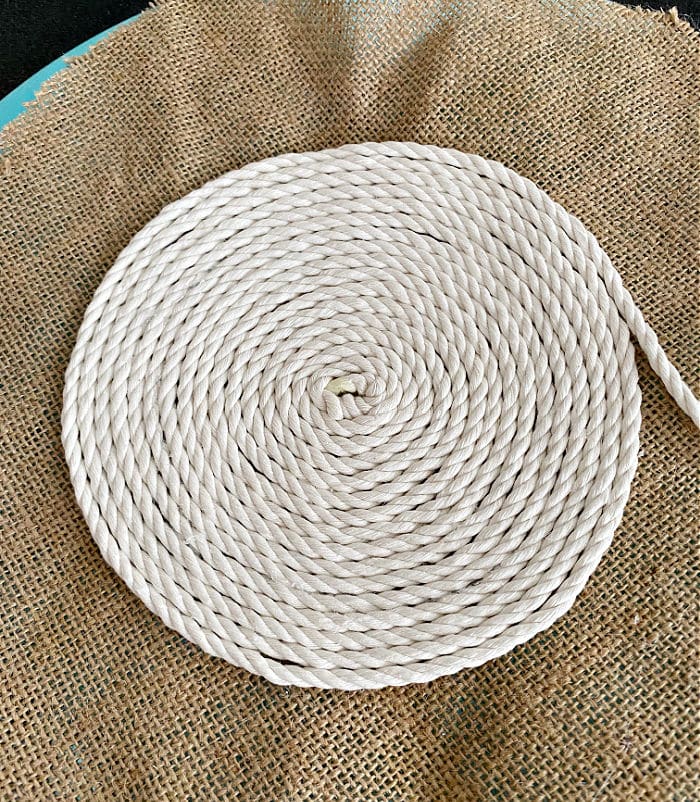
STEP 5. SECURE THE FINAL LAYER OF CORD
When you get to the end of the burlap, leave a string of cord about 3-4″ long. You will use this to attach the final layer.
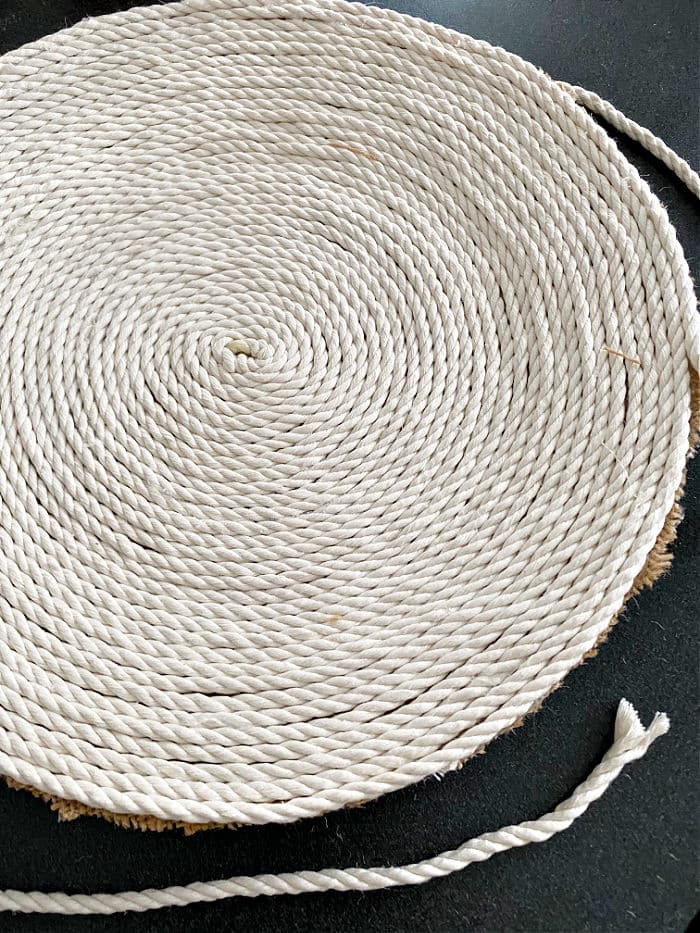
STEP 6. CUT A PIECE OF CORD FOR OUTER LAYER
Cut a piece of cord the entire length of your placemat. This will be used to attach lark’s head knots to give a finished macrame look to your placemat.
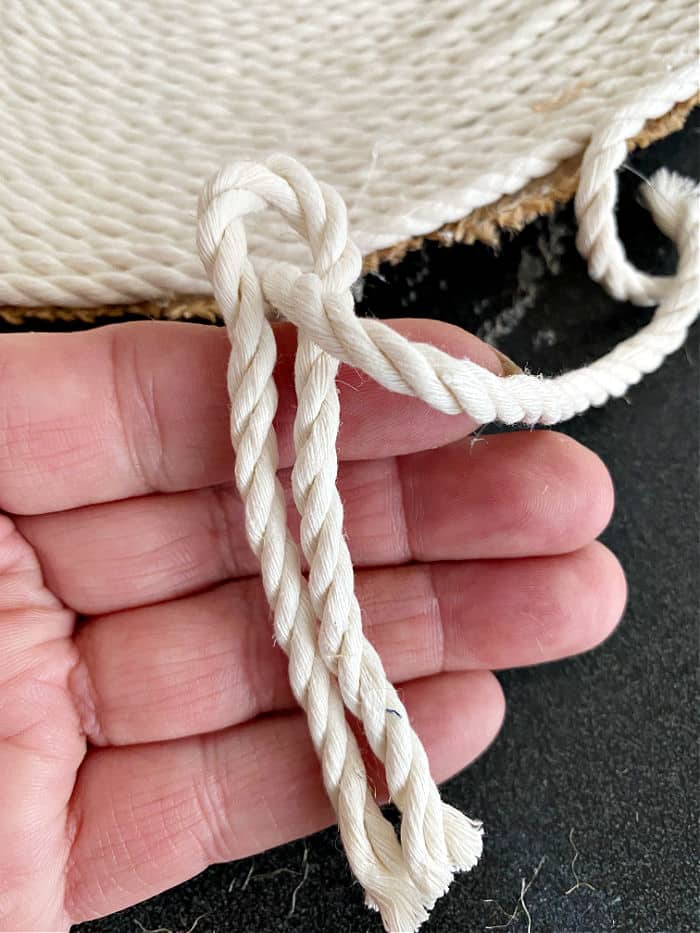
STEP 7. CUT STRANDS OF CORD
Now you want to cut strands of cord about 5″ long. Create a lark’s head knot and secure it around the cord you cut for the outer layer of your placemat.
STEP 8. CONTINUE ADDING LARK’S HEAD KNOTS
Now get ready to settle in with a good television show and continue adding lark’s head knots around the entire placemat.

STEP 9. TRIM THE EDGES
Trim the edges of the knots to the size that you want. I LOVE the look of tassels, so I left them a little longer to give extra texture.
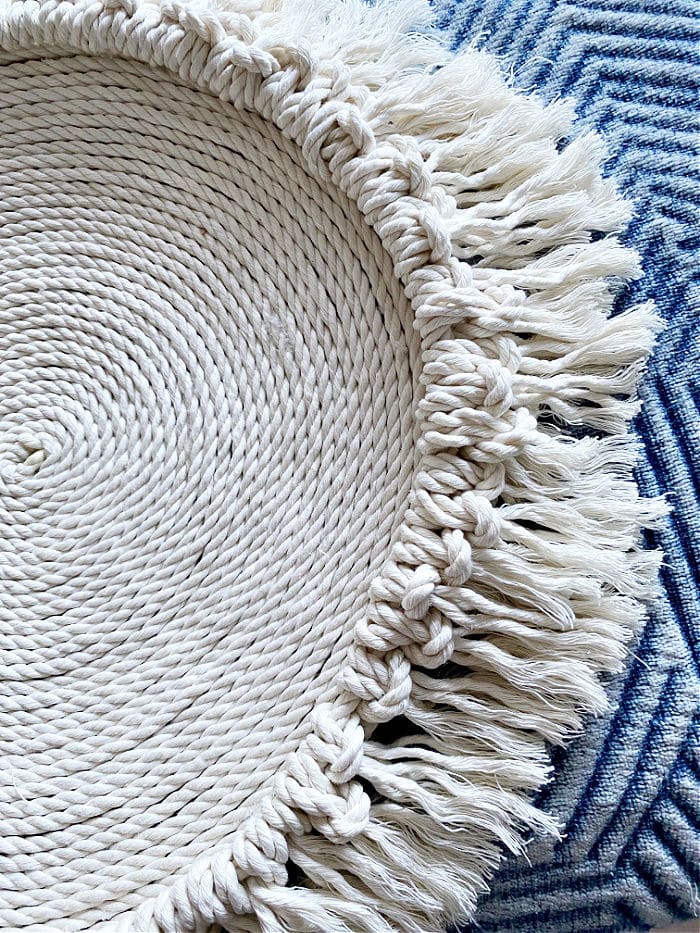
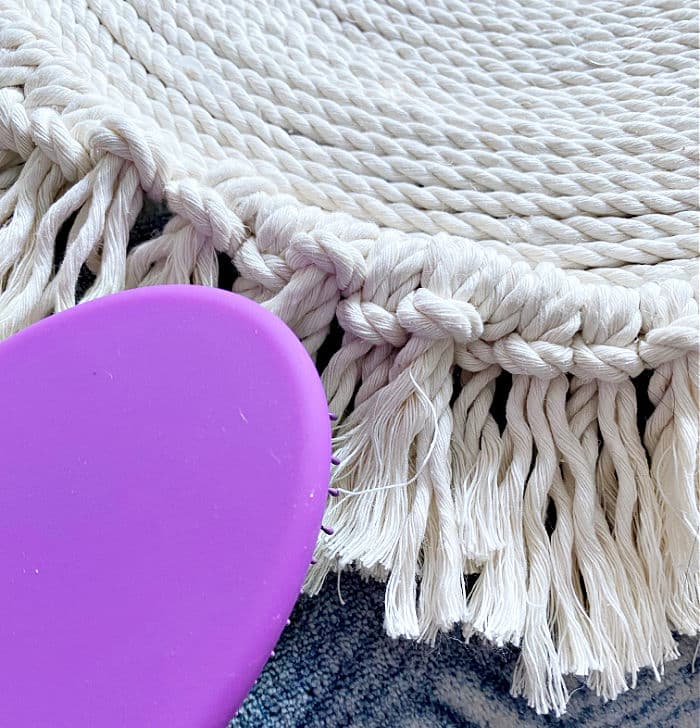
STEP 10. COMB THE KNOTS
I didn’t have a comb handy, so I used a brush to comb out the lark’s head knots. But, I definitely recommend using a comb. This will give them that nice fluffy look we love in tassels!
STEP 11. ADD FIBER-LOK
The last step is to paint Fiber-Lok onto the back of the placemat on the burlap. Start with one coat, let it fully dry.
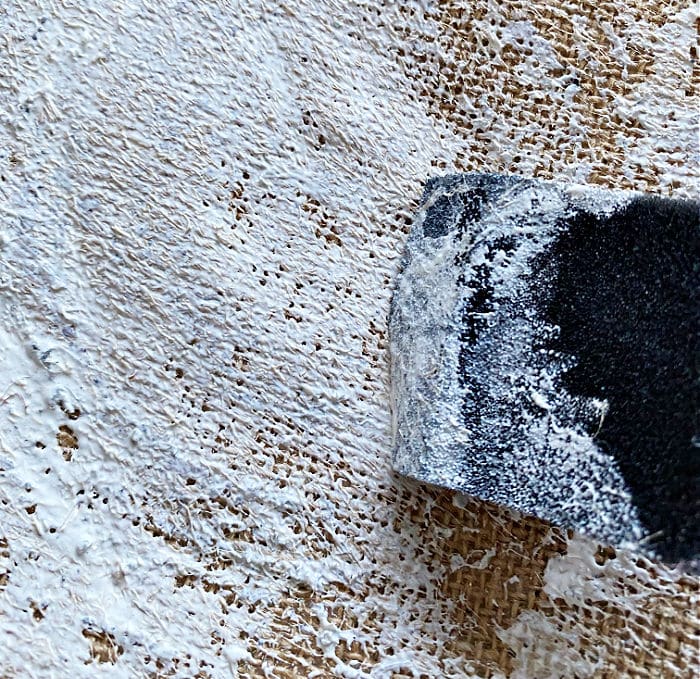
Add a second coat once it’s dry. The Fiber-Lok will become totally clear when it is fully dry.
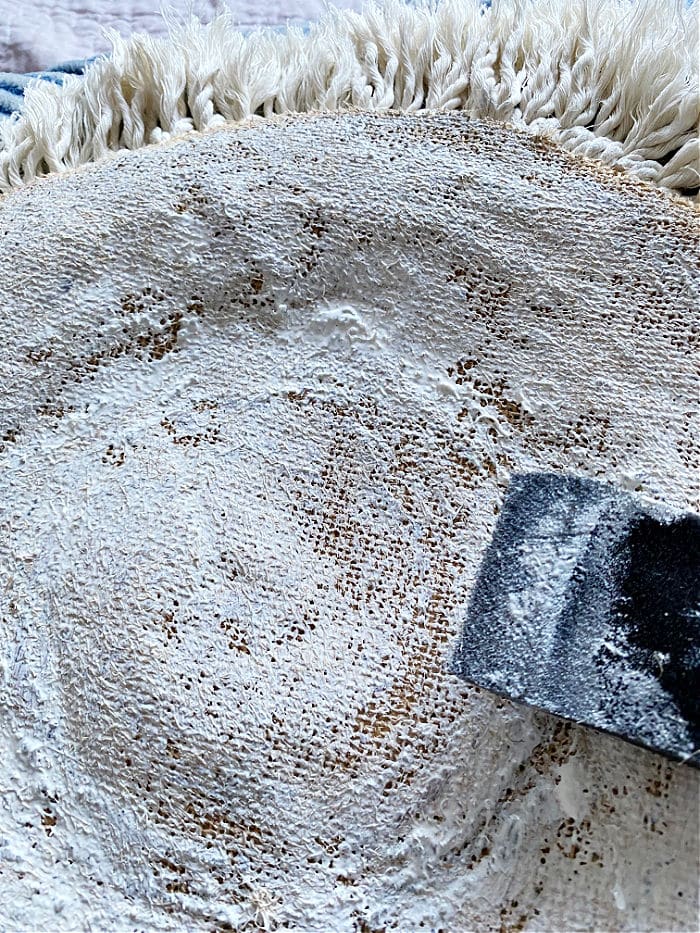
There are so many fun ways to use this macrame placemat! And, with the addition of Fiber-Lok you don’t have to worry about it slipping.

You can use this pretty macrame placemat to display a centerpiece, or on a nightstand. I plan to make four to use as chargers at each place setting for Easter dinner. What about using a smaller size as coasters, or to make a hot pad?

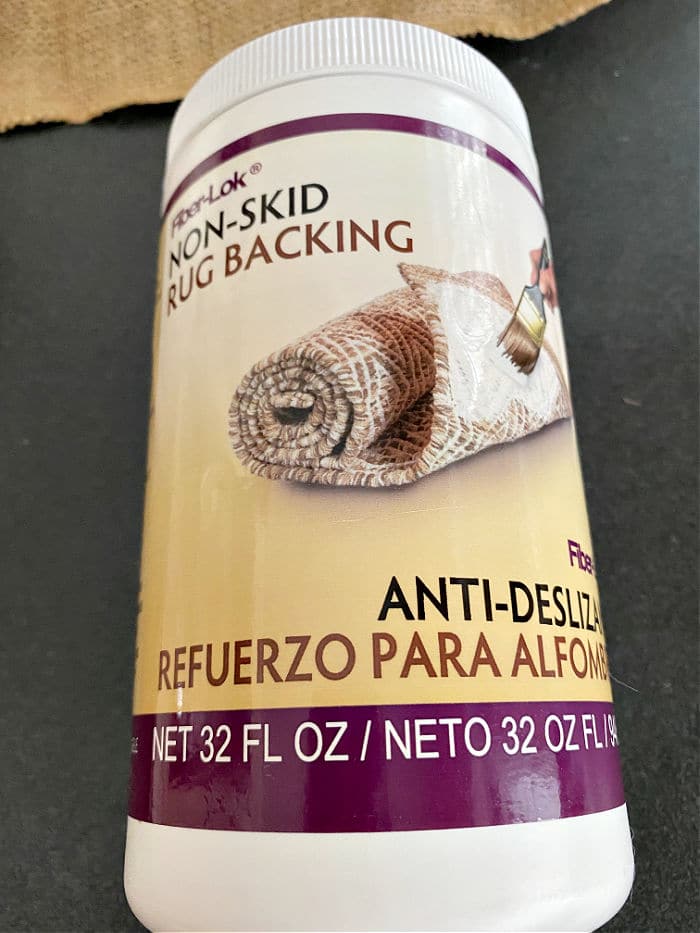
WHAT IS FIBER-LOK?
Fiber-Lok is an awesome product made by ETI – also the makers of amazing resin and epoxy products! It is a non-skid backing that you can add on the backs of rugs to keep them in place.
Here is a great article that will answer all your questions about how to keep rugs from sliding with Fiber-Lok.
WHAT ELSE CAN YOU MAKE WITH FIBER-LOK?
Fiber-Lok is not just for rug backing. It can also be used to make these projects:
Don’t forget to share your creations with us in our Facebook Group. Have a great day!


Leave a Reply