DIY Silicone molds have become extremely popular in the baking and confectionery industry due to their non-stick properties, ease of use, flexibility, and their ability to be 100% customized. They can produce a wide range of shapes and sizes, making it a favorite among pastry chefs and home bakers alike. However, it’s important to note that not all silicone molds are made equal, and some might contain harmful chemicals that can contaminate your food. In this blog post, we will discuss how to make food-grade silicone molds, so you can use them with peace of mind.
How to Make Food-Grade Silicone Molds for Candy, Chocolates & More!
Printable instruction card can be found at the bottom of this post.
Choosing the Right Silicone for Food Applications
The first step in making food-grade silicone molds is to choose the right type of silicone. There are two main types of silicone: tin-cured and platinum-cured. Tin-cured silicone is less expensive, but it can release tin by-products that can be harmful to your health. Platinum-cured silicone, on the other hand, is more expensive but is considered food-safe as it does not contain any by-products that can contaminate your food. Select a high-quality silicone and ensure that it’s labeled as “food grade”.
Factors to Consider When Choosing a Silicone
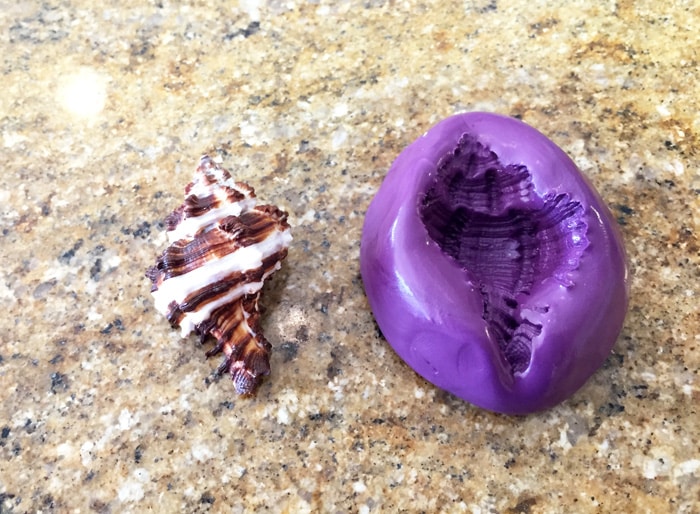
Another factor to consider when choosing a silicone is the shape of the master you’d like to duplicate. If it’s a 3D shape, you would need a liquid silicone rubber. If it’s a flat or 2D object, you can use silicone rubber or silicone putty. Liquid Silicone Rubber will give greater detail to your mold since it’s able to get into every tiny crevice of the master.
Choosing a Silicone Mold Design
When designing the mold, ensure that it’s suitable for food use. Avoid designs that might have hard-to-reach corners or crevices that can harbor bacteria or be difficult to clean. It’s best to incorporate curves and smooth edges for easy cleaning and to avoid trapping any food particles.
It’s also crucial to consider the size of the mold. If the mold is too large, it might take longer to cure, and this can affect the final quality. Conversely, if the mold is too small, it might not be suitable for certain types of foods. Consider the types of food you plan to use the mold for and choose an appropriate size.
Materials Required for Making Food-Grade Silicone Molds:
To create a food-safe silicone mold, you will need the following materials:
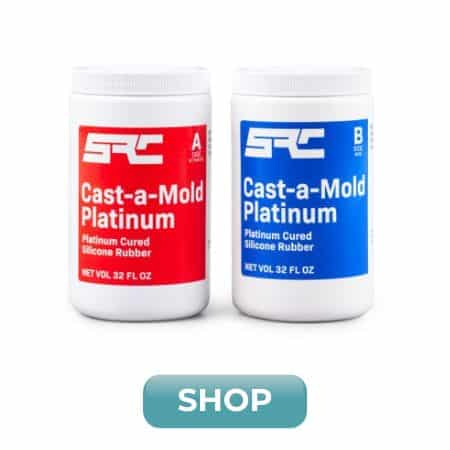
- Food-grade Silicone and Catalyst: Food-grade silicone is non-toxic, odorless, and safe for use in food-related applications. It is also heat resistant and can withstand temperatures up to 500°F. A catalyst is used to harden the silicone and create the mold. Usually, the silicone and catalyst come together as a silicone mold-making kit.
- A Measuring Scale: You will need to measure the silicone and the catalyst accurately to create a food-safe silicone mold.
- Mixing Container: A mixing container will be used to mix the silicone and the catalyst.
- Stirring Tool: You will need a stirring tool to mix the silicone and the catalyst.
- A master (the item you wish to duplicate into a mold)
- A mold box or
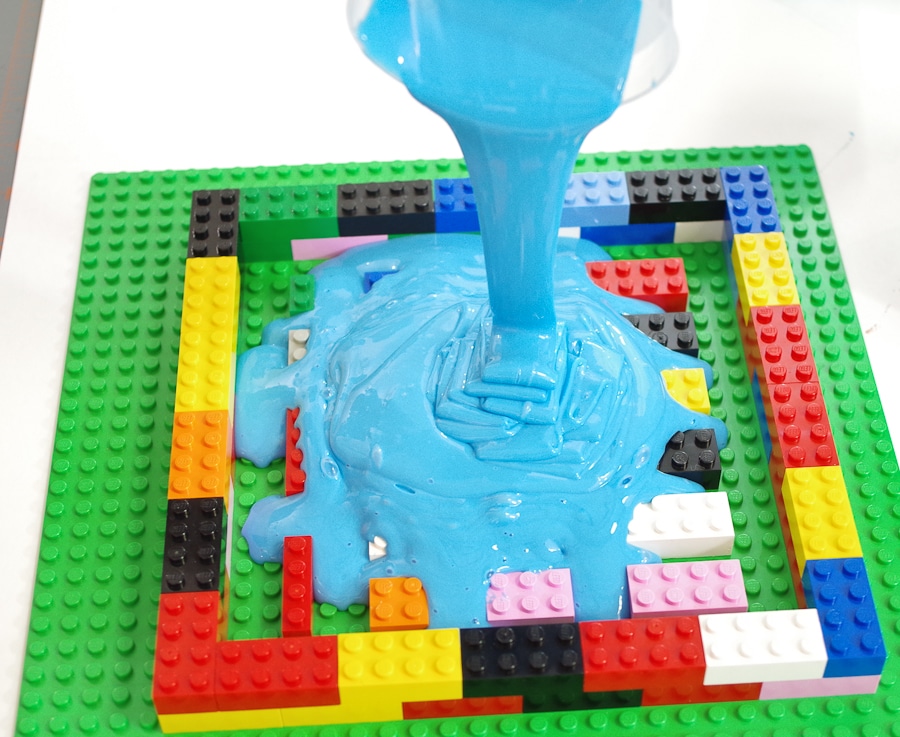
mold tray (these can be DIYed or purchased. This is what you will pour the mixed silicone into). In the above photo, Sheri used legos to build her mold box.
Steps for Making Food-Safe Silicone Molds:
Now that you know the materials required for making food-safe silicone molds let’s look at the steps involved in creating the molds:
Step 1: Prepare the Mold Box
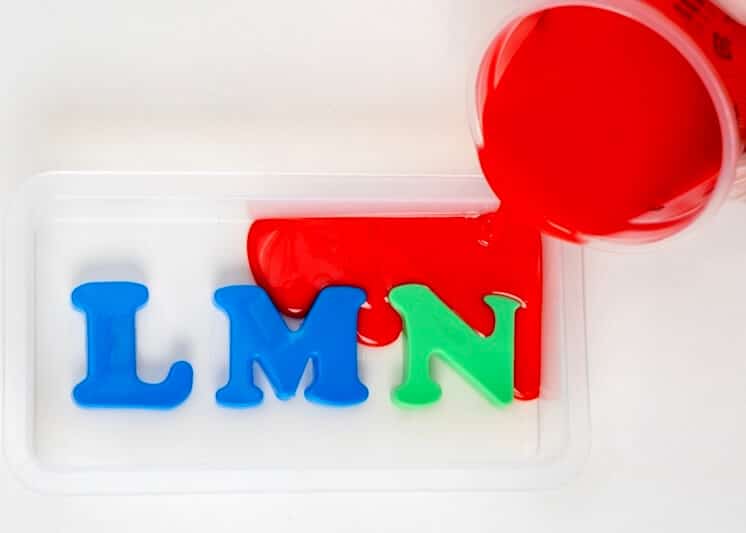
Depending on the size of the silicone mold you will be making, you can either build your own mold box or use a mold tray.
Step 2: Weigh the Silicone
First and foremost, you need to measure the amount of silicone required for the mold. Make sure that you use enough to cover the entire master inside of the mold box. Take your measuring scale and weigh the silicone accurately.
Step 3: Add the Catalyst and Stir the Mixture
Once you have measured the silicone, it is time to add the catalyst. Catalysts are added in small amounts to the silicone and are mixed thoroughly. For food-safe silicone molds, you can use a platinum or tin-based catalyst. You can find the recommended amount of catalyst on the product packaging. Our favorite platinum-based food grade silicone is a 1 to 1 mix ratio by weight, meaning you will mix equal parts silicone and catalyst.
Step 4: Stirring the Silicone and Catalyst
One of the most critical factors when mixing silicone is the ratio of catalyst to silicone. Adding too much or too little catalyst can affect the curing time and the final quality of the mold. It’s essential to follow the recommended mixing ratio.
When mixing the silicone, you need to be careful not to introduce any contaminants, as they can affect the quality and safety of the final product. Always ensure that you use clean utensils and follow the instructions provided by the manufacturer.
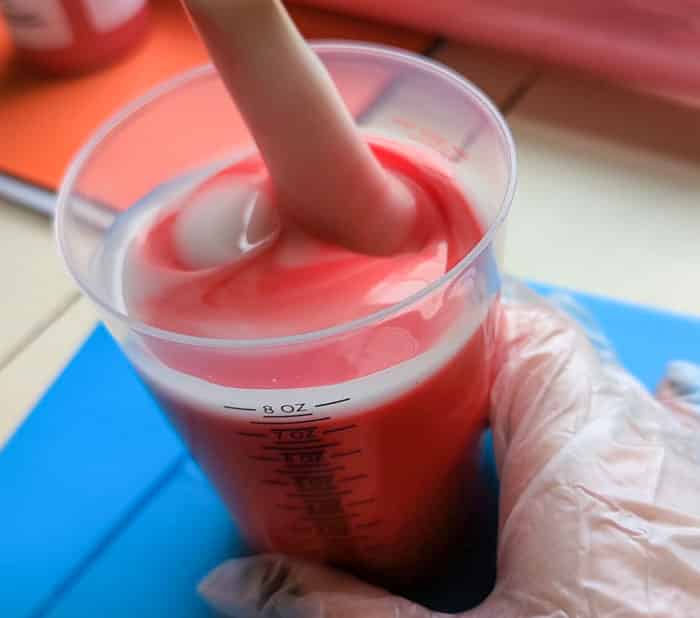
Use a stirring tool to mix the silicone and the catalyst. Mix the two components thoroughly until they are well blended. Be sure to scrape the sides and the bottom of the container to ensure that the mixture is evenly mixed.
Step 4: Pour the Mixture into the Mold Box to Cover the Master
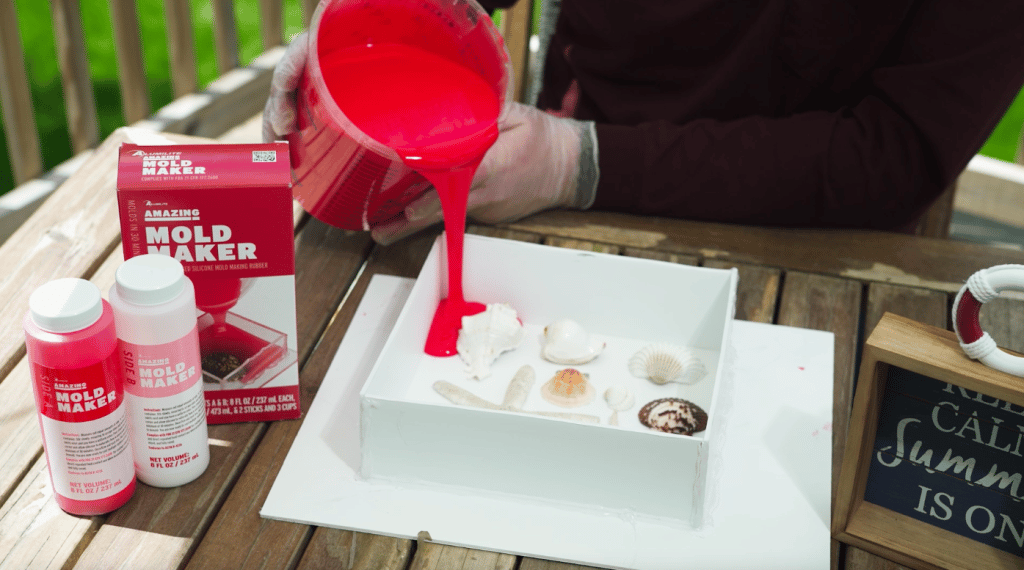
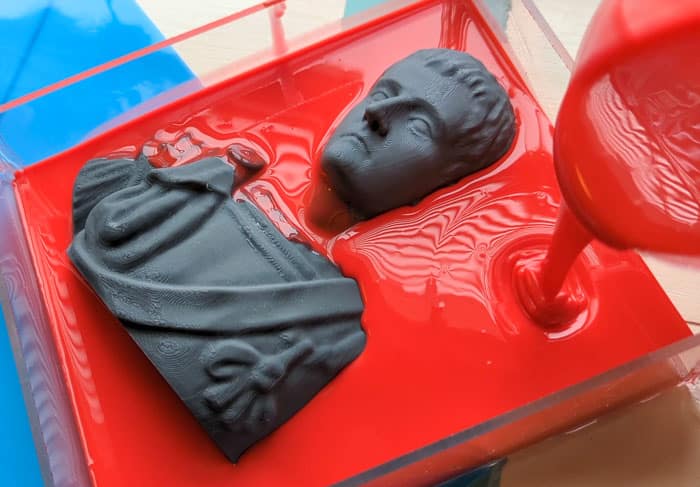
Once the mixture is well blended, pour it into the mold box or tray. Be sure to pour the mixture slowly from several inches away to avoid forming bubbles or voids in the mold. Once poured, tap the sides of the mold box or tap the bottom of the mold tray on your work surface. This will help release any air bubbles that might have formed.
Step 5: Allow the Mold To Cure
Allow the mold to harden for the recommended time mentioned on the product packaging. Depending on the type of catalyst used, the hardening time can range from a few hours to an entire day. Some silicones can be heat accelerated, and some recommend degassing in a vacuum chamber.
Step 6: Remove the Mold
Once the mold has fully cured, remove it from the mold box or tray and gently pull the master out of the mold. If you find it challenging to remove the mold or master, you can use a release agent to facilitate the process.
Step 7: Clean the Mold
Clean the mold thoroughly before using it. Wash the mold with warm water and mild soap to remove any residue. Rinse the mold with water and let it dry completely before use.
Now your food-grade silicone mold is ready for your next culinary adventure!
Food Grade Silicone Mold Cleaning and Maintenance Tips
Keeping your silicone mold clean and well-maintained is crucial to ensure that it remains food safe and has a long mold library life. After each use, wash the mold thoroughly with warm soapy water and dry it with a clean cloth. Avoid using abrasive cleaners or scrubbers that can damage the mold’s surface.
If you notice any discoloration or residue buildup on the mold’s surface, it’s time to retire it as it’s no longer suitable for food use. Over time, the mold’s surface can degrade, and this can affect its food safety.
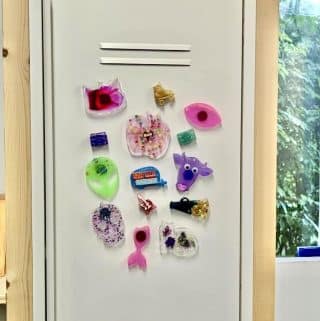
Note: Although your food-grade silicone molds can have many applications outside of food items, it’s important to keep your molds used for food, just for food. While the molds themselves are food-grade, once other substances are chemicals have been used in them, they may not be food-safe anymore. For example, you wouldn’t want to use a silicone mold for resin casting that you plan to use for food.
Uses for DIY Food Grade Molds:
- Chocolates
- Candy
- Fondant for Cake Decorating
- Popsicles
- Ice cubes
- Sugar cubes
- Gummie candies
- Jello
- Lollipops
- Cookies
- Edible Play Dough
In Conclusion
When making silicone molds for food, it’s essential that you don’t expose yourself or your loved ones to harmful chemicals or contaminants. When choosing the silicone, opt for platinum-cured silicone, and ensure that you follow the recommended mixing ratio and all manufacturer instructions. Design the mold with food use in mind, and ensure that it’s the right size for the food you plan to use it for. Finally, keep the mold clean and well-maintained, and retire it if you notice any deterioration.
By following these few simple steps, you can enjoy using your silicone molds with confidence, knowing that they are safe for you and your family. Happy baking!
Are you excited to give DIY molds a try? Be sure to check out all of our DIY mold-making tutorials and inspiration.
DIY Food-Grade Silicone Molds
Materials
- Food grade silicone mold making kit (silicone and catalyst)
- Measuring Scale
- Mixing cups and stir sticks
- A master the item you wish to duplicate into a mold
- A mold box or mold tray
Instructions
- Prepare the Mold Box. Depending on the size of the silicone mold you will be making, you can either build your own mold box or use a mold tray.
- Measure and mix the Silicone and Catalyst according to the manufacturer instructions. Mix thoroughly until the 2 parts are completely blended, scraping the sides and bottom of the mixing cup frequently.
- Once the mixture is well blended, pour it into the mold box or tray to cover the master completely. Pour the mixture slowly from several inches away to avoid forming bubbles or voids in the mold. Once poured, tap the sides of the mold box or tap the bottom of the mold tray on your work surface to remove any bubbles.
- Cure the mold as recommended on the product packaging.
- Once the mold has fully cured, remove it from the mold box or tray and pull the master out of the mold.
- Clean the mold thoroughly before using it. Wash the mold with warm water and mild soap to remove any residue. Rinse the mold with water and let it dry completely bef
Lydia Nordhoff is the creator of Lydi Out Loud, a blog where she shares her adventures in crafting and DIY. Lydi Out Loud has been featured on the Home Depot Blog, House Beautiful, Good Housekeeping, Southern Living, Elle Decor, Brit + Co., Buzz Feed, Cricut and Somerset Home Magazine.



Leave a Reply