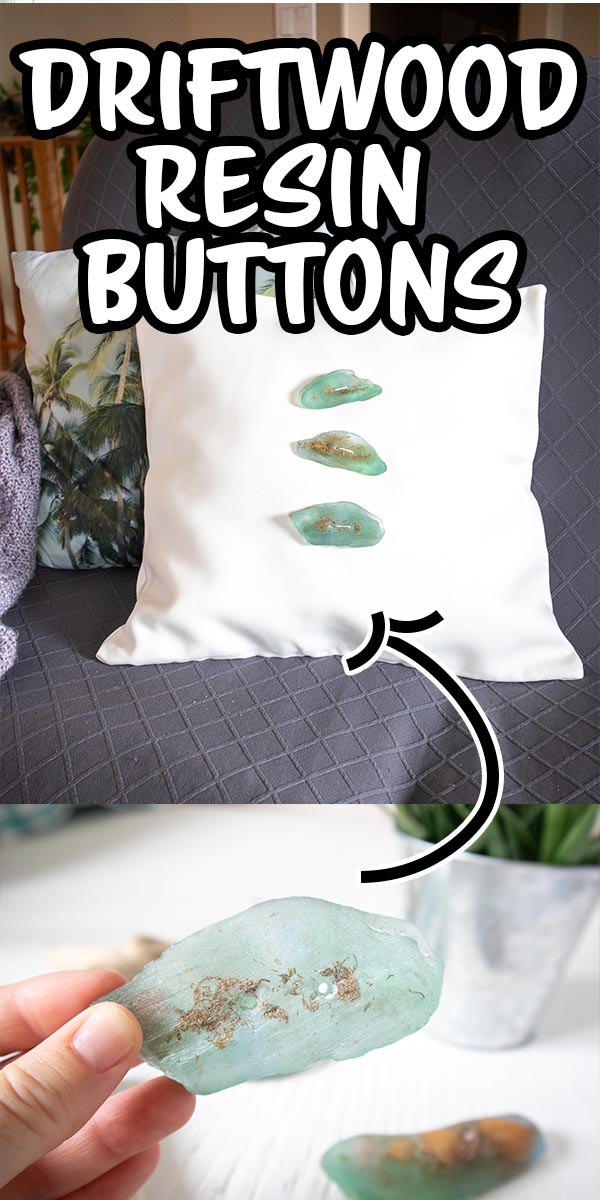
With colors mimicking the ocean and shaped like driftwood pieces, these unique resin buttons are the perfect embellishment to create a truly one-of-a-kind project.
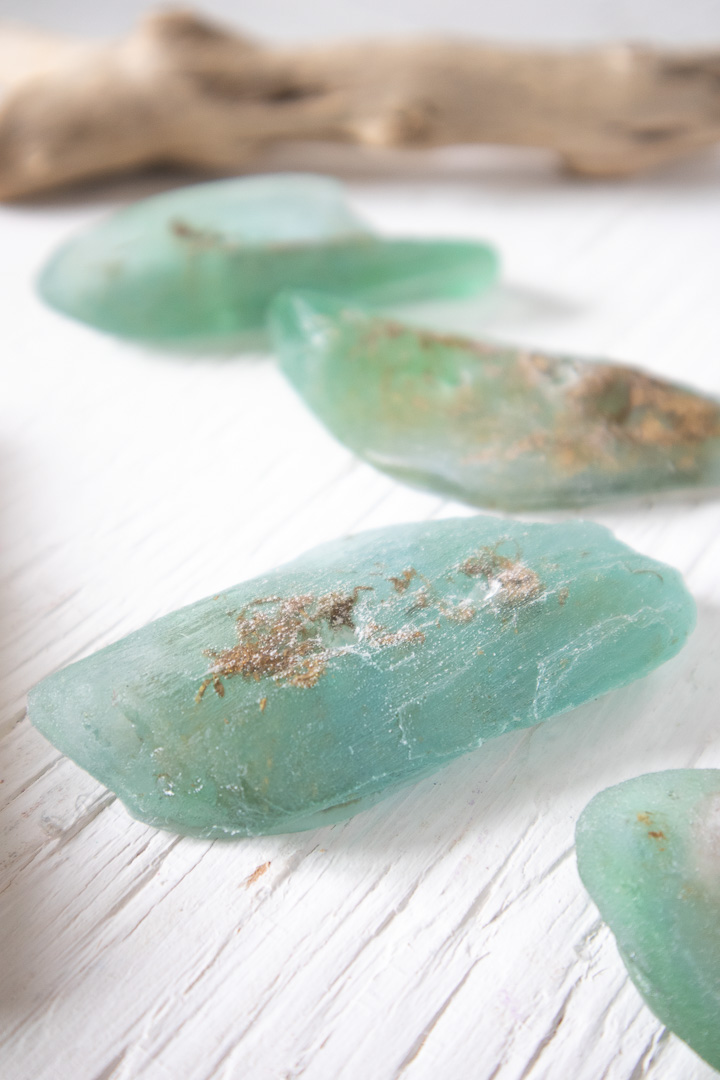
Sometimes crafting is as much about creativity as it is about experimentation. And not knowing how something is going to turn out is part of the fun when creating art. We would definitely say that is the case with these unique resin driftwood buttons. Having made resin molds out of actual pieces of driftwood, we had no idea how the resin buttons would turn! Although we were more than excited to find out.
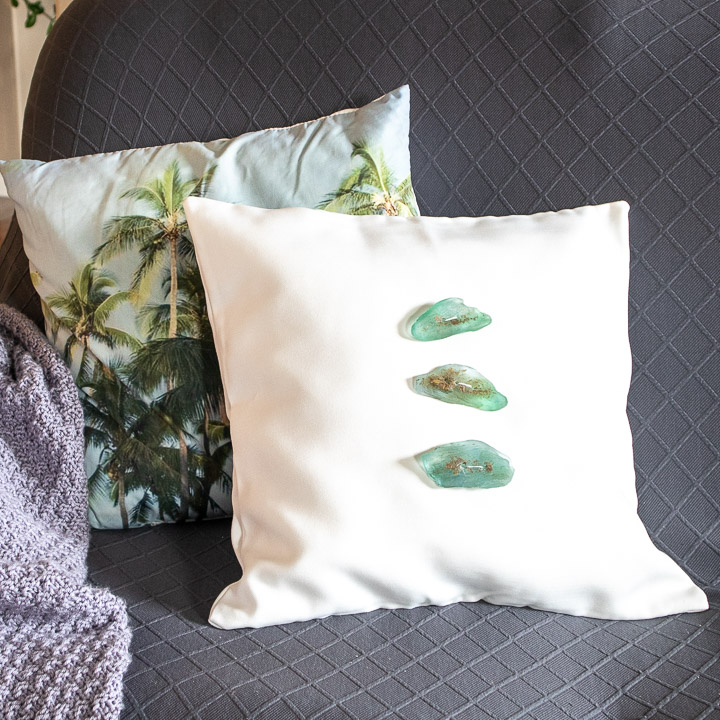
We experimented with a few different inclusions such as pebbles, seaglass, gold glitter and metallic paint. It was fun to pop them out of the molds (watch all these satisfying resin demolding videos) and uncover our little creations which look really pretty stitched on a decorative coastal-inspired throw pillow.
For additional beach-themed crafts visit us on our blog Sustain My Craft Habit!
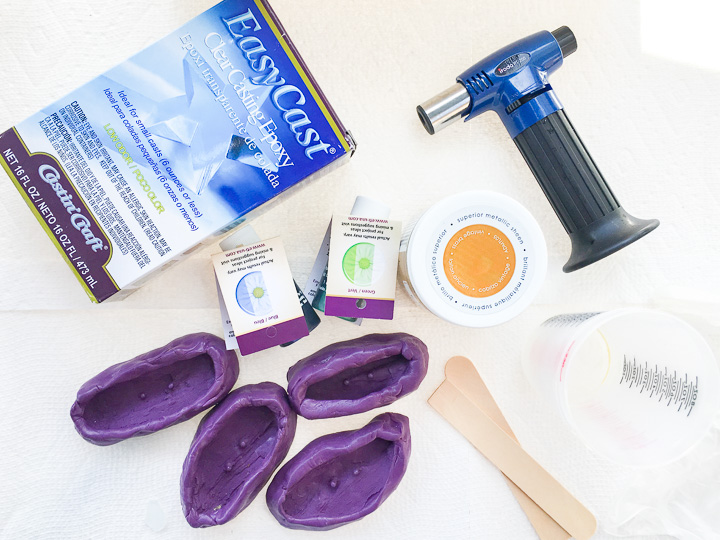
Supplies Needed:
- EasyCast Clear Casting Epoxy
- DIY driftwood buttons silicone molds
- Universal Transparent Dye in blue and green
- Gold metallic paint
- Measuring cups, wooden stir sticks, paper towels, toothpicks
- Butane kitchen torch
- Small inclusions such a pebbles, seashells (optional)
How to Make Driftwood Resin Buttons:
Be sure to read all the instructions and work in a well ventilated area prior to using the EasyCast Clear Casting Epoxy.
Preparing the Resin
To prepare the resin for pouring, mix equal amounts of resin and hardener in a measuring cup. Two ounces of each should be sufficient for this part of the project.
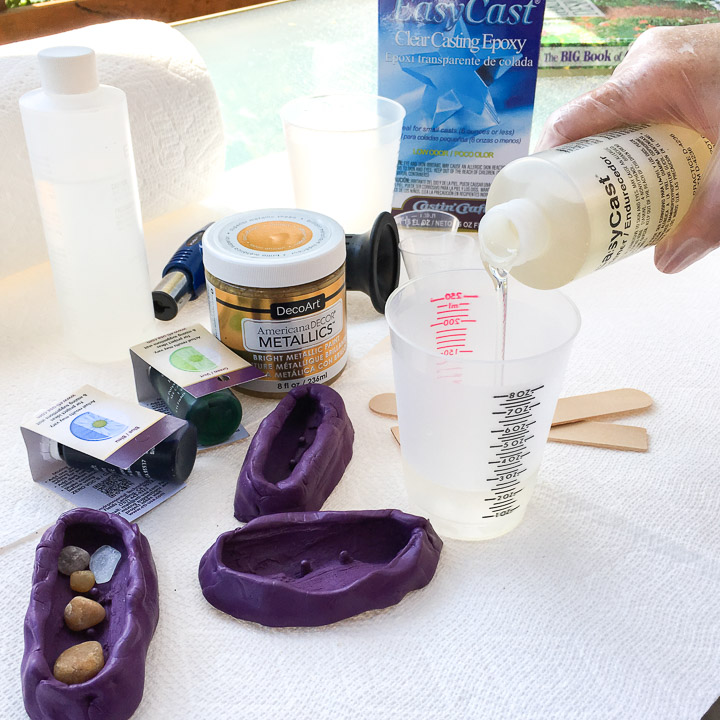
Stir the two parts together for 2 minutes scraping the bottom and sides with the wooden stir stick. Pour the mixture into a second measuring cup and continue stirring for another minute.
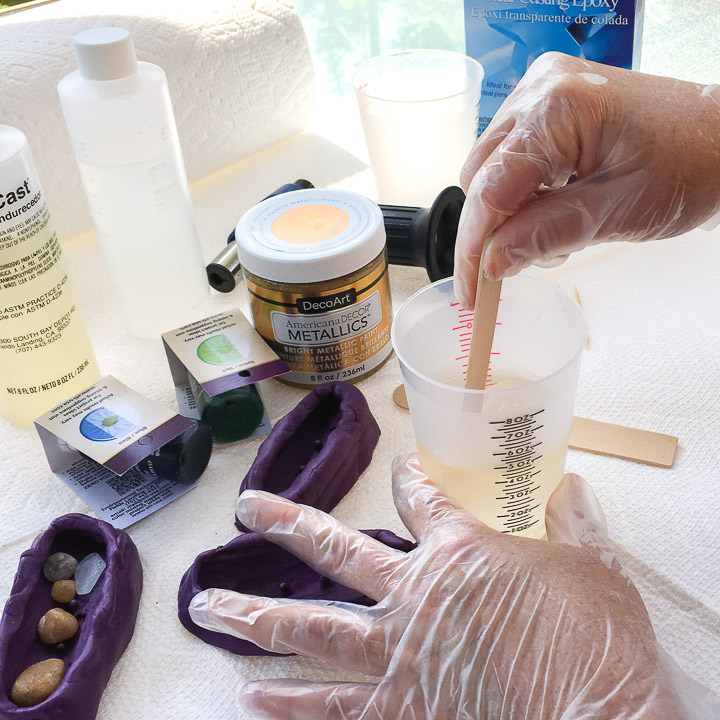
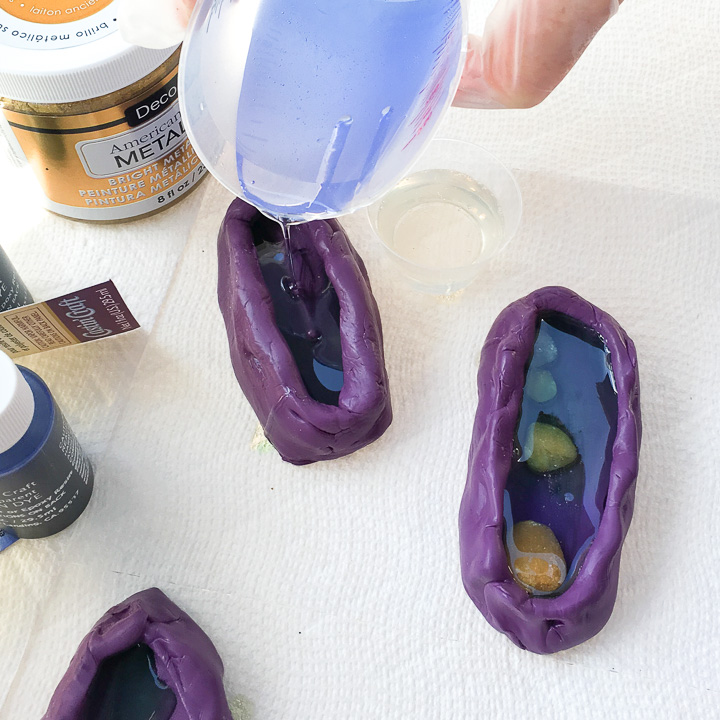
Divide the resin mixture amongst 3 cups. And then add 2 drops of the translucent blue dye into one portion and green dye to another and leave one portion clear. Stir until each color is completely blended. Your resin will then be ready to pour.
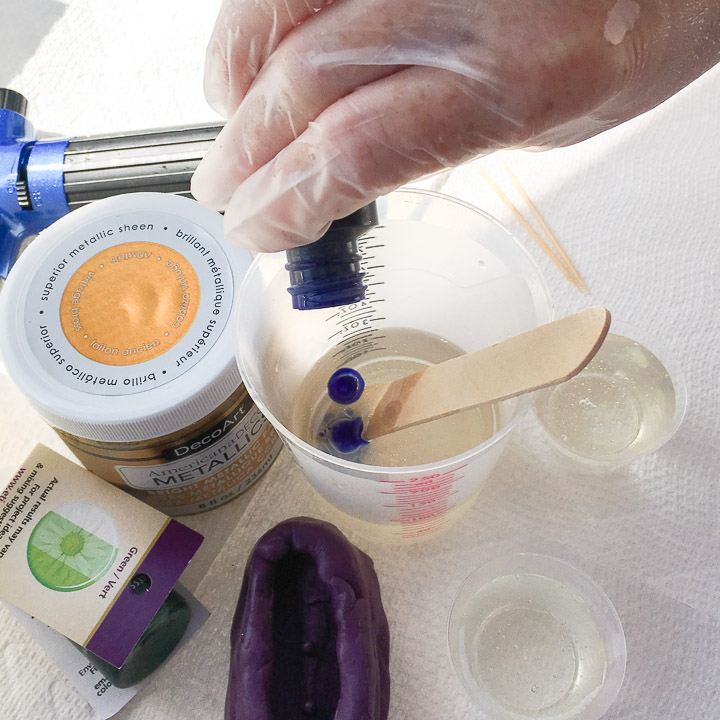
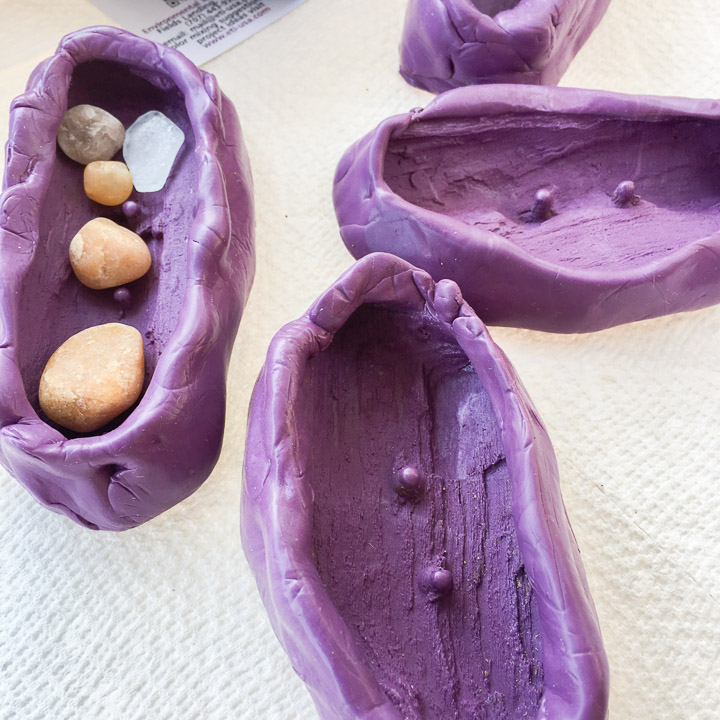
If you’d like, add small inclusions into one of the mold such as pebbles or sea glass.
Next, alternate pouring each of the three colors of resin into the molds until filled.
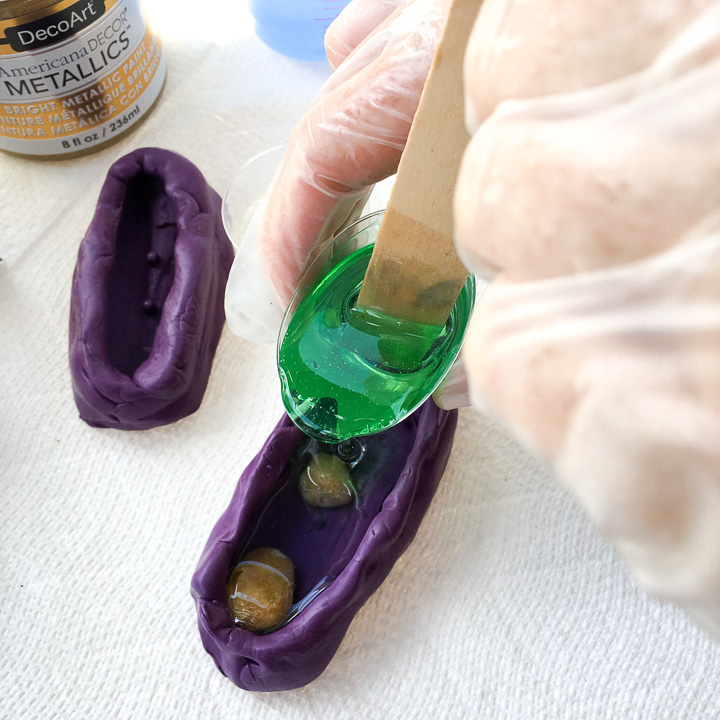
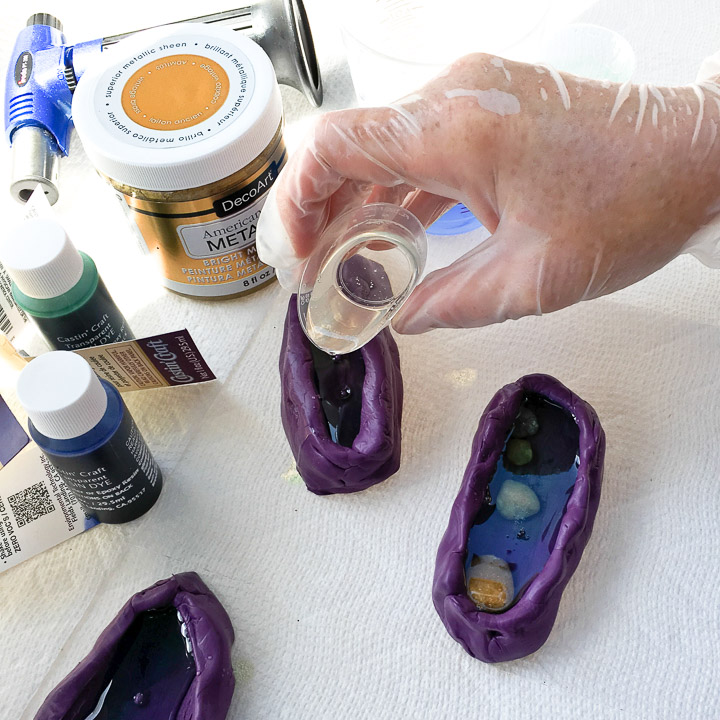
Using a toothpick, add threads of gold metallic paint to the molds. Swirl around and into the resin in the molds.

After about 15-20 minutes, blow off any bubbles that have risen to the surface of the resin using a kitchen torch (or your breath through a straw).
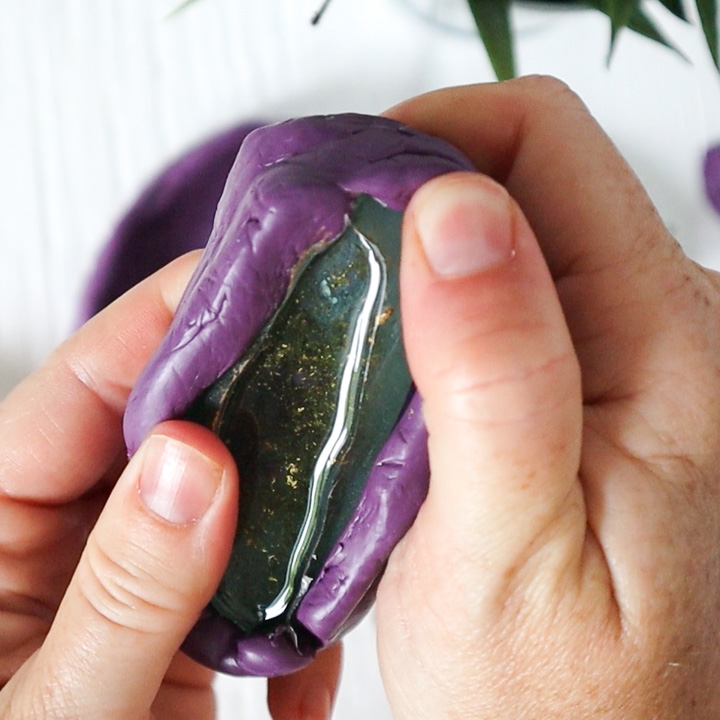
Cover and let cure for 24 to 48 hours before removing from the molds.
Finishing
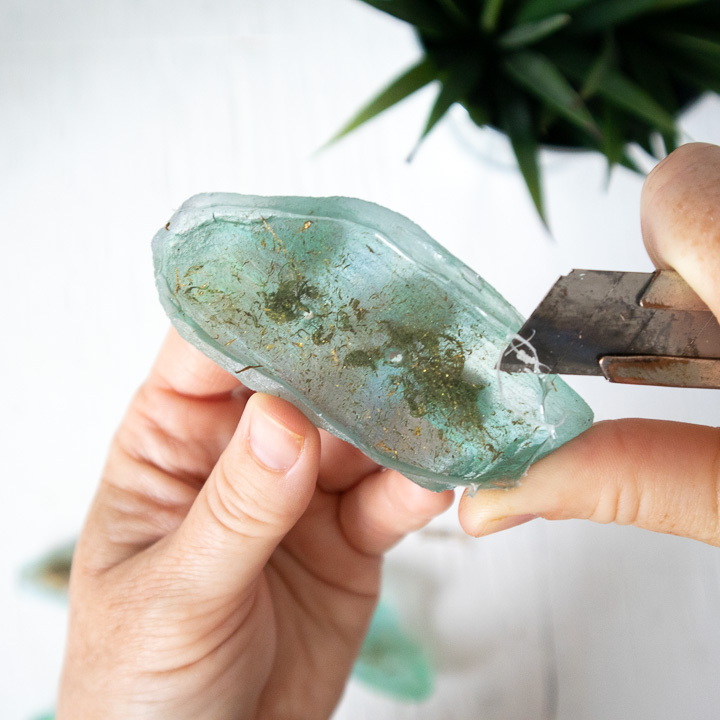
With clean hands, remove the resin buttons from the mold.
Using a utility knife, carefully trim off and smooth the rough and jagged edges.
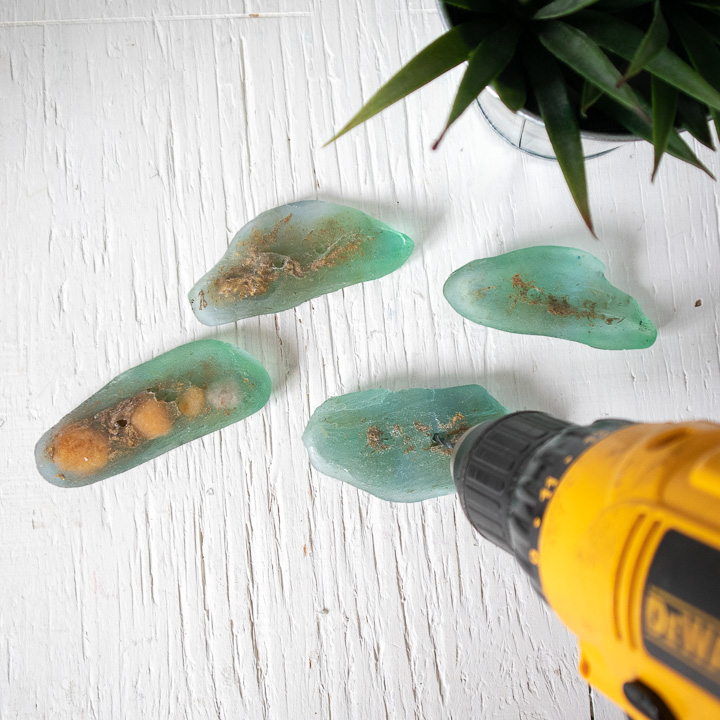
Netx, use a drill to drill through the resin all the way through making them function as buttons. And if needed, use a toothpick to remove the remaining fine sanded resin from the holes.
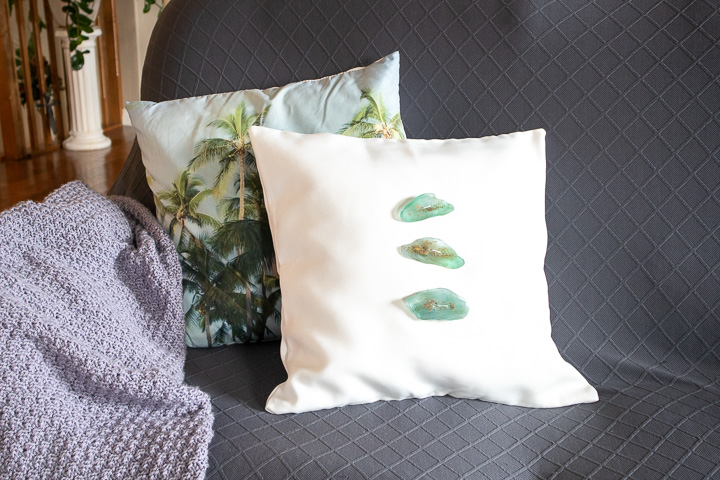
Attaching Resin Driftwood Buttons to a Throw Pillow
Position the buttons on a throw pillow (we used a pillow sized 18″x18″) and with a threaded needle, hand sew the buttons in place.
More Resin Button Crafts:
Like it? Pin it for later!
Jane and Sonja are sisters, moms and lifelong craft addicts both living near Toronto, Canada with their families. They share their love of creativity, nature and coastal DIY ideas on their blog Sustain My Craft Habit. They craft and decorate their homes using repurposed and upcycled items and materials found in nature.


Leave a Reply