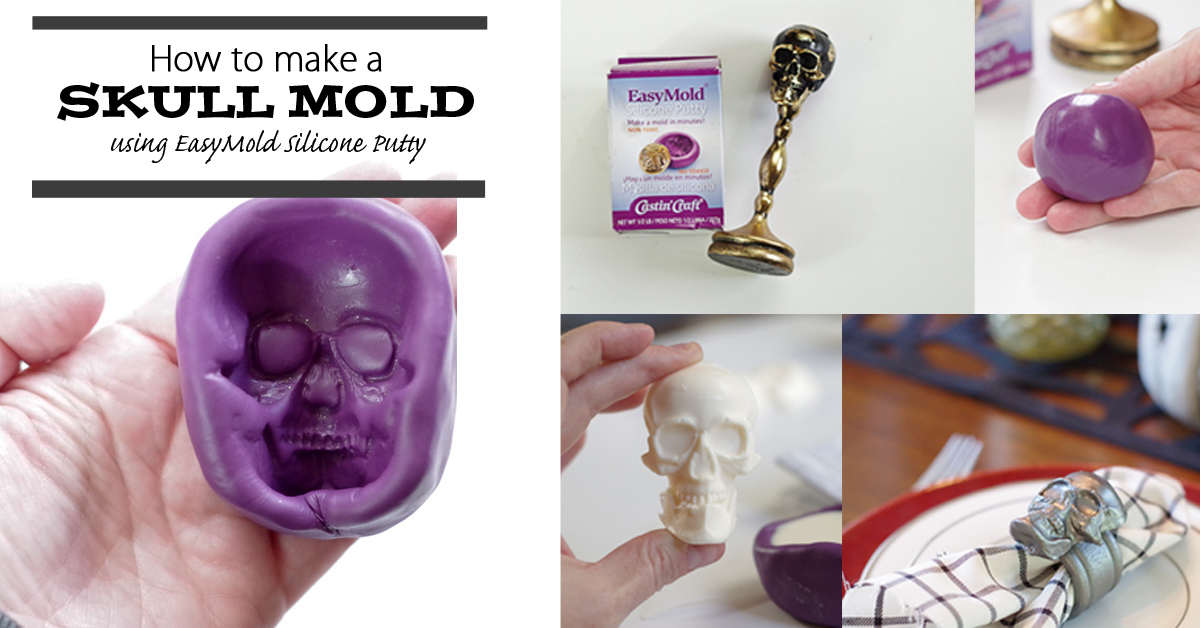
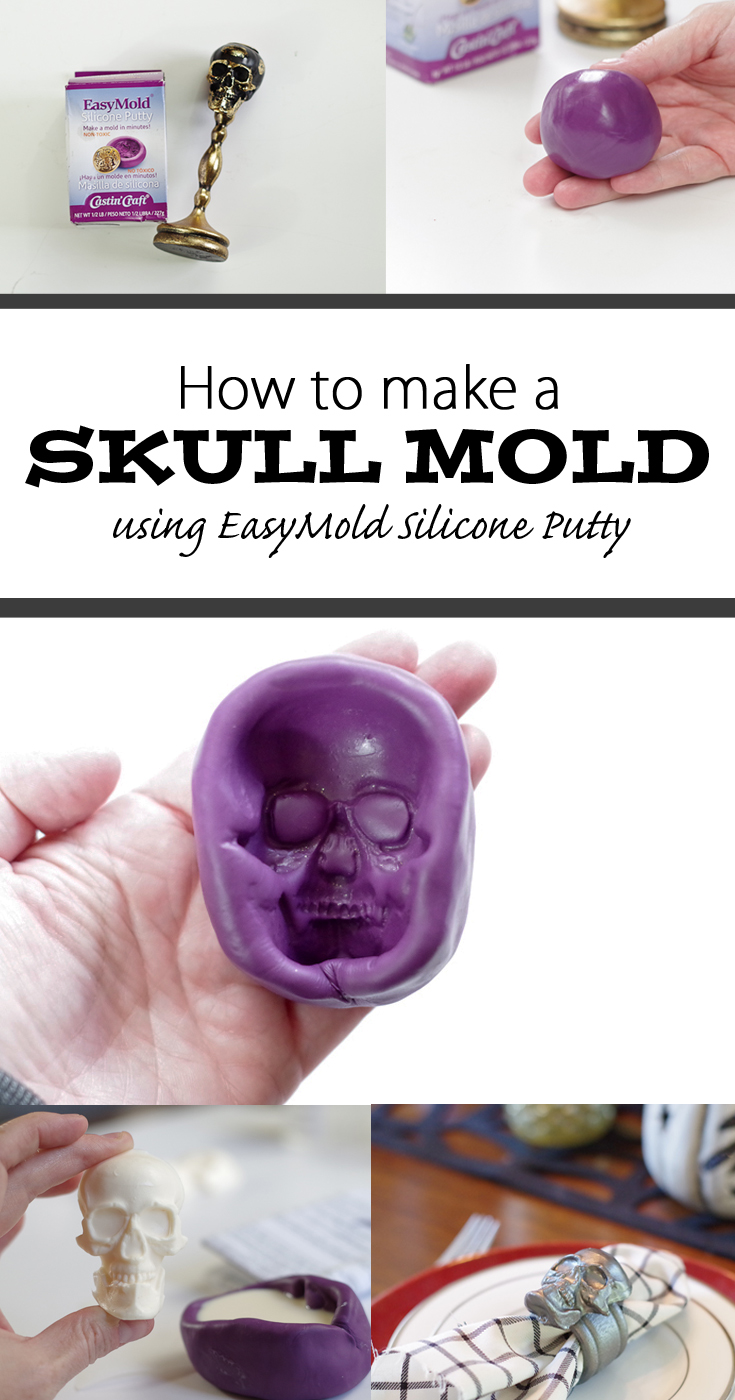
Whether you think skulls are great decor in general or only for October, this Skull Mold is an easy project for you to add to your list this month! The EasyMold Silicone Putty makes it quick and simple, and you’ll be amazed at what you can make once this mold is finished. The best part? It literally took just a few minutes to shape the mold and half an hour of curing time. Here’s how I did it!
Skull Mold Supplies:
- EasyMold Silicone Putty
- Disposable Gloves (Optional but recommended)
- Clean and Smooth work surface
- Item to make mold from, in this case, a Skull Candlestick
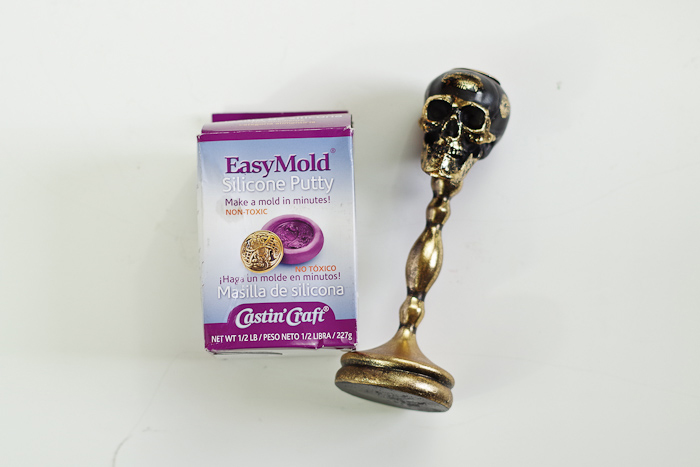
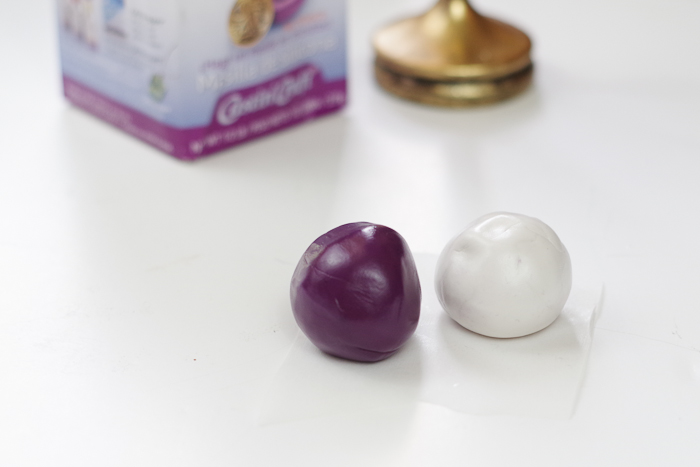
EasyMold Silicone Putty is a quick and simple product that you can use to make a mold where you just need to replicate one section of the item you are casting. In my case I wanted to create a skull face mold for some napkin rings that I had on hand, so I only needed to replicate the front of the skull face; EasyMold Silicone Putty was the perfect product for that. It comes in two parts, Part A (white) and Part B (purple). Take equal amounts of each part for your project. You’ll want to keep in mind how large your final mold needs to be, and take at least half that size in each color. Rolling them into small balls helps determine if they are similar in size.
Mixing Putty:
Take the two parts and begin to combine them by pressing them together and continuing to knead them.
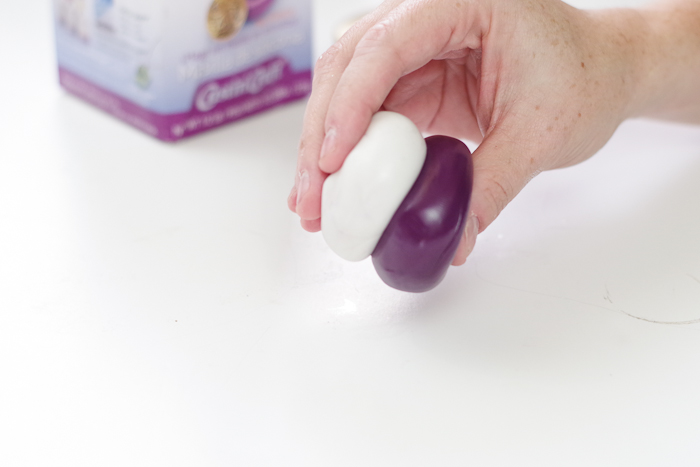
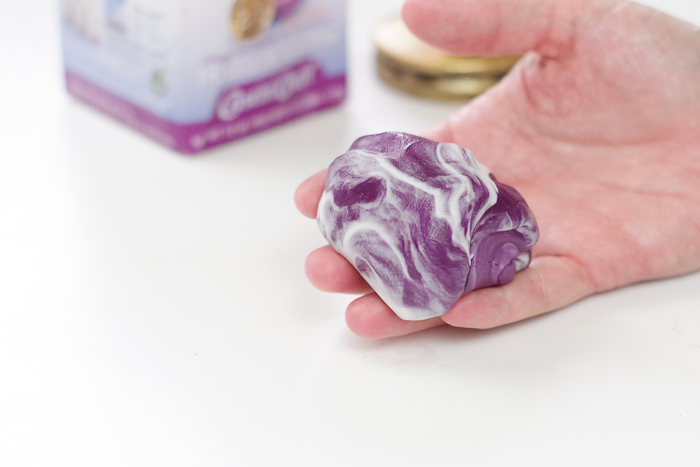
The two parts will begin to combine to look marbled. Knead quickly, as it should take you only one minute to get the putty combined. In total, you have three minutes of working time with this product from the start of mixing the putty parts to having your item pressed into the putty.
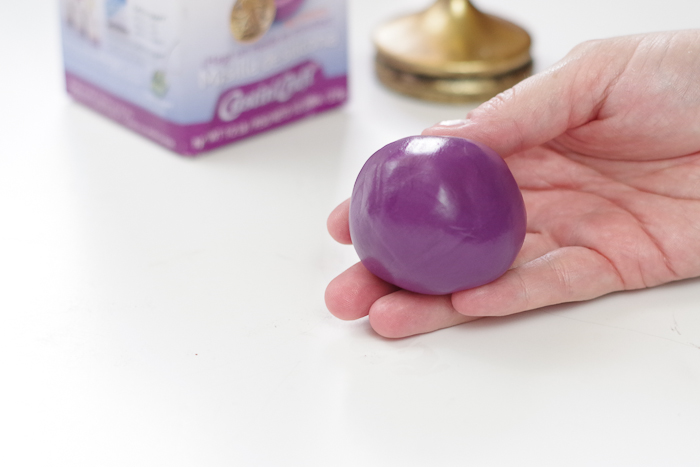
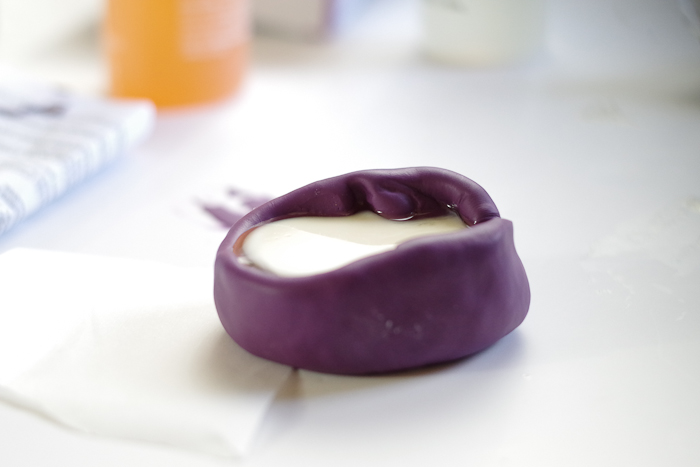
…until they are one solid purple color throughout. You now have only two minutes to press your item into the putty, so be quick but precise.
Pressing Mold:
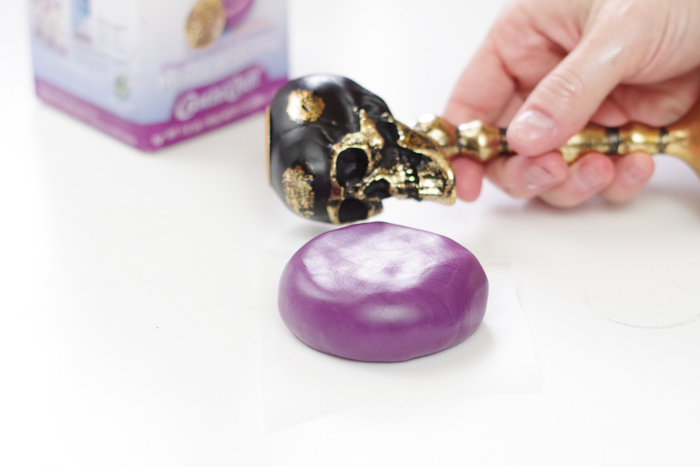
Take your ball and flatten it in whatever shape you need. In my case I just wanted the front of the face, so I flattened it a bit until it was large enough to cover the entire face.
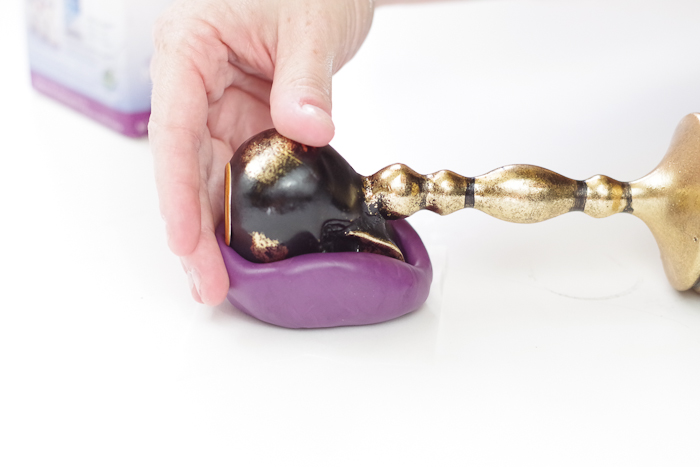
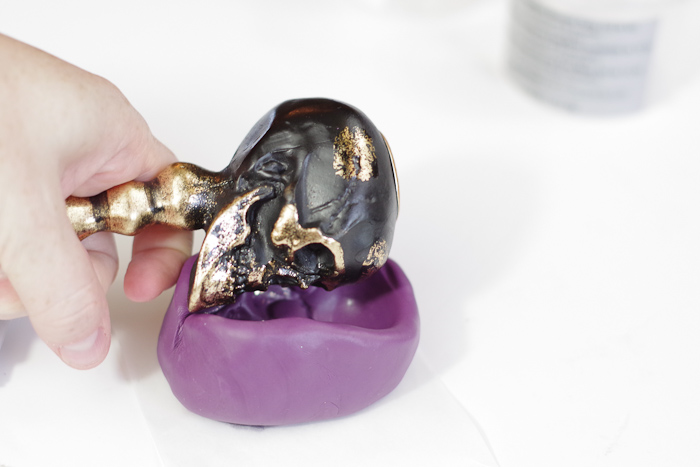
Press your item into the putty firmly and do not pull back out. I actually pressed the putty up around the skull a little more to get a deeper mold. Keep your item there for 25 minutes.
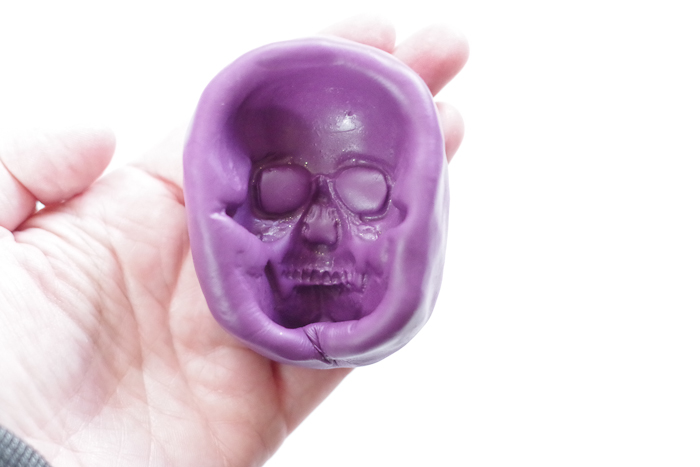
After the 25 minutes are up, you can remove your item from the putty. If you mixed correctly, the putty should be bendable but solid and should hold the shape perfectly.
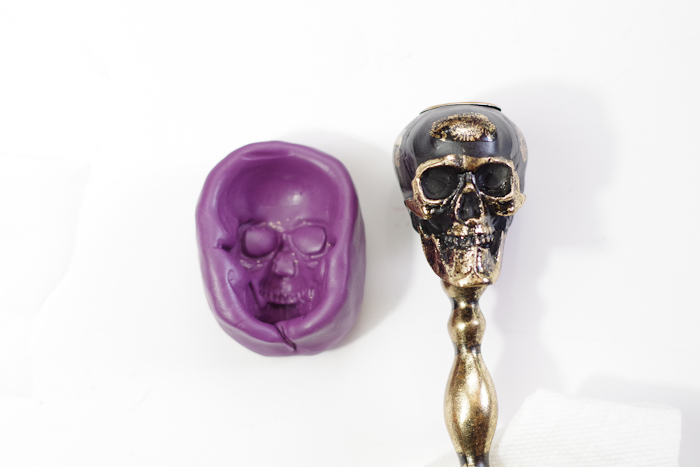
Here is my Skull Mold next to the original item. It always looks a little different, but rest assured, if you followed those instructions it will make a great mold!
The skull mold, a little closer up. There you have it, you’re done making a perfect silicone Skull Mold. You can use it for many different materials, like casting resins or chocolate or even make skull ice cubes.
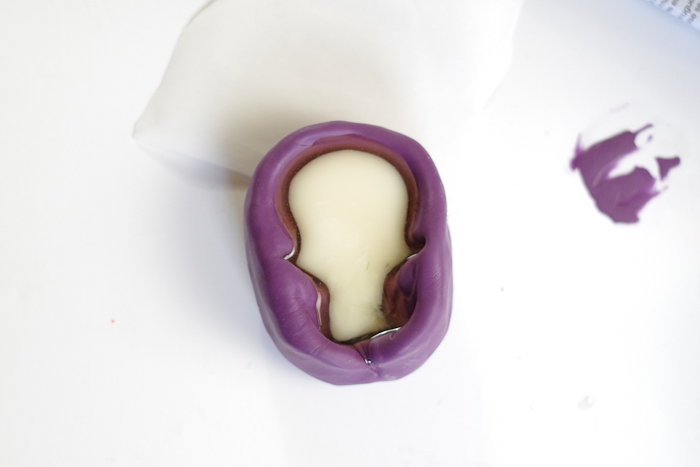
I decided to use some FastCast to make some skull figures for those napkin rings I mentioned above. So here are a few shots of that process, though I won’t go through that step-by-step in the tutorial. I will link to some FastCast projects below so that you can find the process if you would like to try it!

Using Mold:
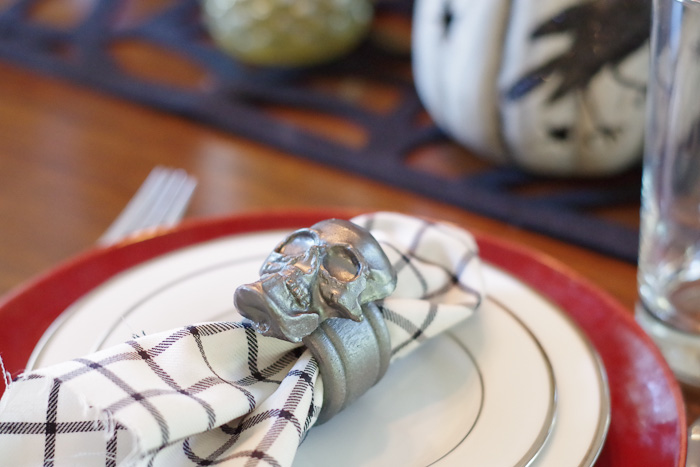
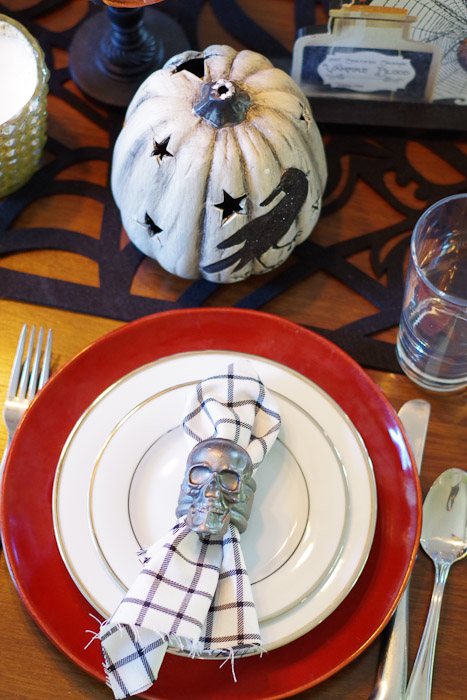
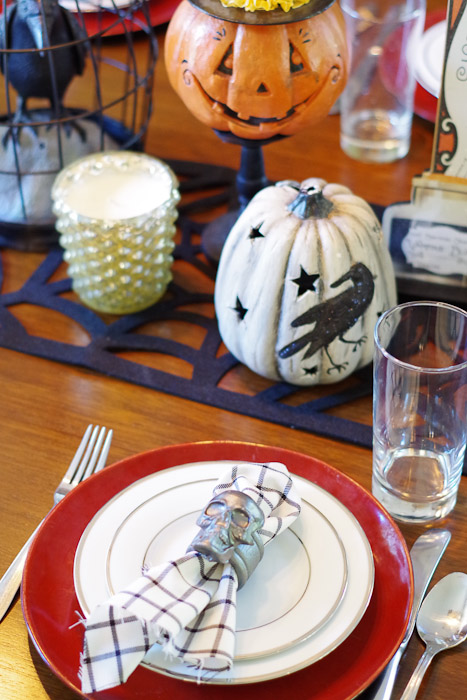
I made four skulls with FastCast, painted them with a metallic gunmetal gray, and secured them to some painted wooden rings to make these awesome Halloween Skull Napkin rings! I have so many more ideas for this mold and can’t wait to try some other designs. I’m thinking of a skull covered picture frame and possibly resin skulls to add to a wreath. What would you use your skull mold for?
Stay tuned! I’ll have another project coming soon that uses this skull mold in a different way. Can’t wait to show you!
Thanks again for stopping by! I’d love to hear what you think about this project. Please share this on Pinterest by pinning the image below!
As promised, here are other projects using FastCast so you can learn that method:
Resin Seashell Wall Art using FastCast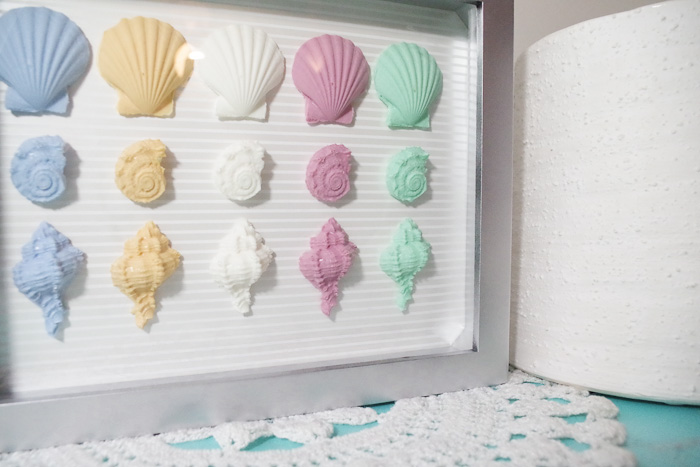
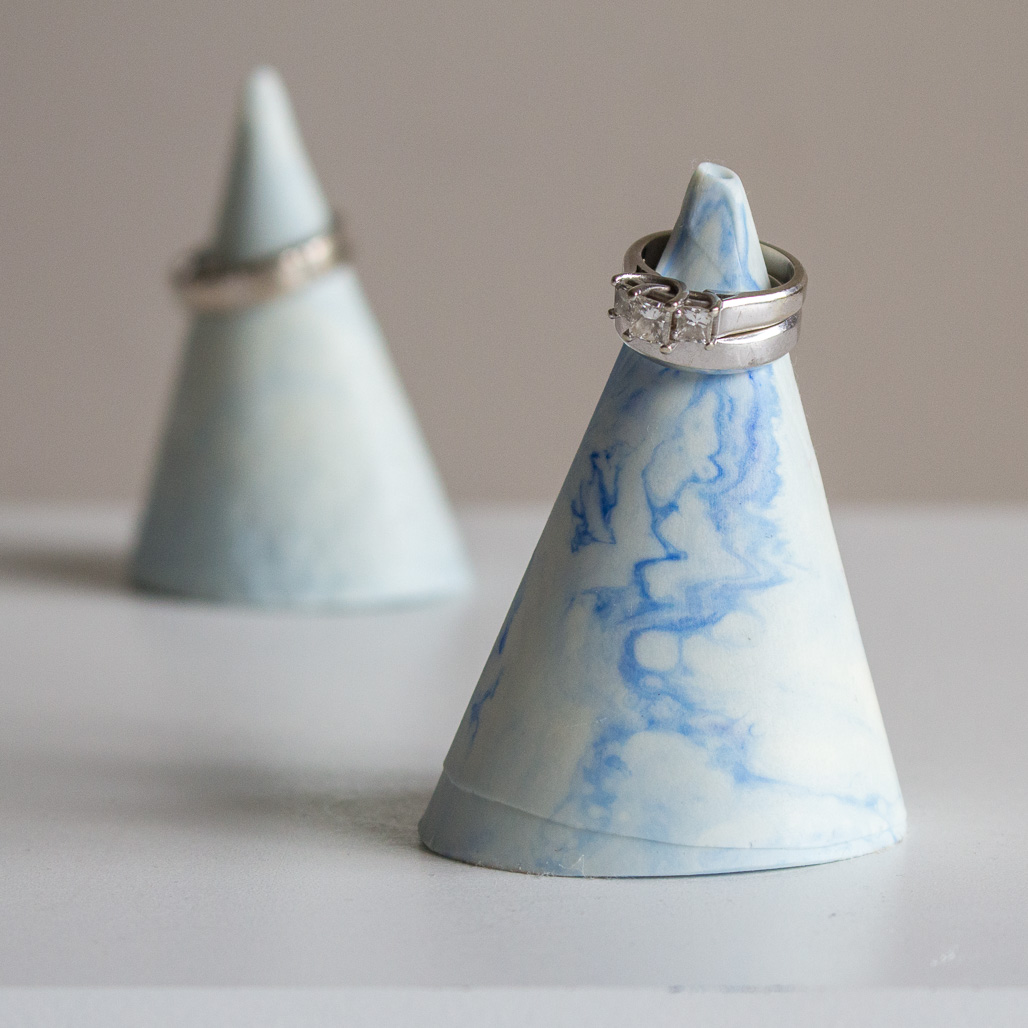
DIY Jewelry Organizer: Faux-Marble Ring Cone with FastCast
Thanks friends! I’d love to hear your thoughts on this project in the comments!
~~Sheri
Sheri is a Maker and DIY blogger at Hazel + Gold Designs. She is usually in the middle of multiple projects at once and finds great satisfaction and joy in creating something new. She is constantly learning new skills, putting them to the test, and sharing her experience and knowledge with others. Her favorite hobbies are crafting, painting, crocheting and basic woodworking. Her goal is to inspire others to step out of their comfort zone, learn a new skill and have the confidence to make their life a little more beautiful!


Your awesome!! Keep up doing and being the beautiful that you are and that you create.
Truly~ Erik Youngblood