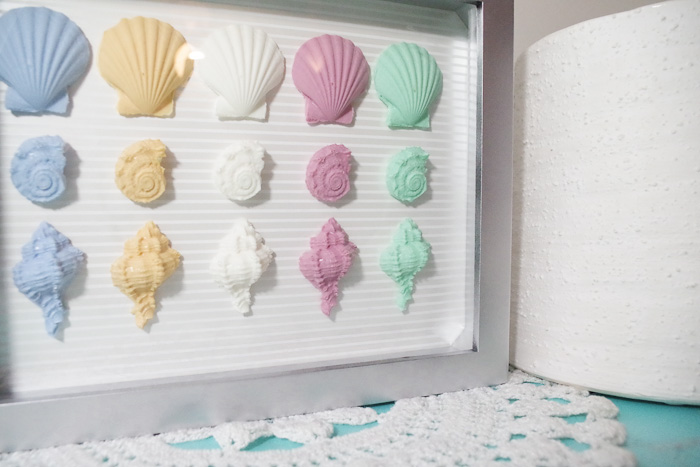
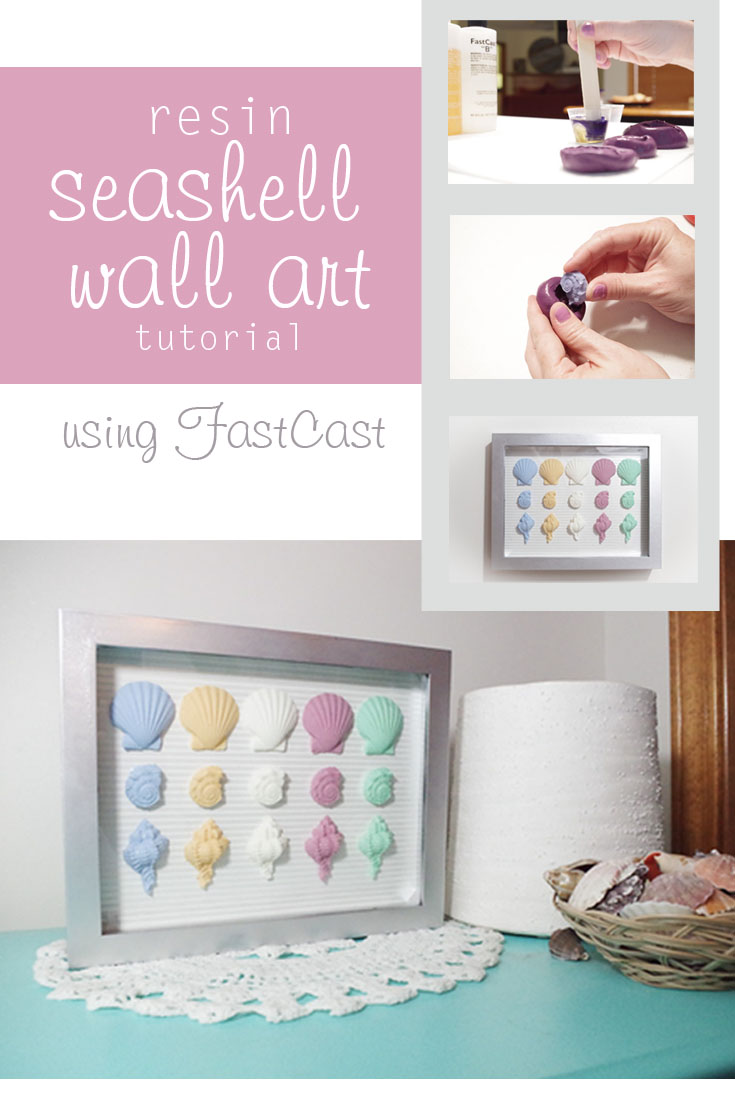
There is something so refreshing to me about seashells. Do you feel that way? This resin seashell wall art looks just perfect in my daughter’s room and I’m here to share the details with you on how I created it!
Supplies:
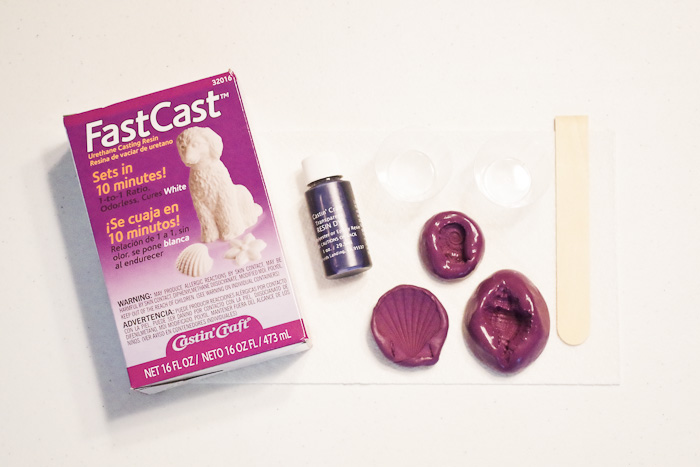
- Seashell molds (see this post for the tutorial on how I made these molds.)
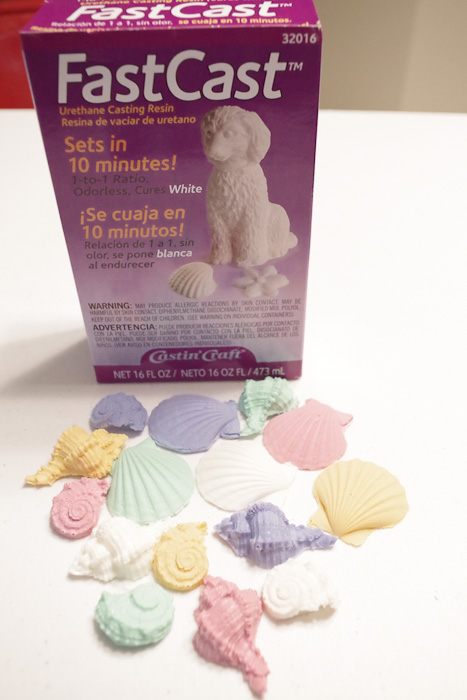
- FastCast Urethane Casting Resin
- Pigment Dye
- Mixing Cups
- Paper Towel
- Stir Sticks
- Optional: Mold Release and Conditioner Spray
TUTORIAL:
You’ll be so surprised at how quickly this project can be completed!
If your molds are made using the silicone putty or other silicone material, then you’ll be absolutely fine without the mold conditioning spray. If you’re using harder plastic molds then be sure the coat the entire thing in conditioning spray and let it dry. I actually do two coats, it always works better, just be aware as it takes a little more prep time.
FastCast Urethane Casting Resin:
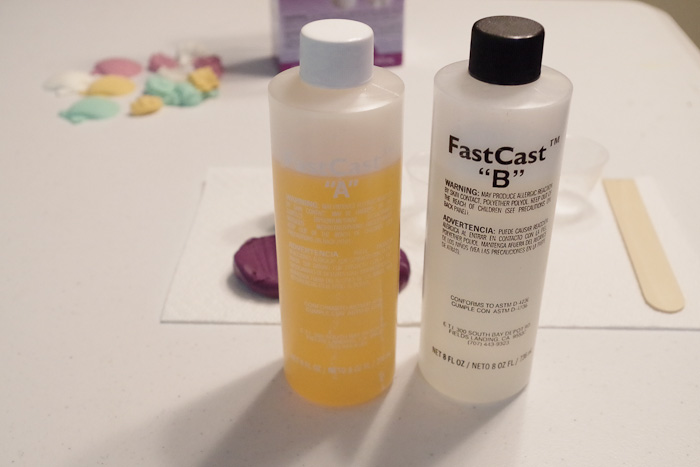
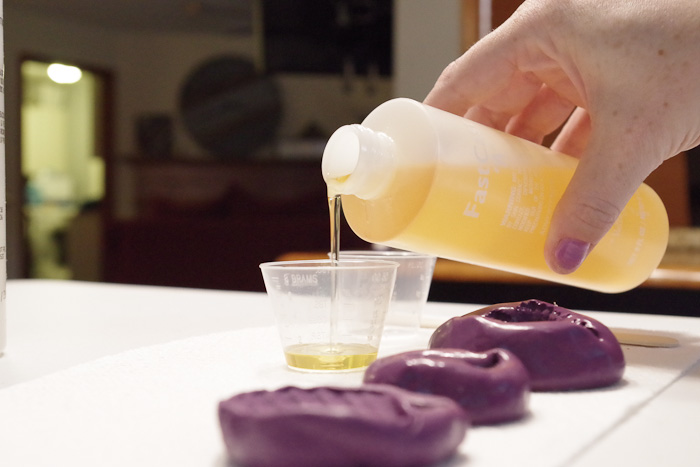
For this project we just move right into mixing the resin. I used small cups and mixed one color at a time. Pour Resin Part A into a cup. I think I measured 2 oz.
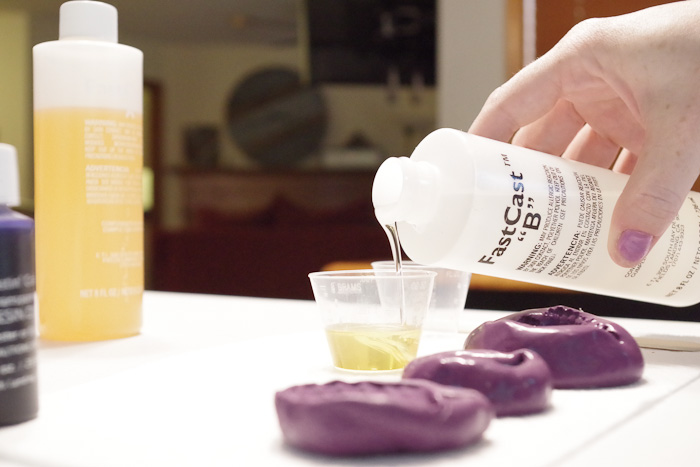
Then pour the exact same amount (measure carefully) of Hardener Part B into the cup.
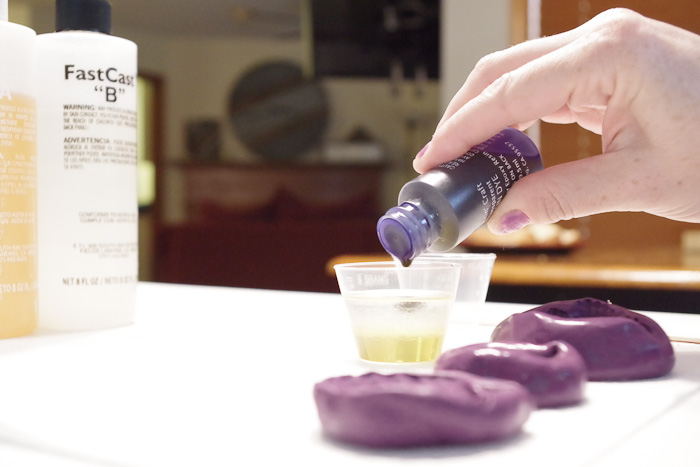
Add a few drops of color if you want. FastCast cures white, so any color added will end up being a pastel version of whatever you added.
Now mix throughly but quickly. With the FastCast you have a maximum of 2 minutes from the time you combine A and B, so stir quickly during these steps.
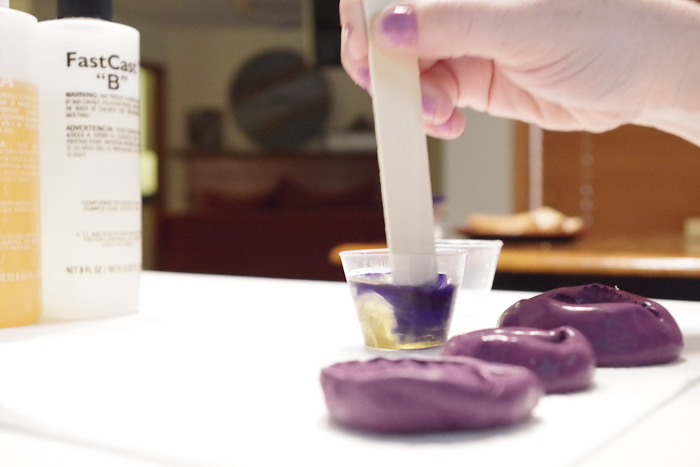 Pour the mixture into a second cup and stir again.
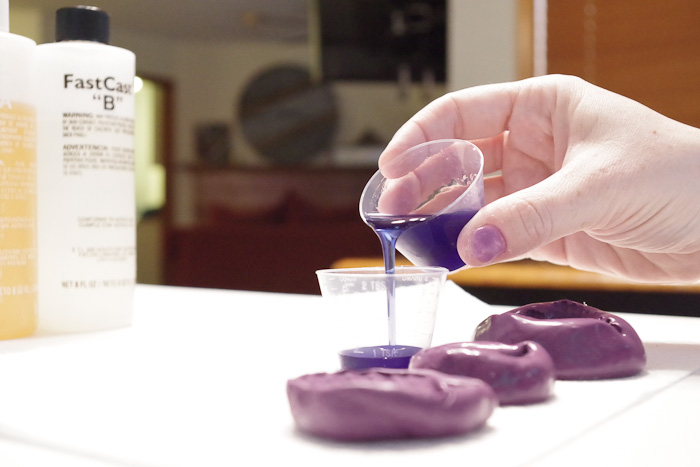
I usually stir each cup for 20 seconds, then pour into my molds.
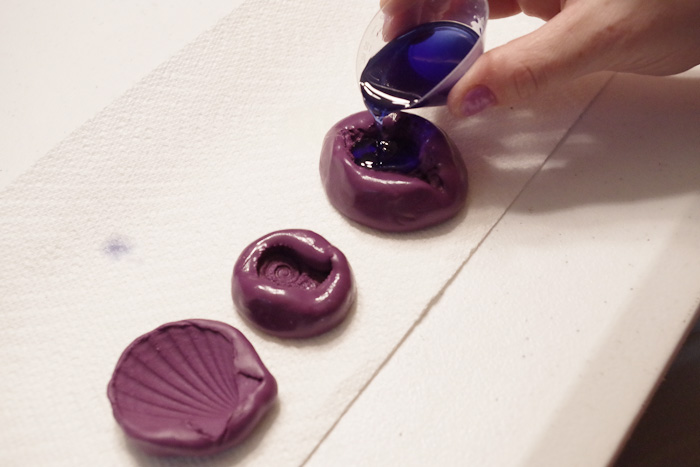
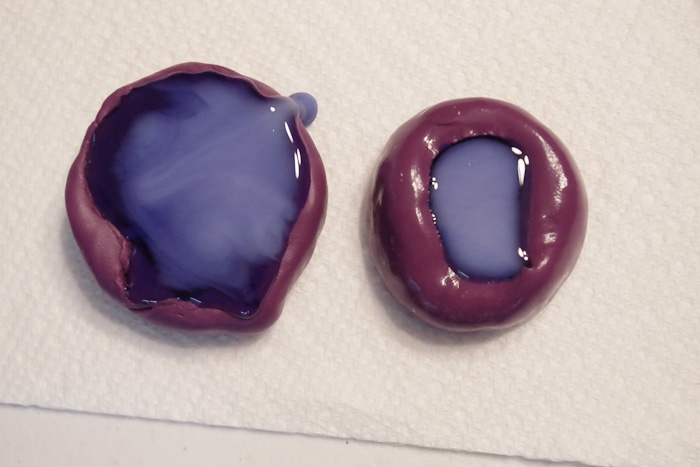
It’s that easy! The other awesome thing about FastCast is that it cures in just 10 minutes!!! If it accidentally spills over like you can see here, just leave it and after it’s cured you can cut off the excess with scissors.
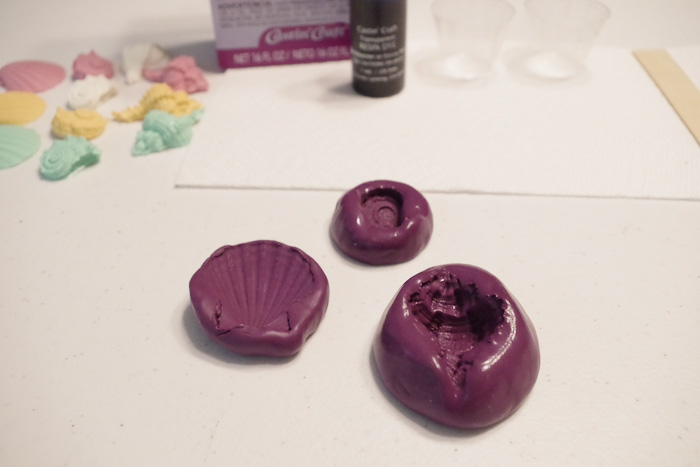
Empty then repeat:
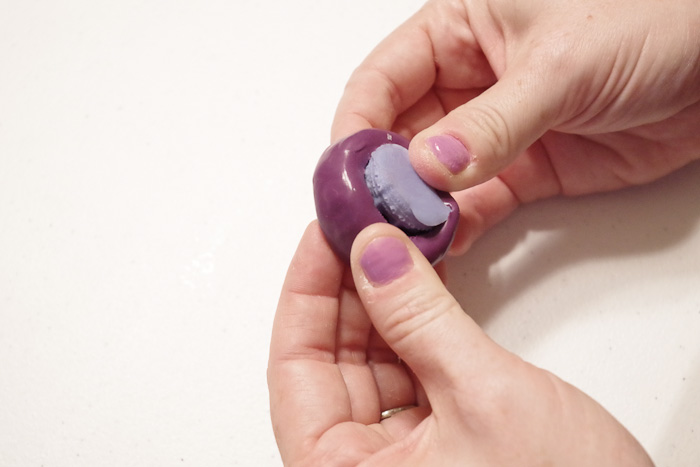
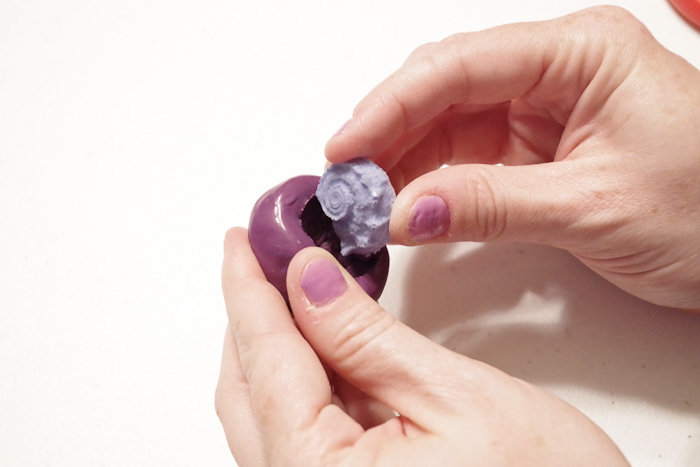
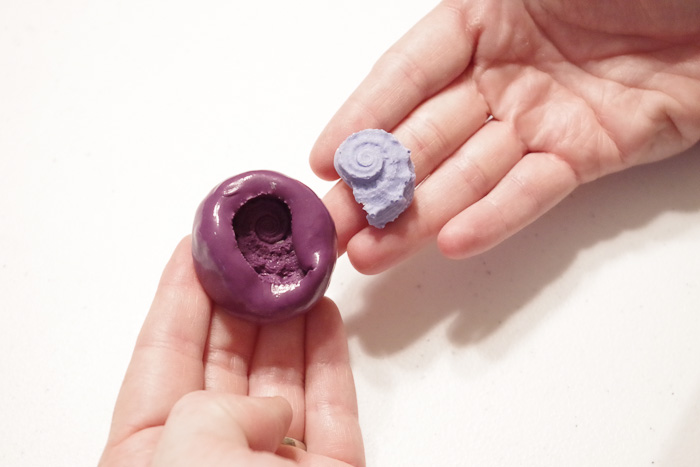
After about 15 minutes (I like to give it a little extra time to cure in case I mixed too quickly), take the shell casting out of the mold. Go slowly and be careful of damaging either piece. To be honest, I didn’t have ANY issues with any of them breaking. This resin is strong! But, I always figure it pays off to be a bit careful and not damage anything.
Alright, now repeat the Resin casting steps above, adding a different pigment color to your resin, or just leaving it clear so it’ll end up being white.
Create Wall Art:
As you can see I made a bunch of colors in different shell shapes. My kids were watching the process and we were discussing how studying science makes products like this possible. I tried a few different layouts for the shells, but ultimately decided I liked them nice and neat. Luckily I found a shadowbox frame at a garage sale for 50 cents and spray painted it silver inside and out. I glued some scrapbook paper to the backing for a nice background, and then used mounting tape to tape the shells in place.
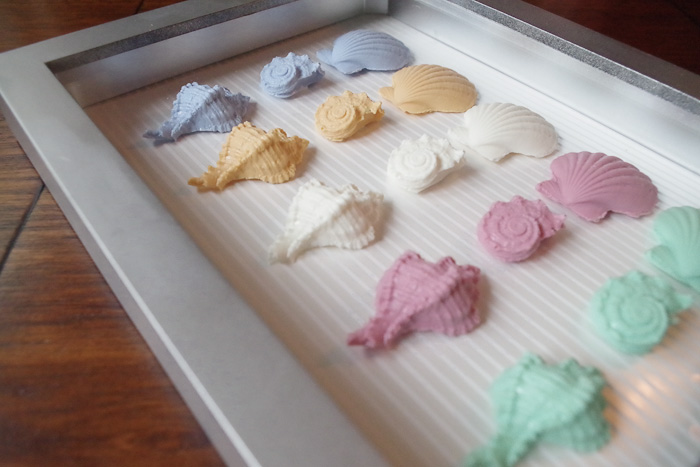
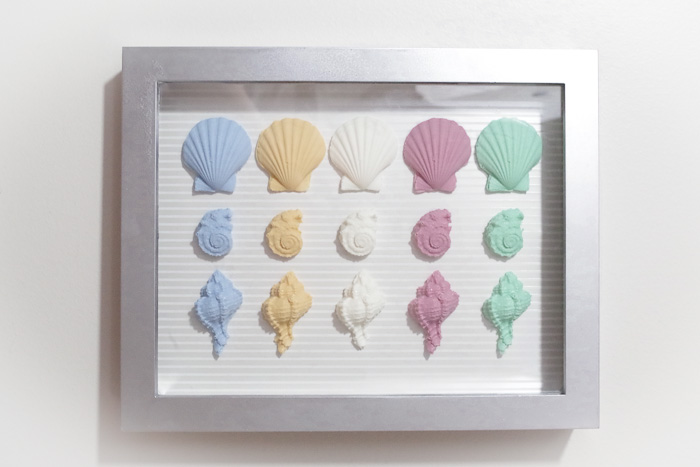
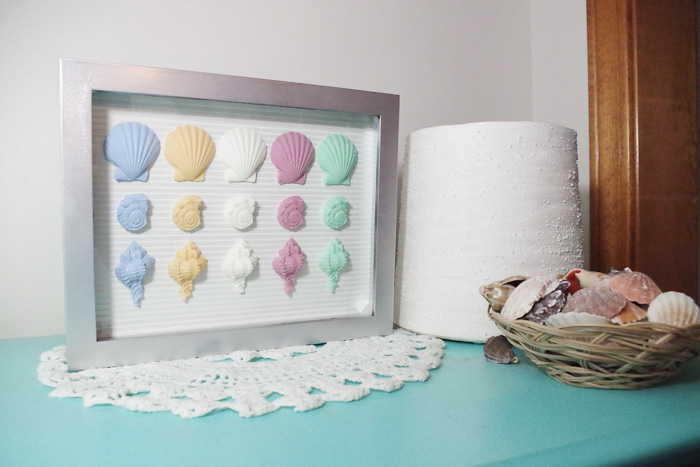
What do you think?
I keep thinking of other things I could create molds of using Silicone Putty then cast using FastCast. The options truly are endless once you know this product and method!
Thanks for reading and let me know if you give this product a try. Feel free to ask questions in the comments!
Please Pin this image if you like this project and want to try it someday!
 ~~Sheri~~
Sheri is a Maker and DIY blogger at Hazel + Gold Designs. She is usually in the middle of multiple projects at once and finds great satisfaction and joy in creating something new. She is constantly learning new skills, putting them to the test, and sharing her experience and knowledge with others. Her favorite hobbies are crafting, painting, crocheting and basic woodworking. Her goal is to inspire others to step out of their comfort zone, learn a new skill and have the confidence to make their life a little more beautiful!


Leave a Reply