Hello, again resin crafters! It’s Kelli, from the Craft Shack and I’m back to share another super fun resin project with you! Have you tried paint pouring and marbling yet? It’s so much fun! Did you know that you can make beautiful poured marble art with resin too? I love using resin to pour even more than paint because the finished product has all kinds of dimension that paint doesn’t achieve and it is so gorgeous! And you won’t even believe how easy it is. I used these beautiful bark edge basswood coasters and EnviroTex Lite pour-on epoxy to create lovely, and durable marbled resin wood coasters to match my kitchen.
Supplies used to make these marbled coasters:
- EnviroTex Lite Pour-On Epoxy
- Walnut Hollow Basswood Coasters
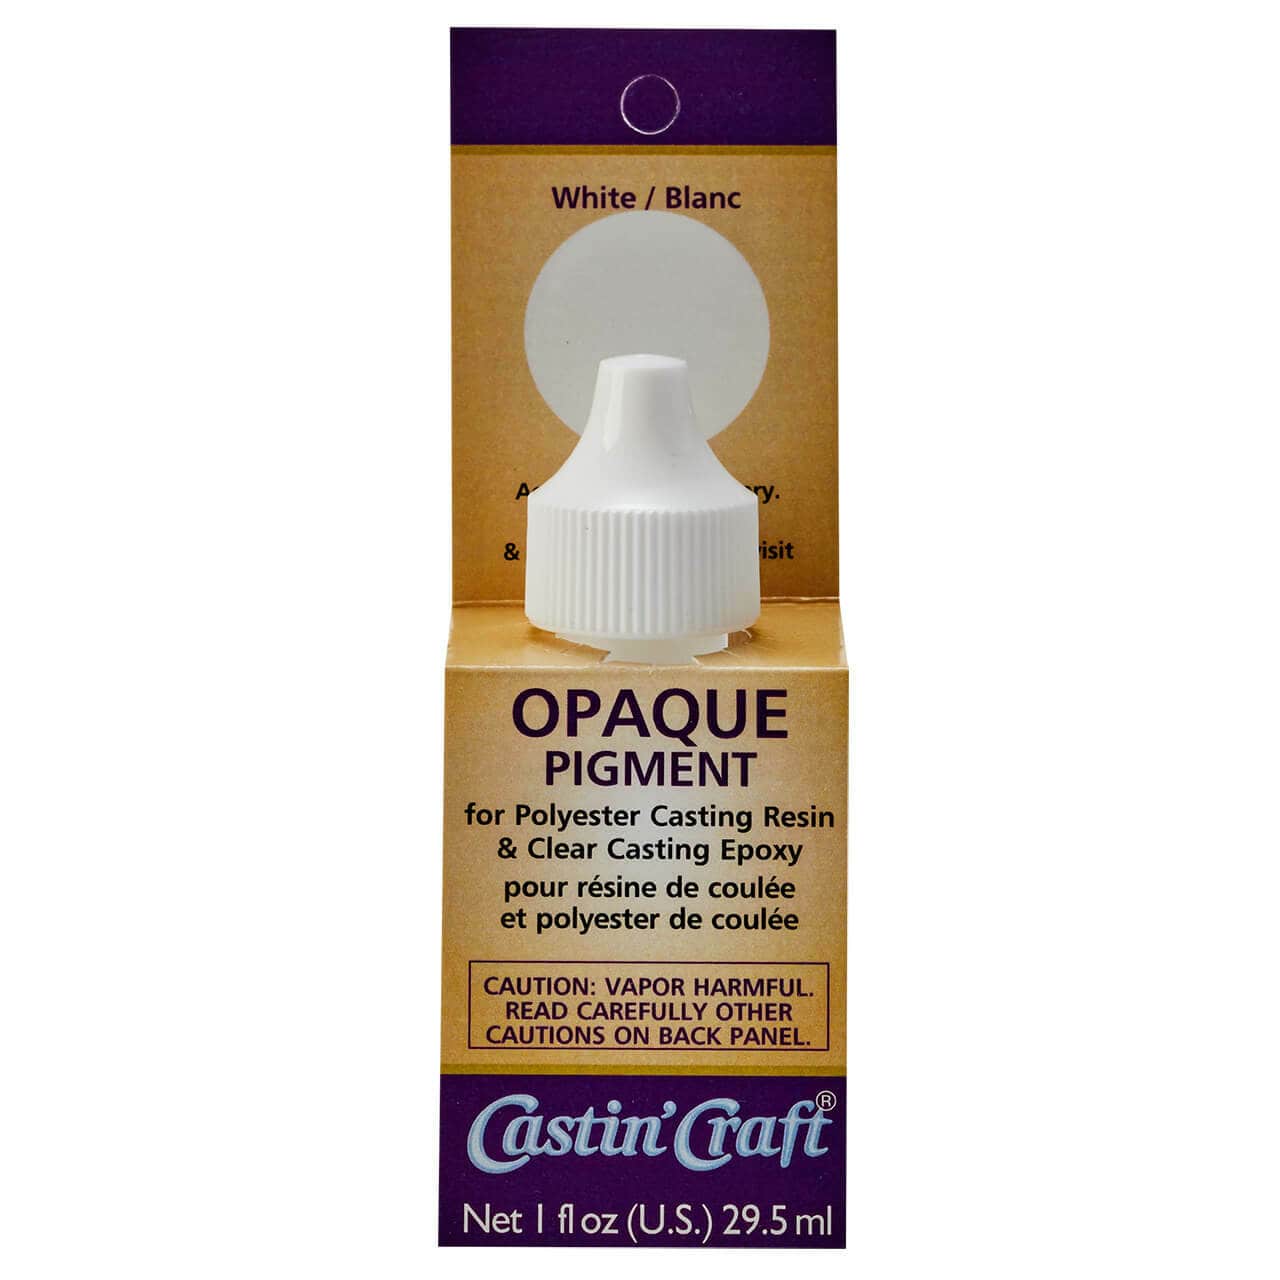
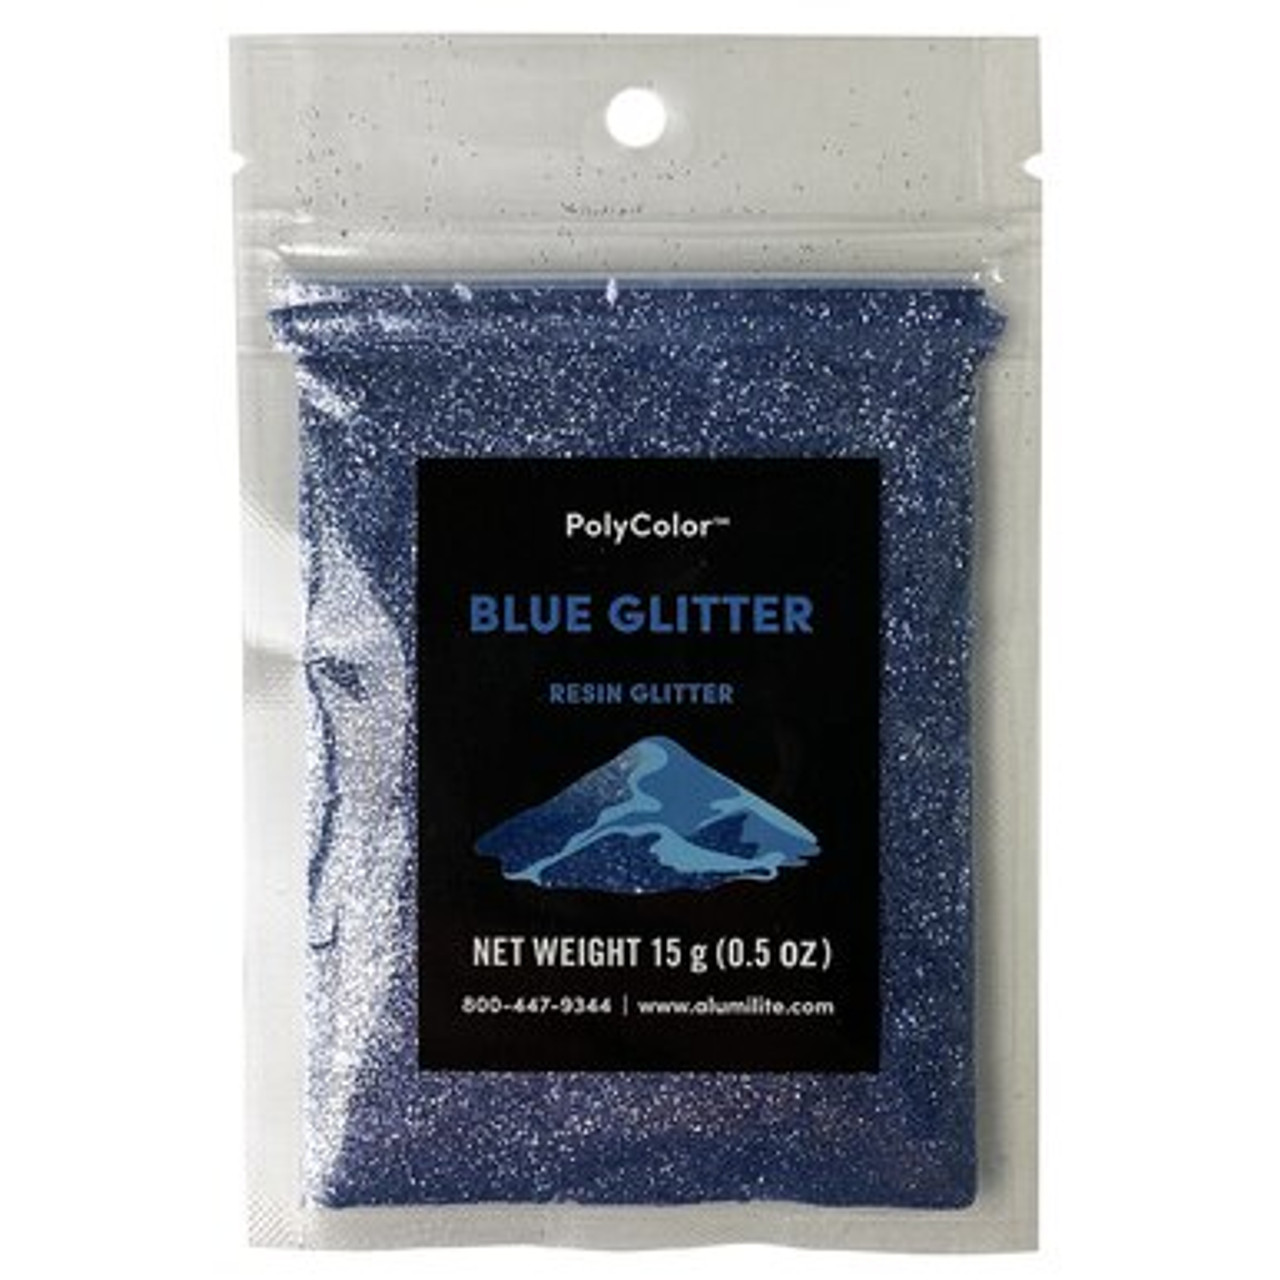
- Opaque Pigments, Transparent Dyes and Glitter
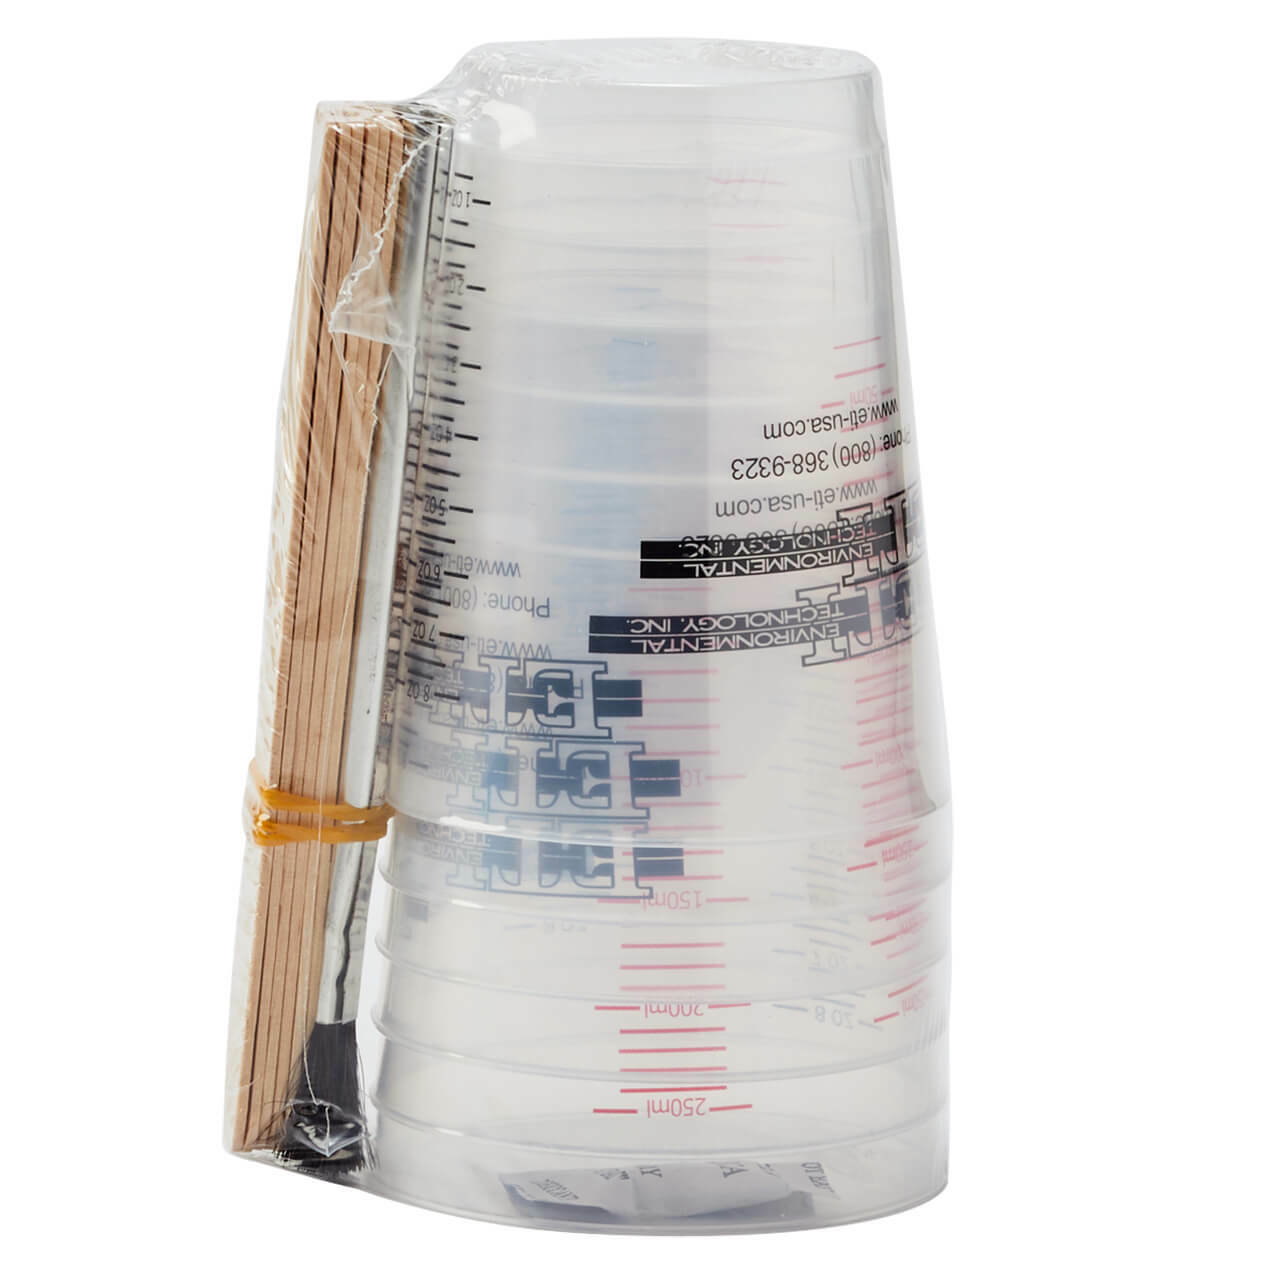
- Mixing cups and Stir Sticks
- Gloves, eye protection, surface protection

To prepare for this project, cover your workspace completely to avoid getting the epoxy on everything. I used sheets of wax paper. Also make sure to work in a well-ventilated area, and use proper safety precautions like gloves and eye protection.
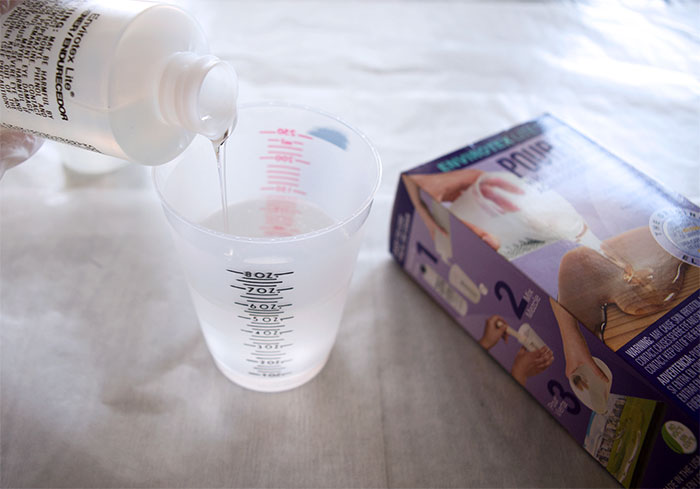
Mix 4-6 ounces of Resin by adding equal amounts of the resin and the hardener. I made 6 ounces so I mixed 3 oz of resin with 3oz of hardener. Follow the instructions included in the product exactly. Mix the two parts together for 2 minutes, and then pour into a new cup and mix again for 1 more minute to ensure the two parts are combined well.
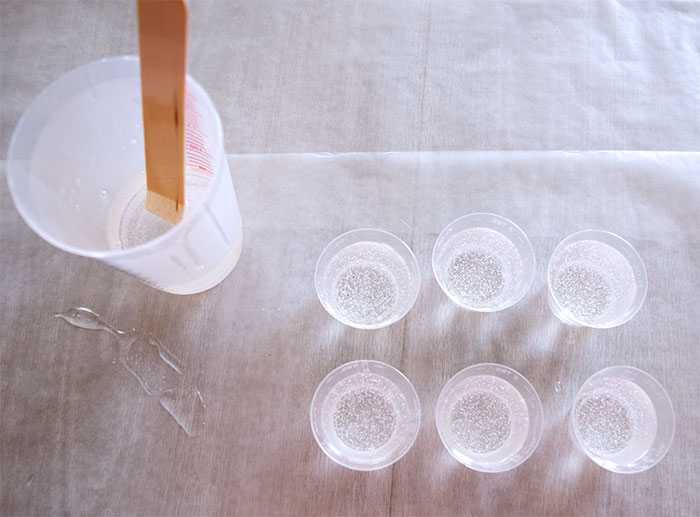
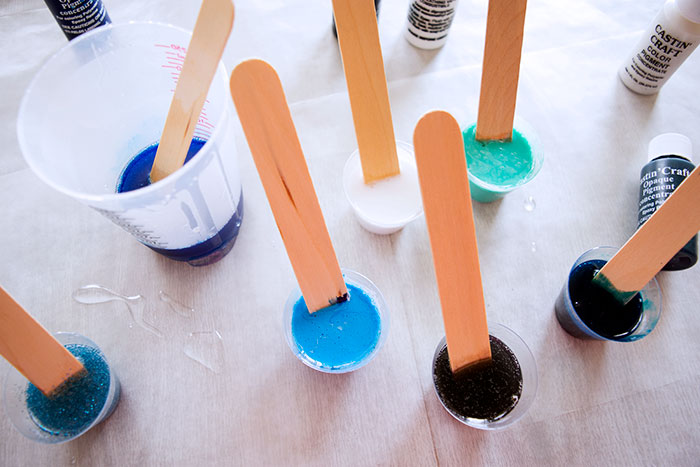
After the epoxy has been mixed according to the package instructions, divide it into several smaller cups for dying. I divided my resin into 7 parts using 6 smaller cups and the mixing cup.
Add 1 drop of pigment to each cup of resin. You can mix colors, so I added a small drop of white and a small drop of color to some cups, or just 1 color in others.
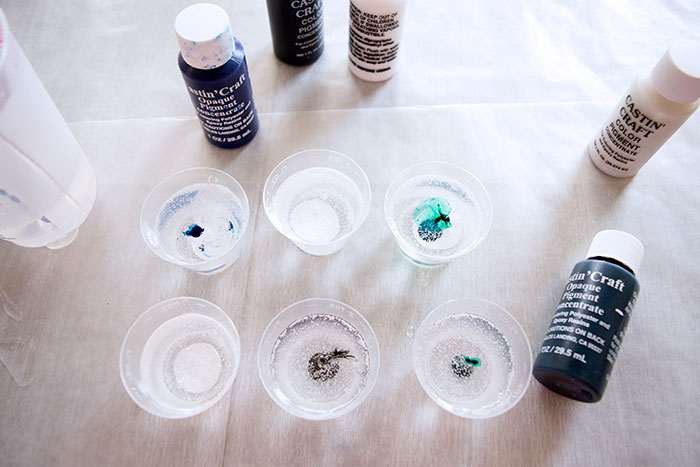
Be sure not to add too much pigment, it may affect how your resin will cure. You can also add some fun elements to your colors if you wish. I added blue glitter to the pearl pigment. Stir the pigment into the resin until it is incorporated completely.
Next, place your wood coasters on old or disposable cups to lift them off the work surface (I used old plastic cups I wouldn’t mind throwing away) and pour each resin color over the coasters.
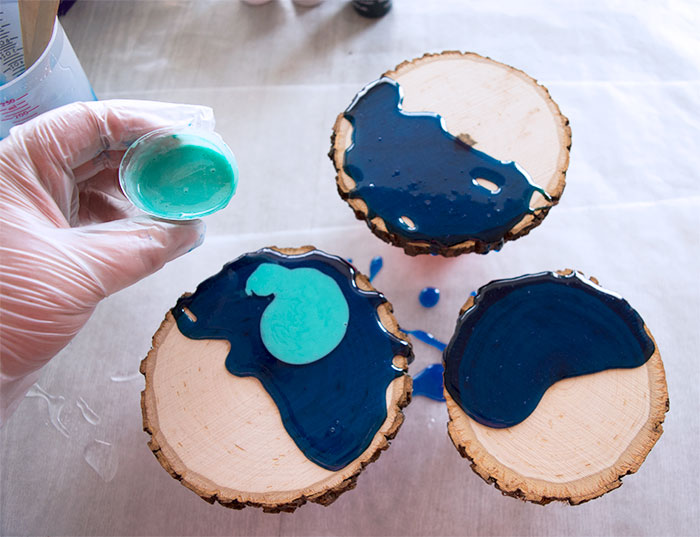
The colors will run together and drip off the edge of your coasters. Keep adding until you’ve used all of your colors.

Pick up each coaster and tip it back and forth slightly to help the colors run together and blend to achieve that marbled look. You can help them run together more by dragging a stir stick through the colors from one side to the other.
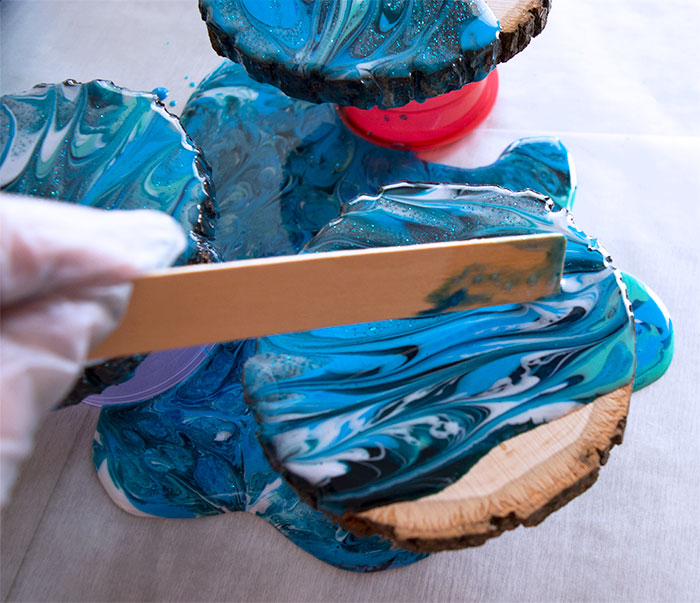
Use a small kitchen torch, lighter or blow on them lightly with your warm breath to remove any bubbles that rise to the surface. After about 20 minutes, scrape off any drips that have formed on the bottom side of the coasters with a stir stick.
Allow the coasters to cure for at least 24 hours before use.
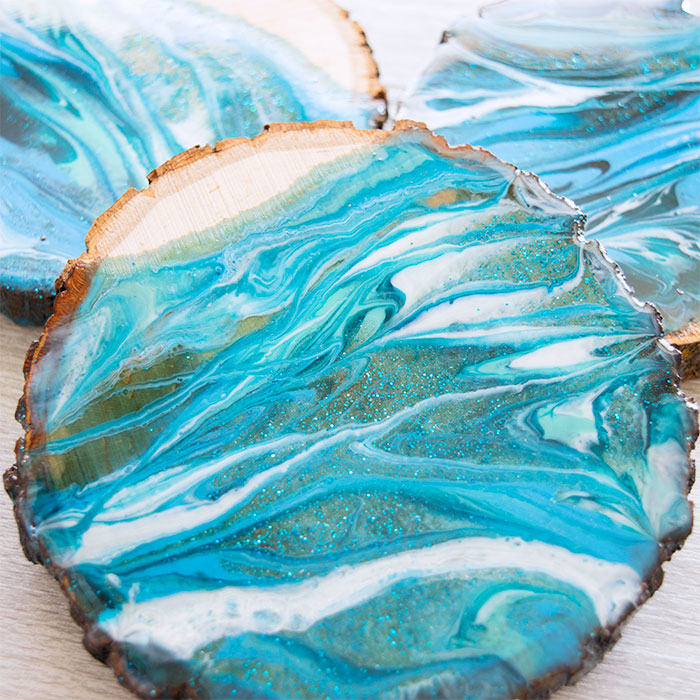
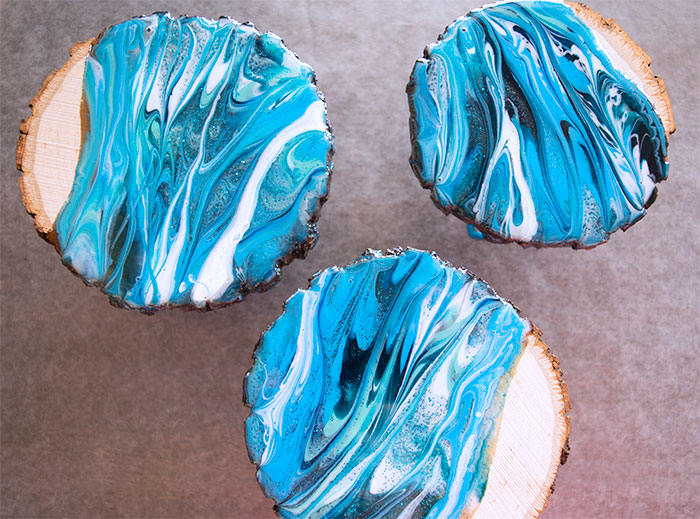
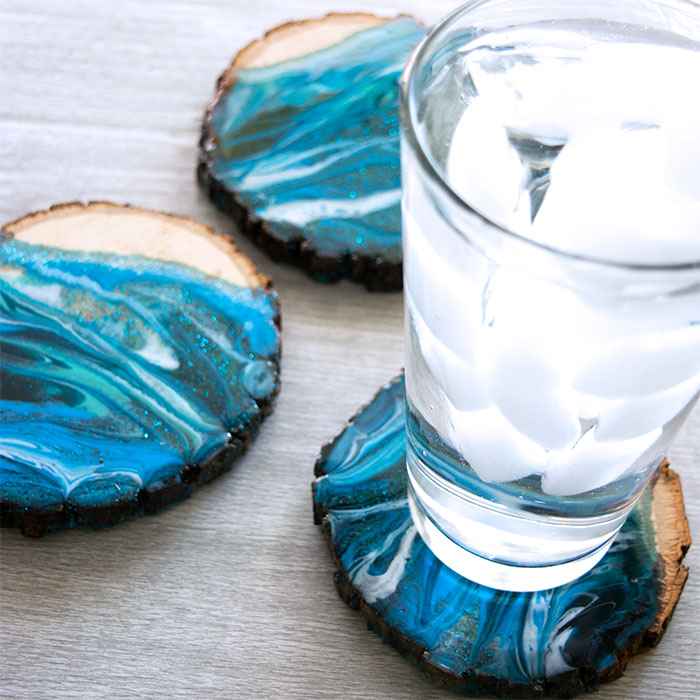
The amount of detail on the finished marbled coasters is so beautiful! Some of the dyes are more transparent than others so you can still see the wood grains under parts of the marbling, and it truly looks 3D.
It’s a gorgeous marbled effect you just can’t duplicate with paint. The high gloss finish is beautiful as well, and there is no need to seal it.
After you make some coasters, duplicate the look in your kitchen serving trays, the handles of wooden spoons, or cutting boards… the possibilities are endless! What will you marble first?


After studying Culinary Arts in Portland Oregon, Kelli went back home to the sunny South West where she decided she wanted to do different kinds of Art. This busy mom of three spends all of her available free time creating in her Craft Shack “she shed” where she can be found wood burning, repurposing old stuff, crafting, and painting just about anything she can get her hands on. She loves to learn new craft techniques and frequently finds inspiration in the world around her. Her motto in life is that you should never be too busy to make something pretty!


these are just stunning! BRAVO!!!
Thank you so much, Nancy!
Looks gorgeous! Simple idea but genius!
Can’t wait to try making it.
Thank you, Tanya! People really don’t believe me when I tell them how simple it is with such lovely results.
Beautiful! Totally love it but I’m having a hard time finding the pigments. Where can I get them? Do they have to be liquid or can they be powder? Can I use some other type of coloring agent? GUIDE me please!
Thank you, Cecilia! I’ve been able to find the Castin’ Craft pigments and dyes in my local Hobby Lobby near the jewelry resin and jewelry making supplies, at Michael’s in the same section, and on Amazon (Just search “Castin’ Craft Dye”. I believe you can use other things to tint the resin, but I am not sure on the actual amounts of those things you would need to add to keep your resin curing correctly.
Did you do underneath also?
She didn’t because it would be hard to manage the drips both ways.
What’s the difference between opaque and transparent pigments
Hi Jennifer! The Opaque dyes are less transparent, more of a solid color. Transparent is a color-tinted clear. With the transparent pigments, you can still see what is under the Resin whereas with the Opaque pigments you can’t. I hope that helps!
So this may seem like a silly question, but since you only added the mixture on half does it make the coaster uneven or it the transparent mixture towards the top (where all of the wood is visble). Just thunkinging I’d hate for them to make glasses wobbly
Hi Jessica!
I’ve not found the coasters to be uneven enough to make the glass wobble. The resin self-levels as it cures, and I find that the resin along the edge of the wood has a very nice gradient level. If you find the unevenness too much for your liking, you could easily fix it by adding a second clear coat of the epoxy to the entire wood slice after the marbled coat has cured. That would work nicely. I just wanted the two different textures of the flat wood next to the shiny marbled epoxy.
These are so neat!! I can’t wait to try, thanks for the step by step. When a drink perspires, does the liquid sit on the resin or drip off the side?
Thank you! A drink just leaves a ring of sweat on the coaster surface, easy to wipe off.
These are so pretty!!! Was the 6 oz of mixture sufficient for all the 4 coasters?
8 oz would have been better. 🙂
LOVEEEE the marble effect. Did you use a varnish/sealer ones the resin was cured before using it?
Thanks! No the resin is that shiny and beautiful all on it’s own!
Can it be sanded then buffed to level it?
Yes they can, with a fine grit paper.
Thanks for sharing. These coasters are quite pretty. I am impressed at how vivid the pigment colors are!
Couple questions when you can…
First, please accept my apologies if you already answered this, and I missed it but I am wondering if you first applied a seal coat to the wood? If so, what do you use as a seal coat? Or, did you seal the wood after you applied the resin? And if you did not seal the wood, how do you recommend they be cleaned?
Also, I am wondering why you chose Envirotex for a coasters project. Are you worried about hot mugs sticking to the resin or do you recommend to not use with hot containers?
OK, that’s all. Thanks again for sharing!
This type of coaster doesn’t need to be sealed prior, they’re already prepped and ready to go. Envirotex is the best and easiest solution when doing a thin pour like this. It can be used with hot containers, however it will soften at 130*f and melts at 180*f.
What colors did you use to get the teal blue? Did you mix some of the pigments?
Yes exactly, mixed the pigments. 🙂
I’m thinking of doing this craft as a fundraising event. How long until the coasters are dry enough to be moved?
Hi Lizette, allowing 48 hours will ensure they’re fully cured. Great idea!
Where did you find the wood coasters at?
You can find them at Joann, Michael’s or Hobby Lobby!
I did this and they turned out great!!
Awesome! Thanks for letting us know!
Does the resin coat the outer bark?
Hi Helen! There is a bit of resin on areas of the outer bark from the pour drippings. Enjoy and we’d love to see them when you make them! 🙂
Can i use colored resin and also drop alcohol ink in places? What media can be used with what media still has me baffled…pretty new at this! Thanks for your post – FUN!!!
Hi Sara! Yes, you can! You just want to work with alcohol inks sparingly, adding a little at a time. Too much additive can interfere with the curing process.
Hello,
These look amazing! Quick question- what did you do for the back of the coasters? I am considering trying this with coasters that I cut myself, so I think I will need to seal the back. Did you pour the resin on the back once the front cured? Thank you 🙂
Hi there! I don’t believe she did. I would recommend adding some felt pads or a felt round to the bottom to protect your surface.
Hello, so I tried this and in areas I had only pigment, no epoxy left on the coaster. I am wondering if I applied to much heat? Or if I should have sealed them prior?
Thank you for your help!
Hi Kelly! It may have been too much heat/blowing or not enough pigment.