Mixed Media Resin Canvas
Hi friends, it’s Natalie from Doodlecraft! Mixed Media art is so much fun and totally in. Adding resin to it seals the deal and makes it a work of art. Mixed Media is just using lots of different types of media–the sky is the limit!
Supplies:
Paint/Paintbrushes
Stretched Canvas
Stencils
Spray paint
Envirotex Lite High Gloss Resin
Fast Cast Resin Sparrow (from this post)
Directions:
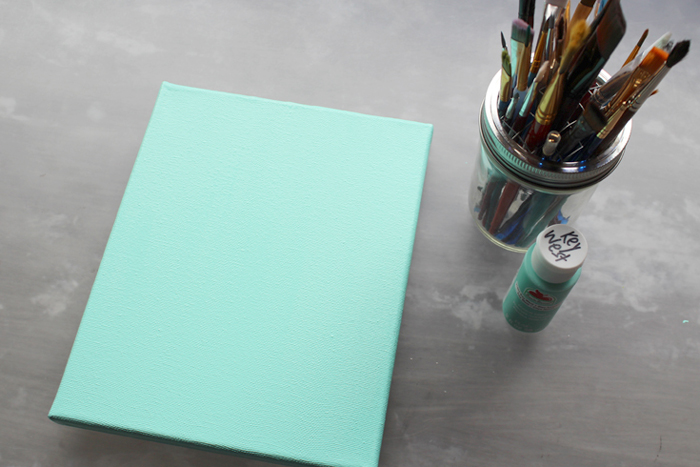
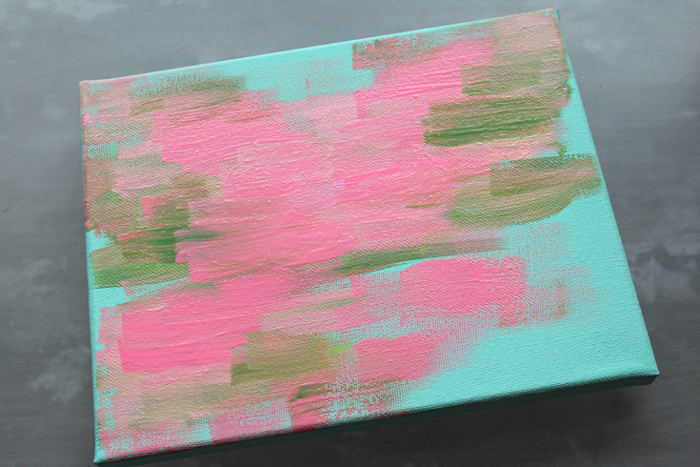
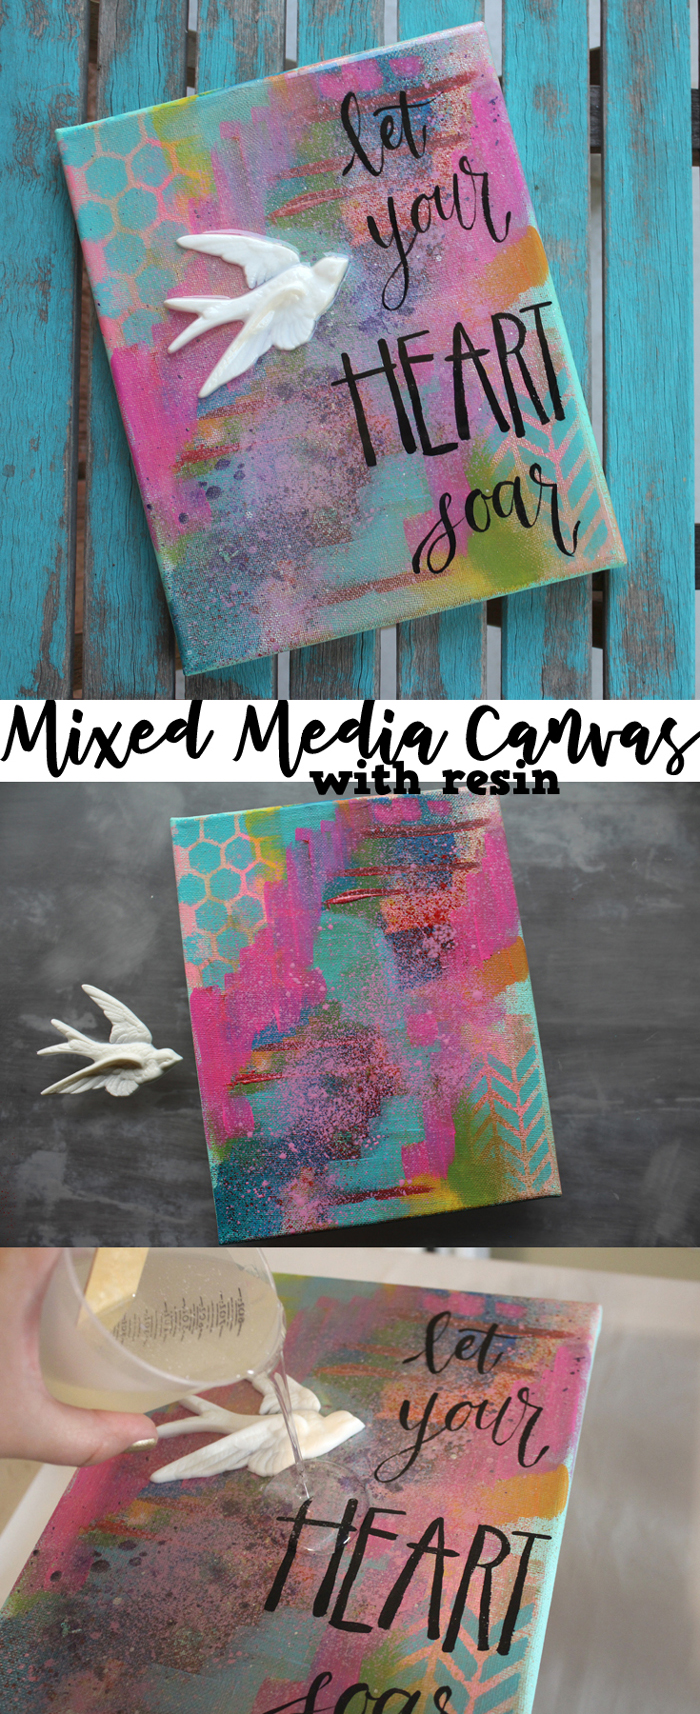
Start by painting the canvas. Using acrylic craft paints, coat the entire canvas, edges and all. Then squeeze out a variety of colors on a palette and get ready for some wild painting.
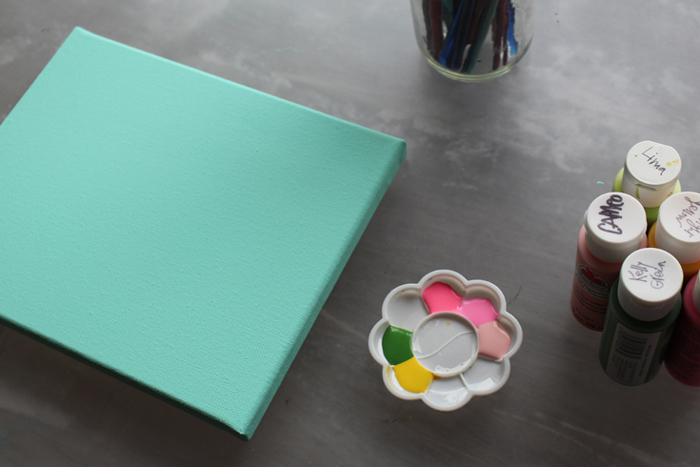
Add colors, here and there…mix, blend, smear. This is such a relaxing and stress relieving activity. If you like coloring books, you will love this.
Use some stencils to create interesting patterns and shapes.
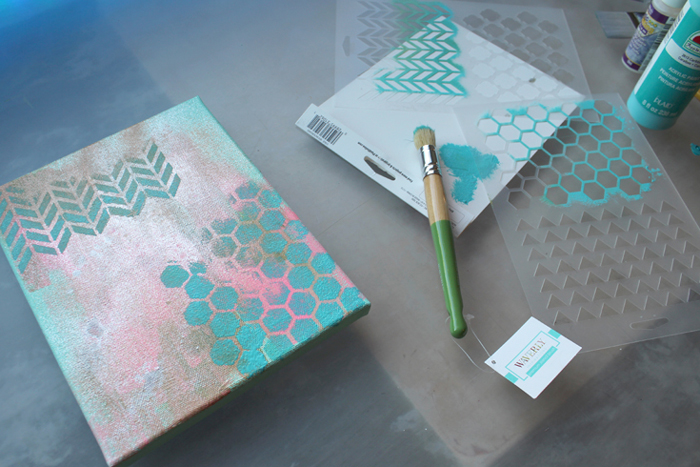
When completely satisfied with the canvas, let the paint dry.

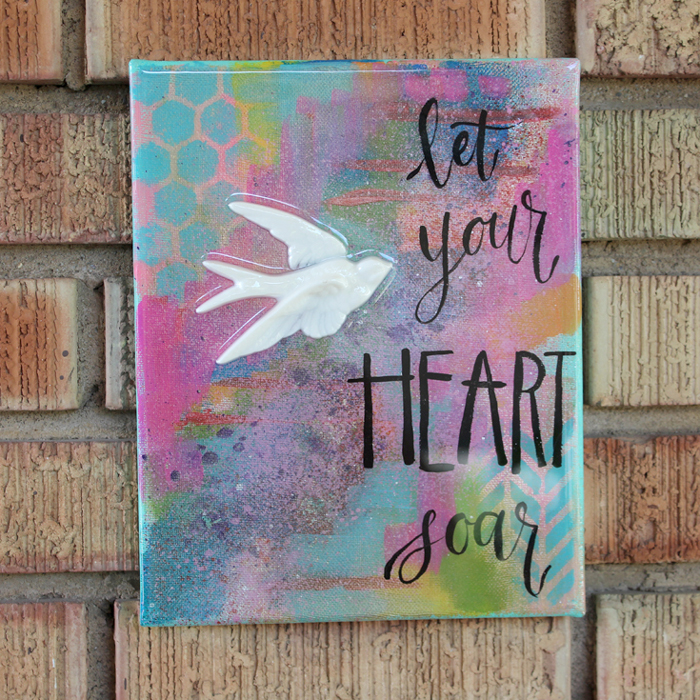
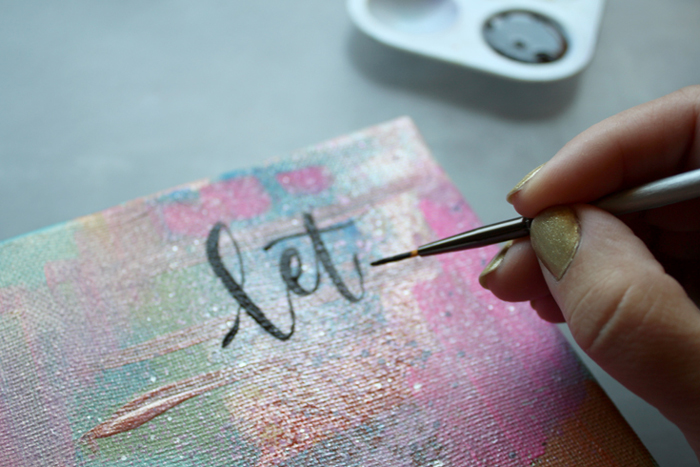
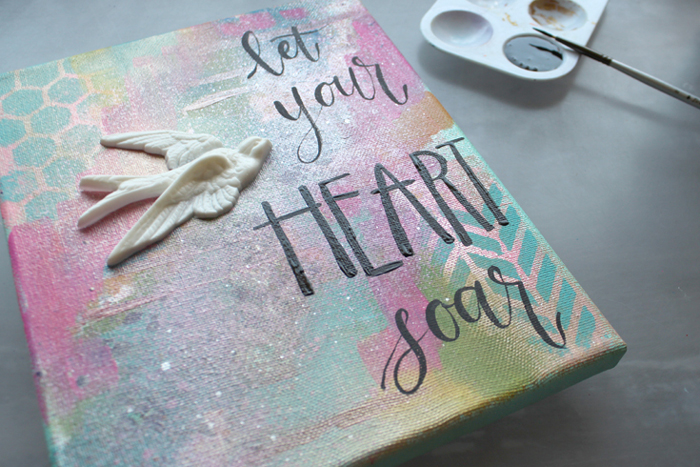
Use a paintbrush to paint a little saying on the canvas. “Let your heart soar”. If you aren’t into hand lettering, cut some clippings from magazines or the newspaper and glue pieces on like a ransom note.
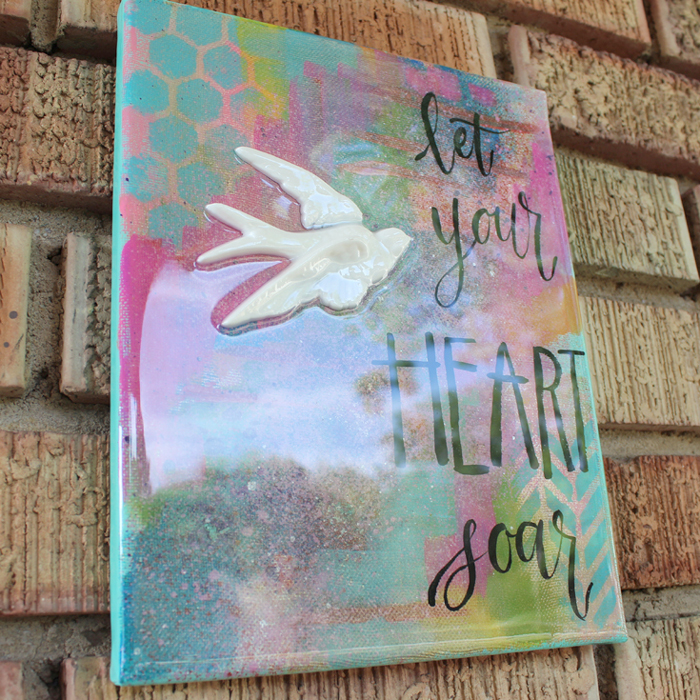
Then hot glue the fast cast resin bird right to the canvas. Look around and see if you have anything you can add to the canvas…or get some Silicone Mold Putty and Fast Cast Resin and make your own.
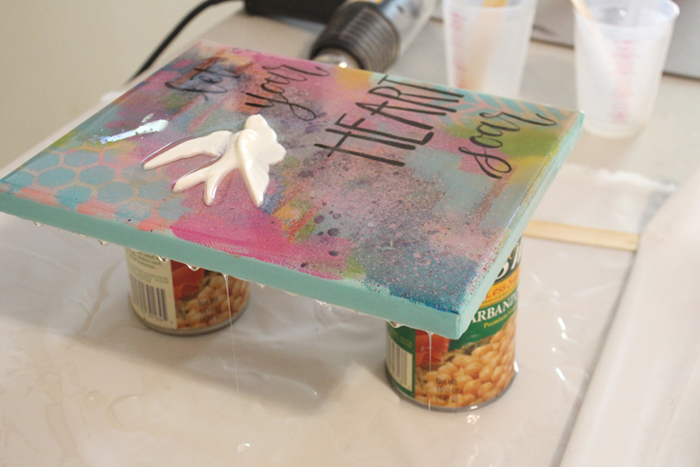
Next it’s time to coat the whole piece in high gloss resin. Work in a well ventilated area. Place a tablecloth on your work table. Put 2 cans of beans on the table and a piece of wood that fits inside the backing of the canvas.

Place the canvas over the board. The board keeps the canvas tight and stiff, instead of collapsing under the weight of the resin.
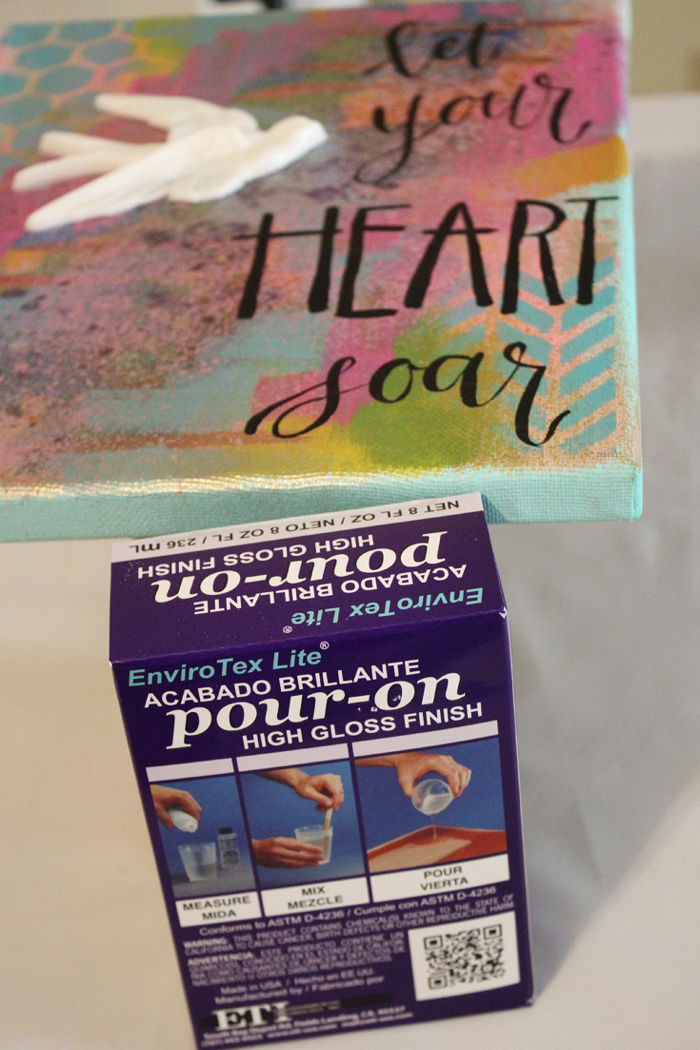
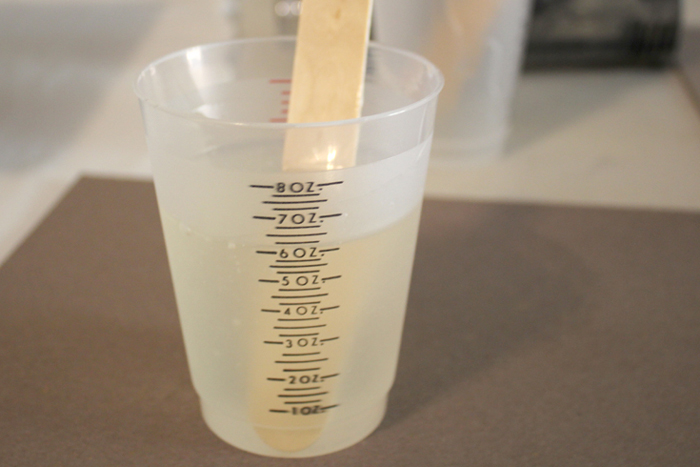
Read the instructions for the high gloss resin. Follow the instructions by using half of the resin, half of the hardener and then stirring for 2 minutes. Pour into a new measuring cup and use a new stick to stir it for one more minute.
Then pour the gloss right on top of the canvas.
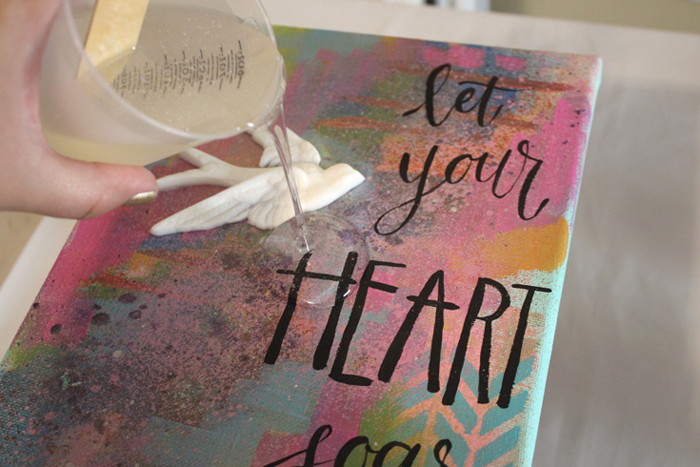
Use a stick or old credit card to move the resin to all the edges. Then let it drip for about 10 minutes. After that, use a mini torch or a low heat gun to go over the resin and pop any bubbles. Check it again 10 minutes later and repeat the bubble popping process. Then let it harden overnight.
Check out your amazing artwork the next day! The high gloss shine takes this project from a simple piece to a masterpiece!

This is the perfect way to add interesting pieces to your home that have a personal touch!
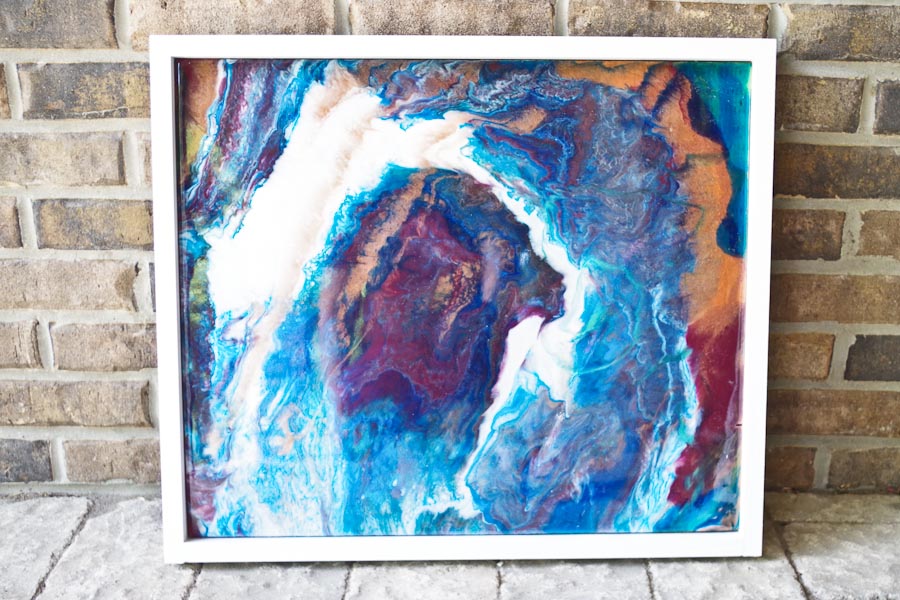
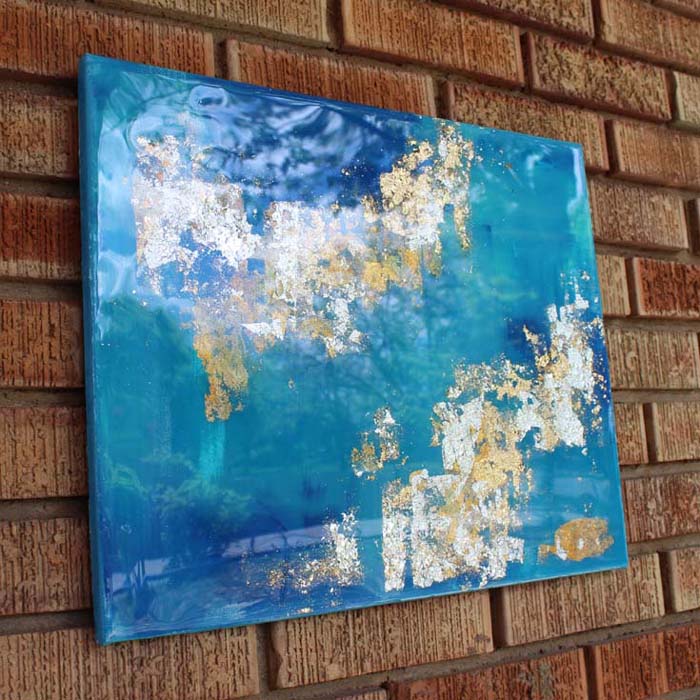
Check out these posts on canvas pieces too!
Natalie Shaw is a Craft/DIY blogger at Doodlecraftblog.com. She loves sci-fi, fantasy and video game geekery and that comes out in many of her projects. She posts budget conscious DIY’s, crafts, jewelry, kid friendly projects, upcycled treasures and other fun on her blog 5 days a week.


These are beautiful works ???????? But since I am an absolute novice with not a single idea on how to create shapes – I am lost. My ultimate purpose in joining or registering here is to learn how to create solid circular shapes that are at least 4-inches thick & at least 15-inches in diameter, and can be machined, smoothed, and balanced for use as a Turntable Platter. Is there any possible help here for me? TIA & best wishes from Manila ????
Try contacting Eti directly for those specific questions: https://www.eti-usa.com/contact
Fantastico! E’ uno spunto per dare il via a lavori originali. Grazie