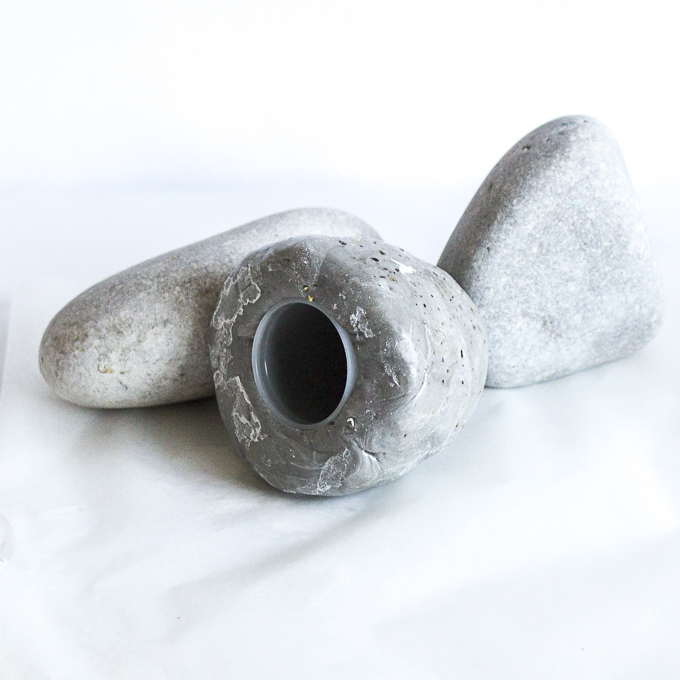
I’m so excited to share this project with you today. Some time ago, I came across a fake rock key holder while online shopping and I immediately fell in love with the concept. It’s such a creative and simple idea but also serves a practical purpose.
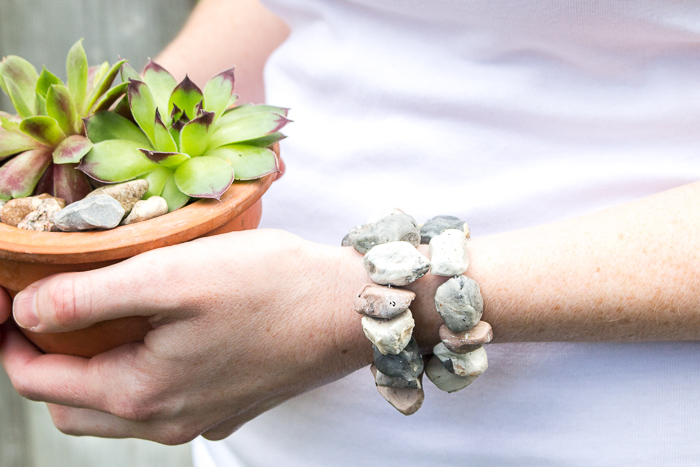
 And since making our EasySculpt stone jewelry, we thought we should give this fake rock key holder project a try.
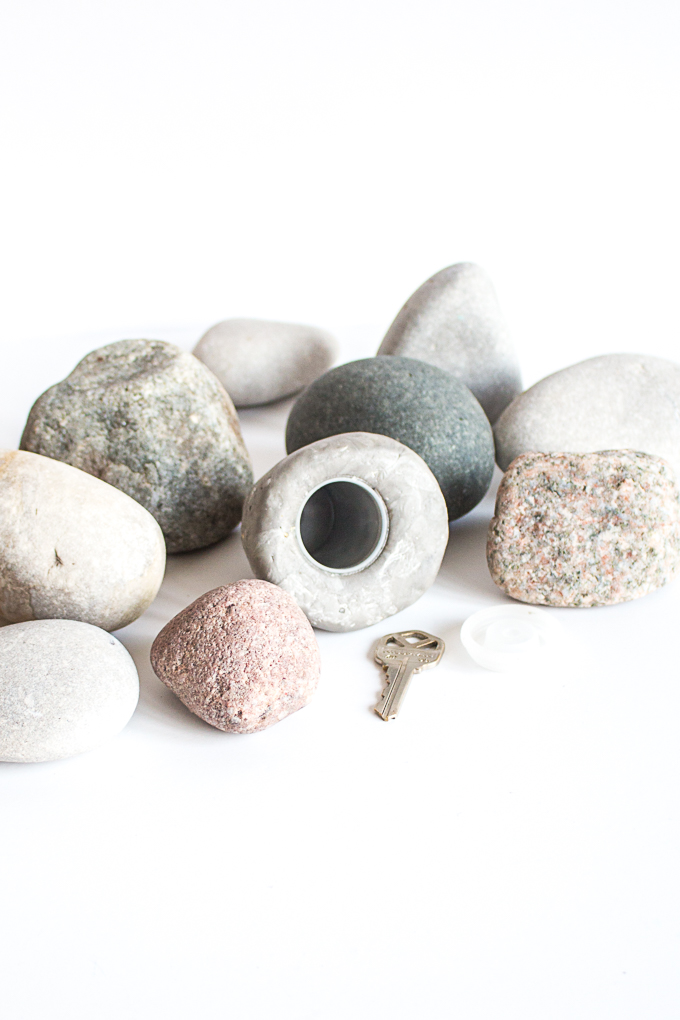
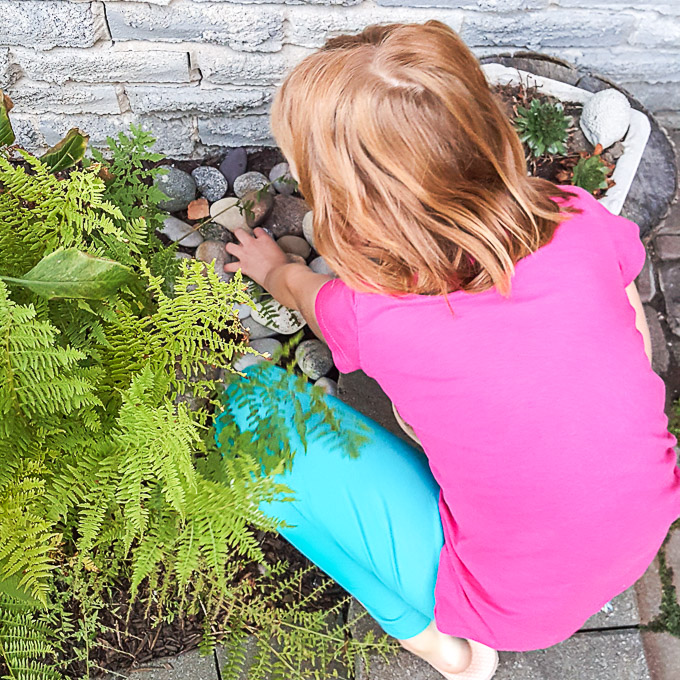
With the kids back at school, the timing couldn’t be more perfect. I now have a designated spot to hide my spare house key for when the kids come home and my husband will be happy that I’m no longer putting the house key in our mailbox; which I have guiltily done from time to time. Can you tell which of these rocks is holding my spare house key?
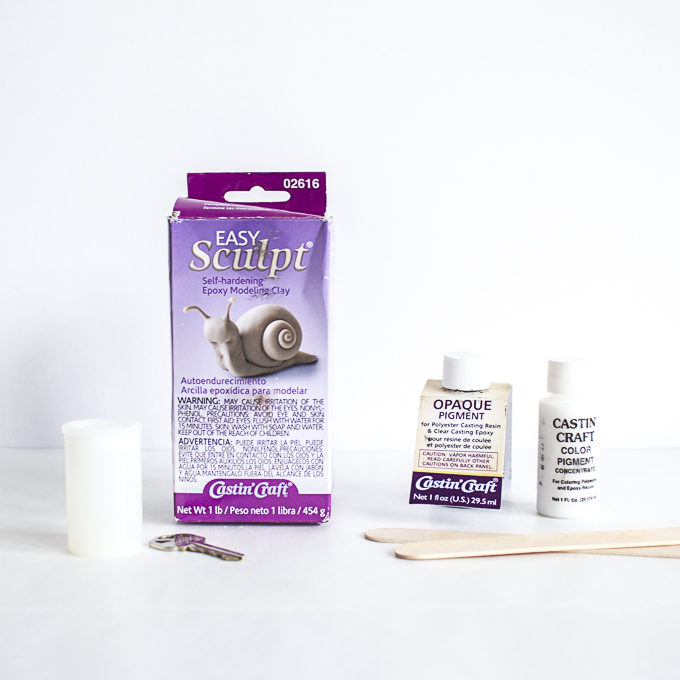
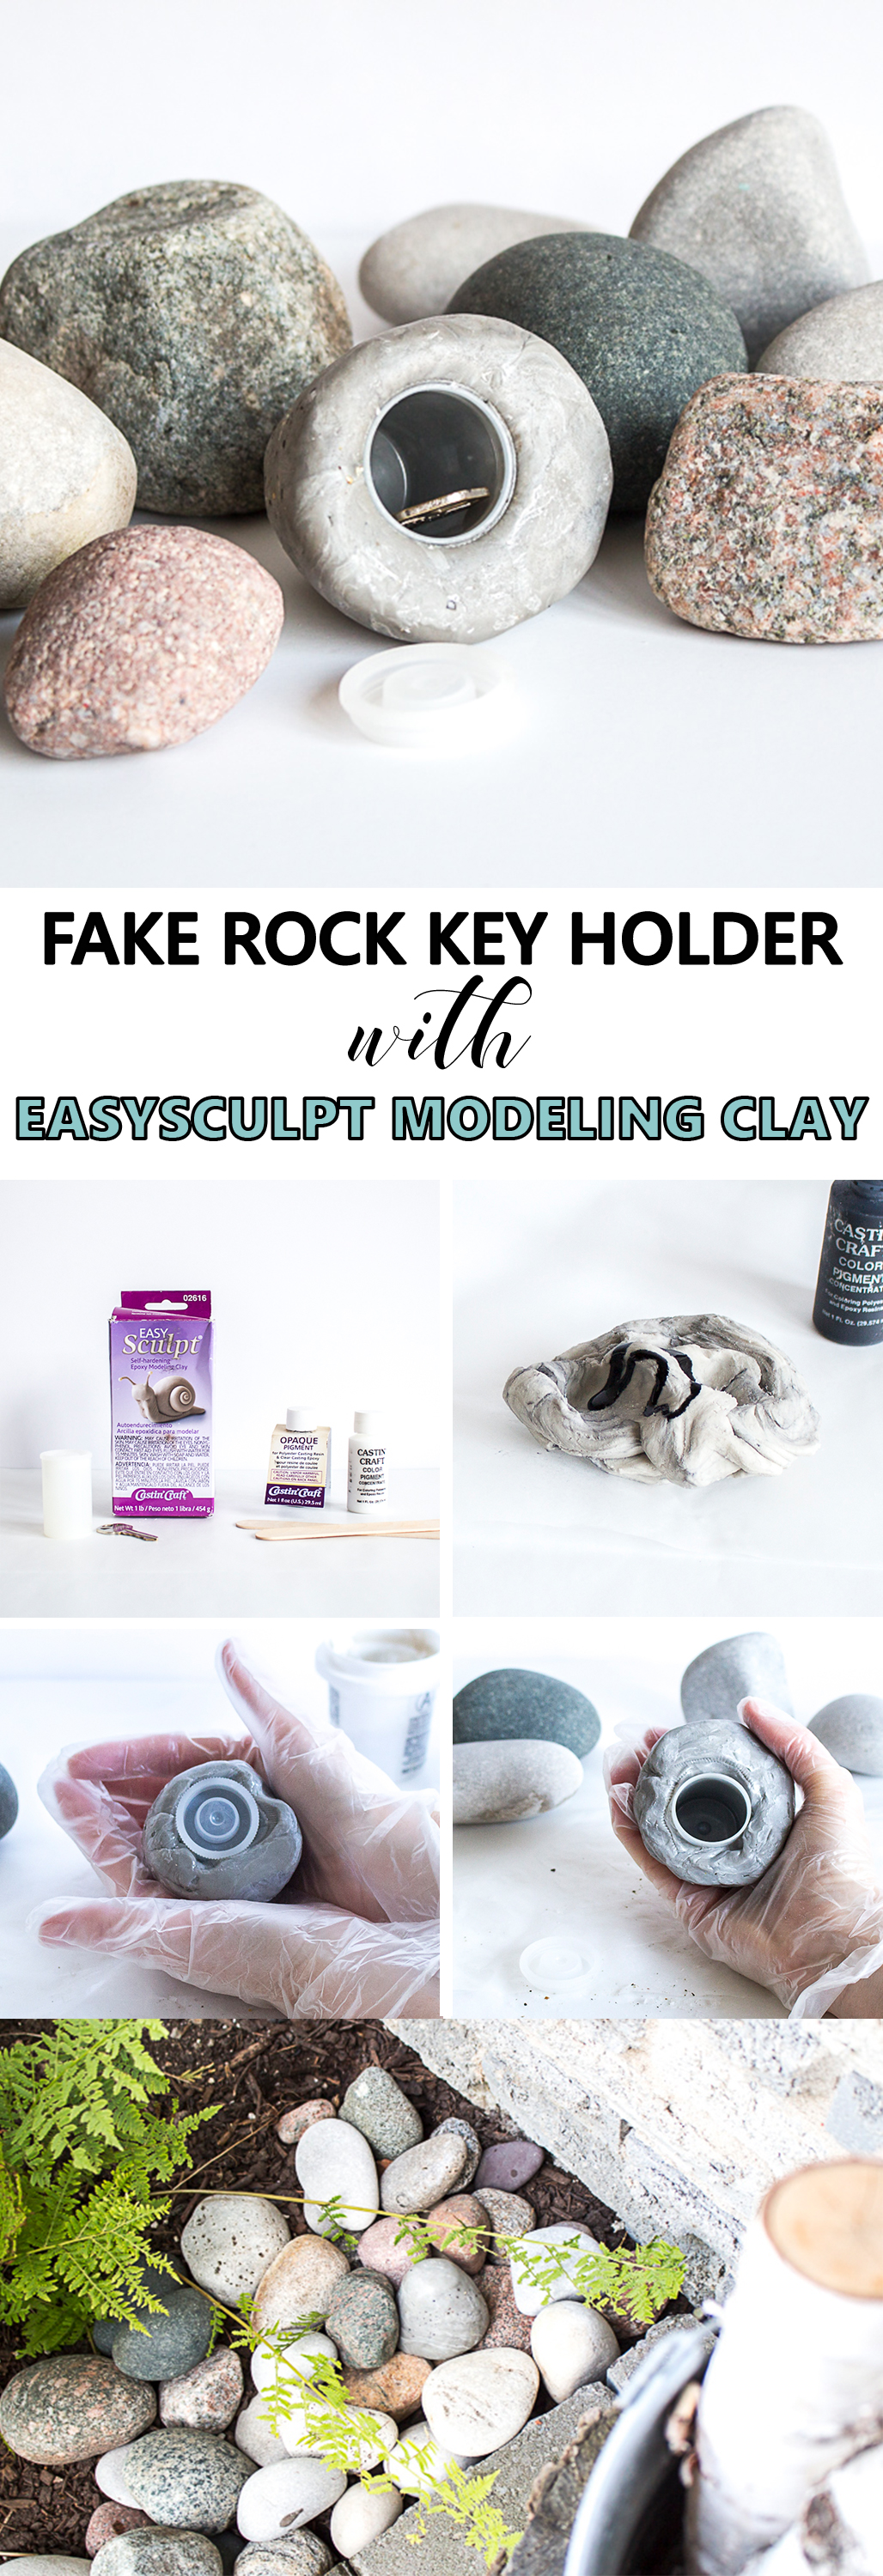
MATERIALS NEEDED TO MAKE A FAKE ROCK KEY HOLDER WITH EASY SCULPT MODELING CLAY:
- EasySculpt Self-hardening Epoxy Modeling Clay
- Universal Opaque Pigments in black and white
- Castin’Craft Mold Release & Conditioner or Vegetable Oil
- Gloves, wooden craft sticks, wax paper
- Sea Salt, Ground Pepper, White Flower (optional for creating texture on the rock)
- Small plastic container with lid that holds a standard key (we used a 35mm film canister)
Before starting, be sure to read the instructions provided in the packaging. Also, protect your work surface with a sheet of wax paper.
HOW TO FORM A FAKE ROCK KEY HOLDER:
1. Use two wood sticks to take equal amounts of components “A” and “B” from the containers (be careful not to cross mix the materials in the containers).
2. Spray some of the release agent (or vegetable oil) on your gloves to keep the clay from sticking. Form the clay into balls of approximately equal size by eye.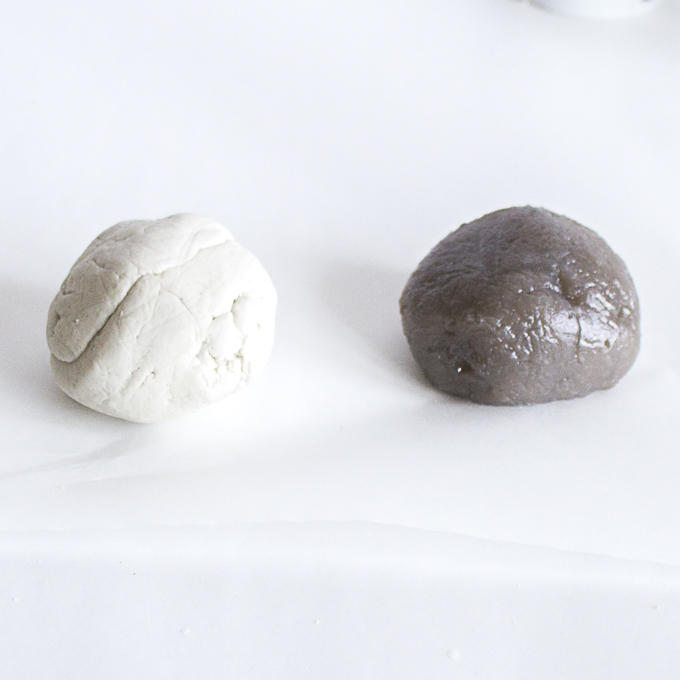
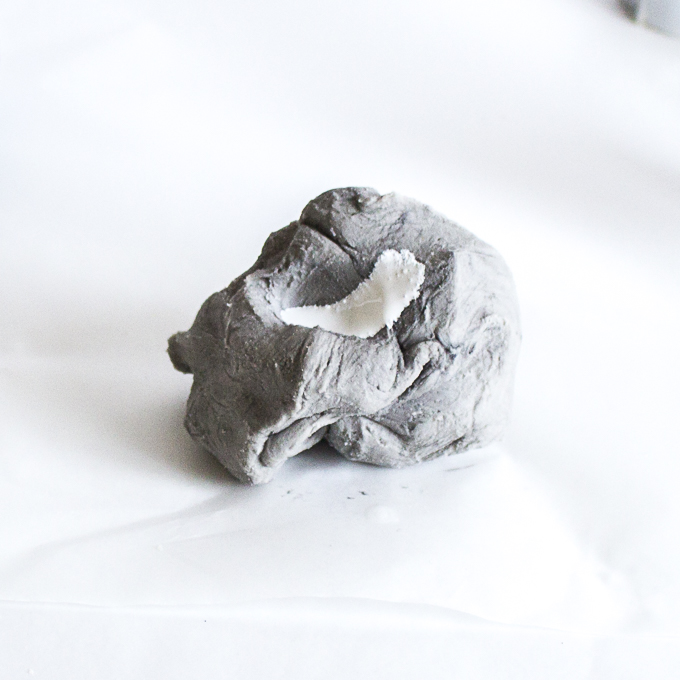
3. Press together completely and blend the two balls until they are uniform in color with no ribbons or marbling or little lumps (about 2 minutes).
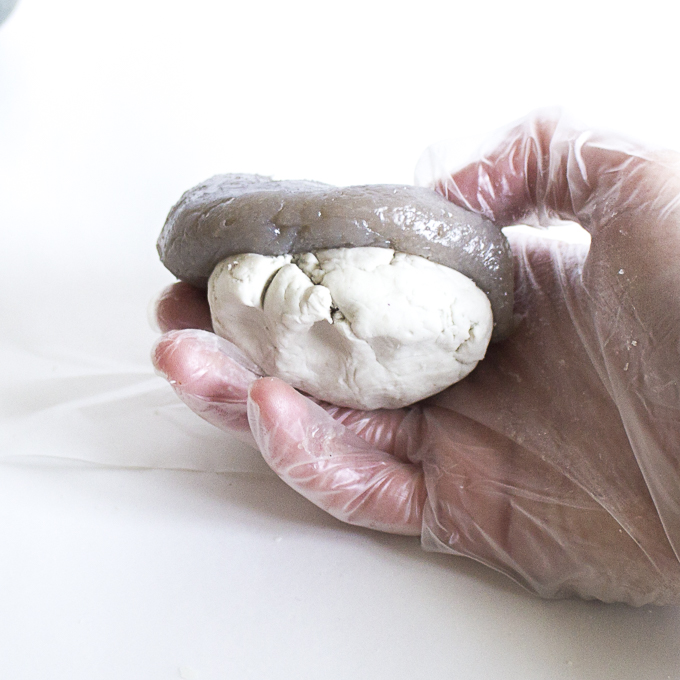
4. The clay will start to get softer and stickier at this point. Add 1 drop of black pigment and mix until it is well blended. Add another drop of black pigment if desired, to obtain the desired color. Keep adding the release agent to your gloves as needed.
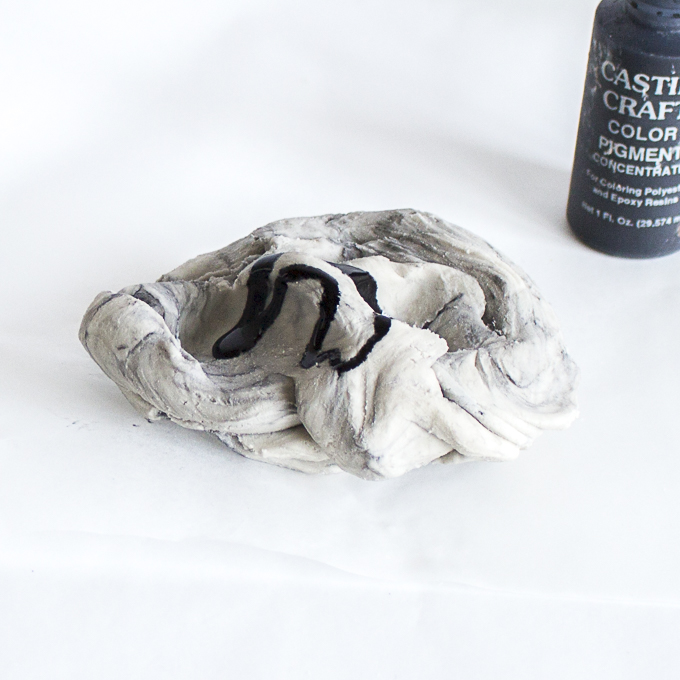
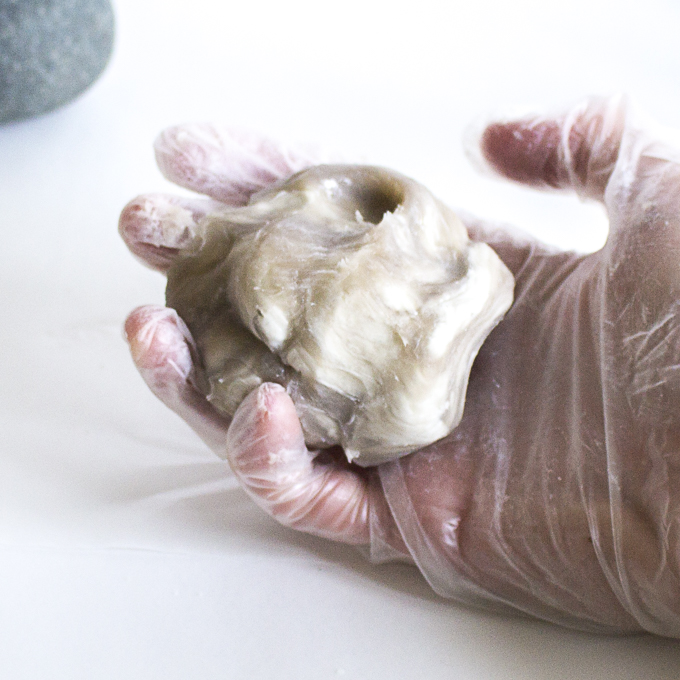
5. Add a drop of white pigment and mix for less time to achieve a marbled, uneven (more authentic looking) rock color.
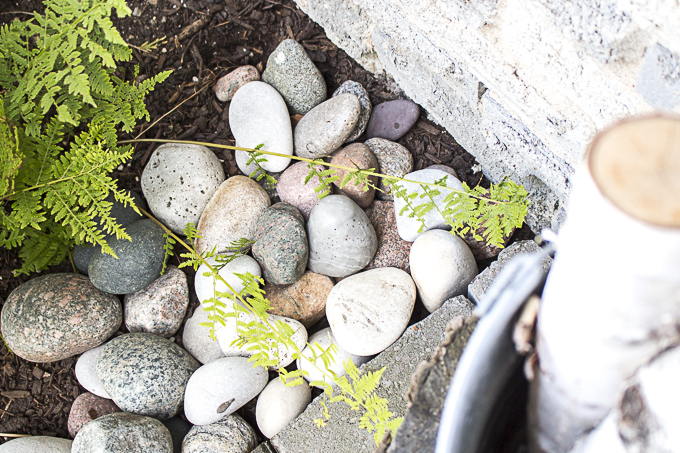
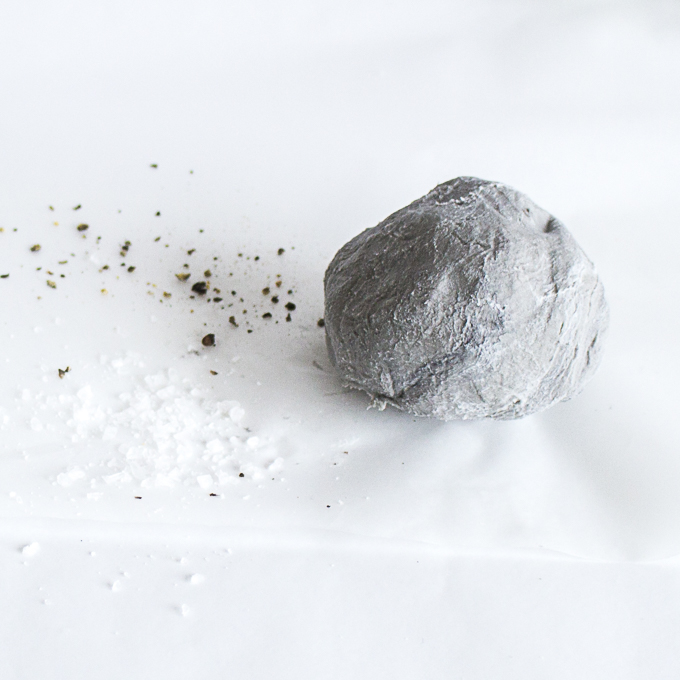
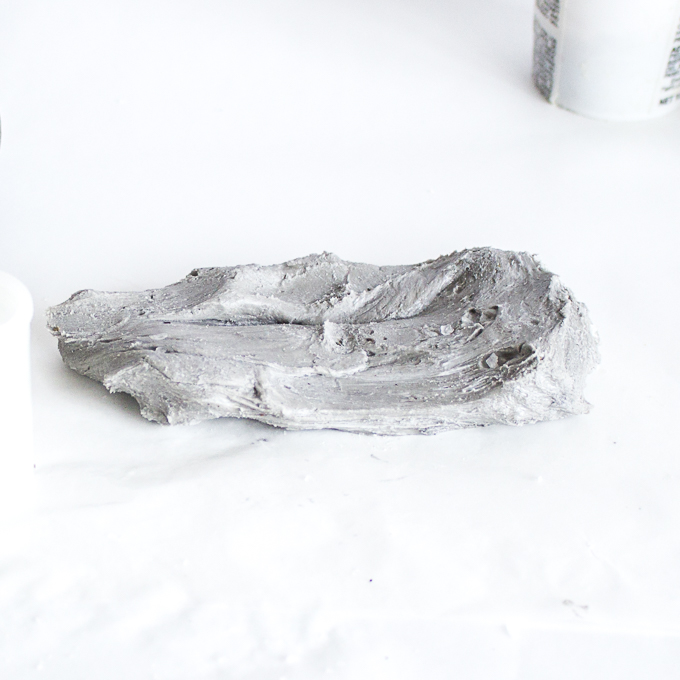
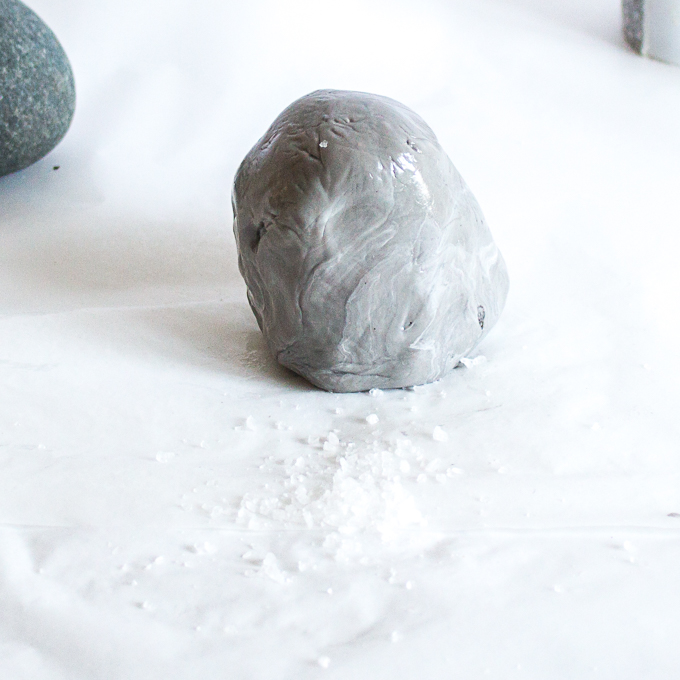
6. Optional: Add a dash of kosher sea salt, ground pepper, and white flour for additional texture and color. Flatten the clay and put aside on wax paper for about 30 minutes. TIP: Have a collection of real rocks nearby to reference for color, shape and size.
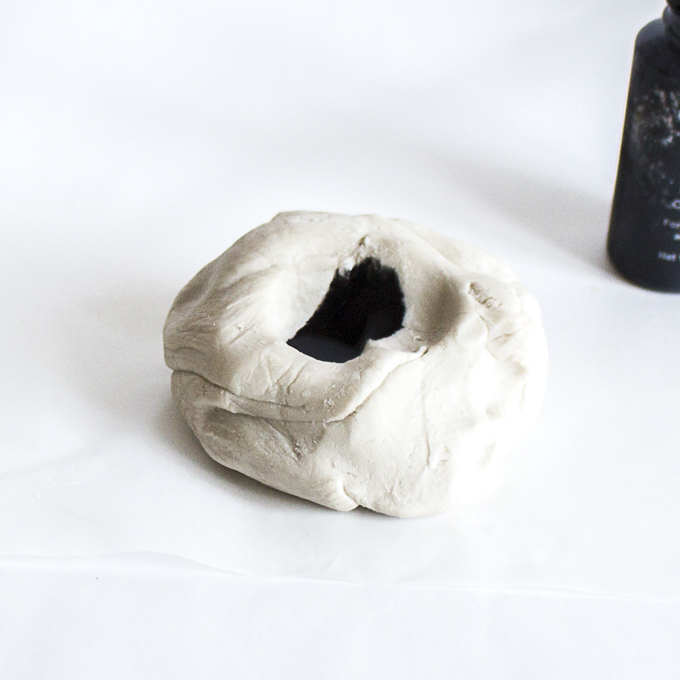
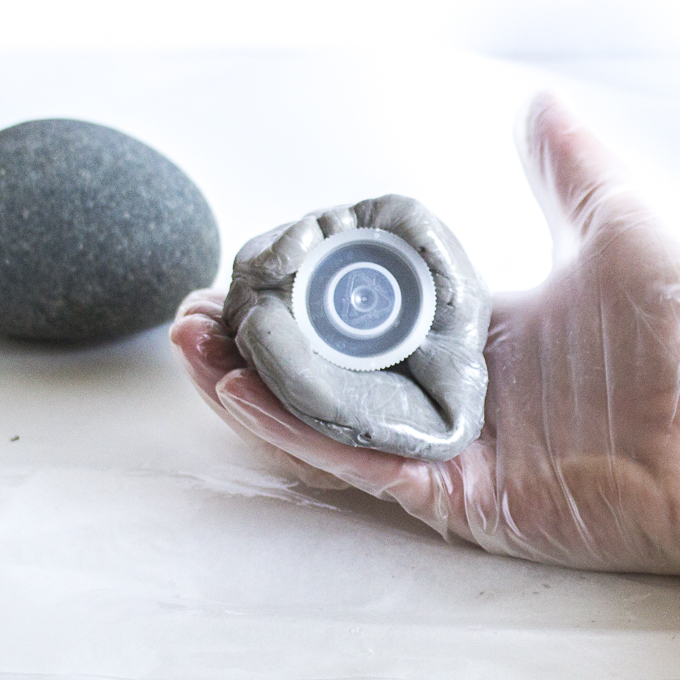
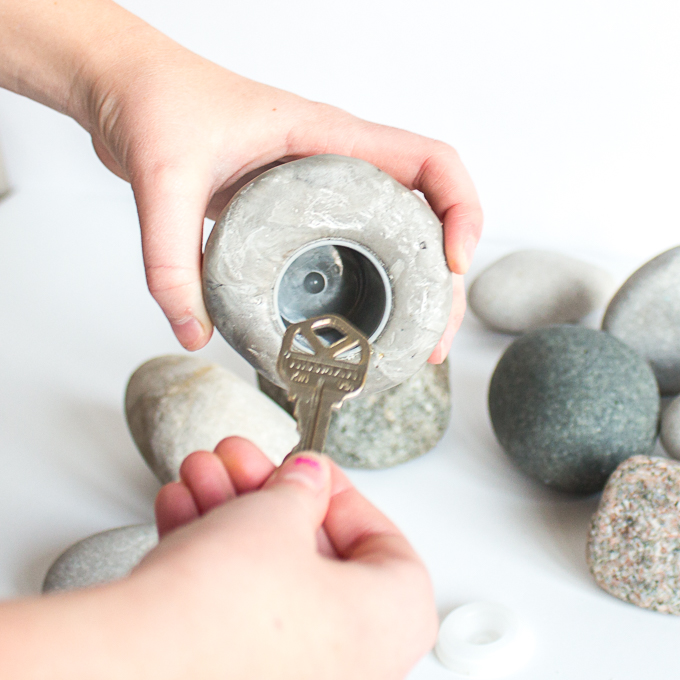
7. Wrap the clay around the plastic canister leaving the canister opening uncovered.
8. Continue to form and mold the clay into the desired rock shape. Dip it in some more kosher sea salt for added visual texture if desired. Put it aside to harden for another 30 minutes.

9. Continue to check the clay and adjust the shape as needed.
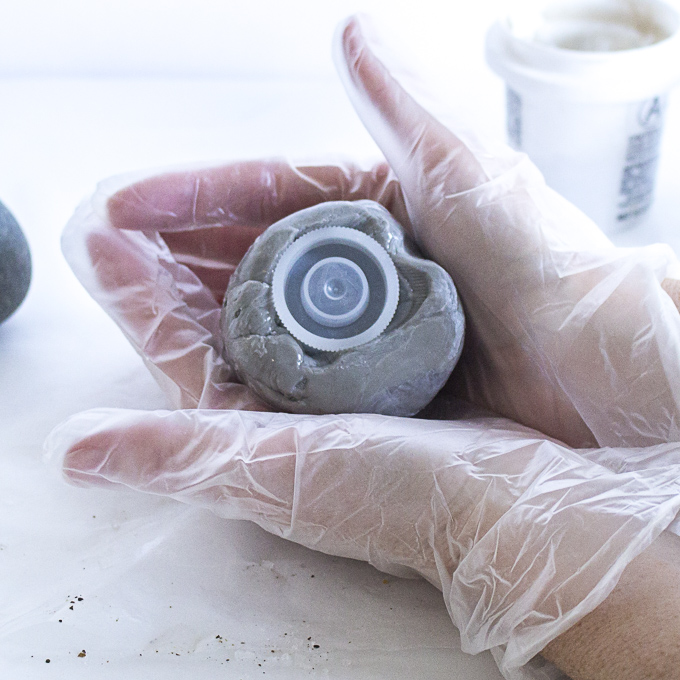
10. Pull the clay away from the opening of the canister to ensure the lid can still be closed and opened properly once the rock is fully formed.

11. Re-position the piece as needed to avoid it from miss-shaping as it hardens. You can use some talc powder to prevent your piece from sticking to the wax paper. My rock has some wax paper stuck to the bottom of it; which happened from me experimenting with the mold release agent on the wax paper.
FINISHING:
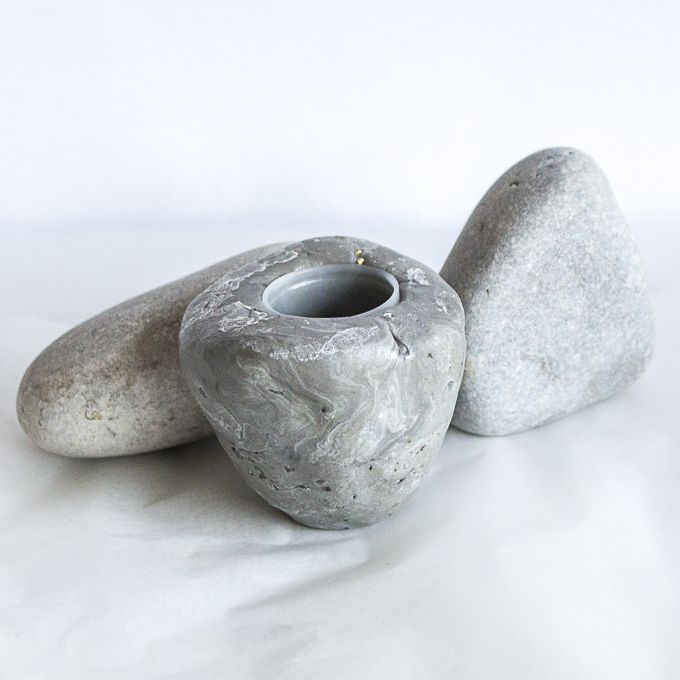
The fake rock key holder will be fully set in 6 hours. But you should leave it to cure fully for 24 hours before using.
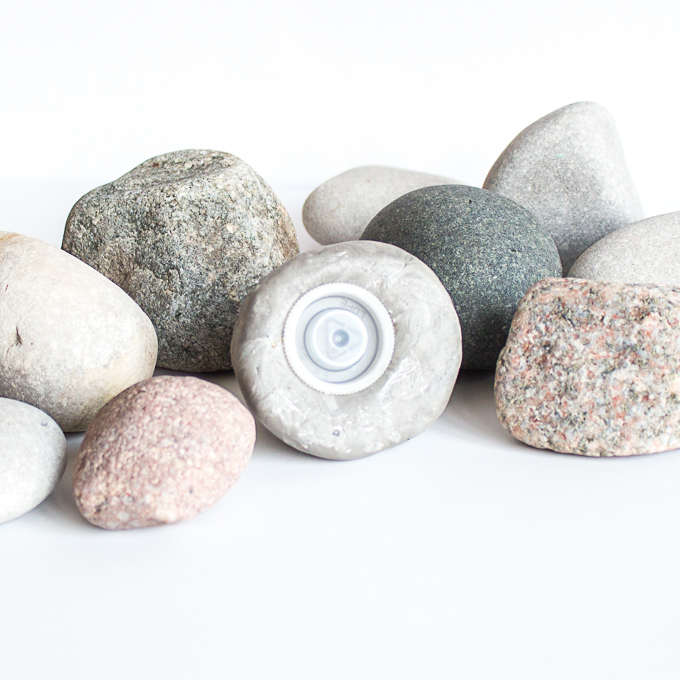
I’m pretty amazed at how closely it resembles an actual rock. What about you, can you tell which are the real rocks and which one is the fake rock key holder?
Like it? Pin it for Later!
SaveSave
Jane and Sonja are sisters, moms and lifelong craft addicts both living near Toronto, Canada with their families. They share their love of creativity, nature and coastal DIY ideas on their blog Sustain My Craft Habit. They craft and decorate their homes using repurposed and upcycled items and materials found in nature.


Cool idea, I like it and will most definately will be making one. Thanks for sharing.
Thank you so much Barb! Let us know if you have any questions at all. Have a great day. -Jane