Whether you’re an experienced crafter or new to the scene, mistakes can happen. Learn how to fix resin mistakes that makers (especially newer resin crafters) commonly experience.
Mistakes happen! Whether you’re a beginner or you’ve been working with epoxy resin for a long time, you might run into them. They can make working with resin pretty frustrating if you’re unfamiliar with them. However, learning great epoxy practices doesn’t have to be intimidating or difficult. We’ve got a list of common resin mistakes and helpful tips for you to keep in mind every time you approach a new project!
Try not to be discouraged by the mistakes you make; instead, it’s a great idea to view them as a learning opportunity. We all make mistakes from time to time, but it’s how we move on from them and improve that really makes a difference!
Resin Mistake #1: Not Reading Through Instructions
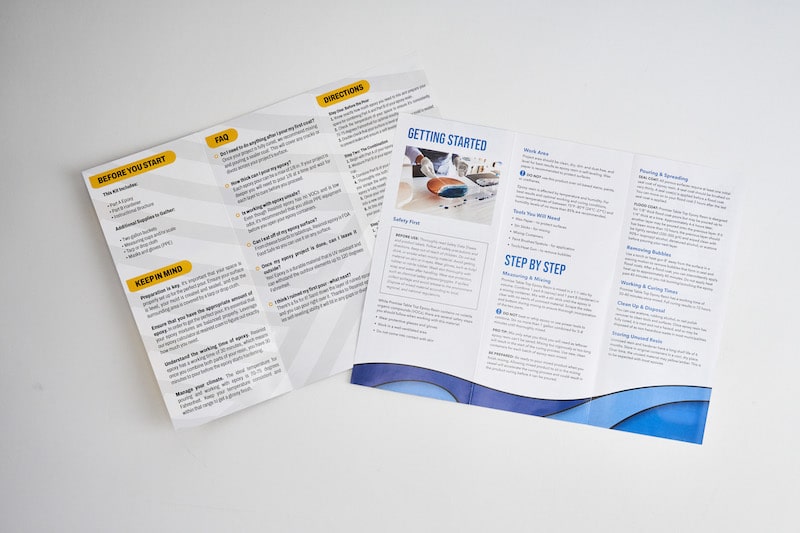
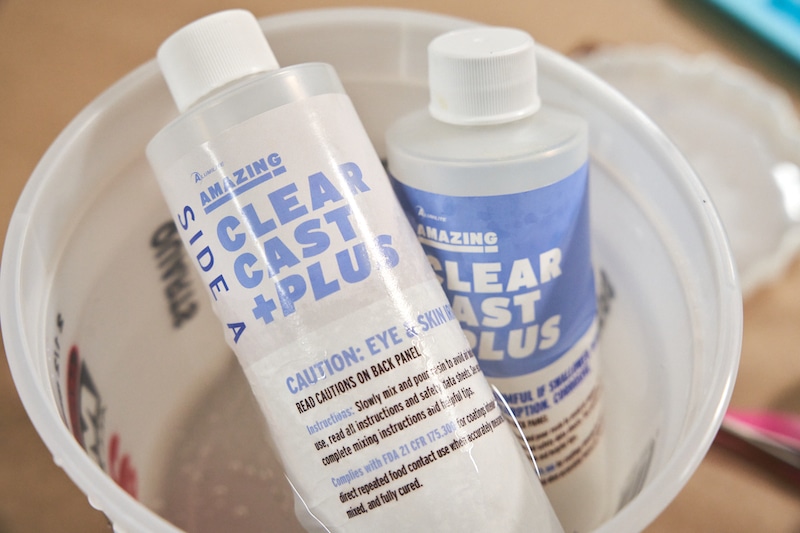
Although you may be excited to start your project immediately, we highly recommend reading through a product’s instructions before use. This will help ensure that you don’t miss any steps along the way and help you understand the specifics of each product. Product instructions cover a variety of helpful topics that are essential for the proper use of resin. These include things like safety instructions, working conditions, warnings/cautions, working and curing times, and more!
Resin Mistake #2: Choosing the Wrong Epoxy for Your Project
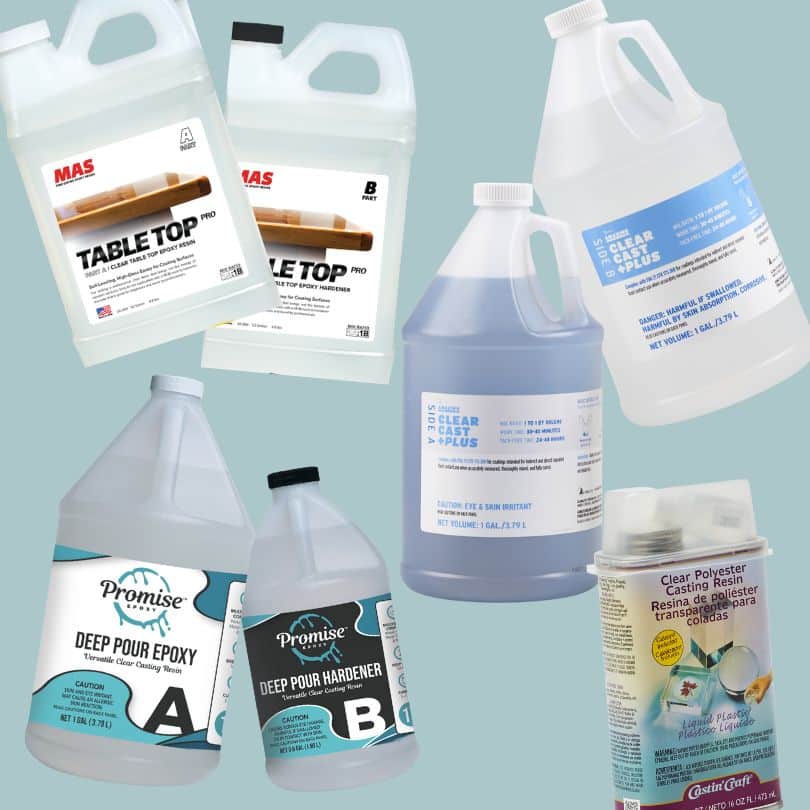
Understanding the different uses for the variety of epoxies that exist is crucial if you want the best results. For instance, it’s important to think about how deep of a pour you’re trying to achieve. This is because some resins are specifically formulated for deeper pours. Even if they’re formulated for deeper pours, however, you still might only be able to pour up to a certain depth per application. Your project might take a bit longer because you have to do layers, but at least you’re aware of these things ahead of time!
There are also some resins that will stand up to certain elements better than others. For example, if your project might be exposed to a lot of sunlight, you should try a UV-resistant formula.
Resin Mistake #3: Under-Mixing
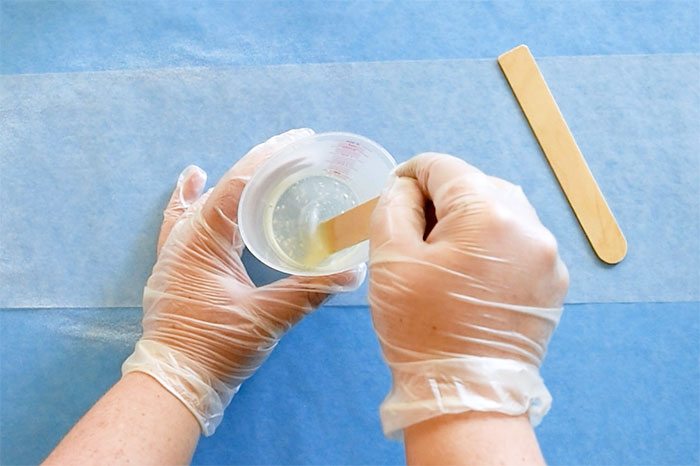
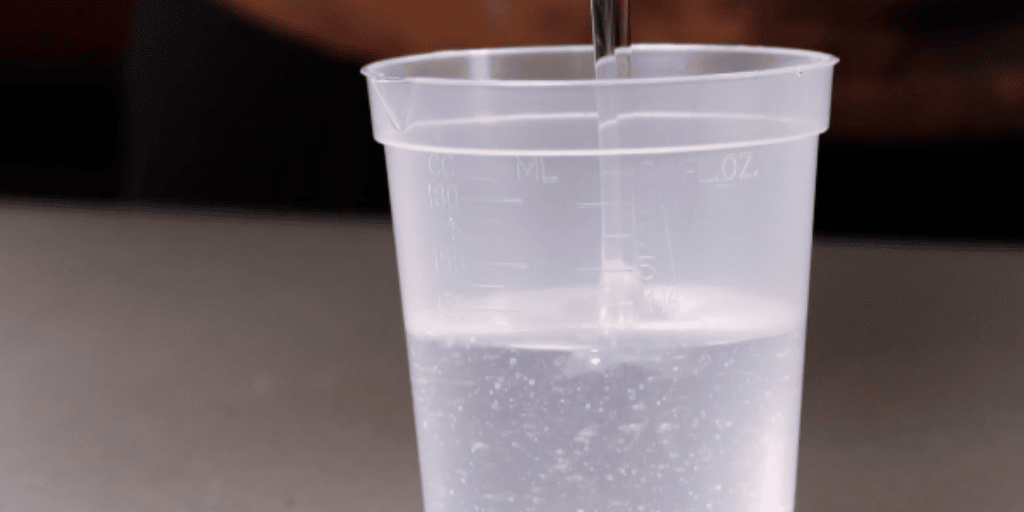
Typical resin mistakes surrounding mixing involve under-mixing your resin and not mixing it thoroughly enough. Spend several minutes carefully stirring your resin whenever you’re combining two parts. Ultimately, you’re looking to eliminate any signs of swirls in the mixture. Also, make sure to mix slowly. This will help reduce the presence of bubbles. If you do run into problems with too many bubbles developing in your resin, don’t worry! There are many ways to get rid of them.
Make sure you’re also mixing with the proper tools. Use something like a stir stick and a mixing container with minimal ridges, so that you’re able to scrape the sides and bottom of the container while you mix. Collecting resin from the edges and bottom of the container will help ensure everything is properly incorporated.
Do not mix different resin formulas. Even if they’re both within the same brand, if they’re not the same formula, the project could be affected negatively. If you have extra unmixed resin left over, it’s best to store it away in a cool, dry, and dark place for another time.
Resin Mistake #4: Wrong Temperature for Working with Resin
Environmental temperature is incredibly important for the curing of resin. If the temperature of the room is too cold (lower than the recommended temperature for what you’re using) the resin will not cure properly. Likewise, if the resin itself is not the recommended temperature or warmer, the result will be unsatisfactory. For example, you would run the risk of inconsistent texture and microbubbles forming. In order to combat cold resin, you can warm the sealed bottles up in a warm bath for 10–15 minutes.
Additionally, resin requires fairly consistent temperatures while it cures. Read up on the specific resins you’re using and make sure to carefully adhere to the recommended temperatures for the entire process to avoid additional resin mistakes!
Resin Mistake #5: Adding Too Much Dye/Pigment
Including too much dye or pigment, especially if it’s a liquid colorant, can mess with the consistency of your resin. Your additives should equal no more than 5% of your total mixture. If you add too much, you may not get the color you’re hoping for and the resin might not cure properly. That’s why it’s always best to start with a small amount. For coloring, a little bit goes a long way!
Resin Mistake #6: Uneven Epoxy Surfaces
When pouring resin for your projects, make certain that work surfaces and project materials are level and flat. Some resin is self-leveling, which means that if you have enough, it will flow to fill adjacent spaces without the use of tools. However, it’s a good idea to use tools to level out the epoxy anyway, just to make sure you have complete and even coverage.
A great rule for measuring out how much resin to use is to always have a little more prepared than what you think you need. This ensures you have enough to fill all the space available and you can use the extra resin in another mold if you have one around.
To fix uneven resin surfaces that are already cured, you’ll have to make sure there is no debris in the resin. You can use isopropyl alcohol and a rag to clean it. Then, sand down the surface to make it even and apply a second coat of resin.
Resin Mistake #7: Measuring Incorrectly
One of many all-too-common resin mistakes involves measuring incorrectly. Since epoxy resin products have different ratios, it’s always important to be aware of the measurements for the specific product you’re using. For instance, if you are using a Table Top Epoxy or Art Epoxy, it is typically measured in a 1-to-1 by volume ratio. This is one part side A to one part side B. Of course, it’s always a great idea to check the ratio and whether it’s measured by volume or weight in advance!
It helps to have graduated measuring cups so that you can see how much of the product you’re pouring out. You want to avoid ‘eyeballing’ or guessing at the correct amount and be as accurate as you possibly can. Keep in mind that the smaller the amount that you’re measuring out, the more accurate you need to be.
If you measure incorrectly, the final project doesn’t have the chance to cure properly. This will result in a sticky final surface.
Resin Mistake #8: Moisture Contamination
Do not allow water, whether left over in measuring cups or mixing tools, to come into contact with the resin. While it’s important for your tools to be clean before also coming in contact with resin, make sure they are dry as well. Moisture can negatively affect the curing process. This is why it’s also crucial to make sure additives aren’t water-based and to dry or seal anything like wood or flowers.
Resin Mistake #9: Waiting Too Long to Use Product
Sometimes customers will purchase a product and wait too long to use it. The problem with this is that resin products have varying shelf lives regardless of whether they’ve been opened or not. This means there is a chance that the resin may not cure properly after this shelf life. You can always test this, if it’s been a long time, by doing a small test pour.
Sometimes crafters will also take a little too long mixing the resin or get distracted and not pour soon enough. Depending on the work time of your product, you only have so much time to get everything you need prepared. Once that time passes, the resin will start to cure. That’s why it’s always a great idea to have the supplies you need prepared and in place before pouring and mixing the resin.
Resin Mistake #10: Incorrect Storage of Product
There are many factors to consider when storing your resin. You want to store it in a cool dark place, where it won’t get too hot or be in direct sunlight. Heat and sunlight can affect the unmixed resin and cause it to yellow early or be more susceptible to heat damage. Since you shouldn’t pour resin cold, you can also warm the bottles up in a warm water bath before use.
If you have any questions about using resin, resin mistakes, or there are some tips that you find particularly helpful, feel free to reach out to us or comment on this post! What else have you learned on your resin crafting journey?




Thanks for all the tips there really helpful!
Thanks for a place to ask questions about epoxy.I am using colored epoxy to fill the spaces in my advanced scroll saw patterns.Many of the spaces are very small.Even though I continue to use my torch until the product starts to set up,in the morning the small areas have foamed up.I use floppy pads on my small grinder to level it all down back to the wood level.After a lot of head banging on each project it comes out amazing.
My questions are: Are their products that are thinner than others? Is there a reference that would identify that product? I have tried different products in the past but was shooting from the hip when they were purchased.I am retired so I have lots of time to spend on my projects.Some are 75 to 100 hours.Any help or suggestions to reduce my time and save my scroll sawing from being ruined would be very much appreciated.
Hi Tom, we’re so sorry for the delayed reply! How deep are the spaces your pouring into? And what kind are you using?
I have ordered 2 different brands of resin from Amazon recently. Both orders, the resin is cloudy when i reveived it. I live in southern FL where its HOT and humid right now. Is it the heat? Humidity? Is there a fix or do i need to return my 2nd order? Thx!
Hi Mary! Without seeing it, it’s hard to answer that. It’s not uncommon for the product to look cloudy in the bottle, but once the resin and hardener are thoroughly mixed together, it should be free of swirls and no longer appear cloudy.