
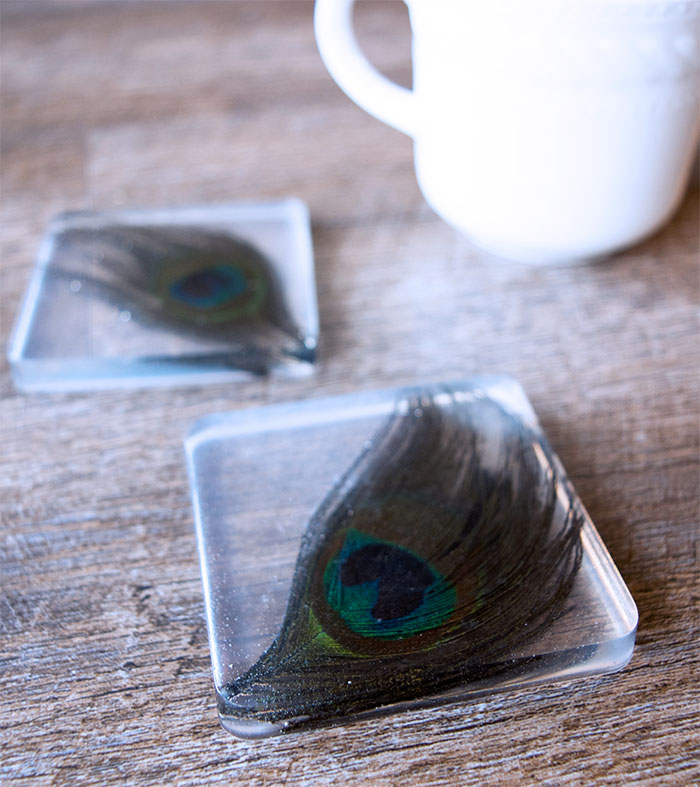
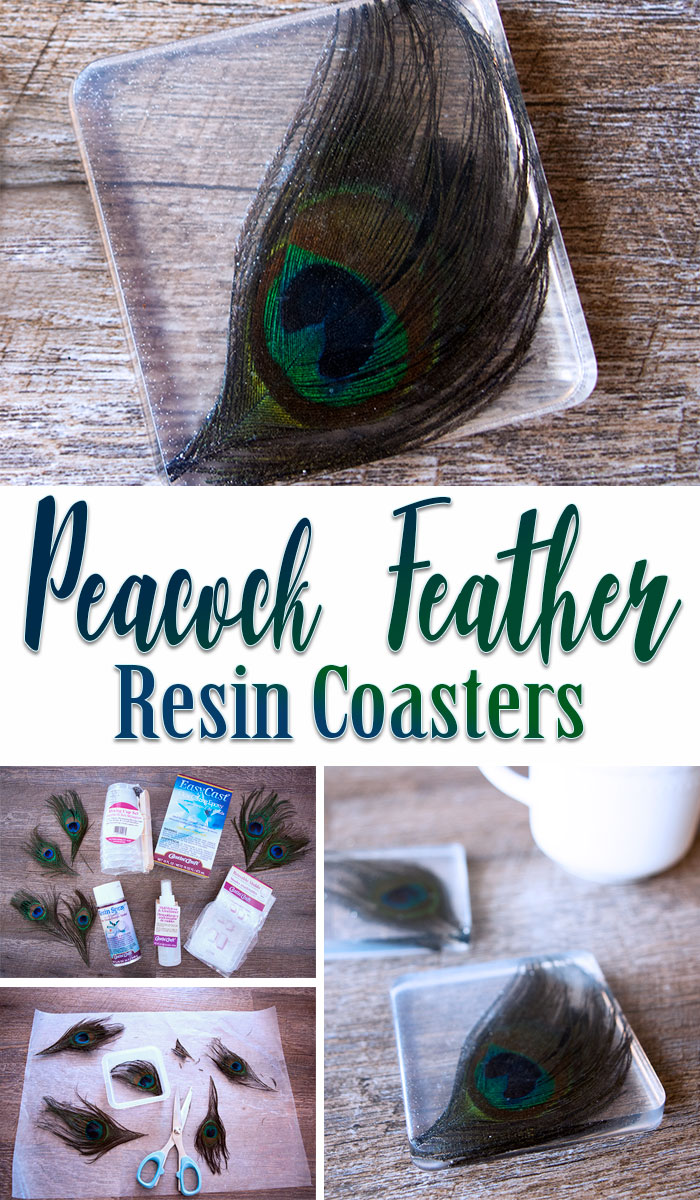
Hello Resin Crafters! This is Kelli, from the Craft Shack and I’m so excited to be sharing my first resin project with you here! Feathers are so beautiful when used in Decor and they are surprisingly easy to cast in resin and preserve forever! I think that Peacock Feathers are so gorgeous so I decided to make some Peacock Feather coasters to preserve them forever. I want to share this great technique with you today! This method works great for any feather you might want to cast in Resin so don’t worry if you don’t have any peacock feathers or you’d rather use a different one!
Supplies needed:
- Easy Cast Clear Casting Epoxy
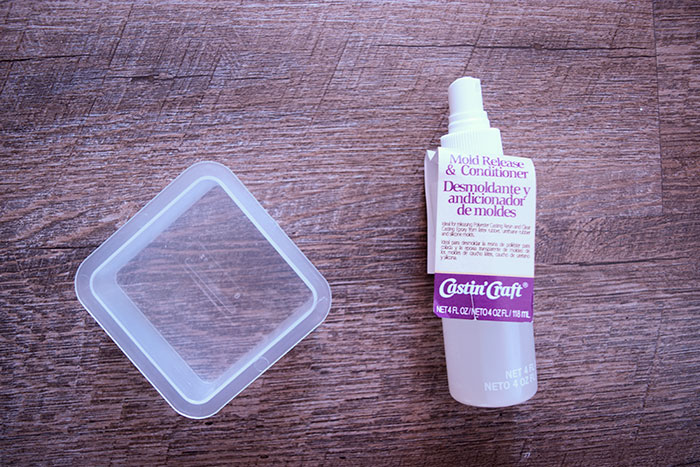
- Re-useable MC Poly Mold MC-6 (3×3 Square)
- Mold Release and Conditioner
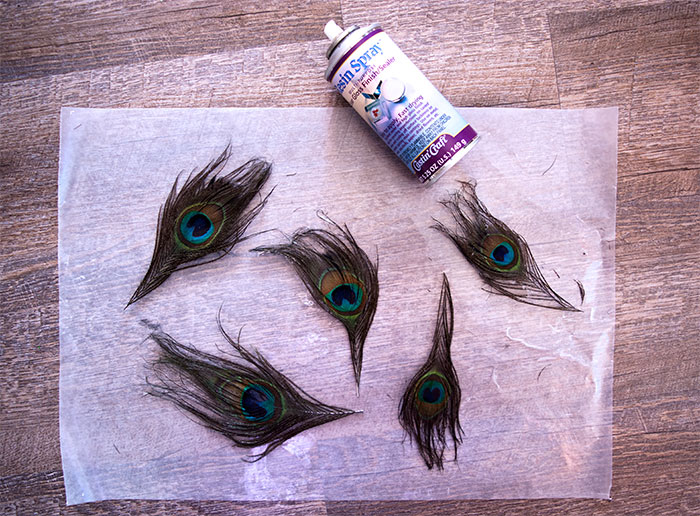
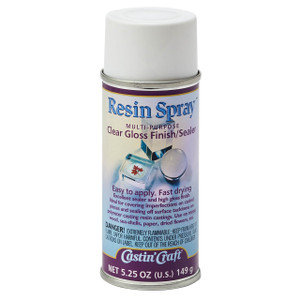
- Castin’ Craft Resin Spray Finish
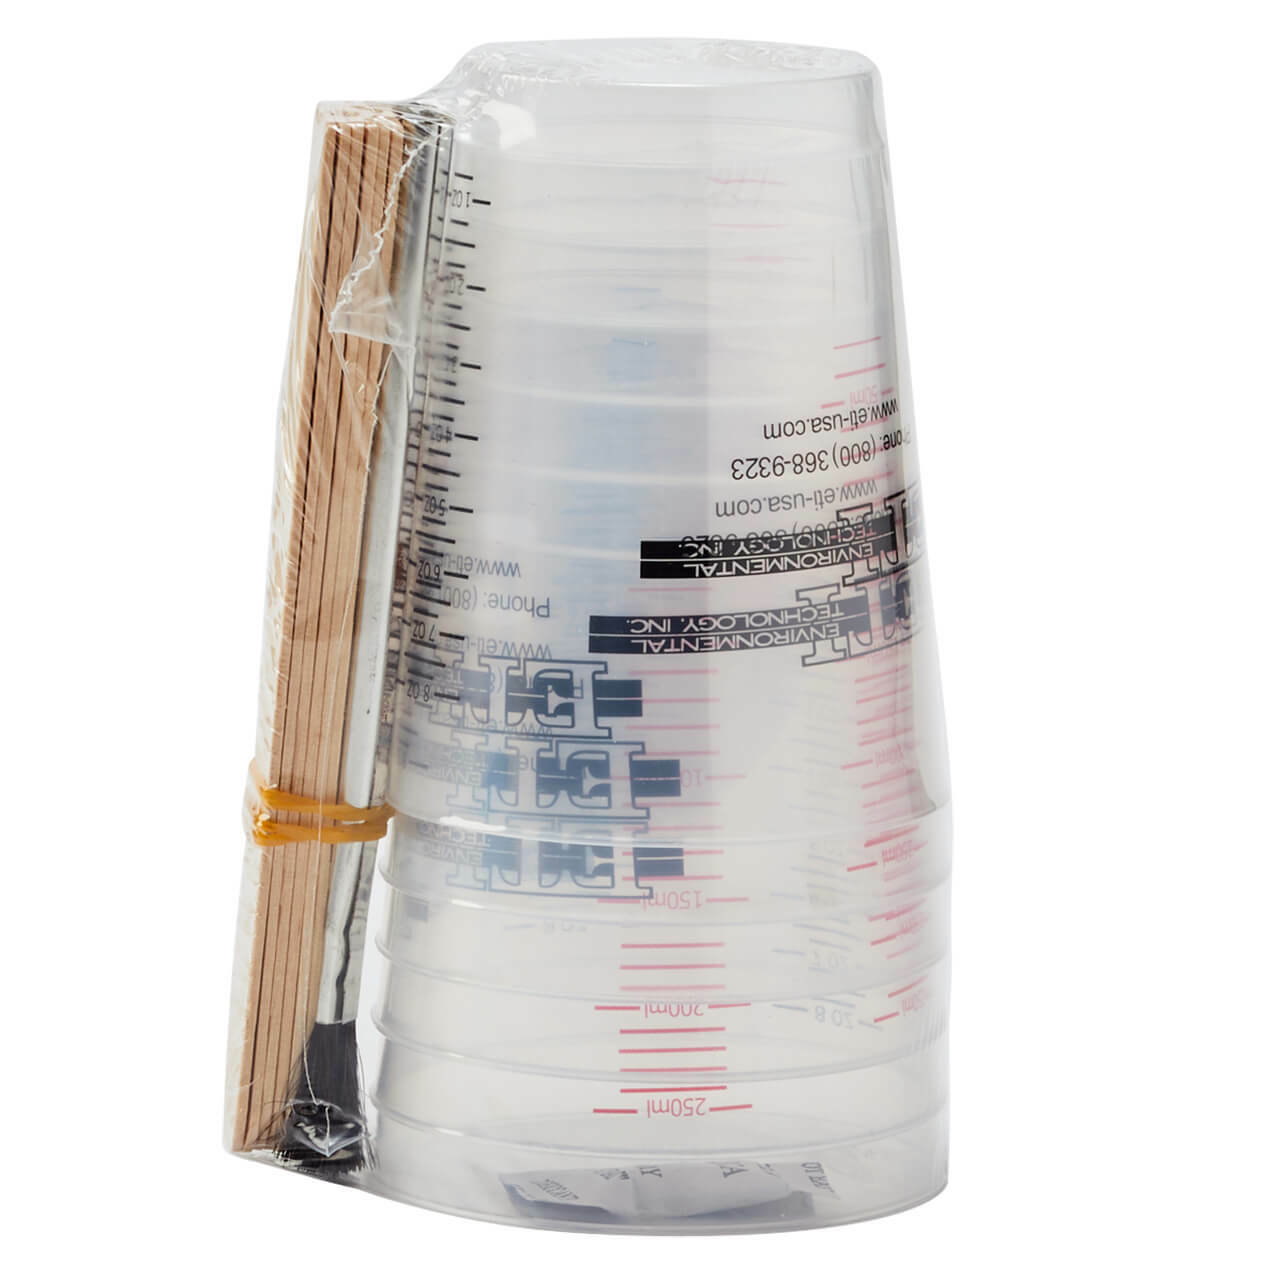
- Mixing Cup Set
- Peacock Feathers

Before you get started there are a few preparation steps that need to be done. First, lightly spray the mold with the mold release and allow it to dry completely according to the instructions on the product.
Next, you’ll need to prepare your feathers before casting. Since feathers are so porous and often very fuzzy you’ll need to spray them with Resin spray before casting them in the coasters. Lay them out on some wax paper and lightly mist with the resin spray in a well-ventilated area. Allow them to dry completely. Repeat as needed until the feathers are coated lightly. They should be slightly stiff, but not hard.
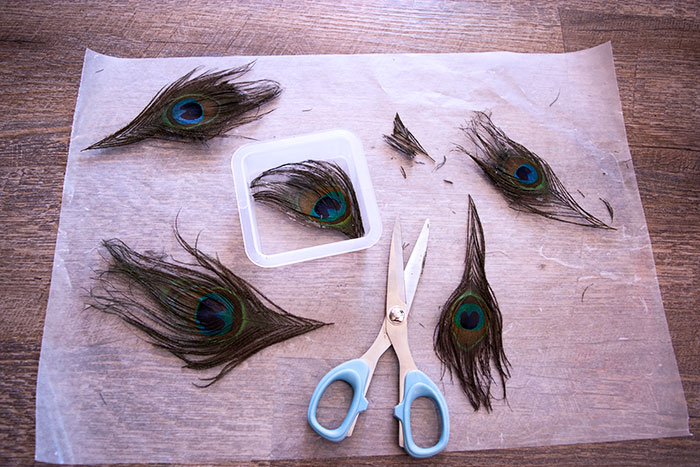
Trim the feathers to fit inside the mold. I laid each feather over the mold to see where they needed to be cut and then trimmed with scissors.
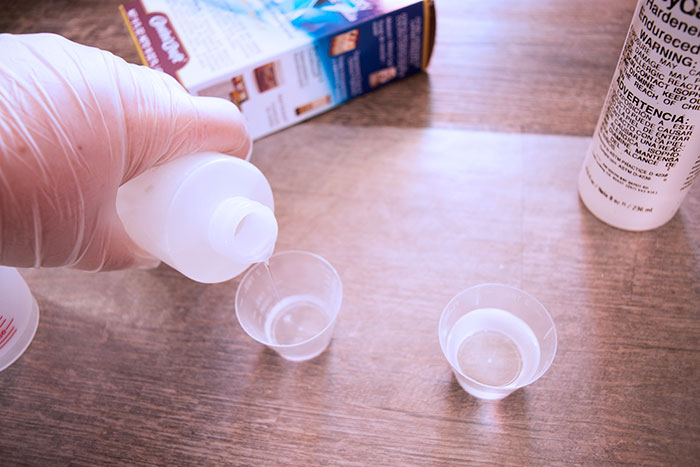
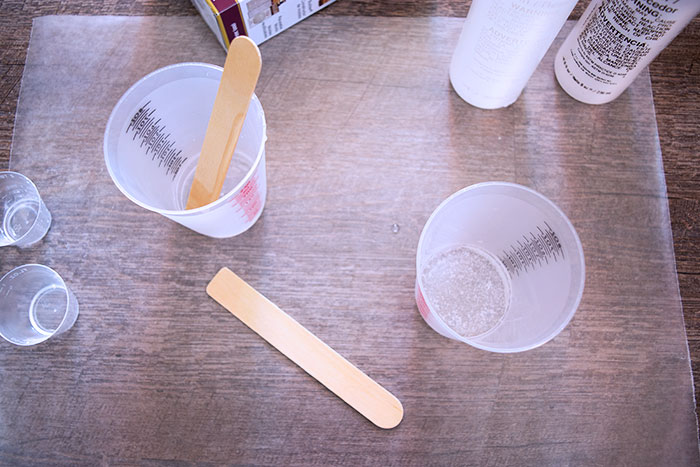
There are two layers of resin in the coasters. Mix the first layer of resin according to the directions on the package. Resin should be mixed in a well-ventilated area, and don’t forget proper hand and eye safety! Pour equal amounts of the Resin and the Hardener into a mixing cup and stir for two minutes to fully combine the two parts. I used .5 oz of each part to make 1 oz. for each of the two layers.
After 2 minutes, pour the resin mix into a second, clean cup and mix again for one more minute. Pour the resin into the mold.
Use a heat tool, a butane torch, or your warm breath to pop any bubbles that rise to the surface after about 10 minutes. Allow the first layer of resin to set up a little bit for 20 or 30 minutes. It should be thick, but not hard so your feather won’t sink all the way to the bottom.
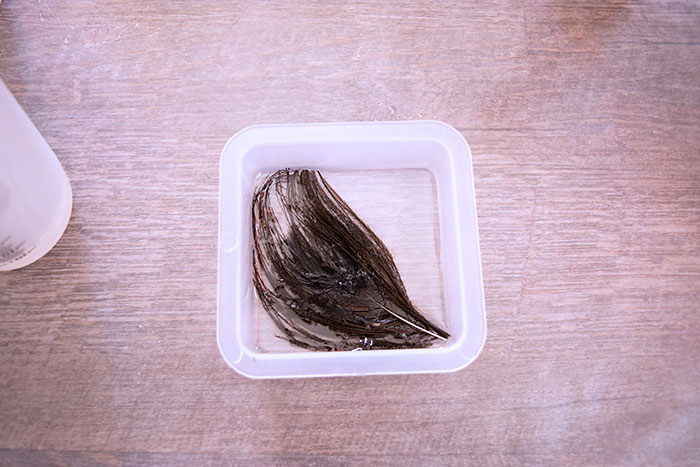
Place the peacock feather face down onto the first layer of the resin. Make sure the front of the feather is facing the bottom of the mold so that when you turn it out of the mold the feather will be facing the right way.
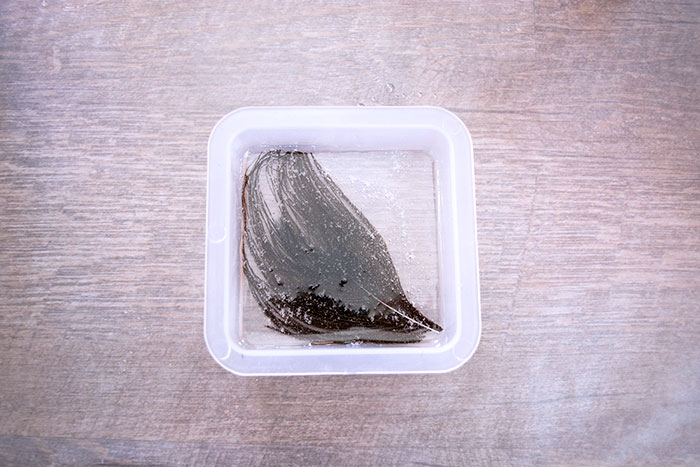
Mix a second batch of resin following the same method as the first. Pour over the feather slowly. The resin should cover the feather completely. After about 10 minutes, pop any bubbles that have risen to the top again. If you see any bubbles stuck under your feather, you can use a small toothpick to poke them a little, setting them free to rise to the top.
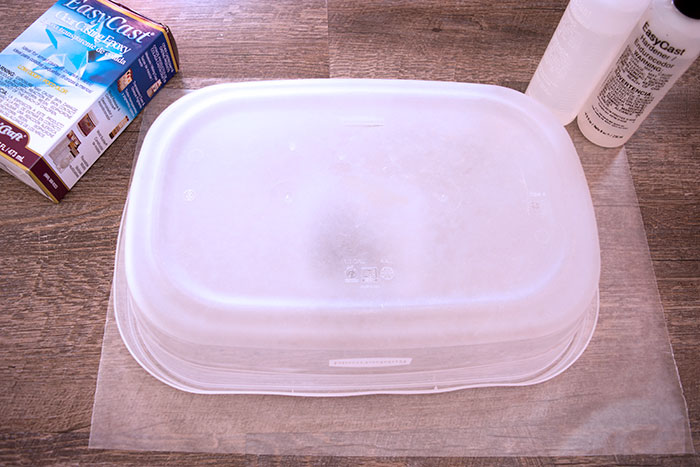
Cover the mold and allow to cure completely. You should be able to release the coaster from the mold after roughly 24 hours. Turn the mold upside down and press down in the center of the mold to release. If the feather doesn’t easily come out, allow it to cure for a while longer.
Your new peacock feather coasters are good for hot or cold drinks once fully cured! Would you put feathers in your resin coasters too?

Be sure to pin this fun project to save it for later and share with your friends!
After studying Culinary Arts in Portland Oregon, Kelli went back home to the sunny South West where she decided she wanted to do different kinds of Art. This busy mom of three spends all of her available free time creating in her Craft Shack “she shed” where she can be found wood burning, repurposing old stuff, crafting, and painting just about anything she can get her hands on. She loves to learn new craft techniques and frequently finds inspiration in the world around her. Her motto in life is that you should never be too busy to make something pretty!


Hello
I have tried to make coasters but not with easy cast , the other resin which is pour on !
The coasters are not very solid as it should be , is it beacause i should use easy cast , or may be i did something wrong during the process ? Please help
Thank you
Pour on resin is perfect for top coats on projects, but not thick layers. EasyCast is the best solution when pouring more than a 1/4″ thick layer.
My daughters have been making small needlepoints and I was wondering how to best preserve them. Do you know if the resin would work well on fabric?
Yes it does! It just needs to be sealed first. Here are a couple of tutorials for reference: https://resincraftsblog.com/fabric-resin-serving-tray-diy/
https://resincraftsblog.com/resin-coated-fabric-bookmarks/
I have seen some tutorials where the feather lost its color after puring the resin. Did you give it some special treatment before spraying it?
The resin spray used in the post will protect the color before casting.