Hi Resin Crafters! It’s Kelli, from the Craft Shack again and I’m so excited to craft with you today! Have you tried paint pouring yet? It’s so much fun! You can get a similar effect using EnviroTex Lite Pour-On Epoxy Resin too. The best part about poured resin though is that you don’t have to seal it after it dries! It’s already a beautiful glossy finish, and the depth and dimension you can achieve with the resin just can’t be matched with paint. I poured some beautiful blue hues on a gorgeous chevron wood arrow and the result was stunning! It’s such an easy project, too!
![]()
Poured Resin Chevron Wood Arrows
Supplies needed:
- EnviroTex Lite Pour-On Epoxy
- Walnut Hollow Chevron Wood Arrows
- Opaque Pigments and Transparent Dyes
- Mixing cups and Stir Sticks
- Safety gear (Gloves and Eyeglasses)
![]()
Directions
The first step is to prepare your wood surface. Lightly sand, if needed and wipe clean.
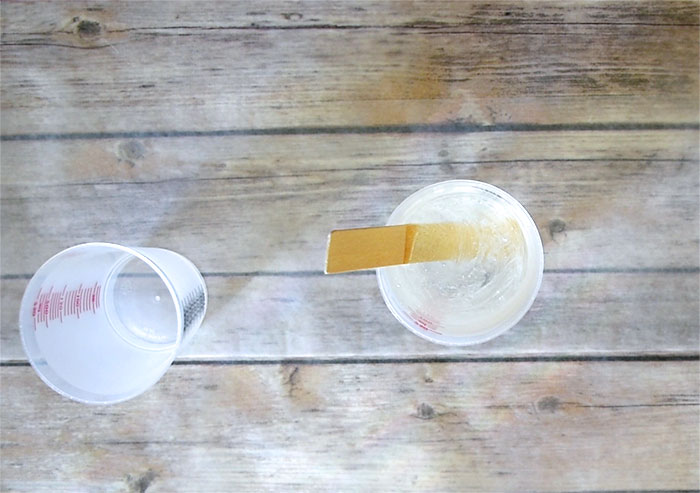
Next, you’ll need to mix your EnviroTex Lite Pour-On Epoxy. Be sure to follow the instructions on the package carefully. Pour equal amounts of the two-part Resin and Hardener into a mixing cup. I used a total of 10 oz of Resin to cover this 24-inch arrow. Always make sure to wear gloves when handling the Resin.

Stir the two parts together in your cup for 2 minutes. After two minutes, pour the mixture into a second, clean cup. Scrap the sides and bottom. Use a new stir stick and stir again for an additional minute.
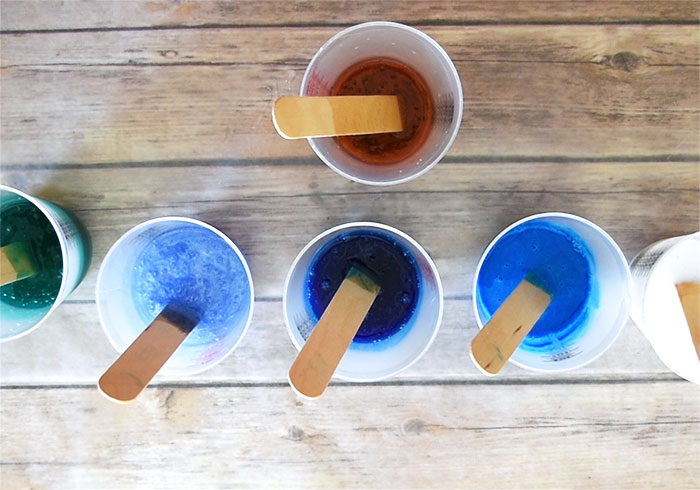
After your Resin is mixed, divide it into separate cups. You’ll need one cup for each color you want to use. I used several shades of blue, white, green and copper.
Cover your work surface (I use wax paper for easy cleanup) and place your wood arrows on something to lift them off the table (I use disposable plastic cups to lift the object off the table). The object you are going to pour on needs to be elevated so the excess resin can drip off and not pool up around it.
Now you can start pouring! You’ll want to move pretty quickly because the longer the resin sits, the thicker it gets and you want it to move fluidly. Take one color at a time and pour it over the wood surface. Add each additional color one after the other.
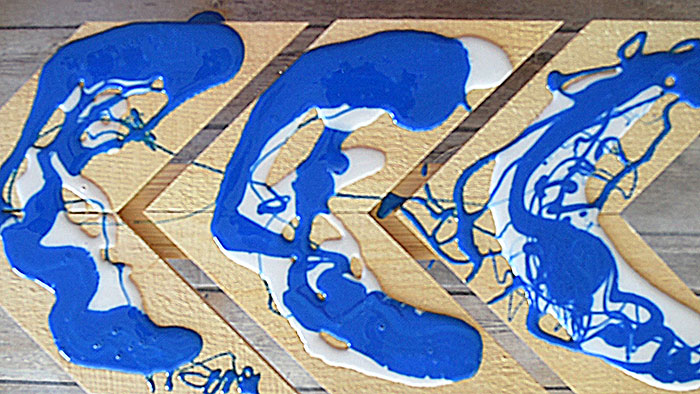
Pick up the arrow and tilt slightly from one side to the other to help the poured resin spread. Now you can take one of your stirring sticks and drag it lightly through the resin to spread the colors and encourage more marbling.
Once you’ve tipped and dragged your resin how you want it, Use a heat gun, small butane torch, or your warm breath to pop any bubbles that rise to the surface.
After about 20 minutes, use a stir stick to scrape any drips that are hanging on the bottom of the arrows. Check again 10 minutes later and remove any additional drips that may have formed.
Cover the arrow to prevent dust from settling in the fresh resin, and allow to cure at least overnight.
![]()
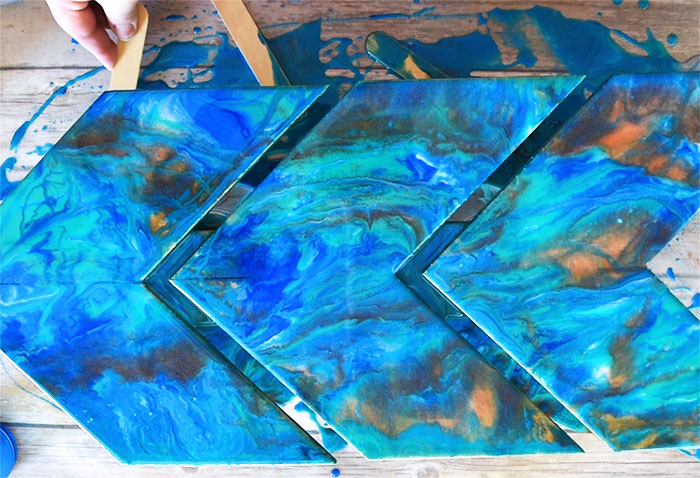
There are so many fun things you can use poured resin on! These arrows will be finding a new home on my gallery wall when I finally get it finished. For now, they look great standing upright on a table!
![]()
What will you use to try resin pouring on?
After studying Culinary Arts in Portland Oregon, Kelli went back home to the sunny South West where she decided she wanted to do different kinds of Art. This busy mom of three spends all of her available free time creating in her Craft Shack “she shed” where she can be found wood burning, repurposing old stuff, crafting, and painting just about anything she can get her hands on. She loves to learn new craft techniques and frequently finds inspiration in the world around her. Her motto in life is that you should never be too busy to make something pretty!


Leave a Reply