 Resin Dirty Pour Log Slice Hairpin Leg Table DIY
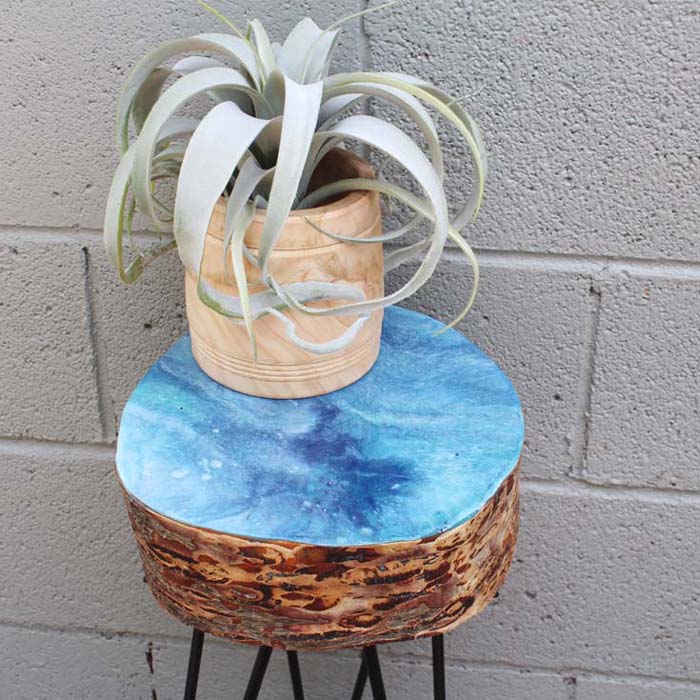
Hi Resin Crafters, it’s Natalie from Doodlecraft sharing another uniquely simple resin craft. Have you done a resin dirty pour yet? Not only are they fun, they are totally on trend too. It’s a simple process and fairly quick too (minus drying time), so let’s get started!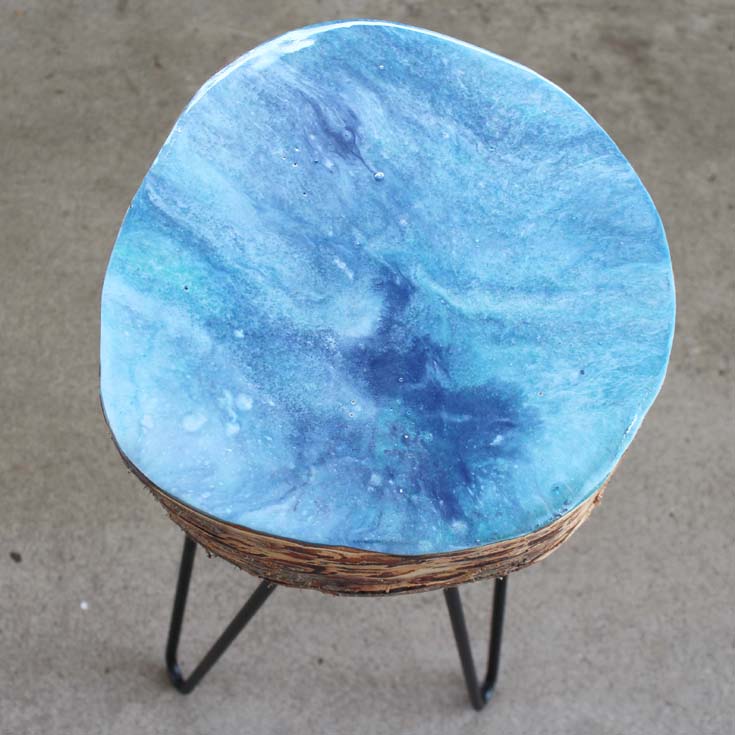 This stunning hairpin leg table is perfect for lemonade on the patio or for a cute plant stand or end table. I chose shades of blue for my table, what colors will you pick?
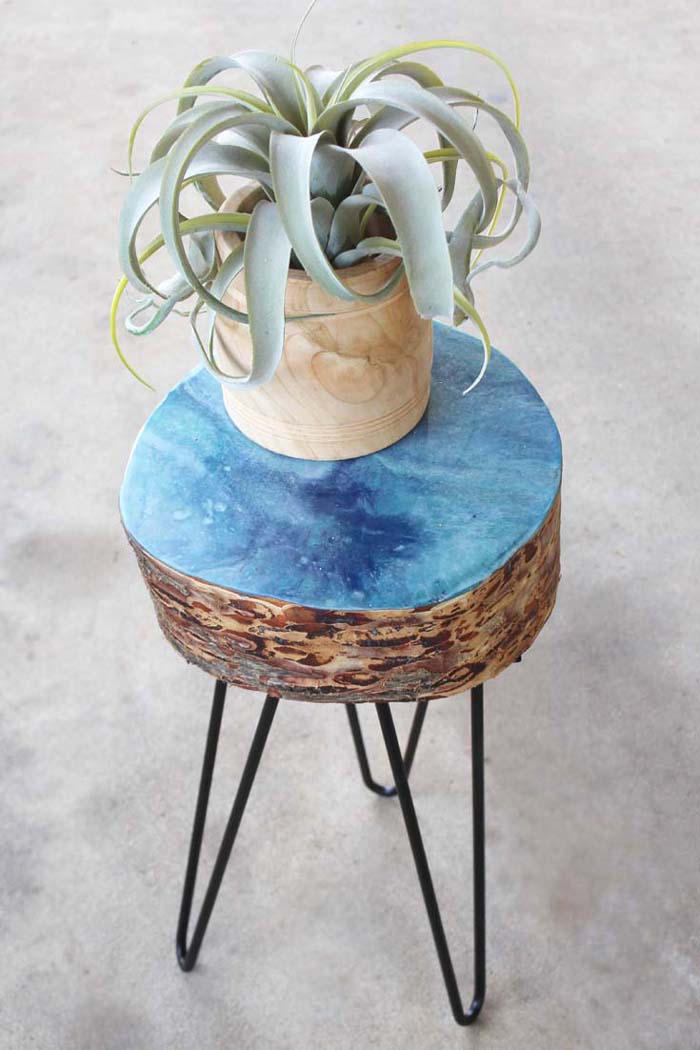
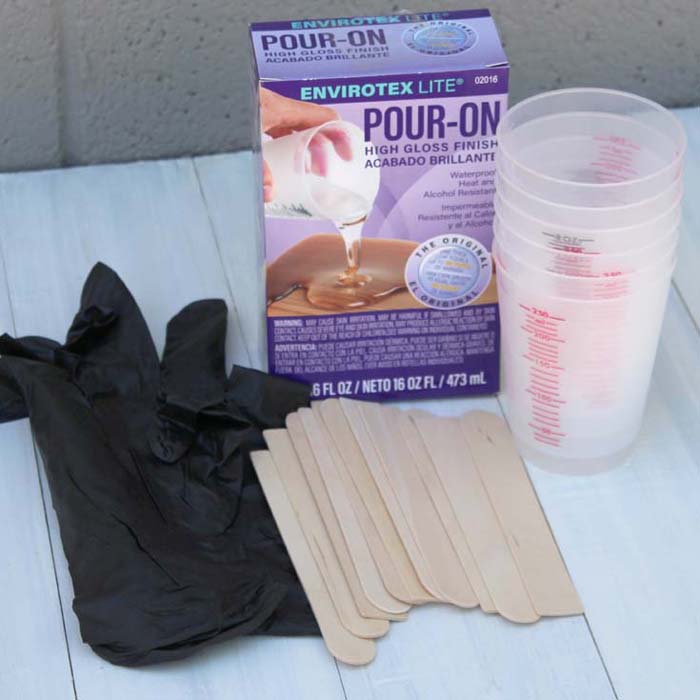
Supplies needed:
Log Slice (or piece of wood)
EnviroTex Lite Clear Gloss Resin (16 oz for 4 square feet)
Craft Paint in variety of colors
Piece of sturdy cardboard
Mixing cups, disposable work surface, stirring sticks, gloves
Heat gun or torch
Wood Grinder
3 Hairpin legs (tools and hardware)
 Prepare the wood slice by placing it on a disposable surface like a plastic tablecloth. My wood slice was wrapped to protect the bark, but the seal was not tight enough and the resin leaked in anyway…but it’s better if it does and I’ll explain later. So don’t worry about wrapping it. Now it is time to get some resin mixed and ready.
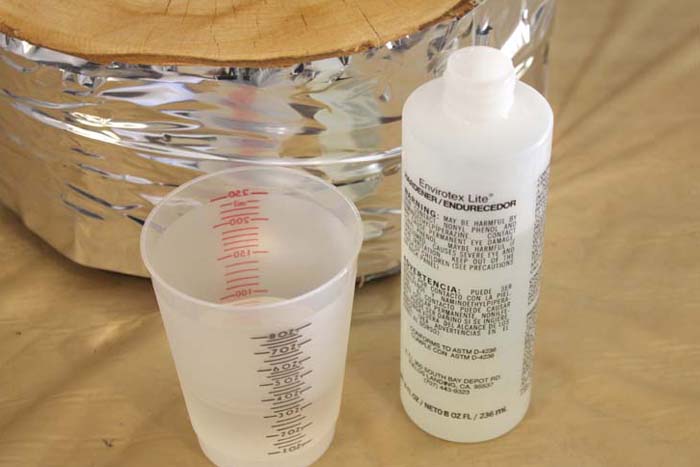 Mix the resin according to package directions in the 2 phase way. Mix just 4 of ounces of resin and pour it on the top of the log slice.
 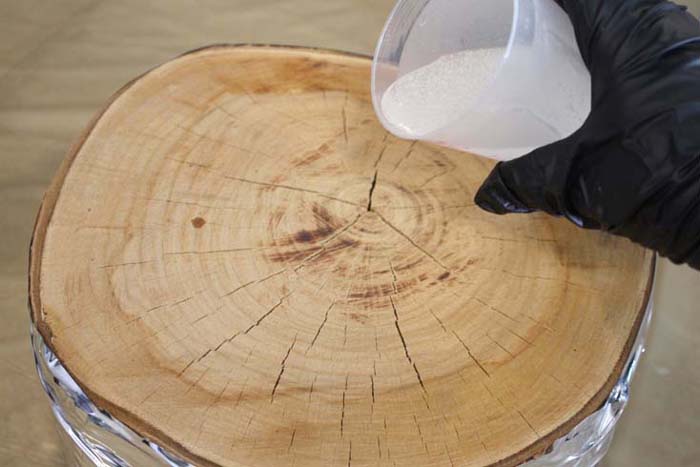 Spread the resin to cover all of the surface of the log. The cracks will fill in a little with resin. Let it sit overnight until the resin is dry. This initial resin process will make the pour much more effective.
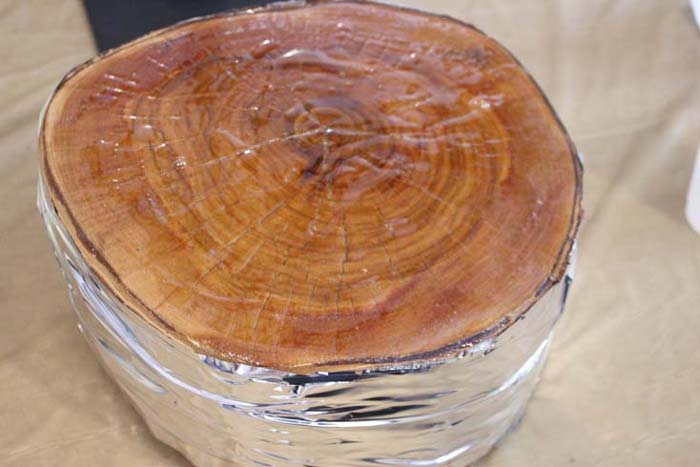
Next Day
Now put a teaspoon of paint in each mixing cup and mix up about 8 ounces of resin. 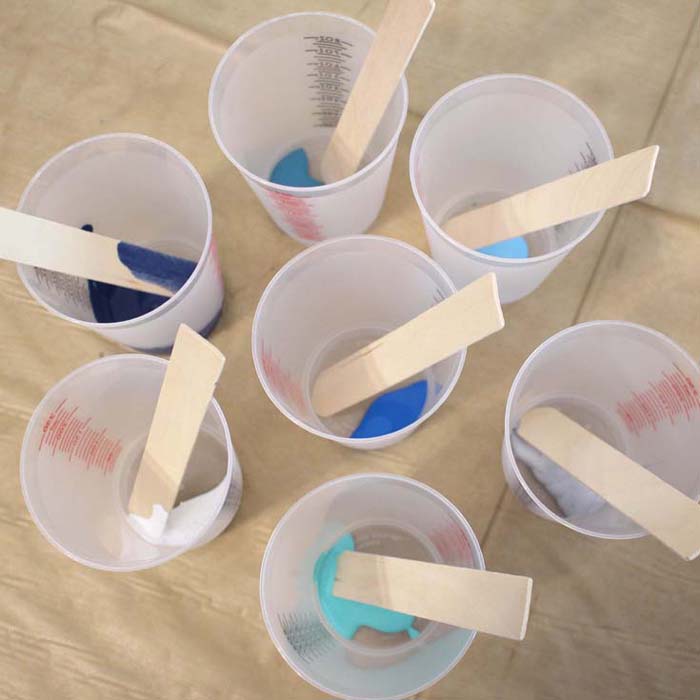 Evenly distribute the resin into each of the cups and mix the paint in completely by stirring gently again.
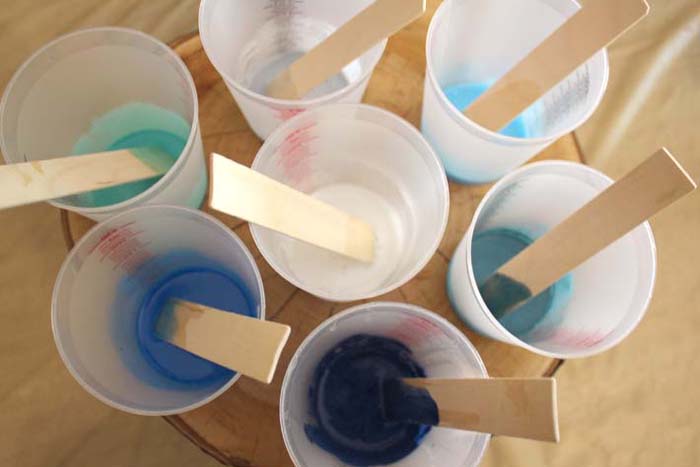 Pour all the colors into one cup of resin, pour gently along the side of the cup so they don’t mix together. Use the sturdy cardboard and cover the top of the mixed resin cup.
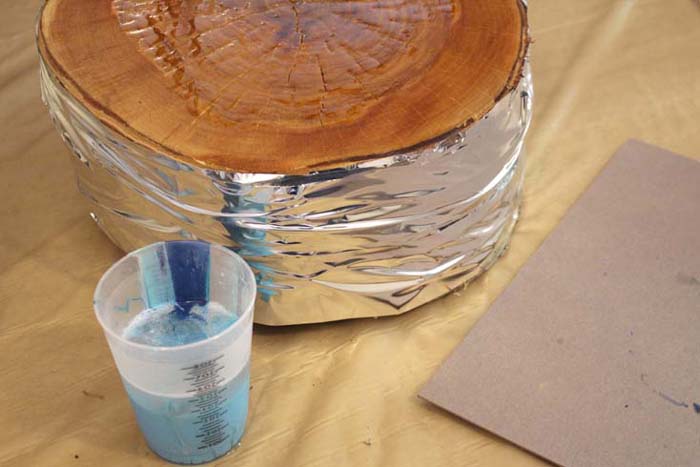
Carefully flip the cardboard and cup upside down and put it right on the top of the log slice. Now, slide the cup off the cardboard and onto the wood slice.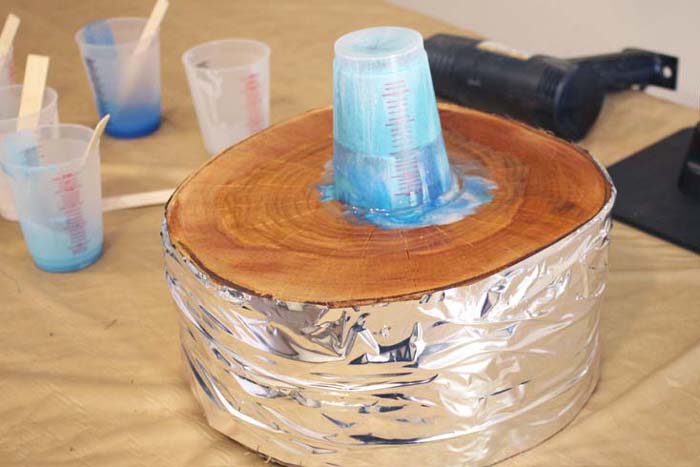 Next, life the cup!
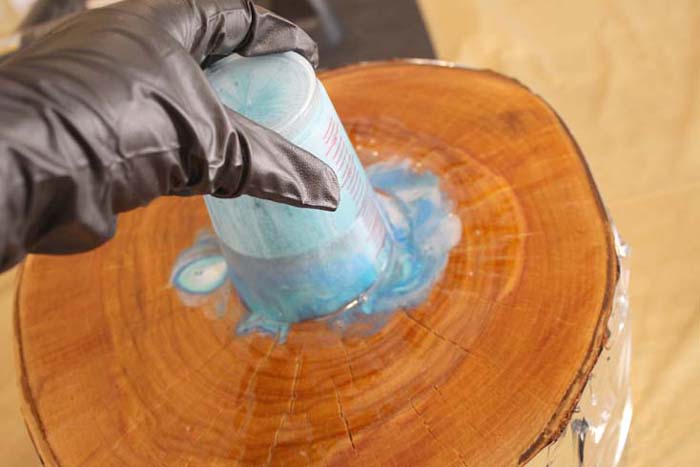 The colors mix and swirl in a uniquely dazzling way!
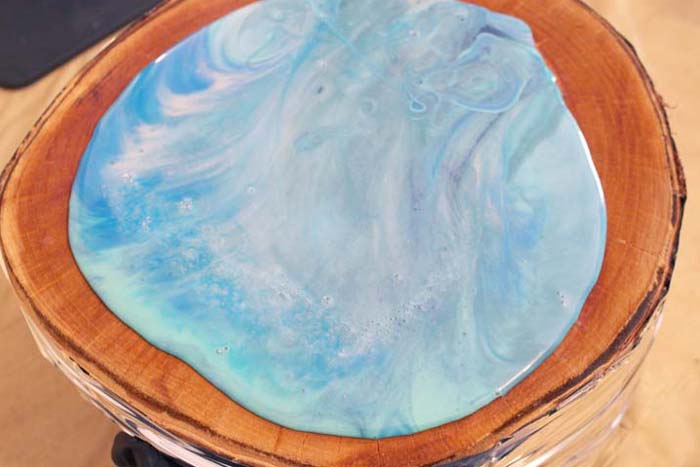 Right away the resin runs to the edges. Tip and tilt the wood as necessary to evenly distribute the resin.
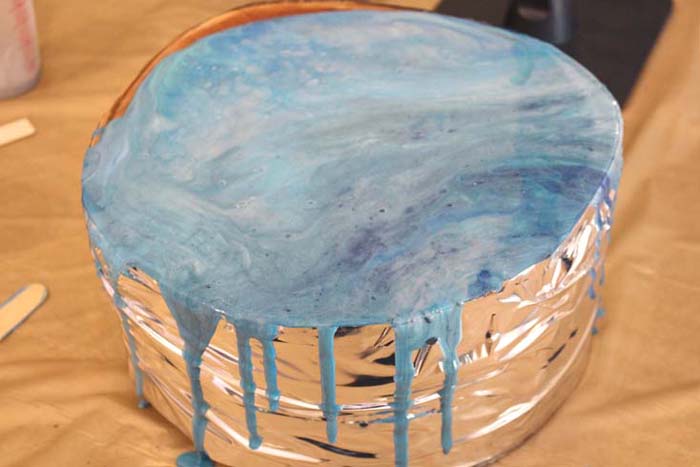 Next, take the cups used to mix the colors and notice how some resin has settled in the cups. Pour those out onto the top of the log slice.
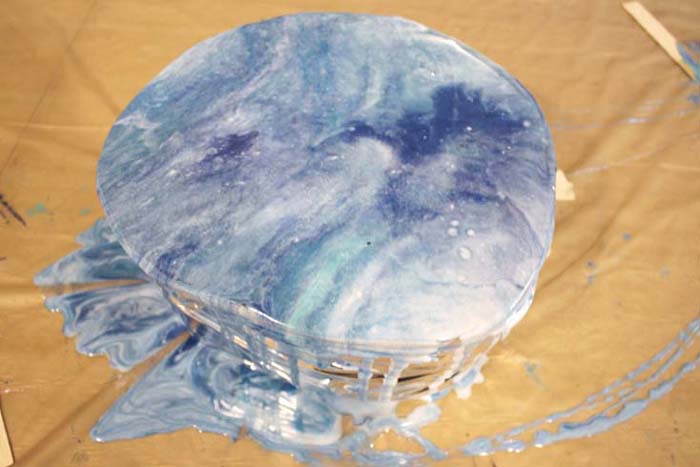
Now, use a heat gun or torch to pop any bubbles that are surfacing. Let the resin sit for 20 minutes then heat gun the bubbles that have formed. Let the resin sit and cure completely, 1-2 days.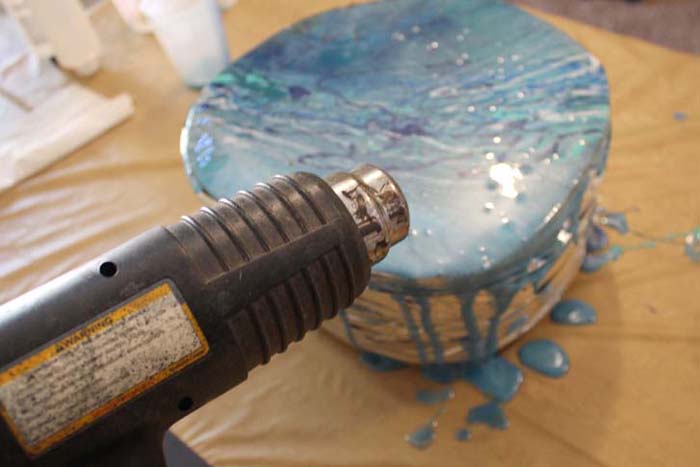
Next steps are to use the wood grinder to remove the excess resin drips and bark from the sides of the log. Can you see the blue resin on the edges? I love how it looks! Ultimately this is why taping the bark makes no difference.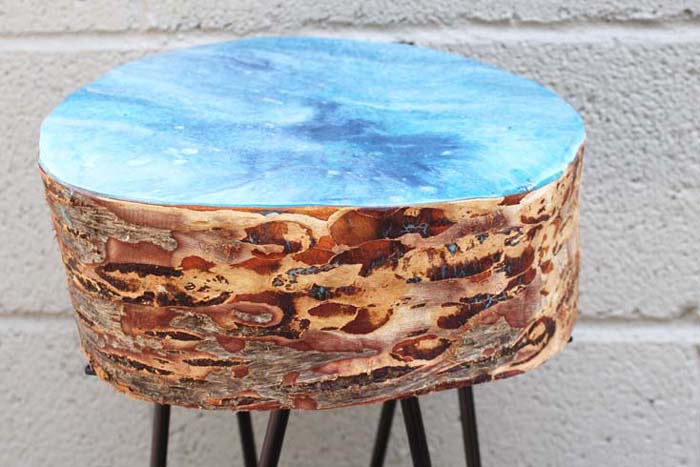 Finally, use screws to secure the hairpin legs to the base of the table and it’s ready to use.
 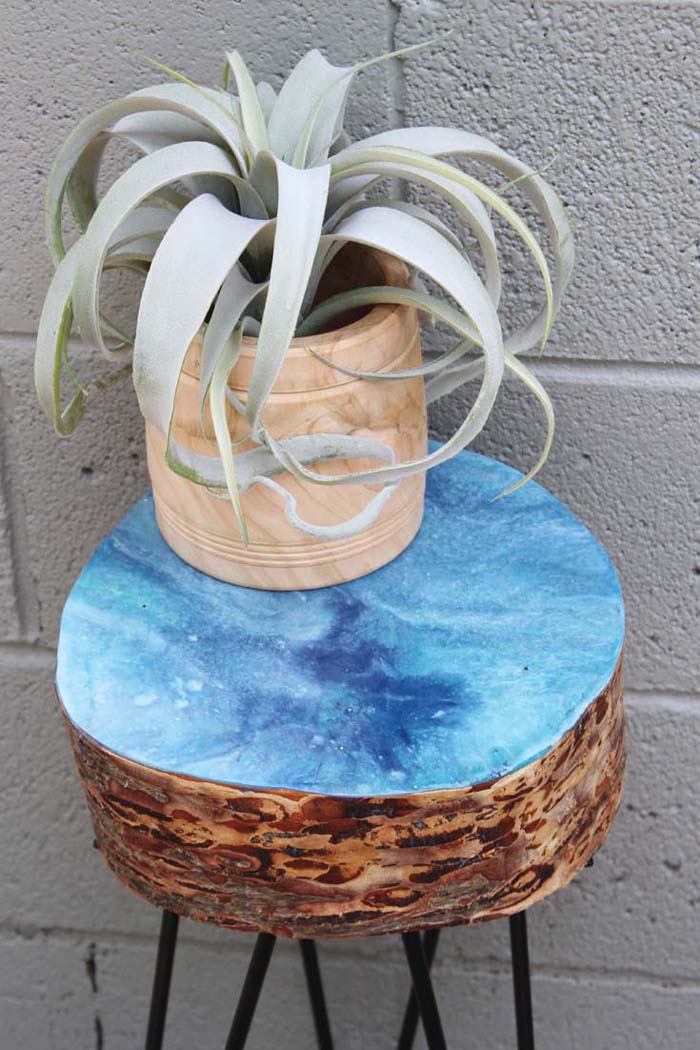 The swirls and colors of the resin is spectacular and has a very beach-like vibe!
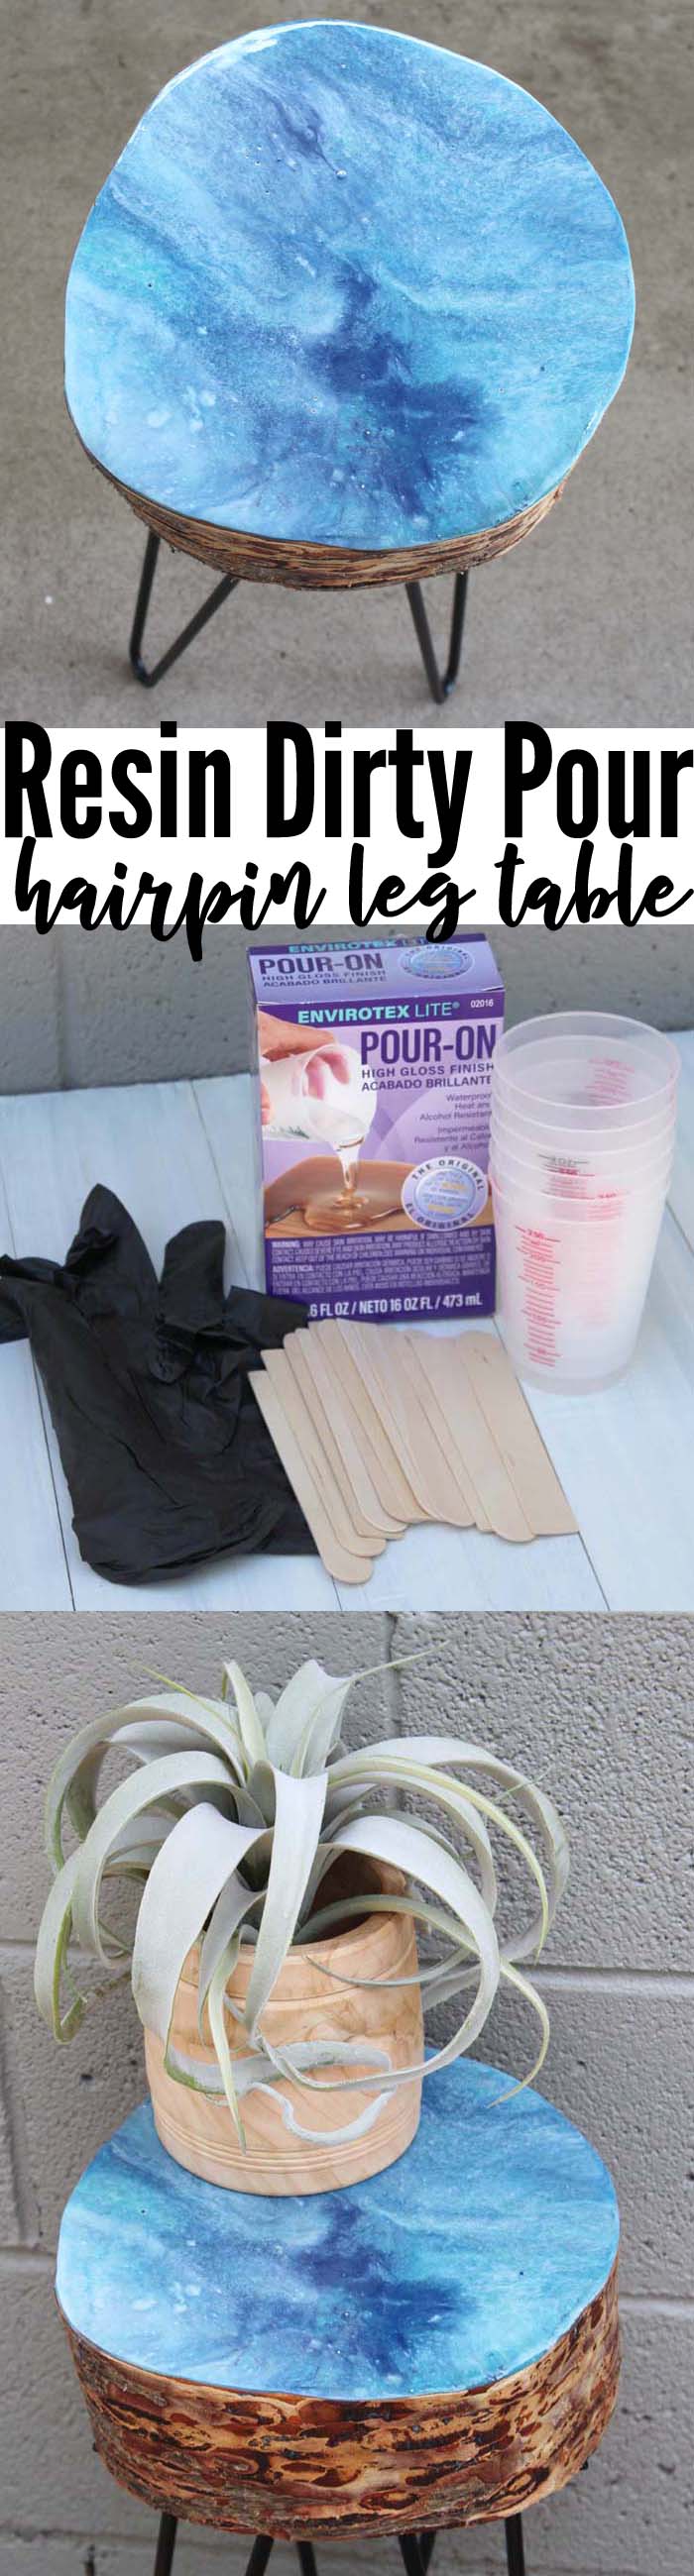
Natalie Shaw is a Craft/DIY blogger at Doodlecraftblog.com. She loves sci-fi, fantasy and video game geekery and that comes out in many of her projects. She posts budget conscious DIY’s, crafts, jewelry, kid friendly projects, upcycled treasures and other fun on her blog 5 days a week.


Leave a Reply