Preserve that lovely bouquet you’ll receive for Valentine’s Day throughout the year by creating a pretty and practical pressed petal serving tray.

After over 15 years of marriage I must admit that the rose bouquets don’t come as frequently as they used to. It’s actually my fault because my husband knows that I would much rather receive a plant for my home then a bouquet that will die within a couple weeks. So when I do receive a beautiful bouquet at Valentines I’d like to be able to preserve a bit of it afterwards.
This serving tray idea using rose petals I pressed from my Valentines bouquet will make a lovely keepsake that will be useful year round. Maybe in I can even get him to serve breakfast in bed every now and then.

For some additional ideas for preserving your flowers we invite you to explore these posts:
Supplies needed to make this serving tray
- EasyCast Clear Casting Resin
- Wooden serving tray
- Pressed rose petals
- Glue and brush
- Blue paint and brush
- Measuring cups, wooden stir sticks, gloves
- Small kitchen torch or straw

How to make a pressed rose petal serving tray
Be sure to read all the instructions and work in a well ventilated area prior to using the EasyCast resin.
Pressing and drying your flowers will take a couple of weeks so leave yourself plenty of time to complete the project if you have a deadline. From your fresh flower bouquet, collect a number of various sized rose petals and sections of baby’s breath, and press them between the pages of a book for 2 to 3 weeks. Then they’ll be ready to use for your project.

Preparing the tray
I hand-lettered the word love onto the center of the tray. I started by sketching it out with a pencil and then filling it in with blue metallic paint. Let this dry fully before moving onto the next step

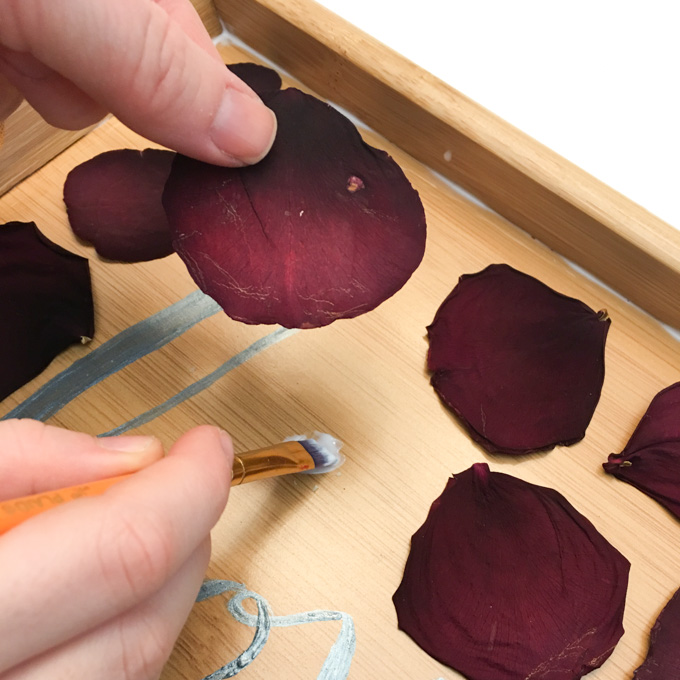
Once your rose petals are fully dry, arrange them on your serving tray either randomly or in a lovely pattern of your choice. You can also then place pieces of pressed baby’s breath throughout the tray as well.

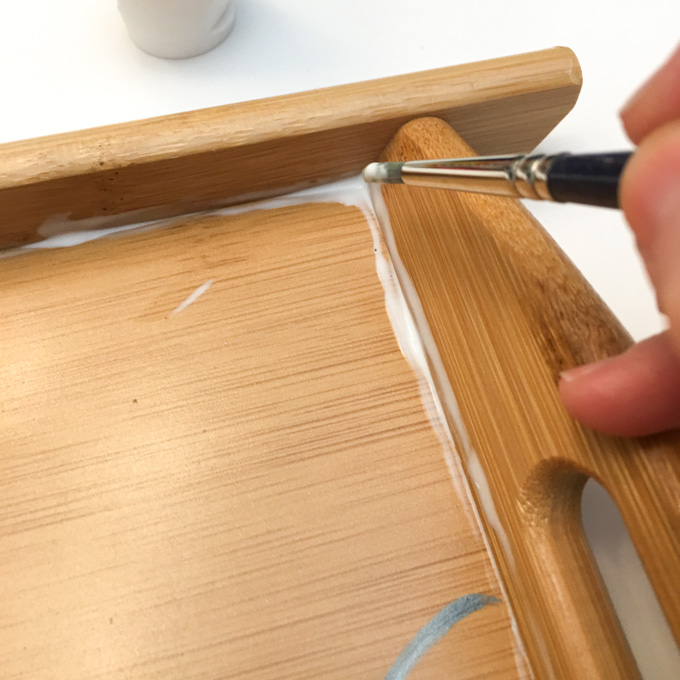
Once satisfied with your arrangement, glue all the pieces onto the tray to keep them from floating up in your resin. Also make sure to glue any holes or edges in the tray to keep the resin from seeping out.
Pouring the resin
I ended up pouring the resin two times. The first time I mixed up 4 oz total volume and poured it into the tray. After the resin cured for 12 hours I decided the petals weren’t adequately covered, so I poured another 3 oz total volume.
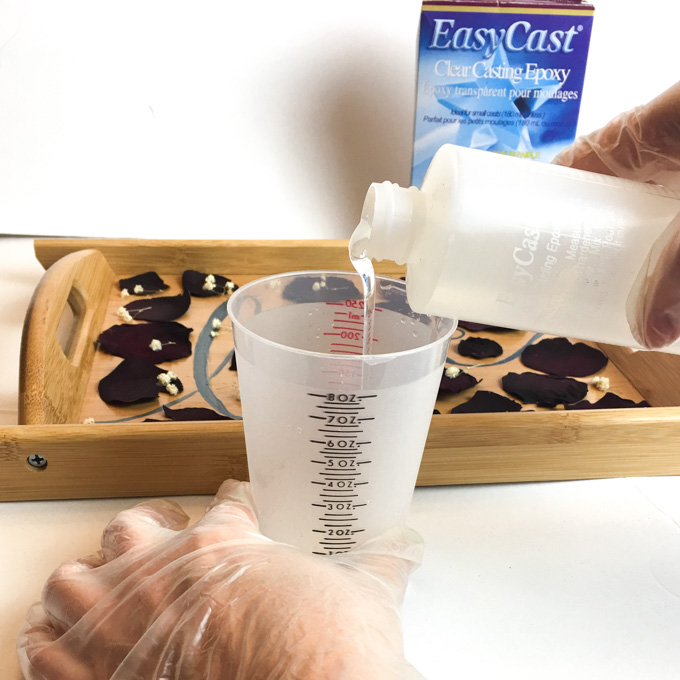
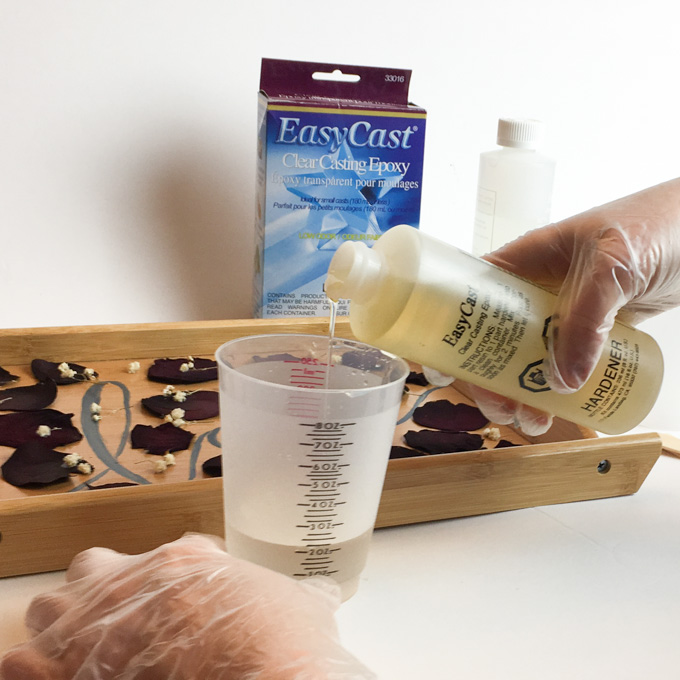
To prepare the resin for pouring, mix equal amounts of resin and hardener in a measuring cup. One and a half ounces of each should be sufficient for this project. Stir the two parts together for 2 minutes scraping the bottom and sides with the wooden stir stick.
Pour the mixture into a second measuring cup and continue stirring for another minute. Your resin will then be ready to pour.

Carefully pour the resin into the serving tray being gentle while working over the petals.

Ensure that all the contents on the tray are covered with resin. Cover and let this settle for 15 to 20 minutes.
Blow off any bubbles that have risen to the surface of the resin using a kitchen torch or your breath through a straw.

Check the resin several more times for additional bubbles. Blow them off. Cover the pieces and let the resin cure fully (72 hours for complete cure).

I really like how this pressed petal serving tray turned out, even more so for its sentimental value. I would have loved to preserve some of the petals from my wedding bouquet in this way.

Resin is such a great way to personalize and create beautiful serving trays with a high-gloss finish. Here are just a few ideas for additional inspiration:
Like it? Pin it for later!

Jane and Sonja are sisters, moms and lifelong craft addicts both living near Toronto, Canada with their families. They share their love of creativity, nature and coastal DIY ideas on their blog Sustain My Craft Habit. They craft and decorate their homes using repurposed and upcycled items and materials found in nature.


If I use an acrylic painted tray and want to seal it with a clear sealant will the resin adher to the sealed surface? Thanks
Yes it will!