Resin Alcohol Ink Christmas Tree Ornaments DIY
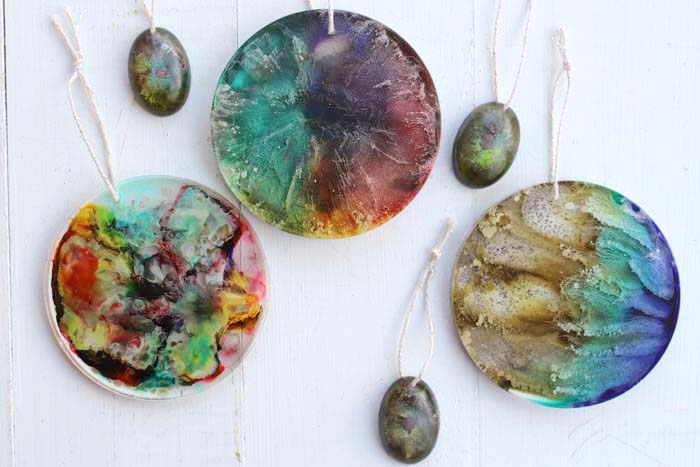
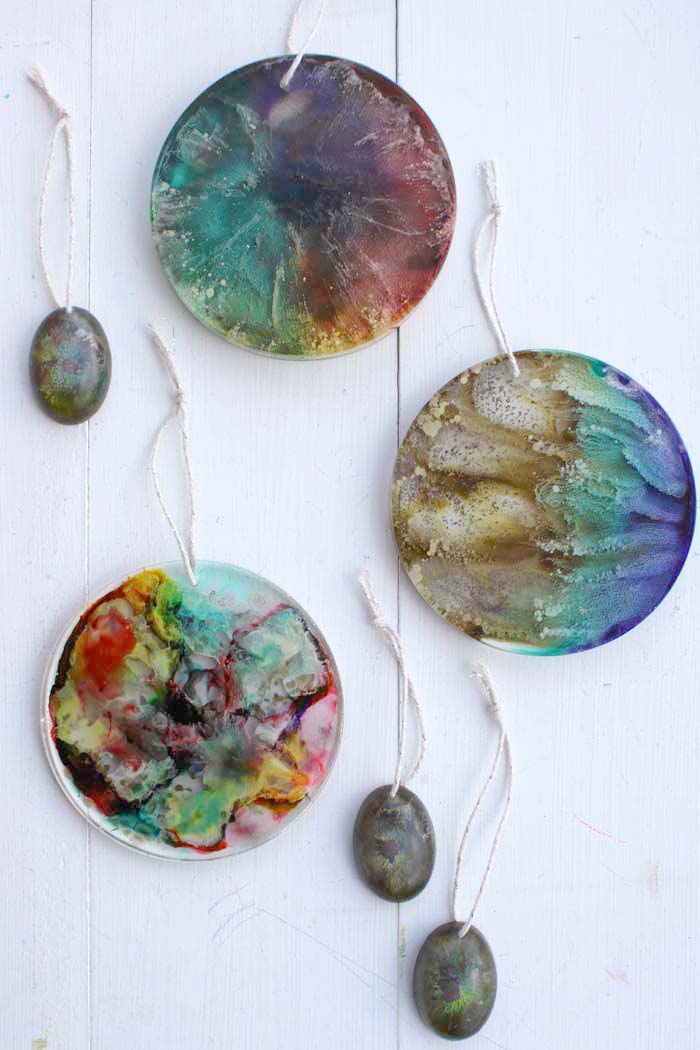
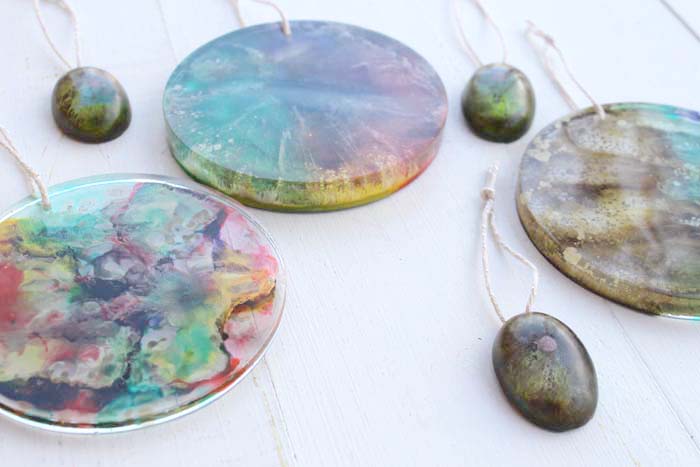
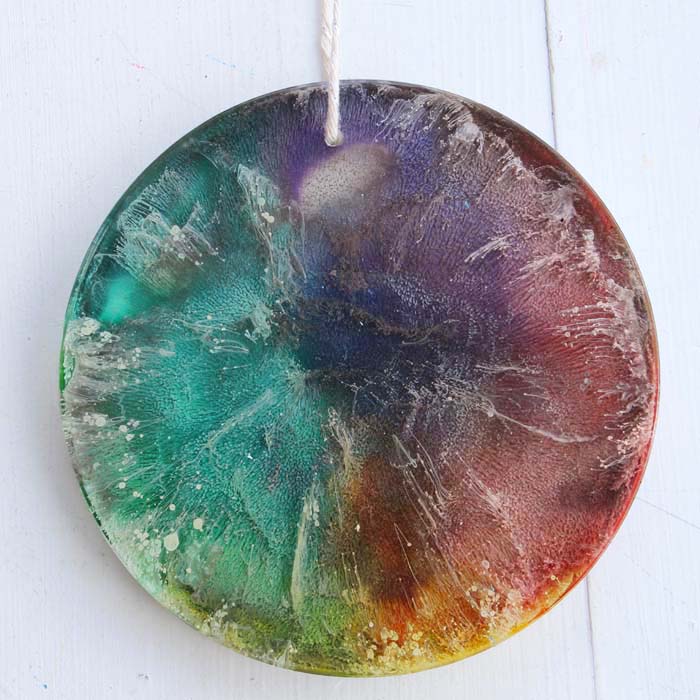
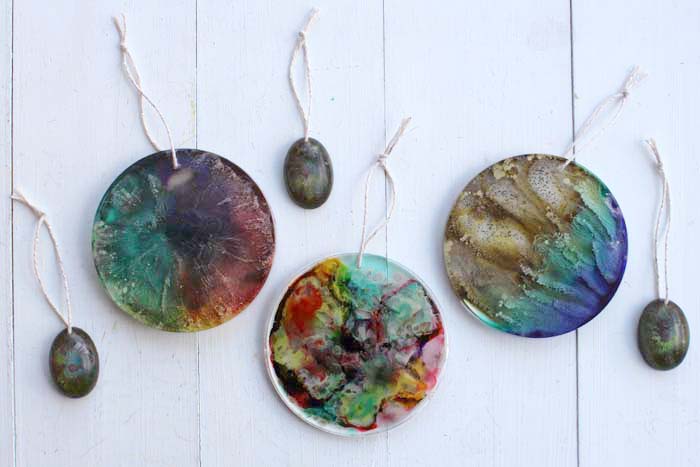
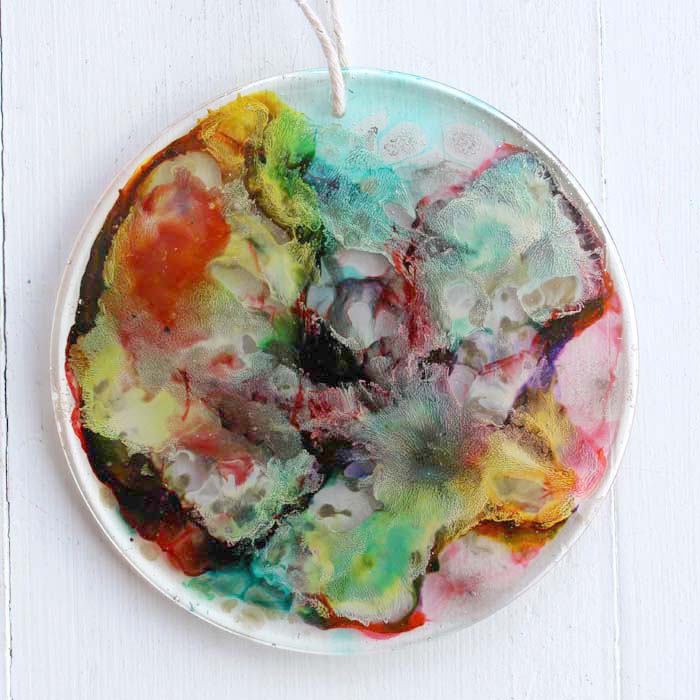
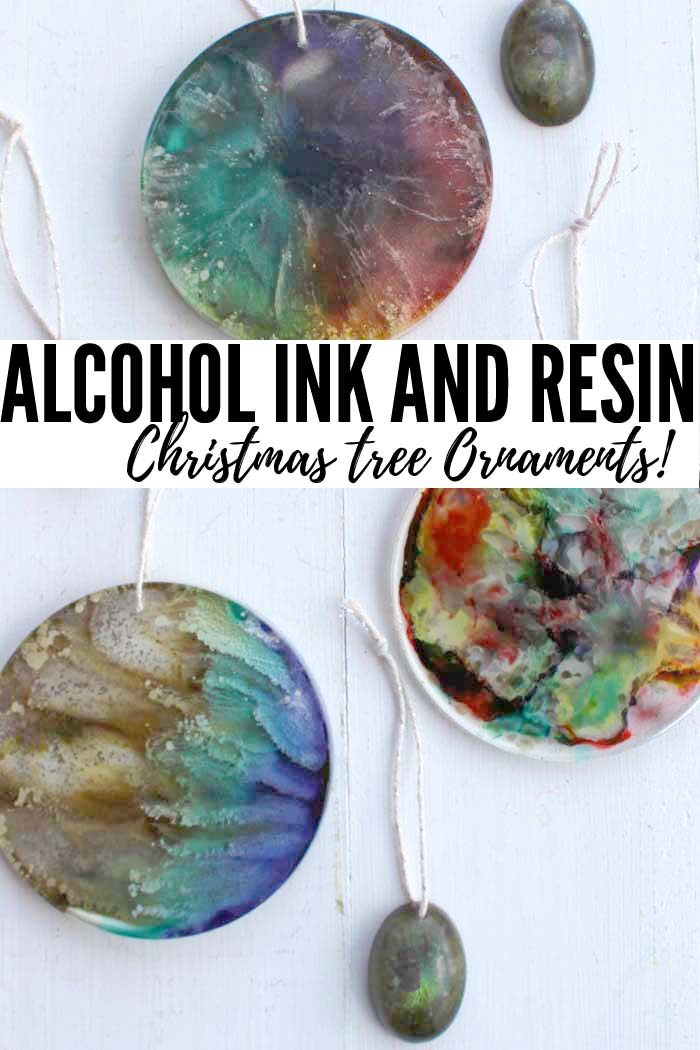
Hi Resin Crafters, it’s Natalie from Doodlecraft showing you how to make resin alcohol ink Christmas tree ornaments. They are stunning and especially colorful, plus they add a dream catcher/stain glass quality to the Christmas decorations. Resin alcohol ink ornaments are easy to make and are great for resin beginners to experts.
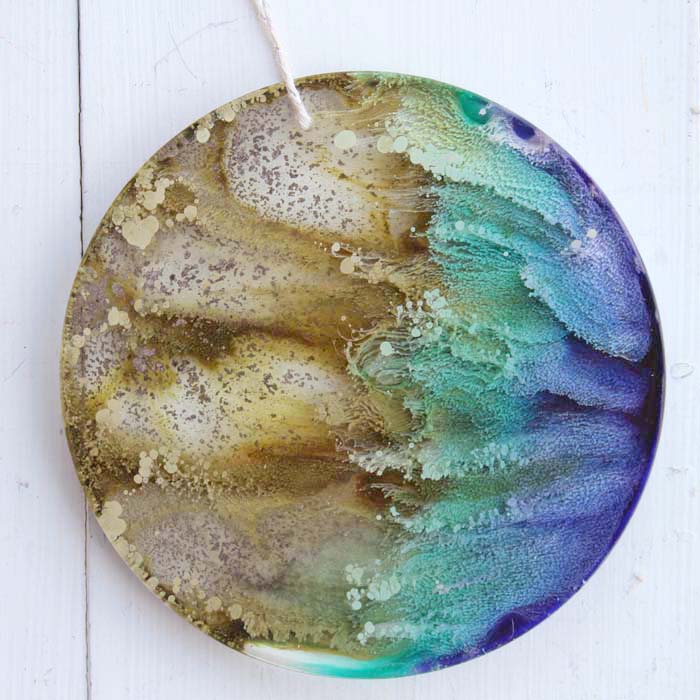
Replicate the beach on an ornament with shades of blue and brown. Oh, how I love the beach!
Or create an eye catching ornament with golds, greens and blues.
Alcohol inks suspended in resin create a scene of colorful drips frozen in time. Let’s get started!
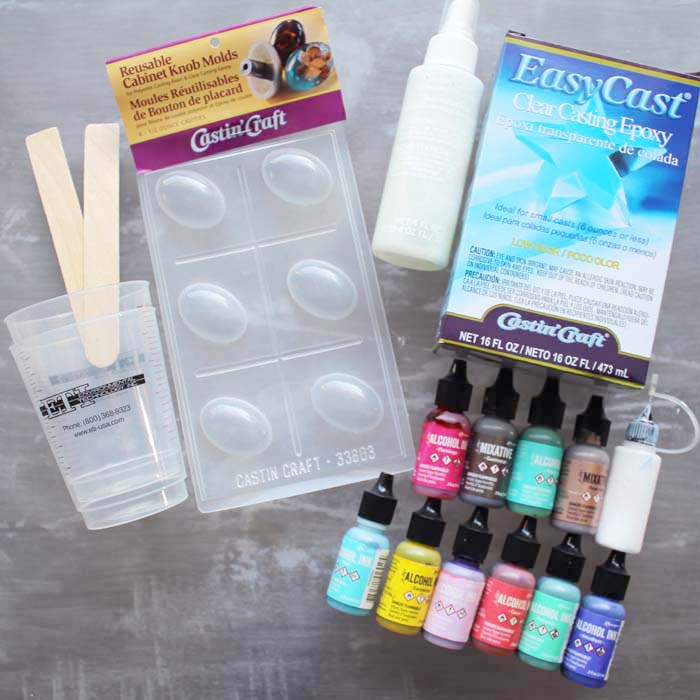
Supplies Needed for Resin Alcohol Ink Ornaments:
- EasyCast Clear Casting Epoxy
- Cabinet Knob Molds
- Mold Release Conditioner Spray
- Silicone Coaster Molds
- Alcohol Inks
- Mixing Cups
- Stirring Sticks
- Drill with Bit
- Twine
- Scissors
Step 1: Mixing Resin
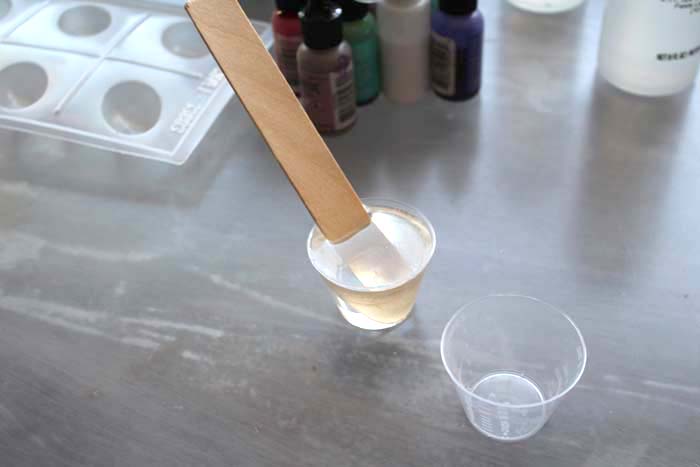
Mix the resin according to the package directions. One part resin and one part hardener mixed for 2 full minutes. Then pour into a second cup and use a second stick to stir again for 1 full minute.
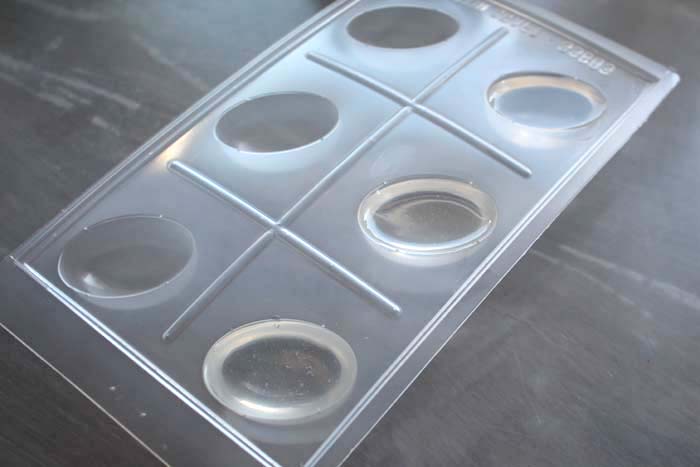
Spritz the mold with the resin conditioner spray and then pour the resin in the mold cavities.
Step Two: Alcohol Inks
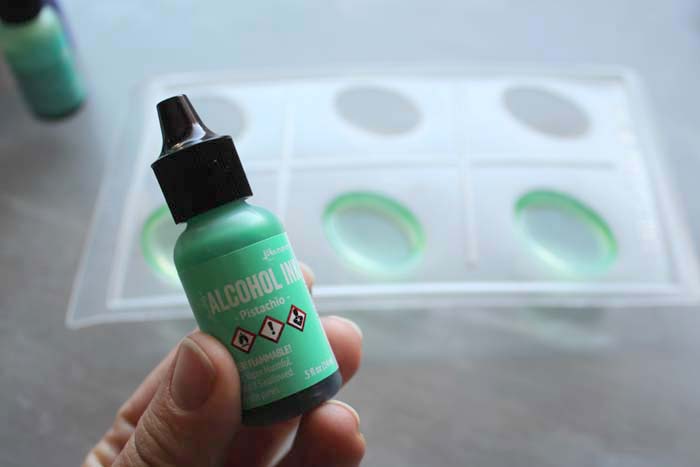
Next add a drop of alcohol ink in the resin.
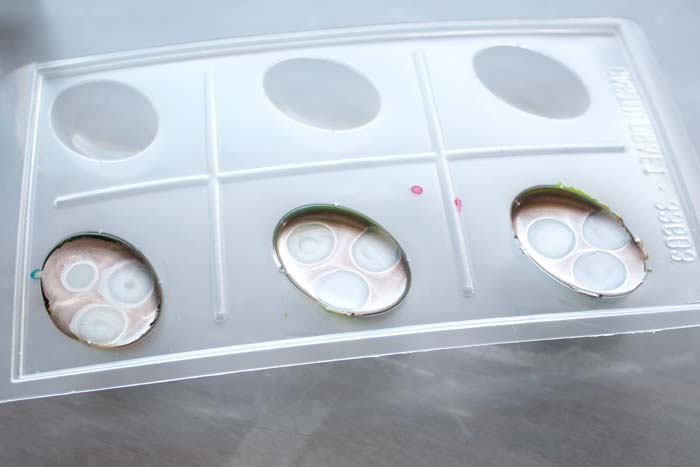
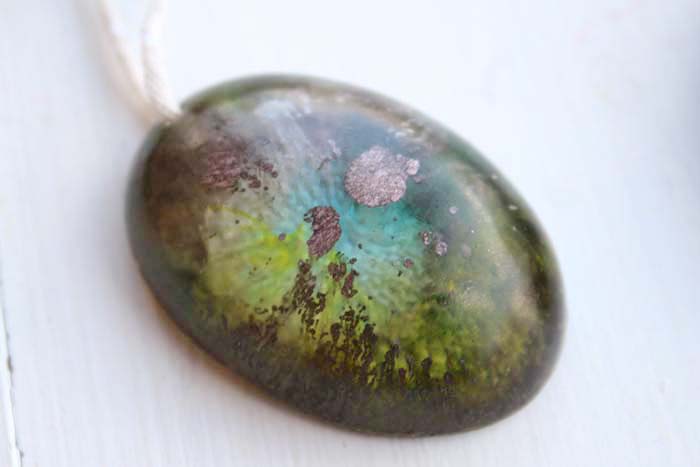
Then add a few more drops of different colors. Each ornament in this knob mold needs about 8-10 drops of alcohol ink. I used yellow, blue, green, rose gold and white.
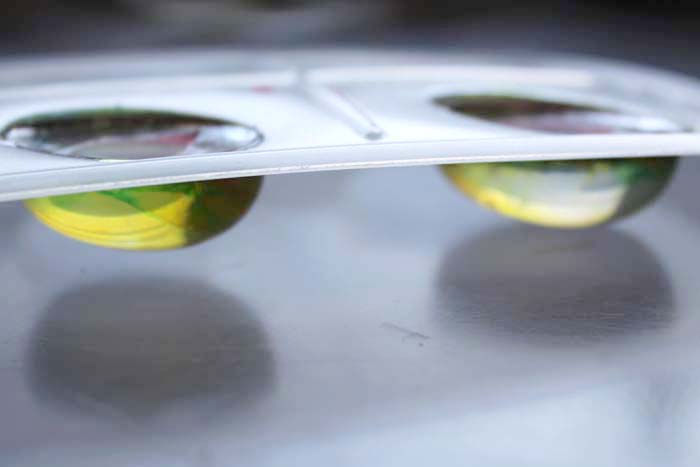
From the side view, they are already beginning to take shape. Set the mold aside and let it sit for 24 hours to cure.
Step Three: Drill and Hang
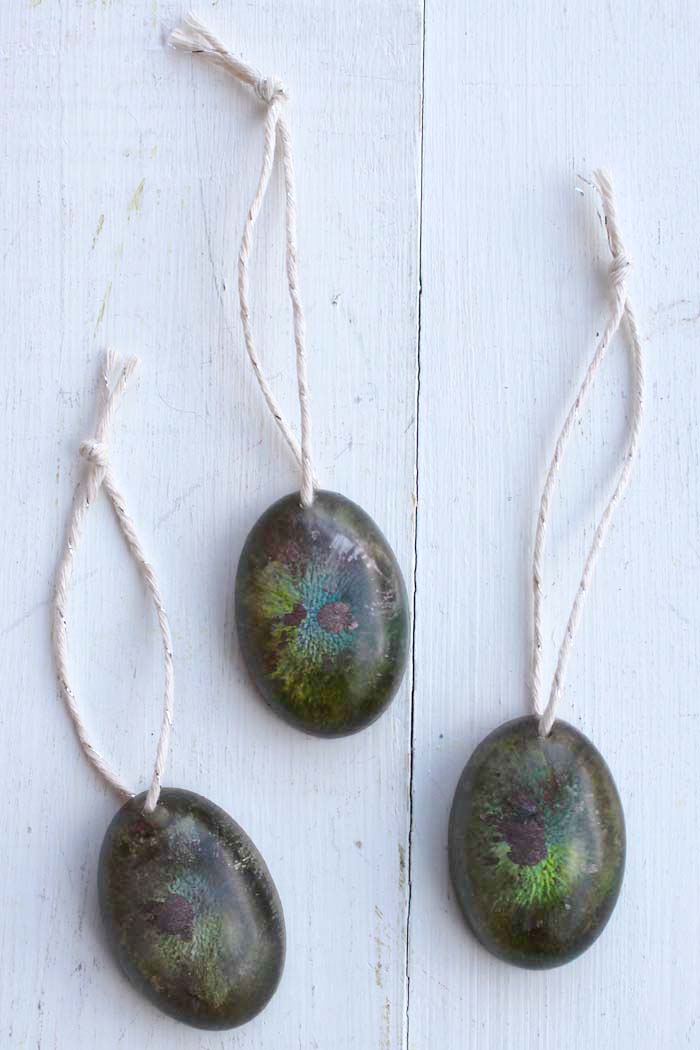
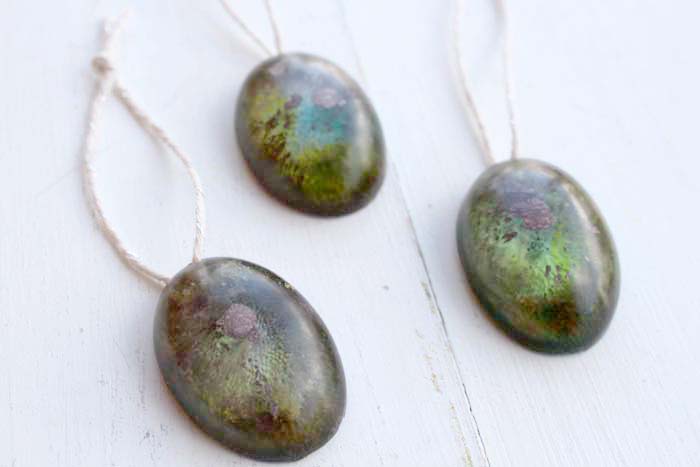
Then remove the resin from the molds. Drill a hole through the top and then string them with twine to hang on the tree. The shape and colors of these ornaments makes me thing of eye balls. What do you think?
The white and metallic alcohol inks are heavier and therefore sink to the bottom of the resin. When removed from the molds, the bottom becomes the top. Each resin ornament is different and stunning.
For more detailed instructions on the larger ornaments, check out this post on petrified rainbow coasters. Simply drill a hole and tie with twine.
Repeat this process for as many ornaments as you want.
These would also make fun gift tags for the top of presents.
That’s it!
Like, Pin and Share!
Natalie Shaw is a Craft/DIY blogger at Doodlecraftblog.com. She loves sci-fi, fantasy and video game geekery and that comes out in many of her projects. She posts budget conscious DIY’s, crafts, jewelry, kid friendly projects, upcycled treasures and other fun on her blog 5 days a week.


What type of drill do you use to make the holes?
Just a cordless drill with a drill bit large enough for the twine to fit.