Create a colorful resin confetti tray that makes a beautiful addition to your coffee table and stylish way to serve snacks!
Hey Resin Crafters! Amber Oliver here with another great resin project. This may be my most colorful project yet! Is there anything more fun than confetti? Maybe glitter, but I promise this project is a lot less messy! Am I the only one who manages to cover the whole house in glitter anytime I use it for a project? Let’s create this colorful resin confetti tray:
SUPPLIES NEEDED FOR RESIN CONFETTI TRAY:
- EnviroTex Lite® Pour On High Gloss Finish
- Colorful cardstock
- Wooden frame
- Drawer Pulls
- Mixing Cups
- Stir Sticks
- Drill with drill bit
- Scissors or Paper Slicer
Step 1:
First, attach the drawer pulls to the wooden frame. Measure, mark, and drill holes to attach the handles.
Step 2:
Cut up colorful paper into tiny pieces to create confetti. This is easiest with a paper slicer, but you can also use scissors!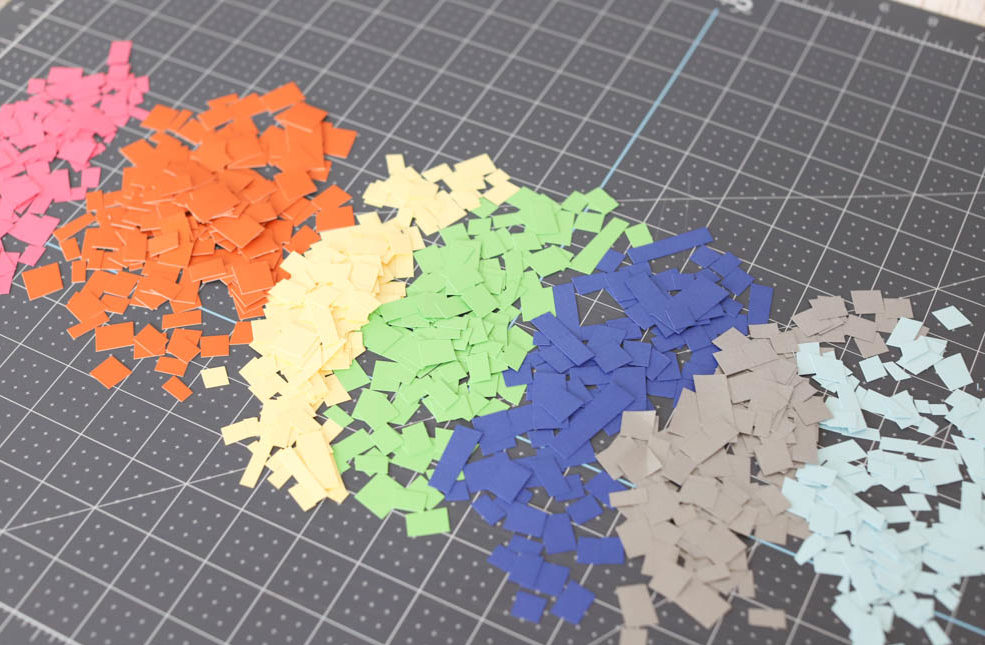
Step 3:
Next, fill your tray with the confetti. Make sure it completely covers the bottom and that it’s thickly stacked. 
Step 4:
Prepare the EnviroTex Lite® Pour On High Gloss Finish. This is a multi-step process so don’t start mixing until you are ready to do the whole process from beginning to end!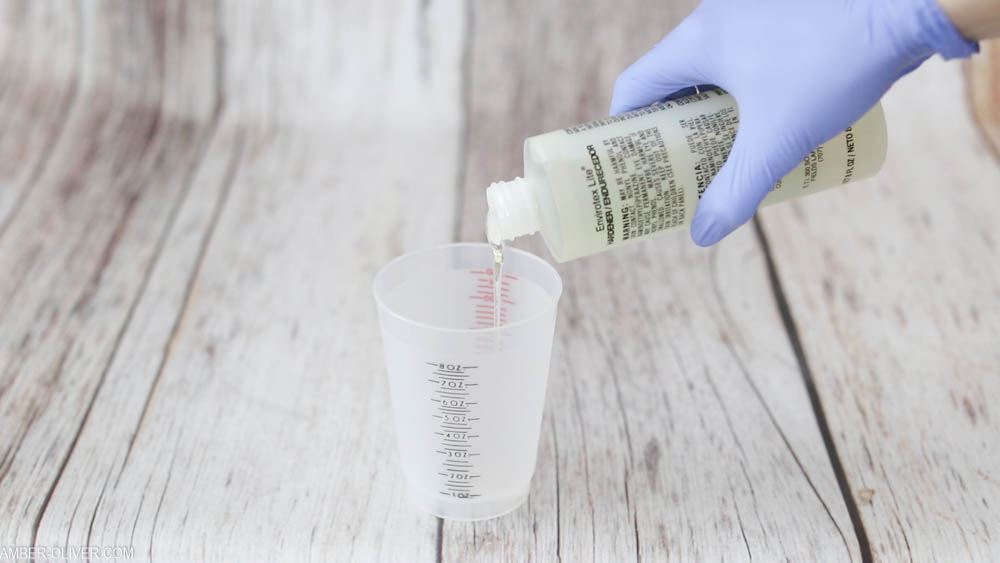
Start by mixing EQUAL parts of the Hardener and the Resin.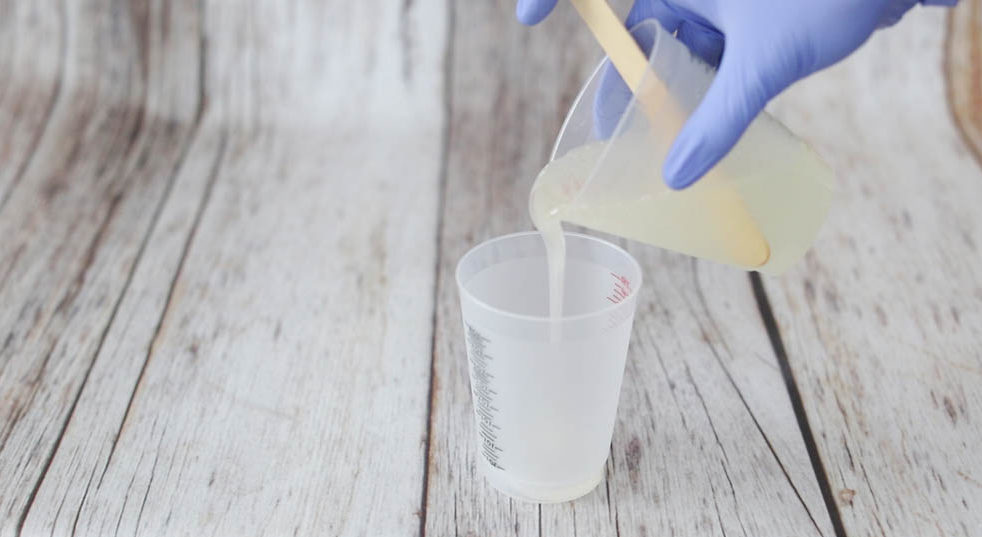
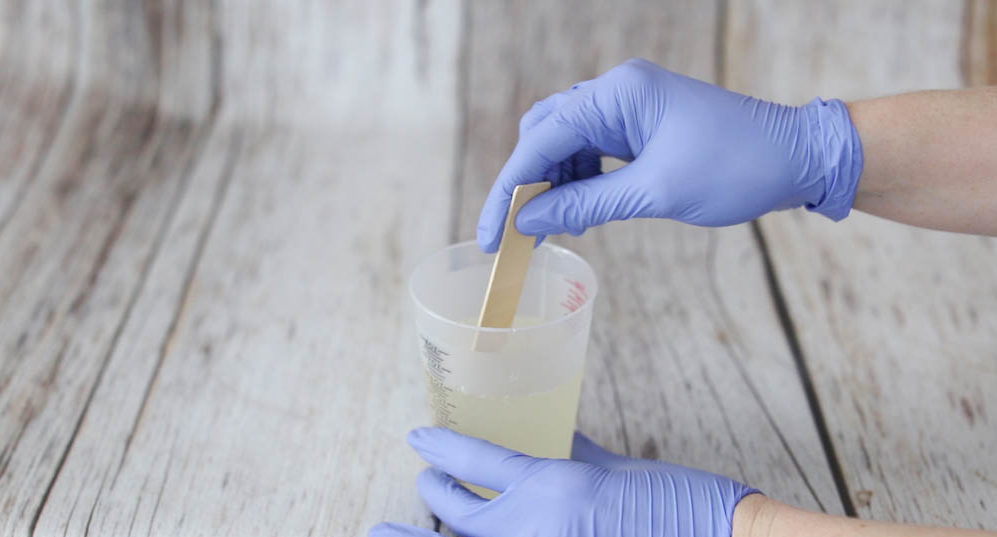
Stir for two minutes (be sure to scrape the bottoms and sides) then pour from the first cup into a second and mix with a new stir stick for another minute.
Step 5:
Once the resin is ready, pour directly into the tray and cover the confetti completely! You want this nice and thick so mix up more resin if needed and make sure all the paper is completely covered!
Step 6:
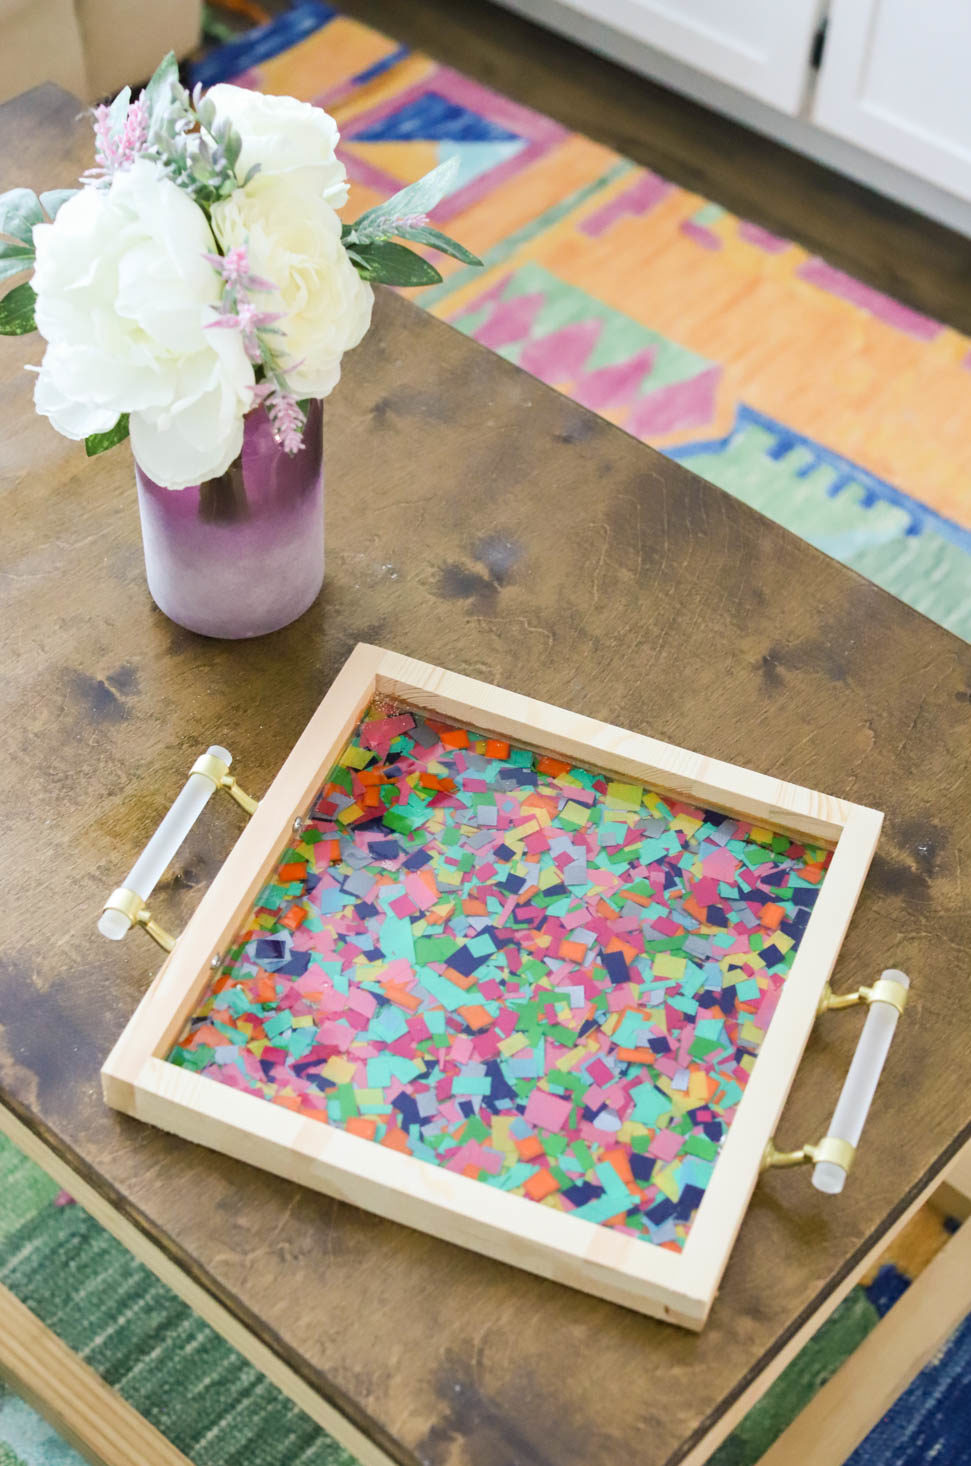
After you’ve allowed enough time for the resin to cure, your tray is ready!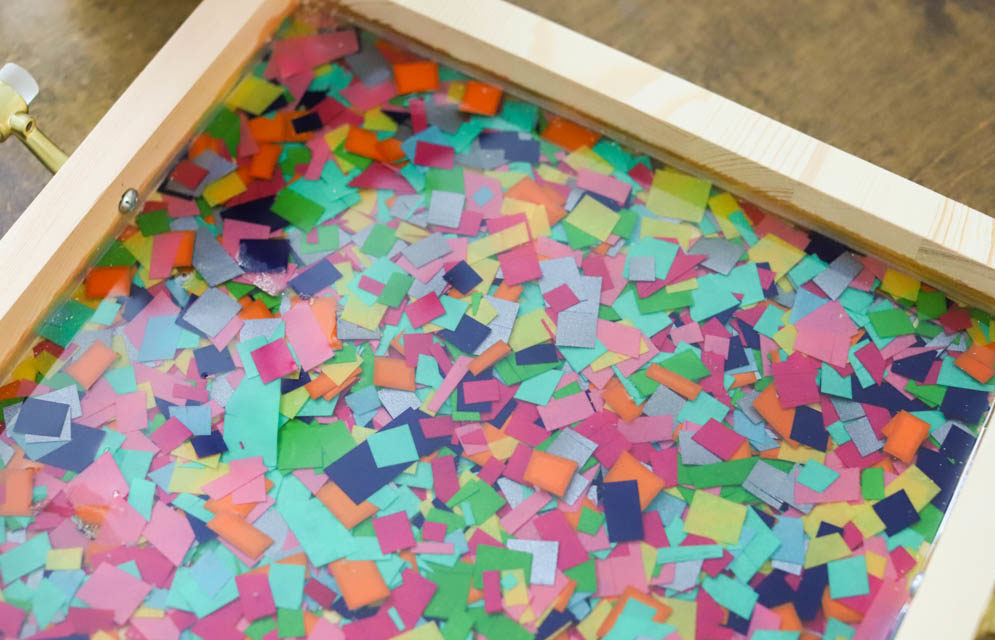
With your new colorful confetti resin tray, you can serve in style OR have a colorful “catch all” for your coffee table! This is a beautiful addition to your home and can easily be customized to fit your style!
I hope this project inspires you to create your own confetti resin tray!
Amber Oliver is a DIY and lifestyle blogger who shares easy DIY tutorials, colorful crafts, and more on her blog, Amber Oliver. She’s a native Oklahoman living “in the loop” in Houston, TX with her husband and dog. She’s an avid reader, world traveler, loves Tex Mex food, and creating everything from woodworking projects to websites. She focuses on budget friendly projects for the home and empowering women to try new things.


Leave a Reply