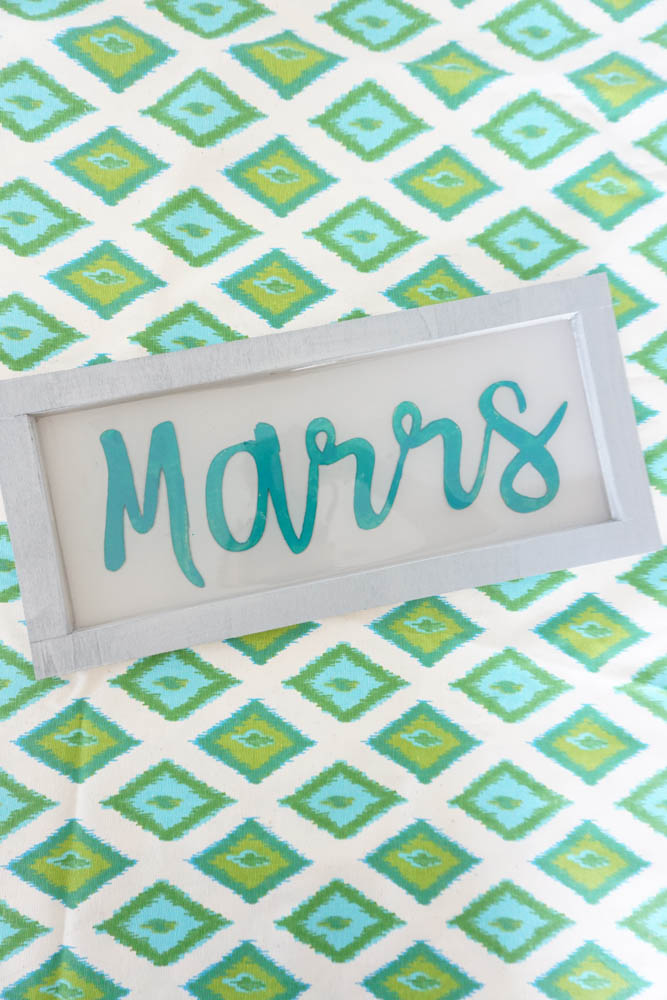
Looking for a great wedding or bridal shower gift idea? Make a resin name sign for the soon-to-be married couple that features their new, shared last name!
Hey Resin Crafters! Amber Oliver here with another great resin craft! I love giving gifts, and I especially love to gift someone with something handmade. I’m still in the “wedding season” of my life where lots of my friends are getting married (and slowly moving into “baby shower” season too!). I wanted a handmade gift for my friend getting married in a couple months and really wanted to make something that incorporated her last name since she decided to take that from her fiance. I picked up an unfinished wood wall sign at JOANN that ended up being perfect for this! This gift reminded me of the handmade presents we used to make in our sorority in college. We’d paint and decorate items for our “big” or “little” sister and take them to get “poured” – now I know how to do it myself and you can too! Create your own resin name sign that’s easy to customize.
Supplies Needed for Resin Name Sign
- EnviroTex Lite® Pour On High Gloss Finish
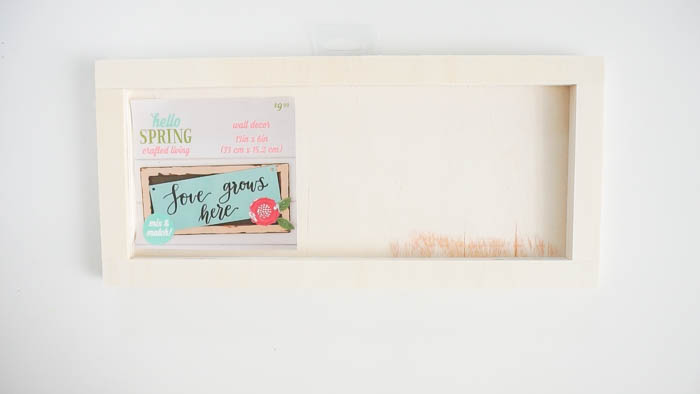
- Wooden Sign (with a lip)
- Wooden Letters
- Paint
- Glue
- Mixing Cups
- Stir Sticks
Step 1: The first thing you want to do is paint your unfinished wooden sign. Having a lip around the sides makes this project super easy – so be sure you pick a wooden sign with one! We suggest using a darker paint color than this selection whenever you’ll be pouring resin overtop of it to avoid any obvious color changes in the resin that inevitably happens over time. A good rule of thumb is to avoid lighter background surfaces under any resin pour.
Step 2: After you paint your sign, you’ll want to paint your wooden letters with complimentary colors. I used my Cricut Maker to cut my friends last name in a pretty cursive font, but you can also use wooden letters pre-cut from the craft store.
Step 3: Glue the letters to your wooden sign.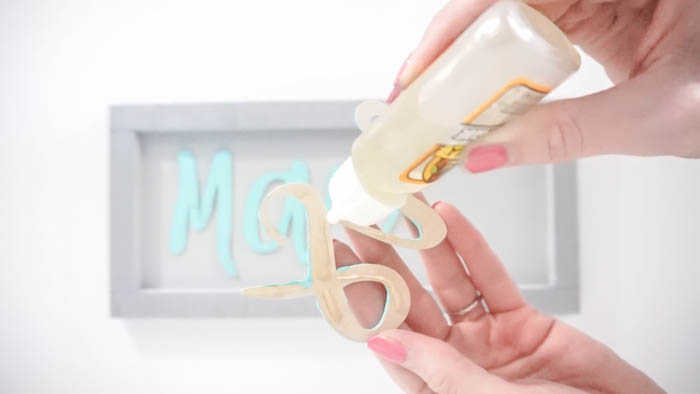
Step 4: Now you are ready for the Envirotex Lite Pour On. This is a multi-step process so don’t start mixing until you are ready to do the whole process from beginning to end! 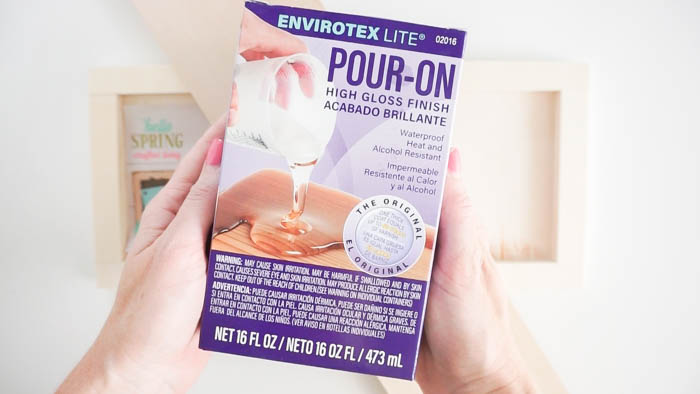
Step 5: Start by mixing EQUAL parts of the Hardener and the Resin. Stir for two minutes (be sure to scrape the bottoms and sides) then pour from the first cup into a second and mix with a new stir stick for another minute.

Step 6: Once it’s ready, pour directly into your wooden frame. **Be sure to wear gloves anytime you are handling resin!**
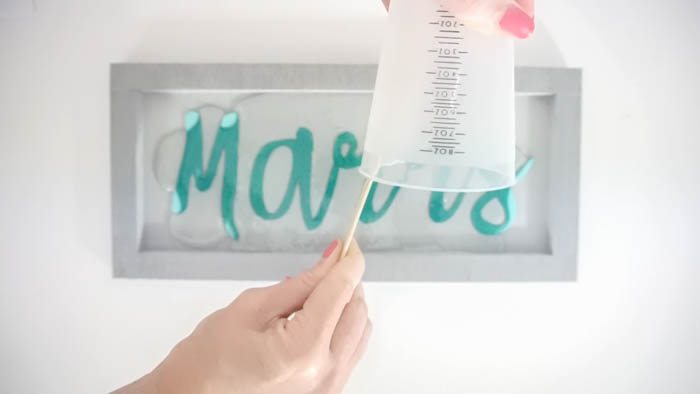
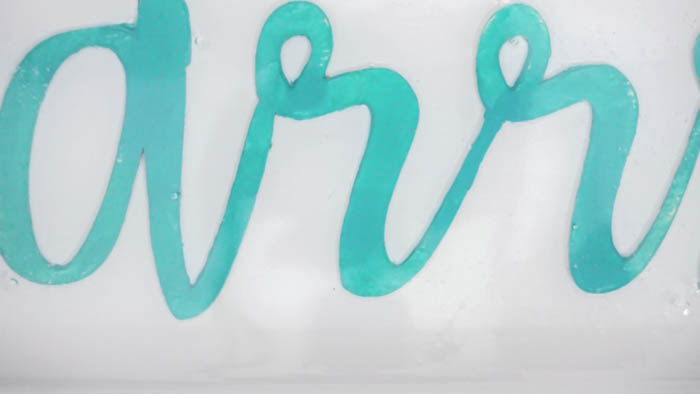
Step 7: After about 20 minutes you’ll see bubbles appear on the surface of the resin – you can use a butane torch to pop these or simply breathe on it like I did! It’s the CO2 in your breath that releases the bubbles – not the heat!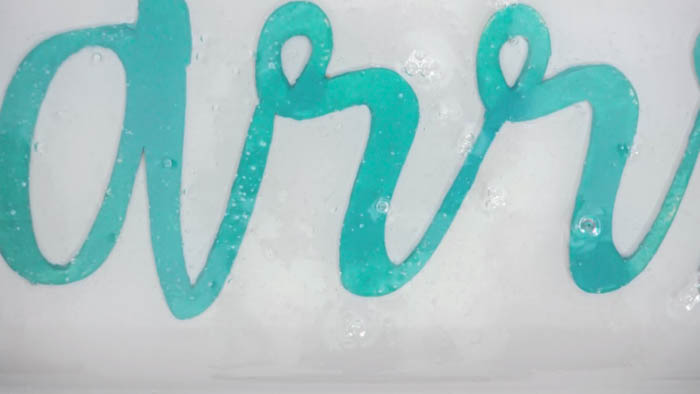
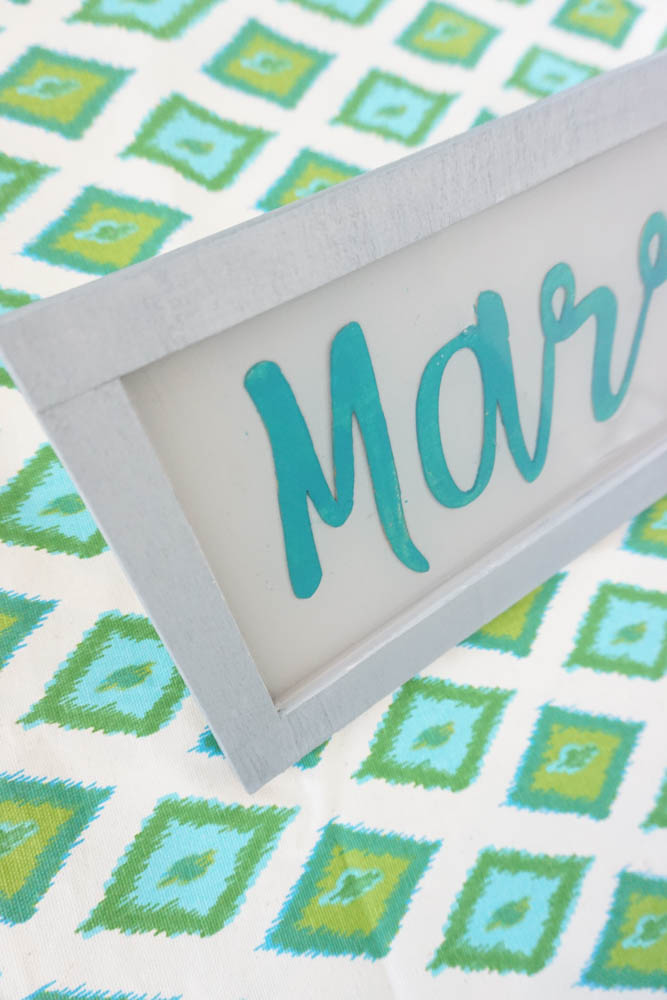
After your resin name sign has had time to cure, it’s be ready to be gifted! You can get really creative with this project and use color paint you want – even add scrapbook paper or paint designs! Let your creativity flow 🙂

Amber Oliver is a DIY and lifestyle blogger who shares easy DIY tutorials, colorful crafts, and more on her blog, Amber Oliver. She’s a native Oklahoman living “in the loop” in Houston, TX with her husband and dog. She’s an avid reader, world traveler, loves Tex Mex food, and creating everything from woodworking projects to websites. She focuses on budget friendly projects for the home and empowering women to try new things.


Leave a Reply