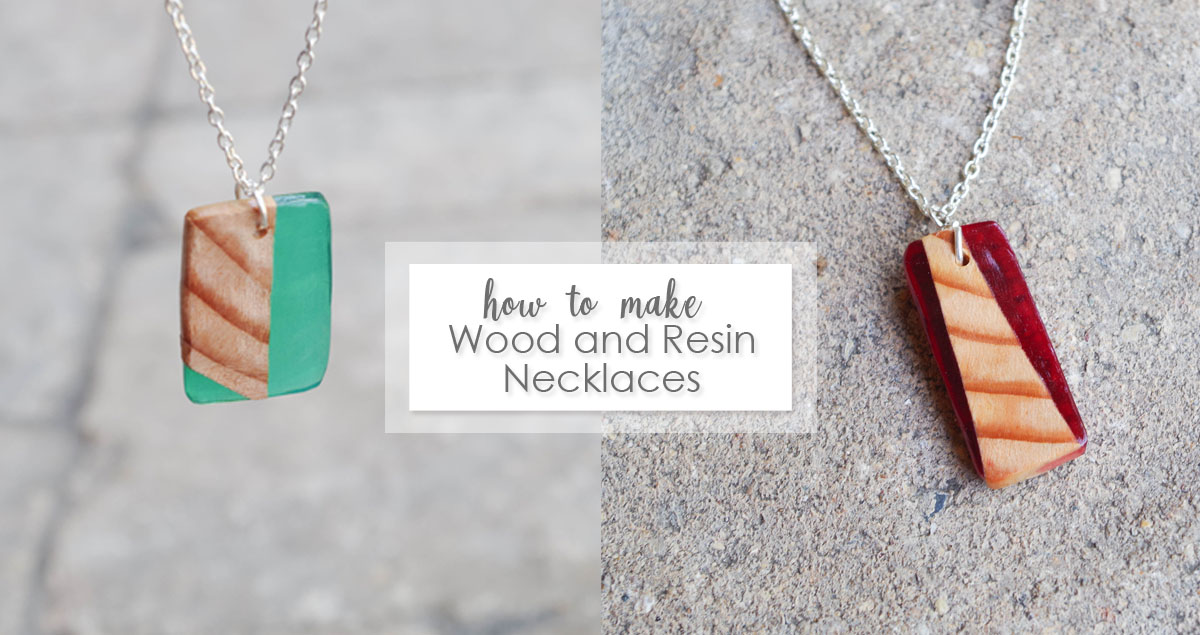
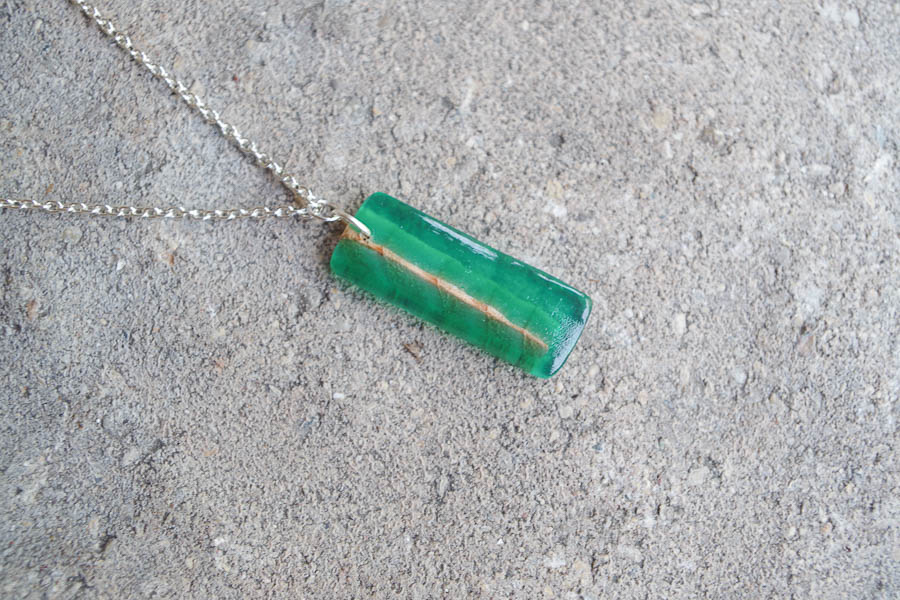
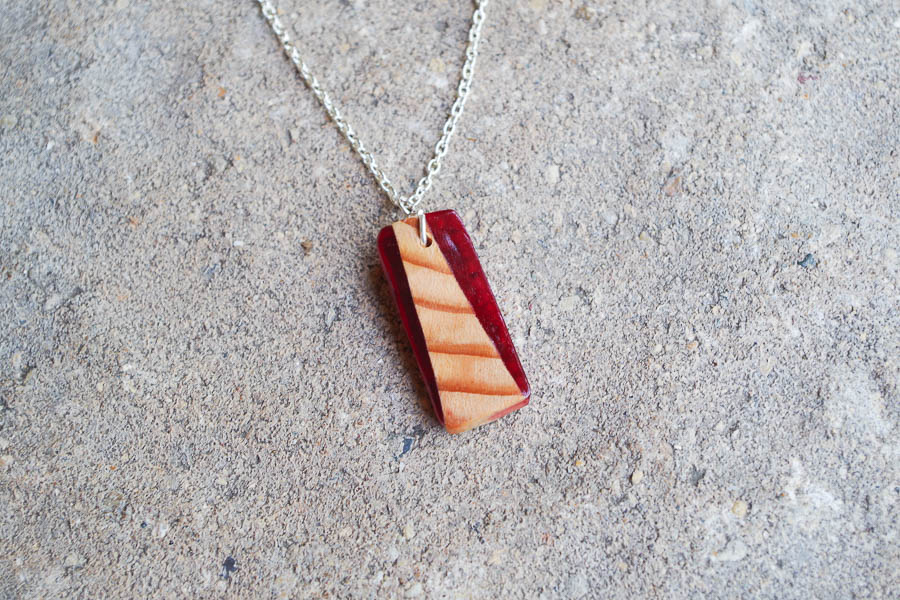
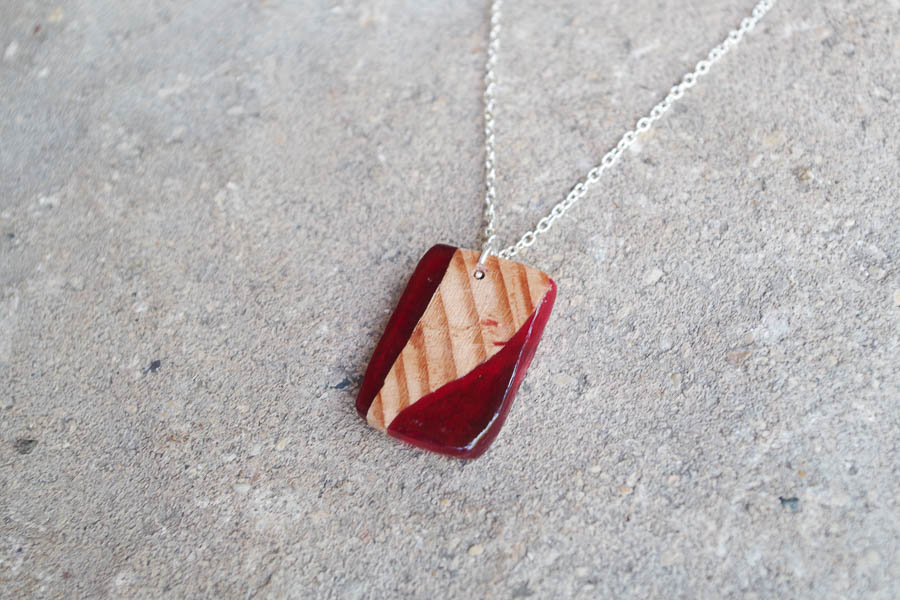
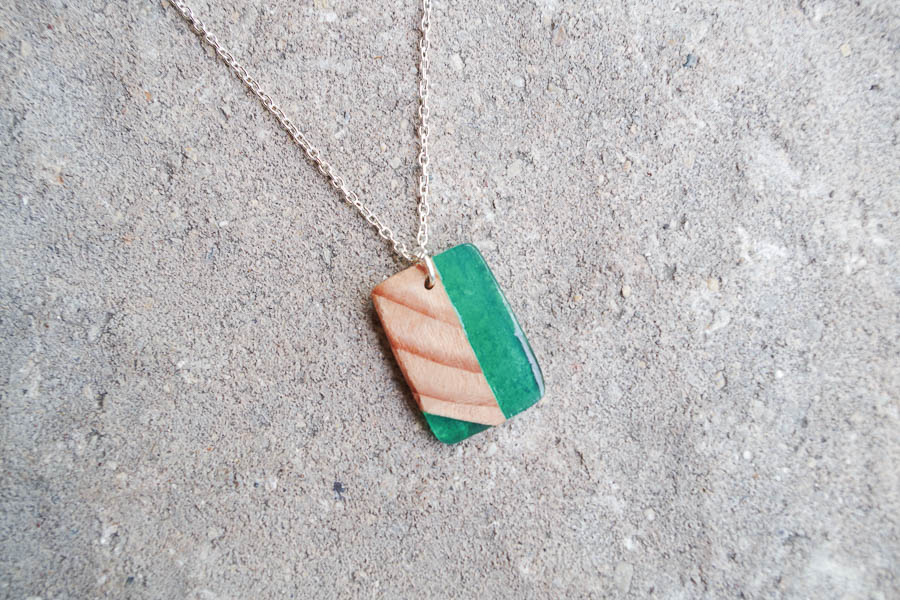
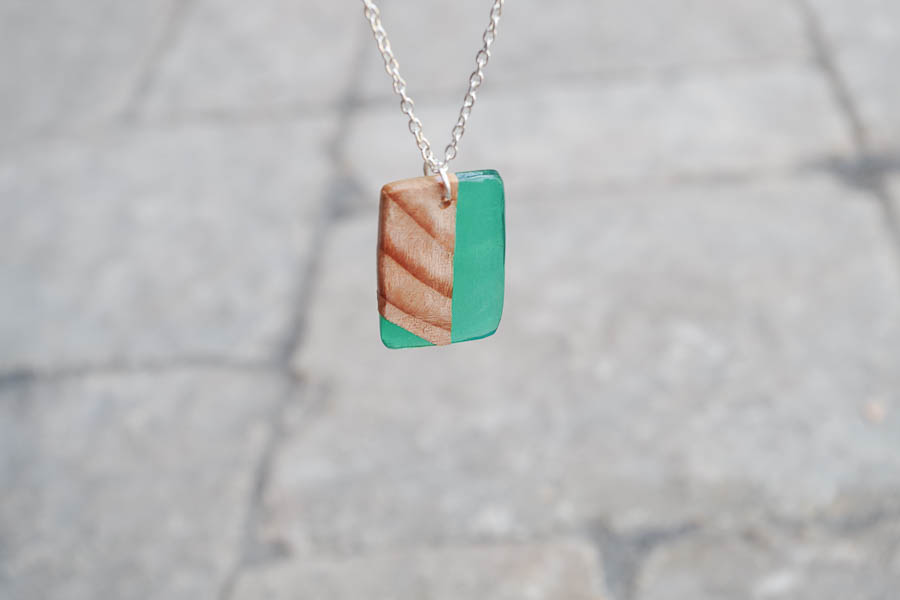
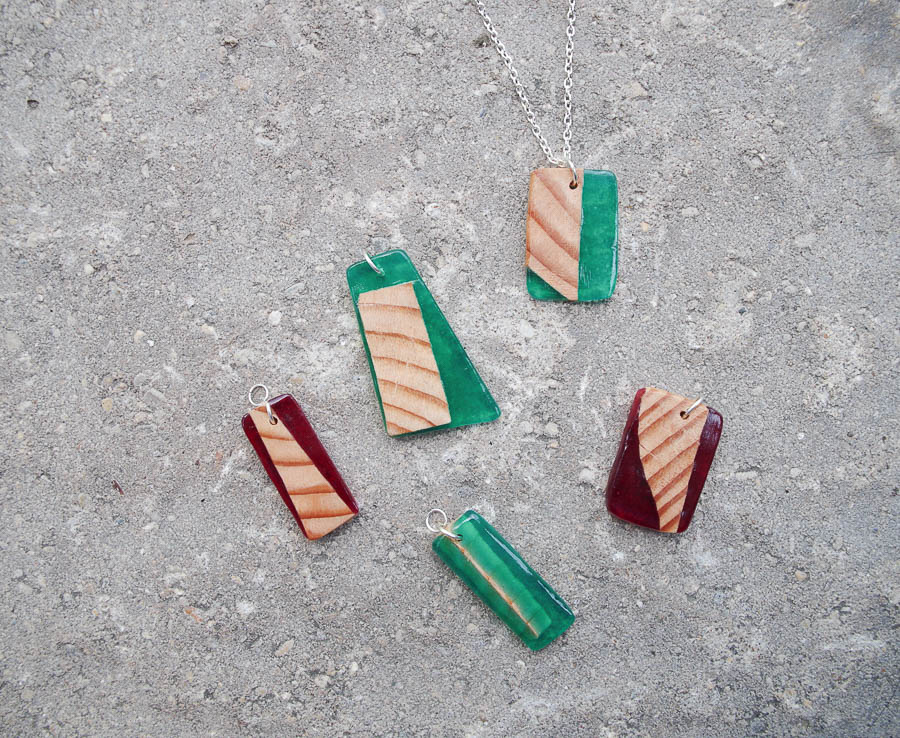
One of the most popular projects on the Resin Crafts Blog is my tutorial on how to make this Blue Wood and Resin Pendant using EasyCast. I decided to alter a few things and show you that you can make these using various shapes, colors and types of wood and they will still look awesome! Here’s how I made these red and green DIY Wood and Resin Necklace Pendants!
DIY Wood and Resin Necklace Pendants
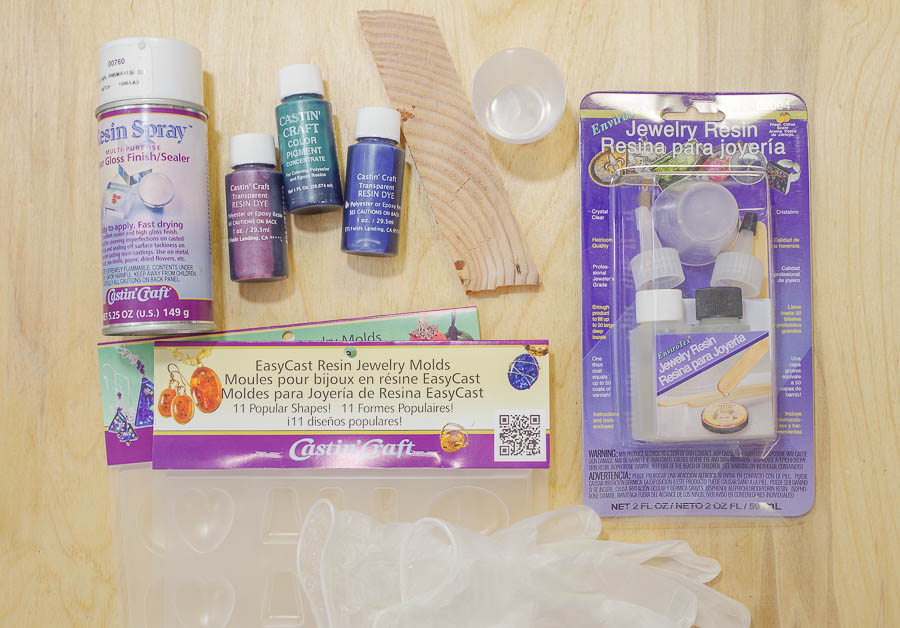
Supplies:
- Envirotex Jewelry Resin Kit
- Castin Craft Resin Dye Pigments
- Castin Craft Resin Spray
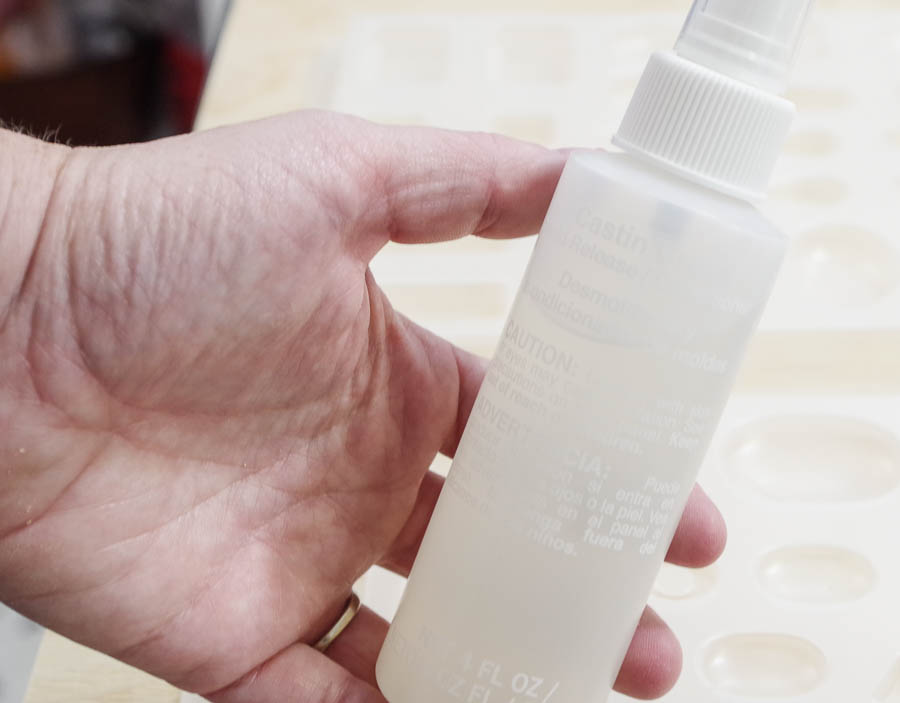
- Mold Release/Conditioner Spray
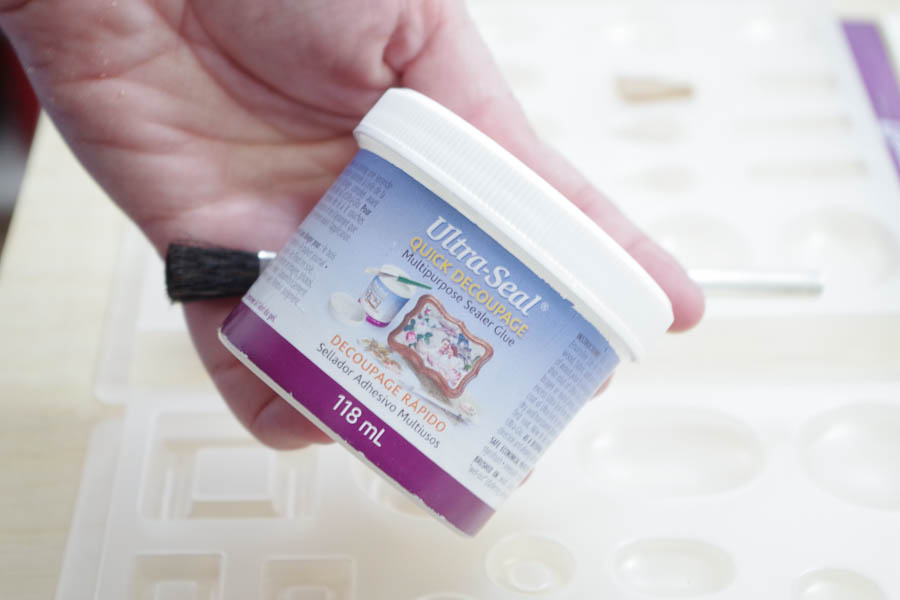
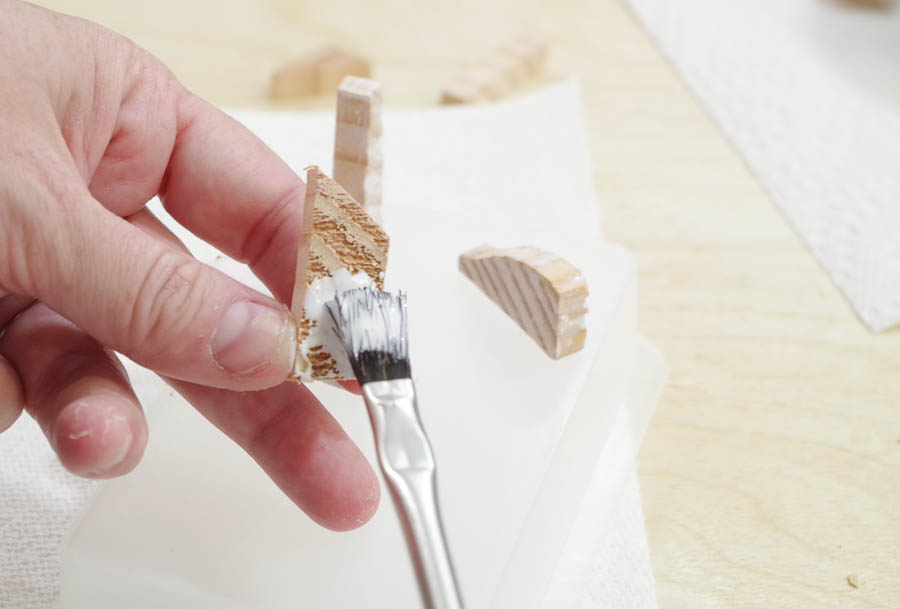
- Ultra Seal or other multipurpose glue sealer
- EasyCast Resin Jewelry Molds
- Extra disposable mixing cups
- Wood Pieces
- Vinyl Gloves
- Eye Protection Glasses
- Respiratory Protection Mask (for safety during sanding step)
- Dremel tool with attachments
- Fine Sandpaper (800 grit or higher)
- Micro Butane Torch (optional)
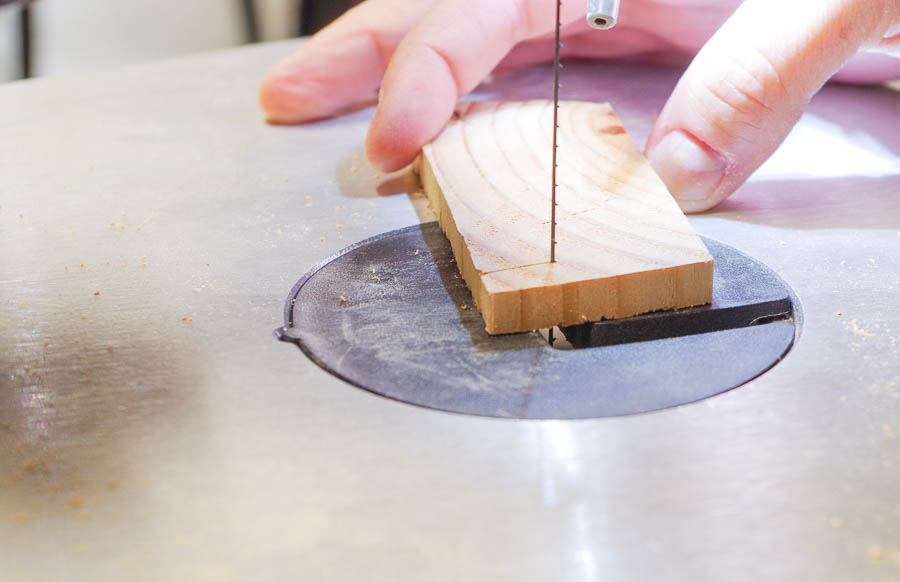
Prep:
The first thing you need to do is cut your wood into small pieces that will fit into your molds. Then coat them entirely in Ultra Seal or another multipurpose glue sealer.
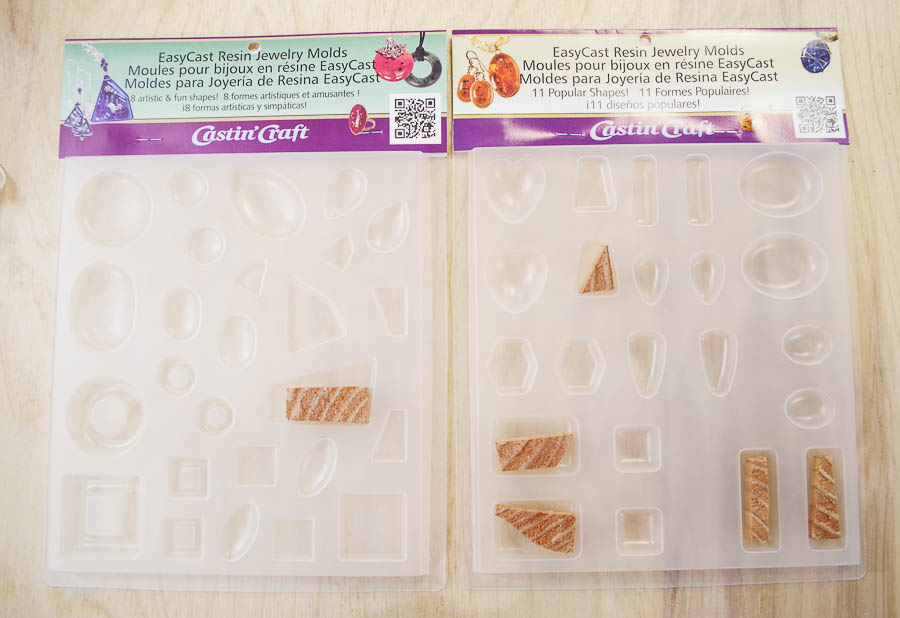
Next, spray the molds with Mold Release/Conditioner Spray and let it dry.
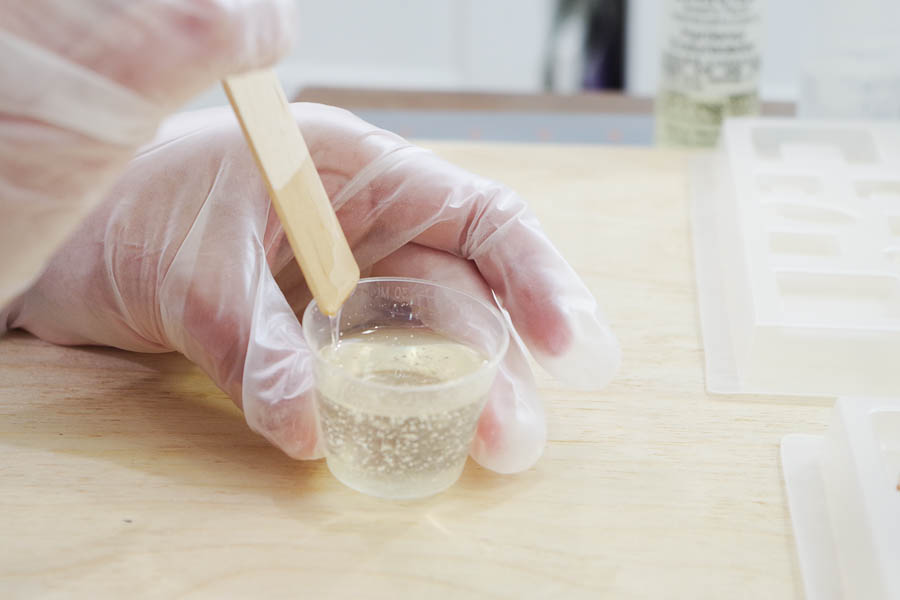
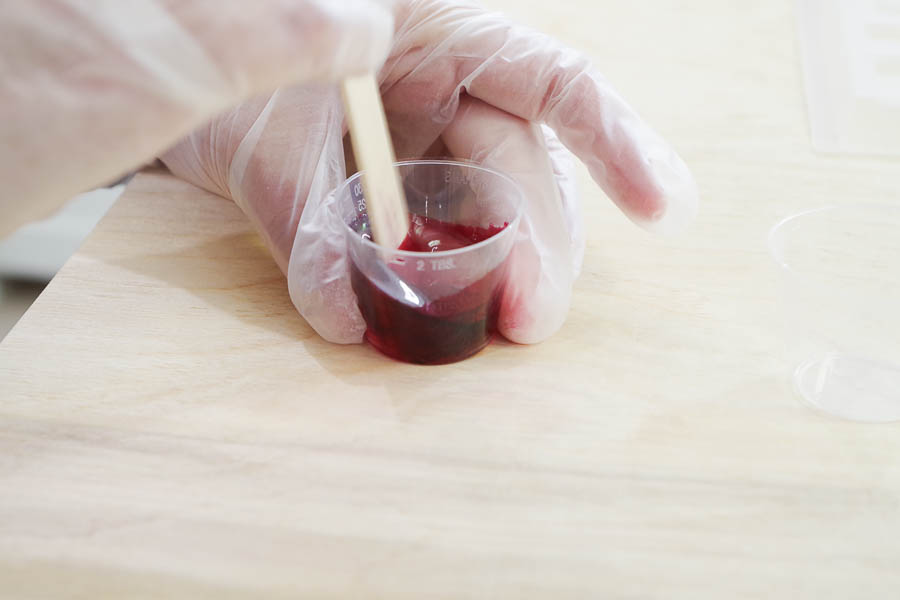
Mixing Resin:
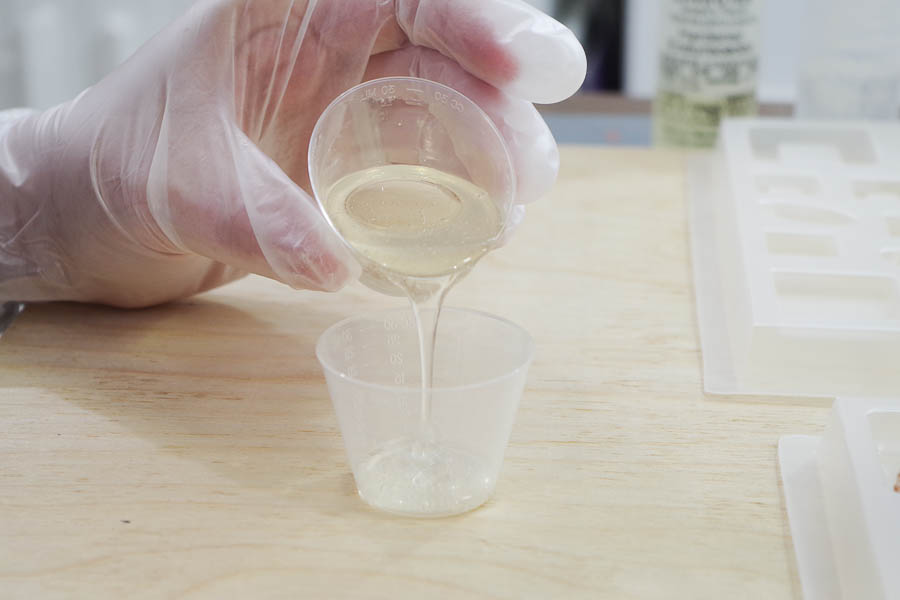
Read the instructions thoroughly and put on your vinyl gloves and eye protection. Mix equal amounts of parts A and B in one of the small cups. Mix thoroughly then pour into a second clean cup and mix for another minute. This ensures that all of the resin is mixed completely.
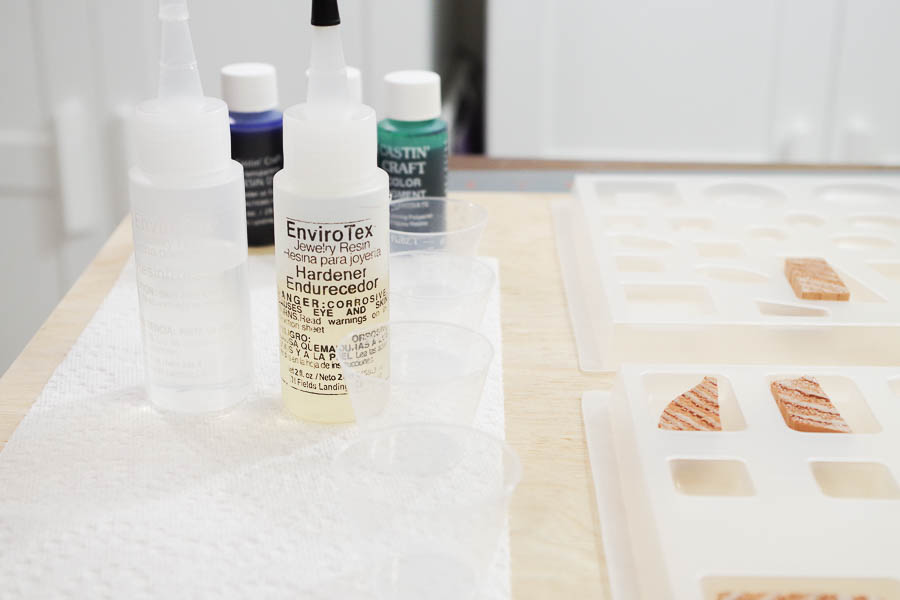
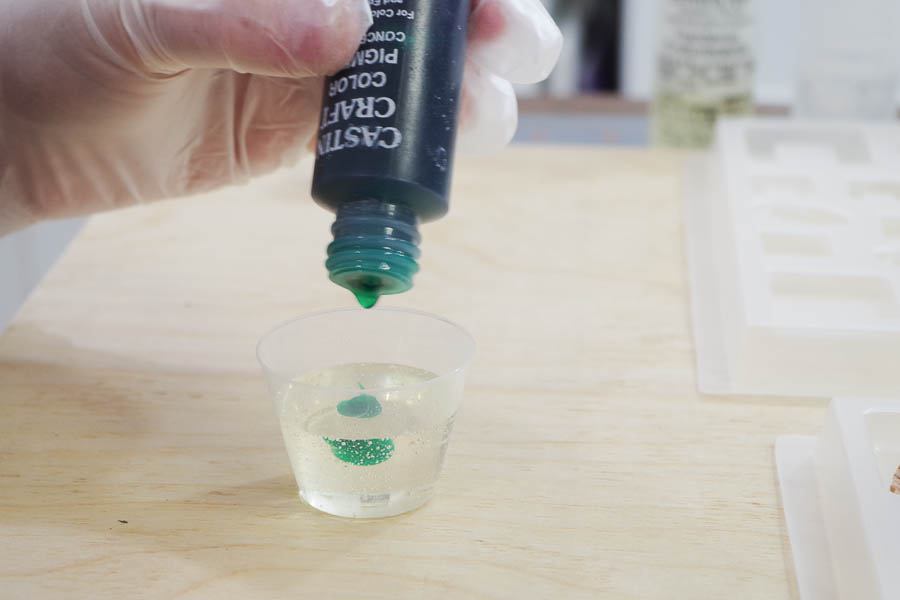
Next add your pigment or dye to the resin and mix completely. I did two batches because I did two different colors.
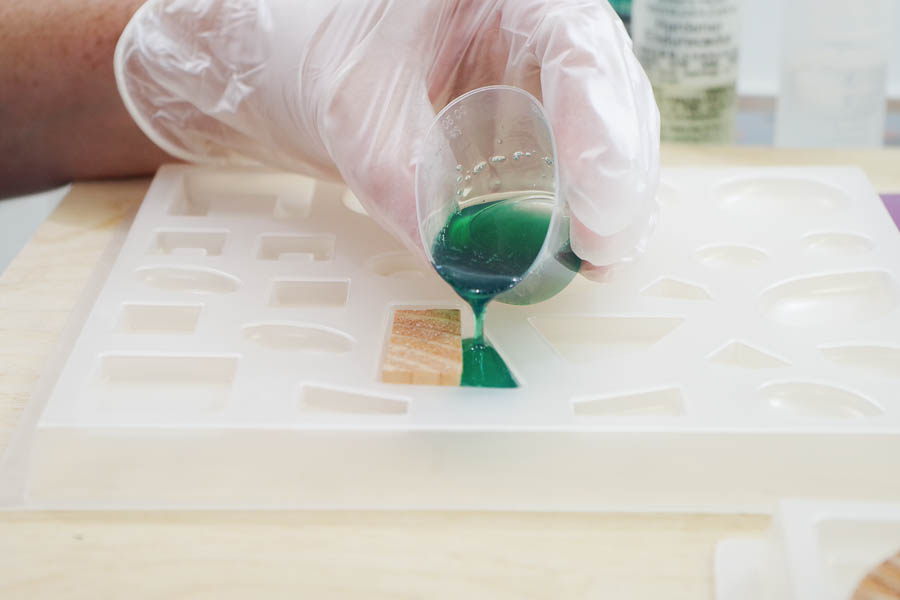
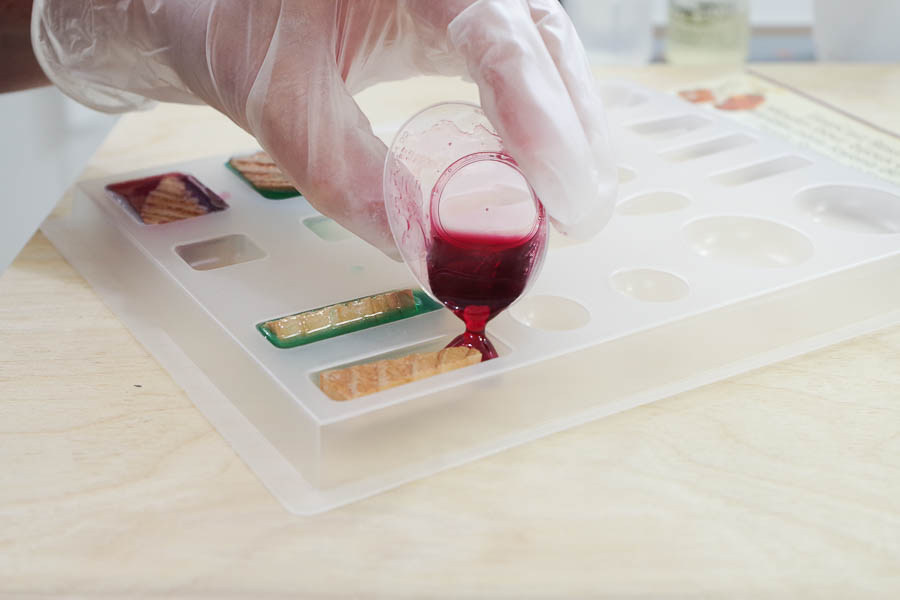
Use a micro butane torch, or just exhale over each piece, to pop all the bubbles.

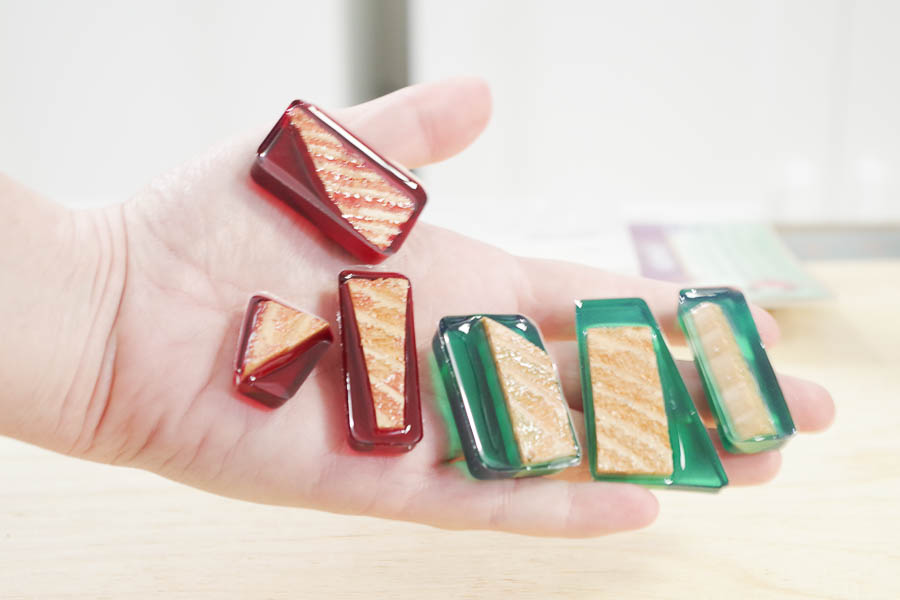
Let the resin cure for about 24 hours. Once cured they should pop out of the molds easily.
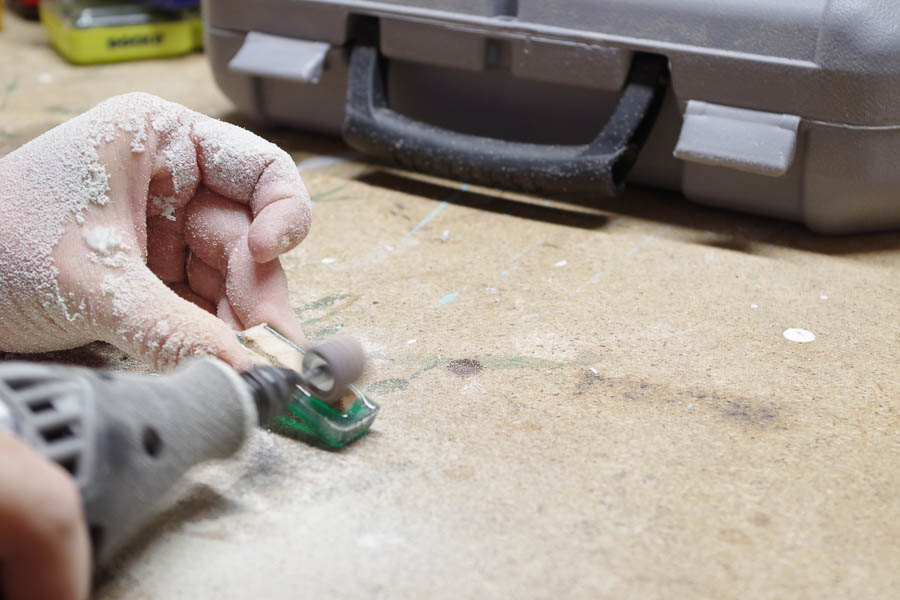
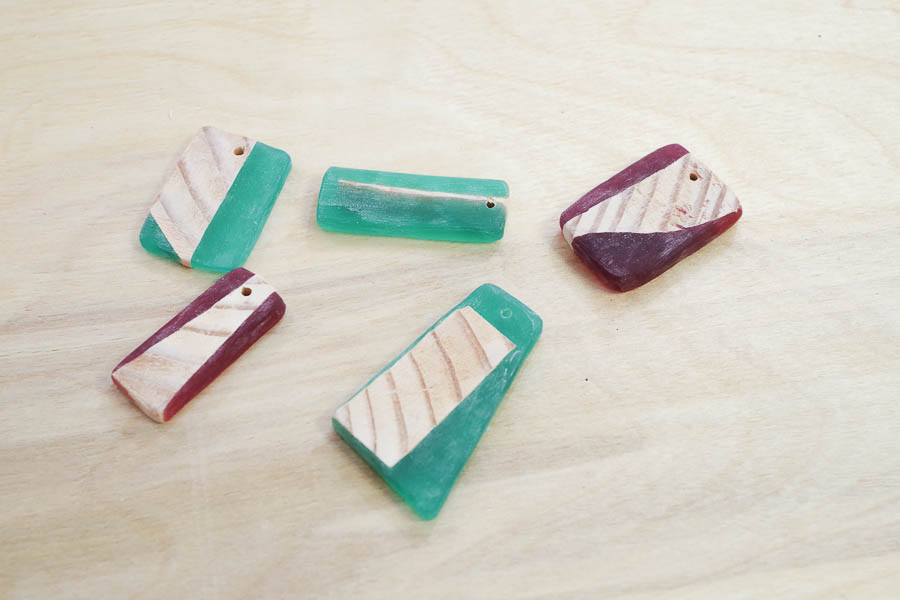
Shaping Pendants:
Use a Dremel tool or another rotary tool that has a sanding attachment to shape your pendants. As you will see I sanded off the excess wood and even altered the shape of some of these in order to make the wood and resin combination look really cool! This step is REALLY messy and you definitely want to wear eye protection and respiratory protection.
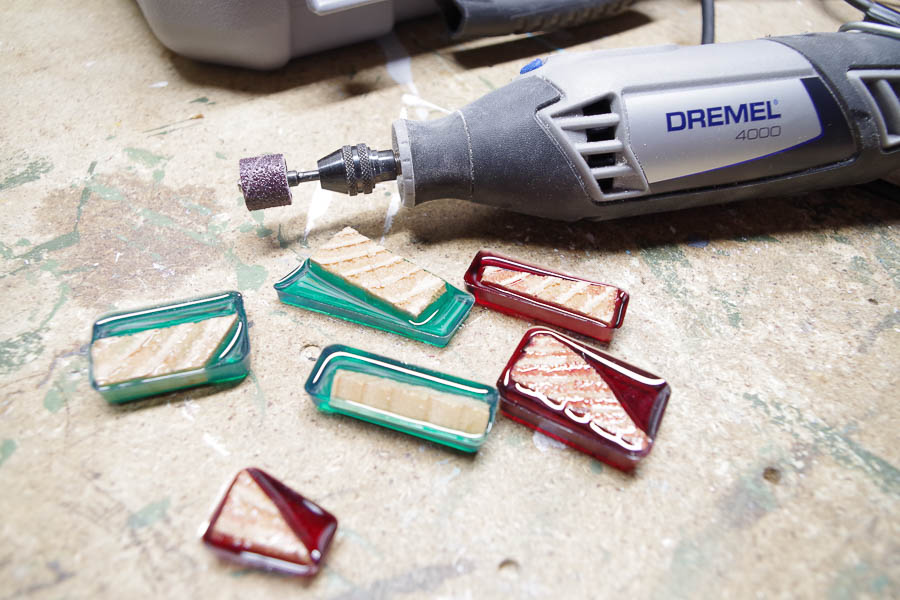
Sand with the sanding attachment.
Then sand again on ultra fine sandpaper. This is 800 grit. I used this then even finer grit to get it nice and smooth.
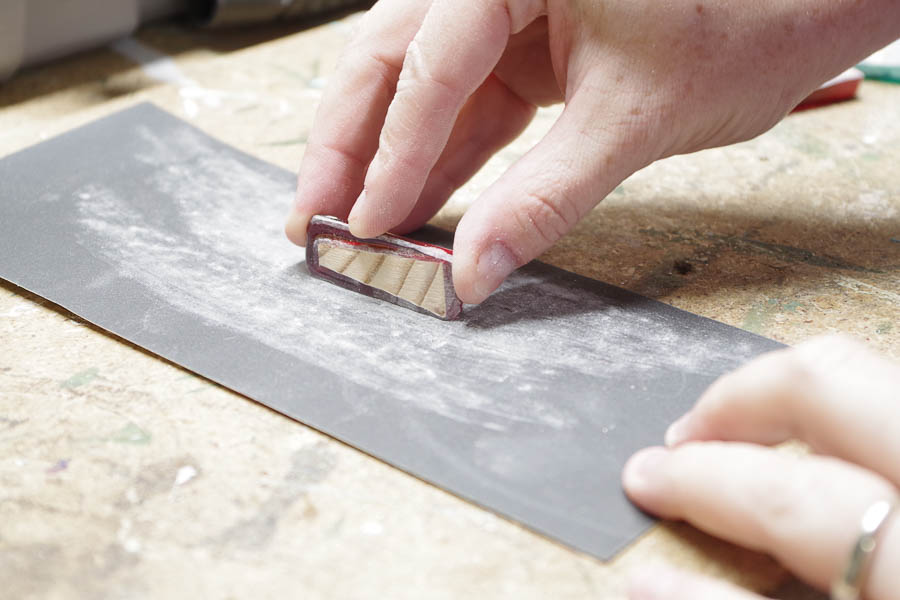
Once your pieces are the shape you want, wipe off all the dust with a damp cloth so they don’t look all powdery like they do here.
FINISH:
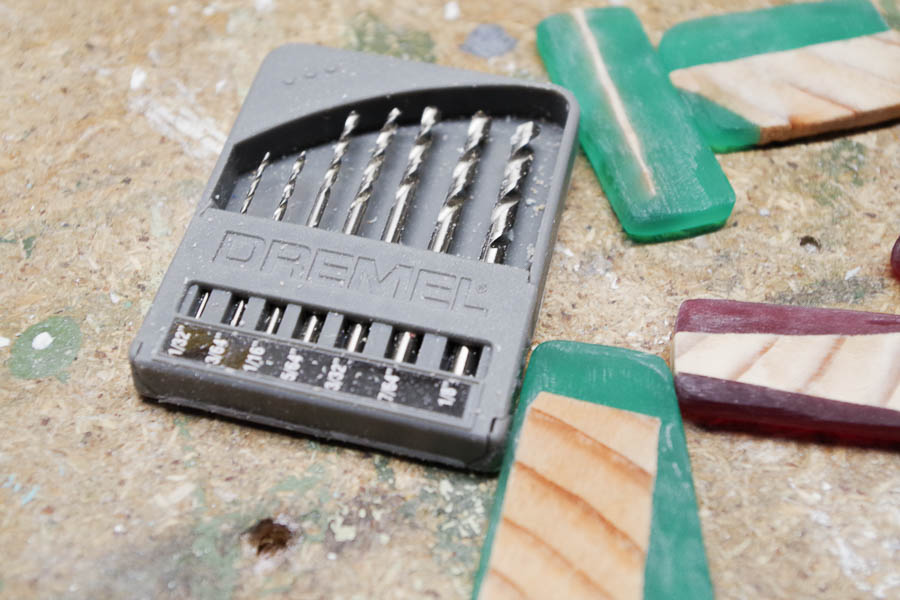
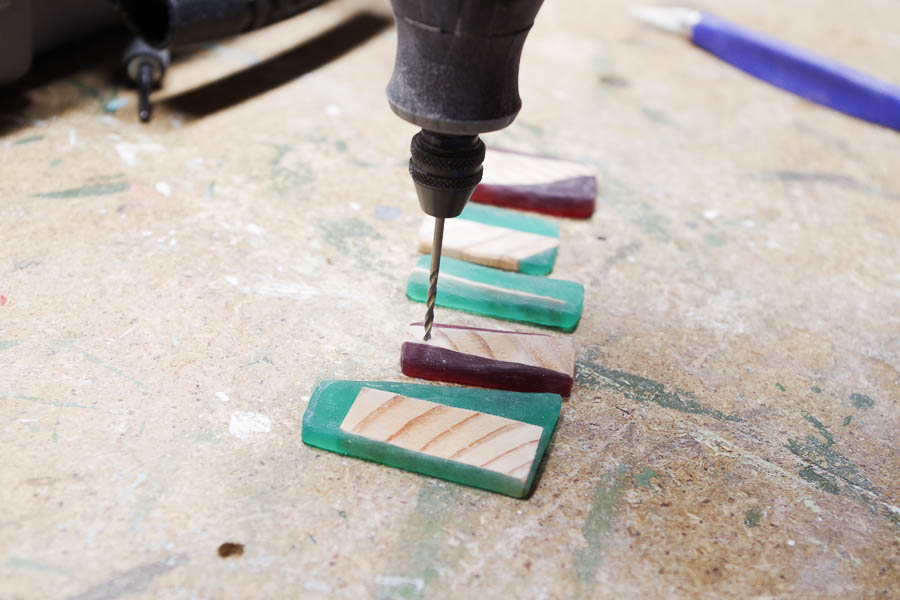
The next step will be to drill holes for the jump rings you’ll add to turn these into necklaces. I have tiny drill bit attachments for my Dremel and used one of those.
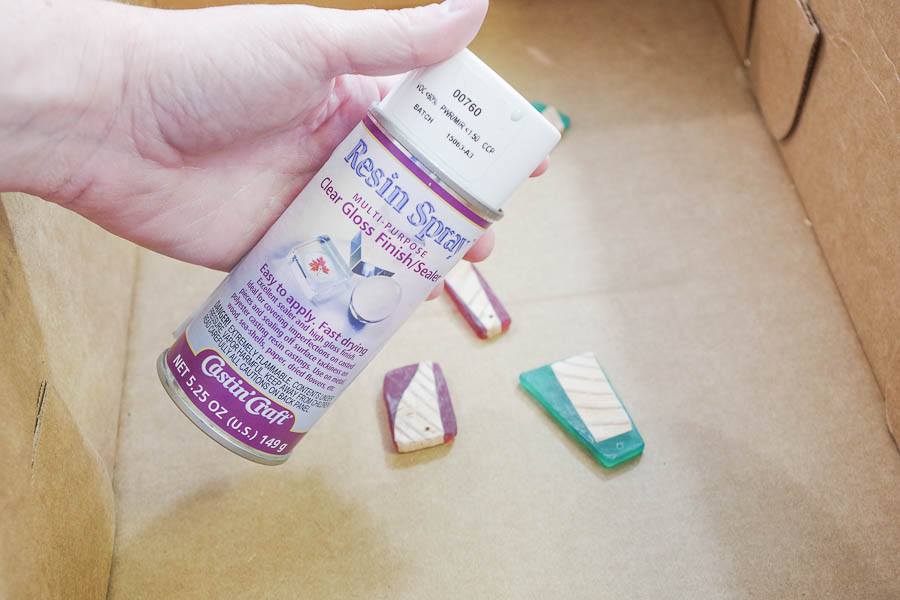
The final step is to coat the pendants with the Clear Gloss Resin Finish/Sealer Spray. I ended up doing three coats of this but that will be personal preference.
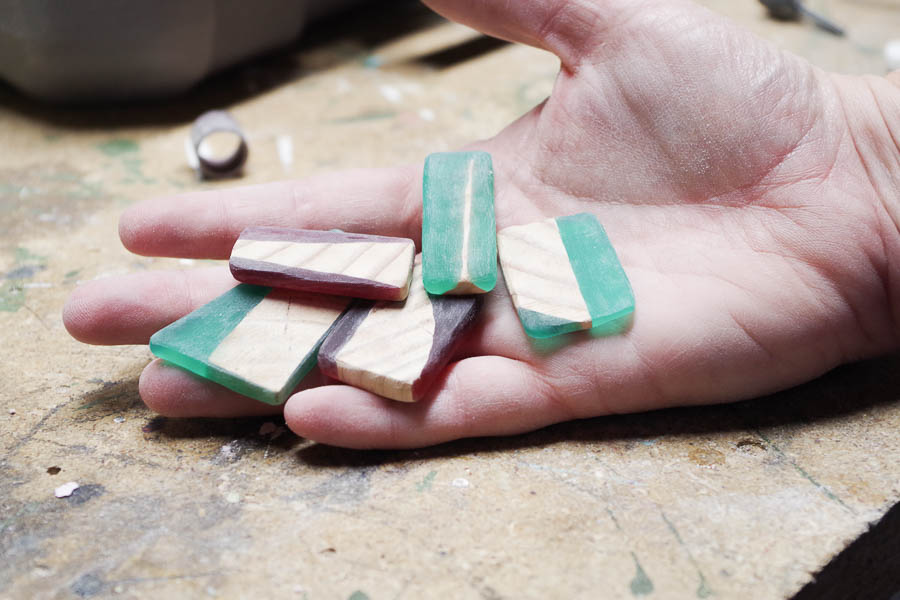
And there you have it! Beautiful DIY Wood and Resin Necklace Pendants! What do you think? Do you like these as much as the blue Wood and Resin Pendant from last year? Let me know in the comments!
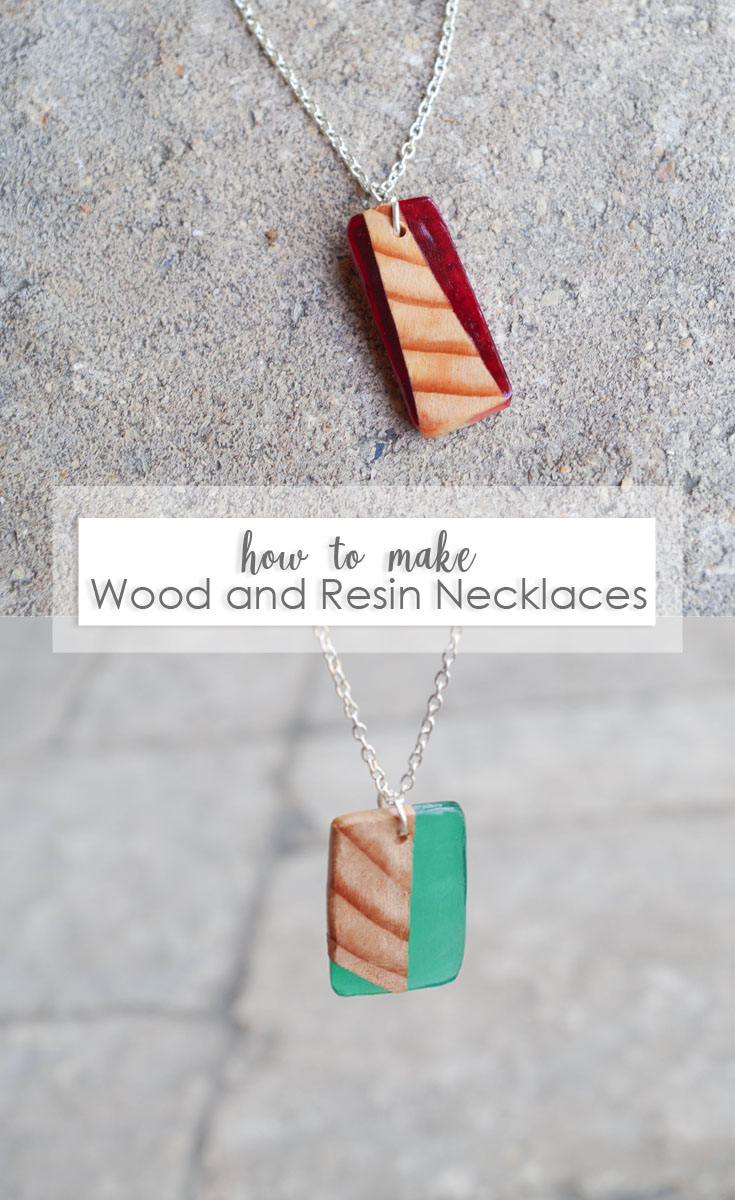
If you like these red and green DIY Wood and Resin Necklace Pendants, please share this post on Pinterest using this image:
You can share on other social media with the buttons on the left of this page too!
Let me know what you think in the comments and thanks again for reading!
–Sheri
Other posts you may find interesting:
Wood and Resin Pendant using EasyCast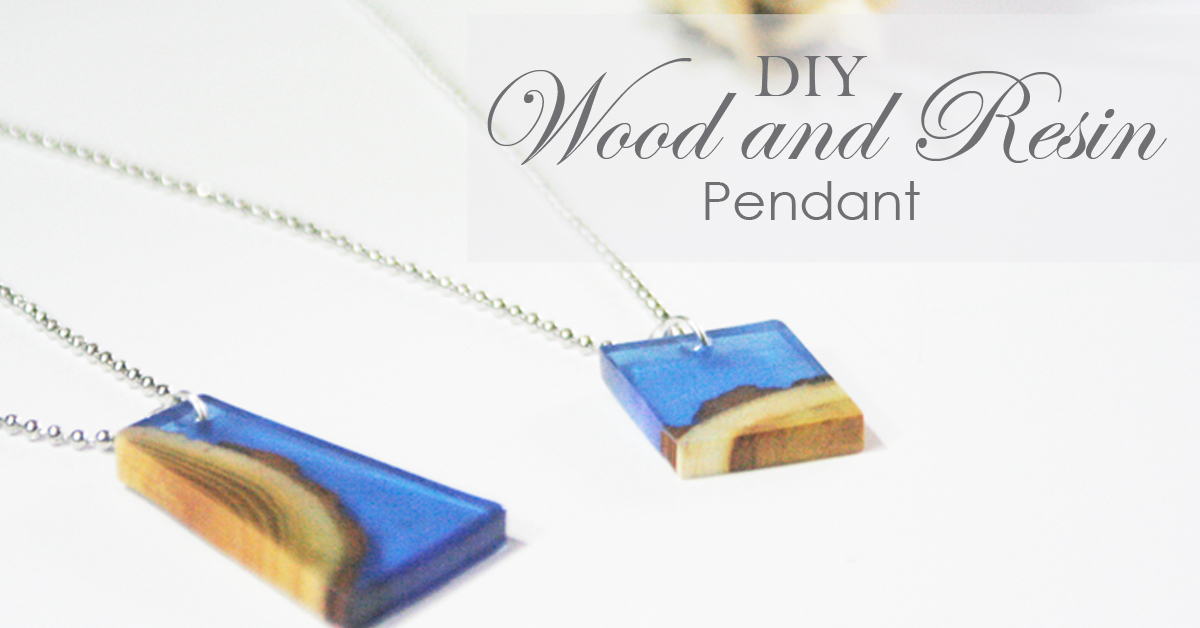
Sparkling Dripped Resin Pendants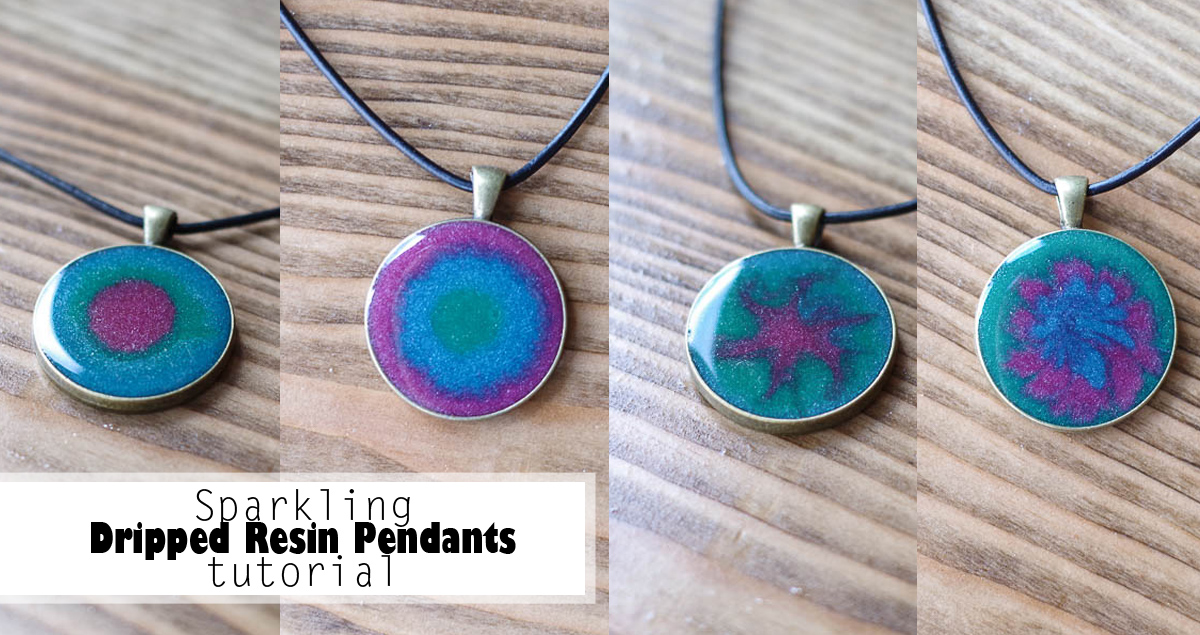
Sheri is a Maker and DIY blogger at Hazel + Gold Designs. She is usually in the middle of multiple projects at once and finds great satisfaction and joy in creating something new. She is constantly learning new skills, putting them to the test, and sharing her experience and knowledge with others. Her favorite hobbies are crafting, painting, crocheting and basic woodworking. Her goal is to inspire others to step out of their comfort zone, learn a new skill and have the confidence to make their life a little more beautiful!


Leave a Reply