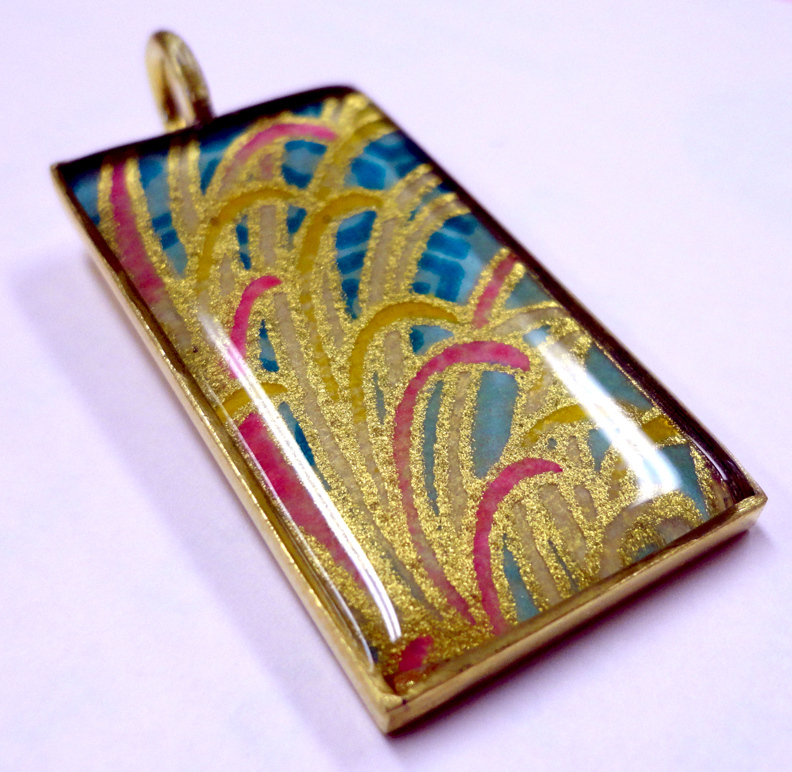
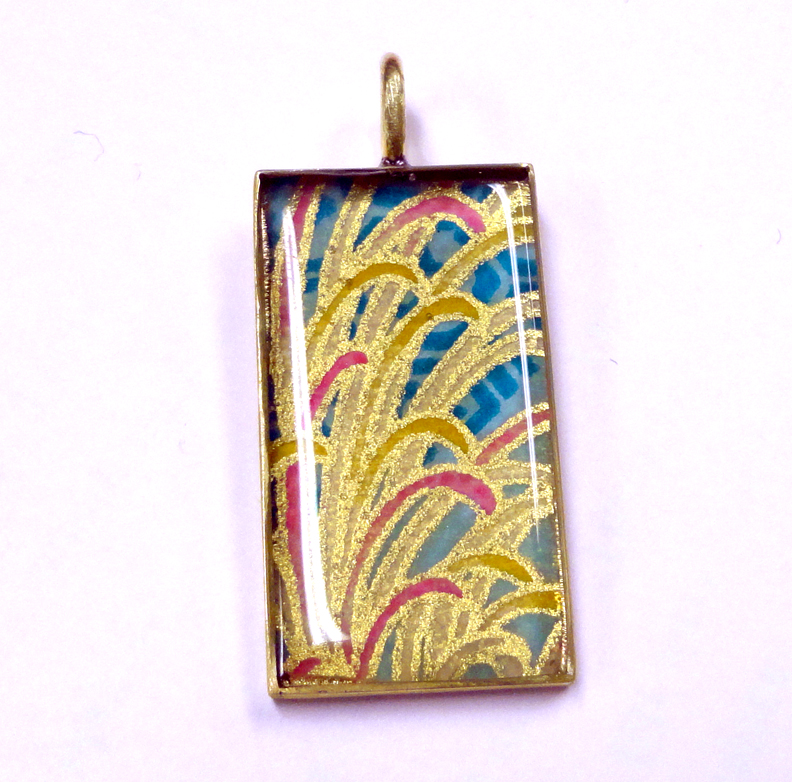
This John Bead bezel with embedded Japanese paper looks fantastic in person.
I really like this colour palette!
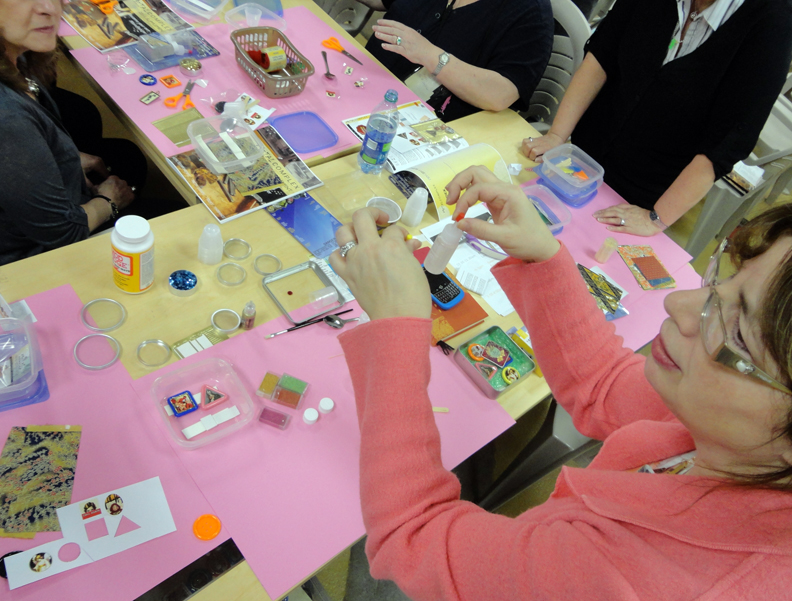
I taught a special introduction to Jewelry Resin class last week at John Bead and I had to work quickly to get all the information covered!
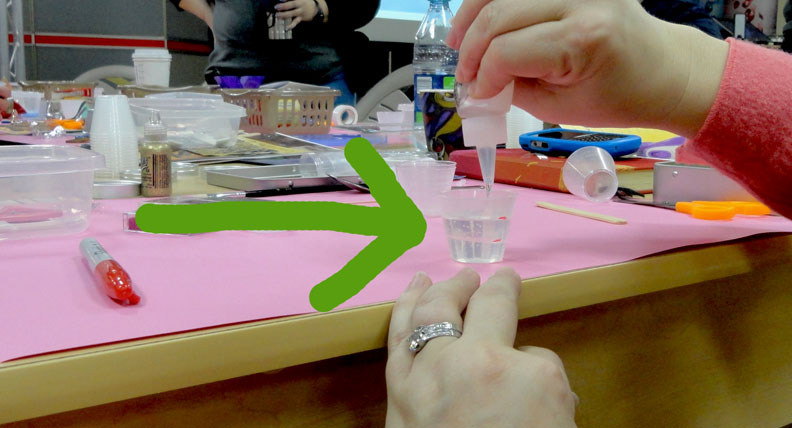
I demonstrated how to mark your pour lines on your measuring cup in advance so it is easy to see those lines after you add in your two resin making liquids (hardener and resin.)
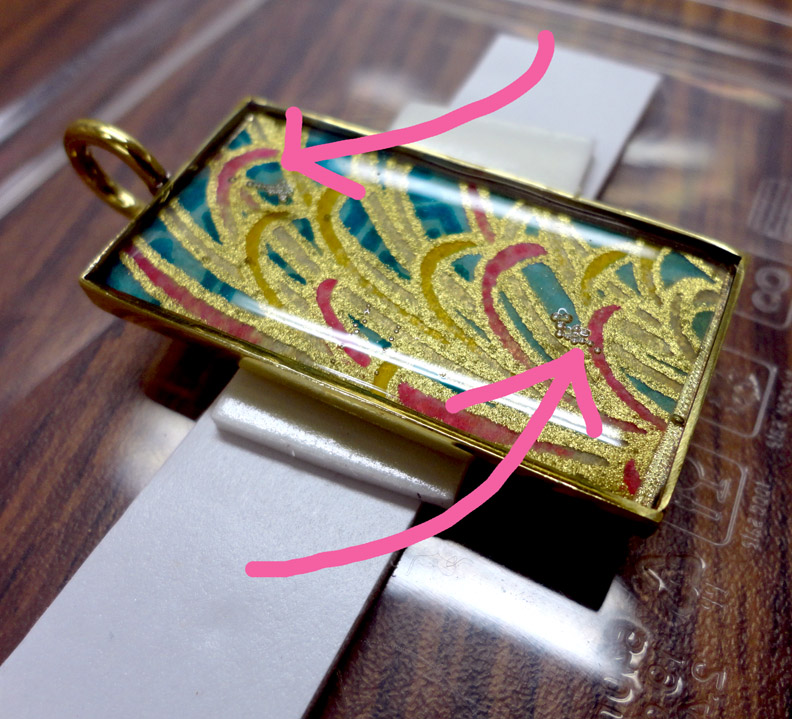
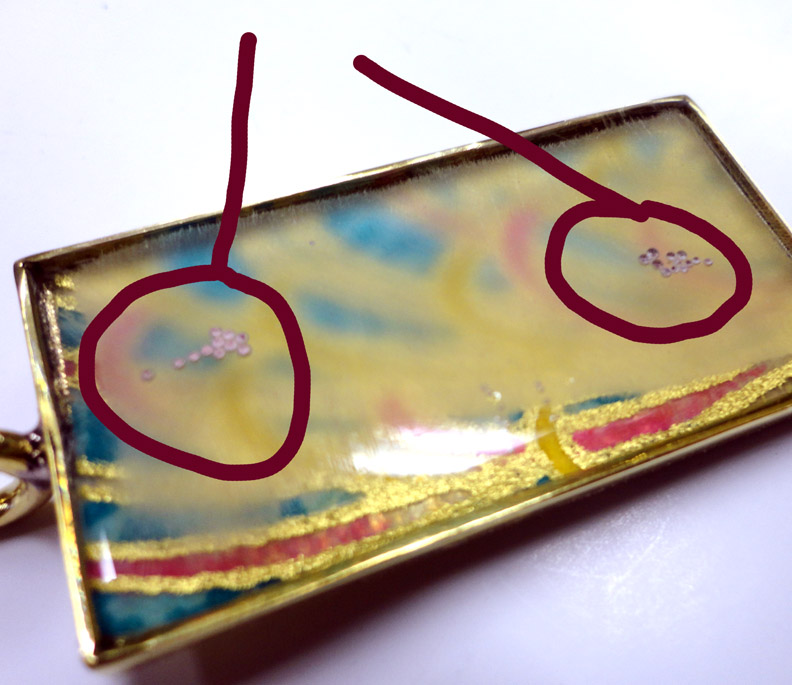
As the class teacher, I didn’t have time to babysit my own samples. So I was sad to get home and see bubbles in my very nice bezel. One hot breath would have knocked these bubbles right out if I had seen them!
So here is what I did. I sanded the surface till I got rid of those bubbles!
Here is the sanding at the half way point.
It took a little time, I don’t enjoy sanding….but when it was done you would not believe that all I did was pour a little more Jewelry Resin right over this sanded dull scratchy surface.
Here is the sanding at the half way point.
It took a little time, I don’t enjoy sanding….but when it was done you would not believe that all I did was pour a little more Jewelry Resin right over this sanded dull scratchy surface.
It is as though the sanding never took place! It is clear as glass again with no extra work on my part! This is a super simple resin repair!


So funny that you posted this today! I had to do this to a few of my pieces last night…thanks.
Awesome tip!
Thanks so much for this post. I'm sure when I start, that I will need to refer back to this! 🙂
I love the colours too!
An even faster way that I like to use is to open up the holes with my battery operated drill and a 1mm drill bit – no sanding required! It works a treat as long as you open the bubbles up to just below half way. Then fill with resin again.
Just a note on sanding resin – resin dust is REALLY bad for you, so wear a mask and work in a well ventilated area.
wow! Thanks for an awesome tip!
I love this piece! I have wanted to learn how to work with resin, and will look for a class in my area. Thanks for all the great tips
I am just getting started with some of these projects. What is the best way to keep the bubbles out before the resin sets up
There will always be a few bubbles because you are mixing two ingredients. Try not to whip your mixture to keep bubbles to a minimum. Then babysit your pour for 30 minutes to see if any bubbles need to be popped.
Thanks so much for this info! I am getting ready for a show, and cured a pair of cufflinks with a huge bubble, figured I would have to toss them. So thrilled I was able to rescue them with sanding, thanks to you.