Deck out that cute tumbler of yours with even cuter DIY resin straw toppers made with ETI EasyCast Clear Casting Epoxy.

Hi Resin Crafters, it’s Bre from Average But Inspired. I’m excited to be sharing my FIRST resin project with you! It’s a fabulous beginner resin project, or for all of you pros, a great way to use up some extra resin!
We all know it’s important to drink lots of water, but sometimes it’s hard to get in all of those sips. This easy resin craft makes it much more fun because it dresses up a tumbler with beautiful resin straw toppers and adds personality and style. Make these for yourself, or put together an adorable gift for a friend.
Supplies Needed for DIY Resin Straw Toppers
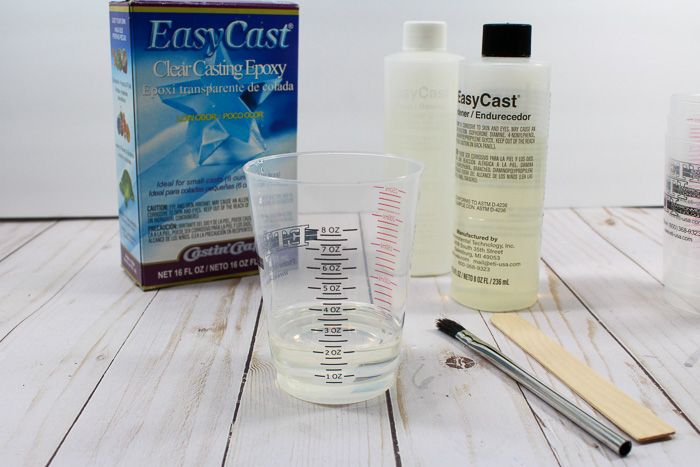
- ETI EasyCast Clear Casting Epoxy
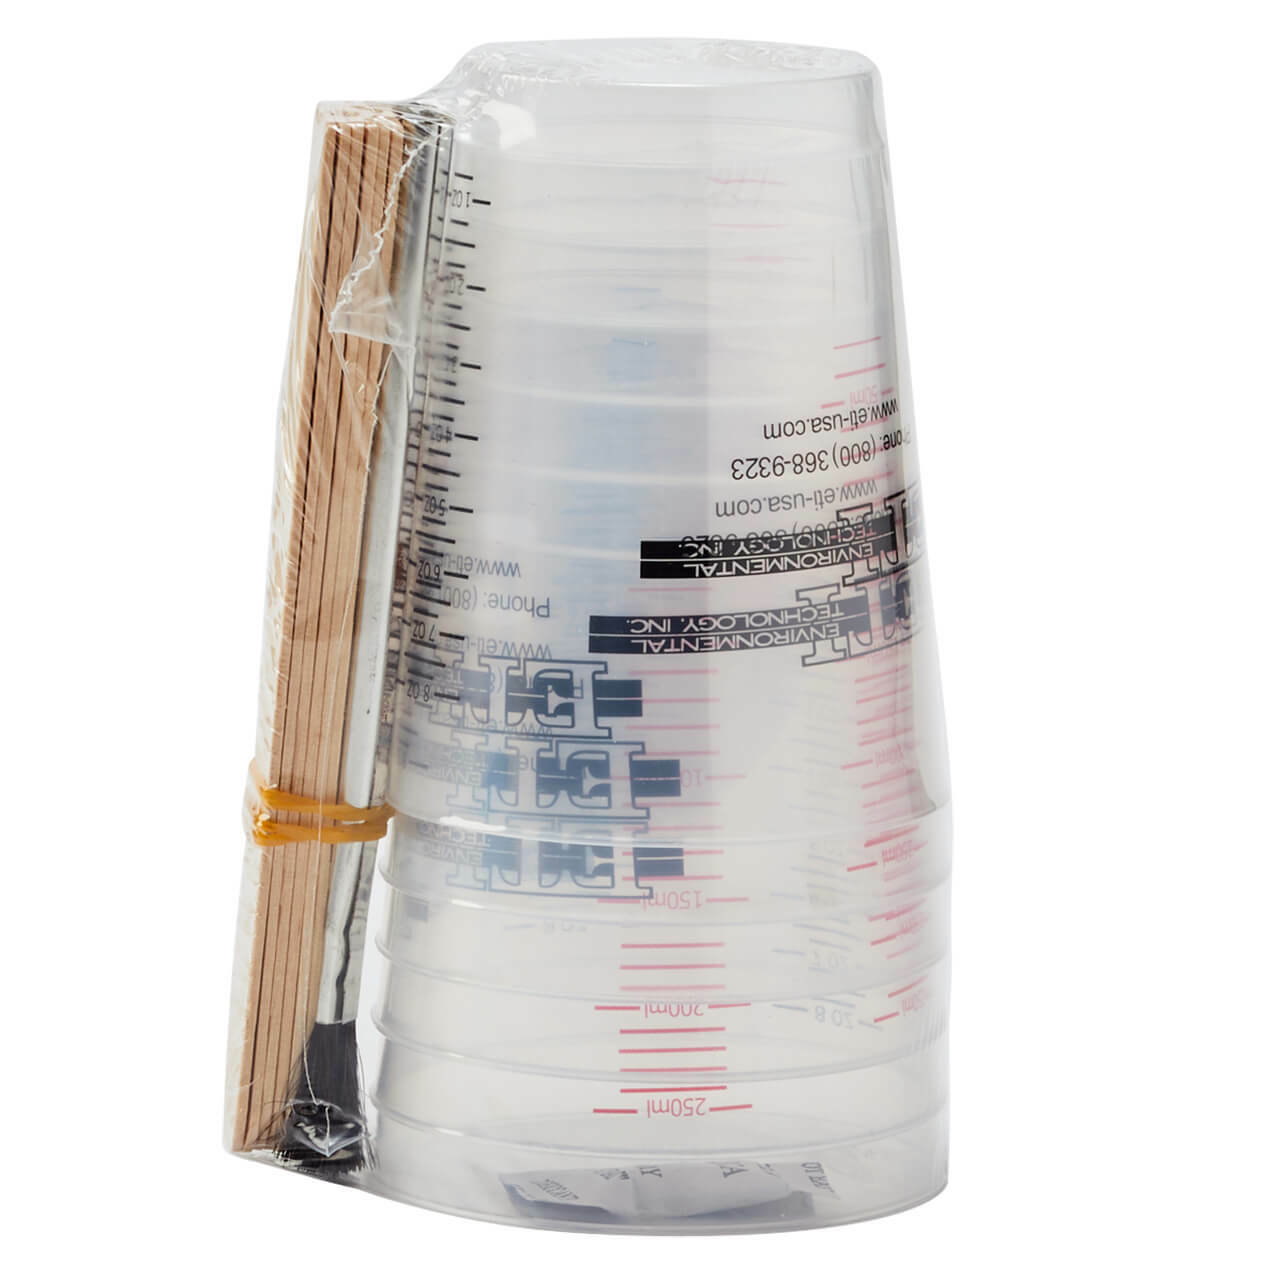
- ETI Mixing Cup Set
- ETI PolyColor Resin Powder (colors used in this post are Cotton Candy, Silver, and Pearl Metallic)
- Small mixing cups
- Straw topper silicone mold
- E6000 glue
- Craft clamps
- Toothpicks
- Disposable gloves, work surface covering, protective eyewear
How to Make Resin Straw Toppers with EasyCast
Before we jump in and start crafting, it’s important to make sure that your work surface is covered, you’re wearing disposable gloves, you have on protective eyewear and that you’re working in a well ventilated area. Safety first!
Step One
Read the directions included with EasyCast Clear Casting Epoxy. It’s important to follow the mixing instructions precisely so that your straw toppers turn out exactly right.
To make five sets of straw toppers, pour one ounce of EasyCast resin into a mixing cup, and then add one ounce of EasyCast hardener.
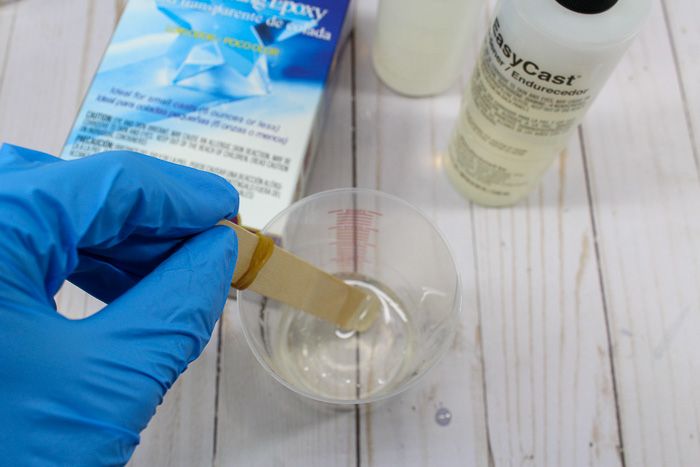
Use a stir stick to mix these together for two minutes.
Then, transfer this mixture to a clean mixing cup and use a new stir stick to stir the mixture for another minute. Make sure to scrape the sides of the mixing cup as you stir.
Step Two
Once this mixing step is complete, divide the resin into three small mixing cups.
Working with one mixing cup and one color at a time, pour a little bit of PolyColor Resin Powder into the resin. To create the pearlescent pink marble effect shown in this project, I used PolyColor Resin Powder in Cotton Candy, Silver, and Pearl Metallic. These pigments all have gorgeous vibrance and shimmer!
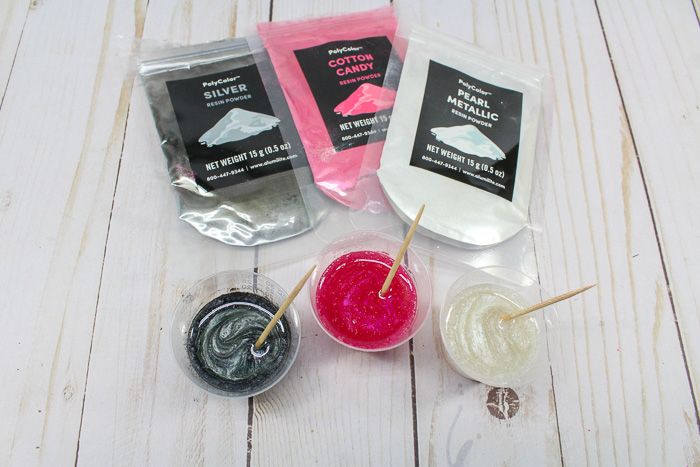
With PolyColor Resin Powder, a little goes a long way, so start with a small amount and stir, and then add more Powder until you get the desired look. (Bonus: you’ll have lots of PolyColor Resin Powder left over for future resin crafts!)
A little PolyColor Resin Powder will result in a translucent effect, whereas adding more PolyColor Resin Powder will result in a deeper color. Mix the Powder thoroughly.
Step Three
Carefully pour a little of each color resin into the straw topper mold cavities. Pour the resin on the side of the mold that has the divider running through the center.
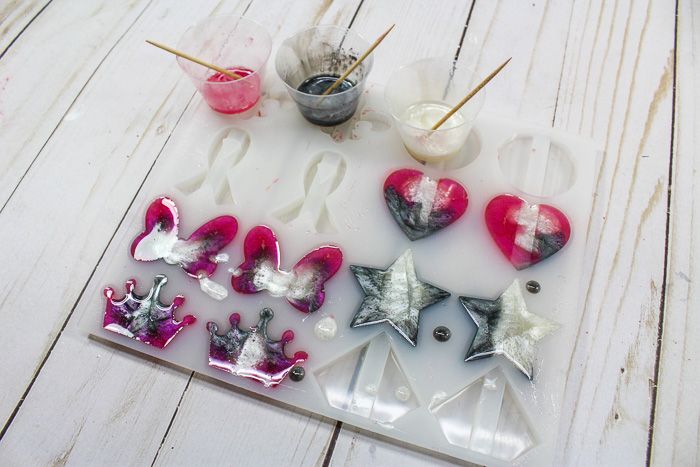
Once the straw topper mold cavities are filled, use a toothpick to gently swirl the colors together to create a marble effect. Be careful not to swirl the colors together too much, as you don’t want to create a new color – you just want the colors to swirl together slightly.
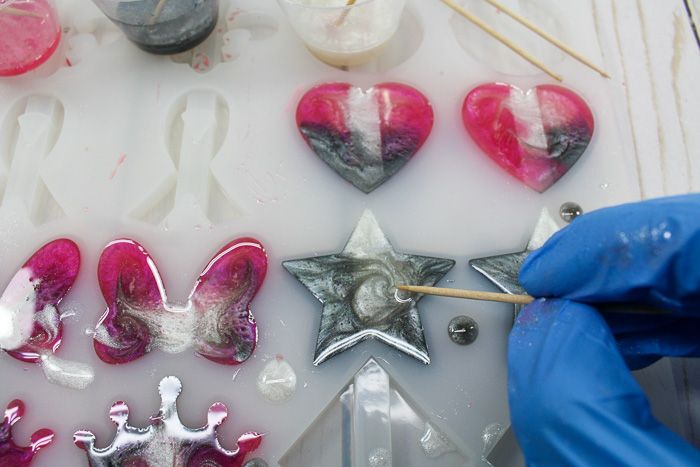
Let the filled molds sit for a few minutes, and then inspect them to see if any bubbles have formed in the resin. If there are bubbles, pop them with a clean toothpick or by gently blowing air through a straw onto the bubbles. Do not use a heat gun to pop bubbles in a silicone straw topper mold, as you will ruin the mold.
Step Four
Leave the filled resin molds in a safe spot and let the resin cure and harden for at least 24 hours. After 24 hours the resin will have set to a soft cure, but after 72 hours the resin will have set to a hard cure.
Step Five
Once the resin has cured, remove the resin straw toppers from the mold.
Then, on the inner side of a straw topper piece (the inner side has a cutout running through the center), place a small amount of E6000 glue to the left and right of the center cutout. Press that piece onto the inside of the other straw topper piece to form a complete straw topper. Make sure not to put glue in the cavity that’s meant for the straw, or your straw topper will not function properly.
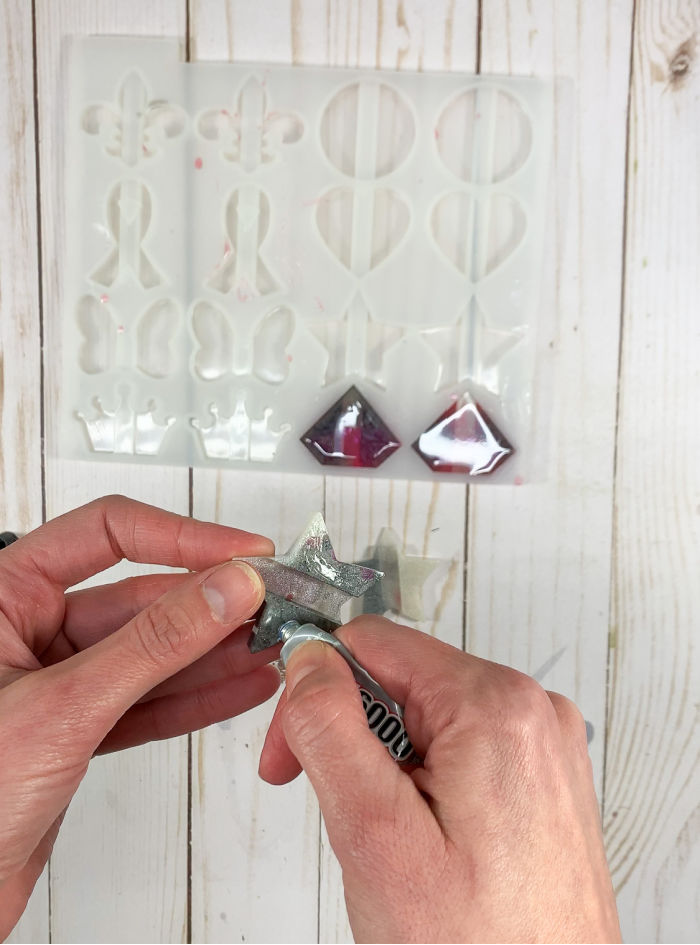
If the resin has cured for at least 72 hours at this point, you could use small craft clamps to press the pieces together and form a tight bond between the glue and the resin pieces. If the resin has cured for less than 72 hours, do not use craft clamps as you will warp the resin pieces with that added pressure from the clamps. Instead, press the pieces together with your fingers for a couple of minutes to ensure that the glue forms a tight hold.
Once the glue has dried, your DIY resin straw toppers are ready!
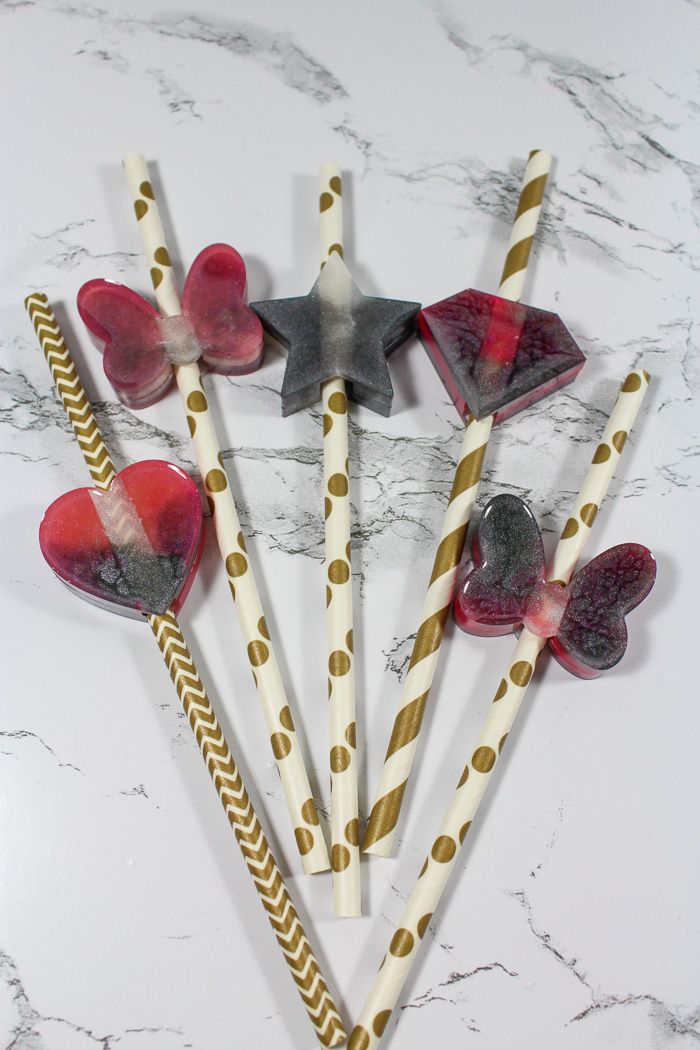
The only thing left to do is decide which one to use first!


Bre is a content creator at Average But Inspired. She strives to inspire creative action in others by providing written and video DIY and craft tutorials, furniture upcycle projects, and home decor ideas. She wants others to feel empowered to tackle DIY, regardless of skill level or experience. When she’s not making something, you can find her watching Bravo TV with her labradoodle, Jasper.


Hello!
I made the exact resins above. However when I put them on our metal straws, they just slid down. The hole on the resin holder is quite bigger than the metal straws. Any tips?
Hi! You could try putting a small rubber band around the straw so that the straw doesn’t slide.