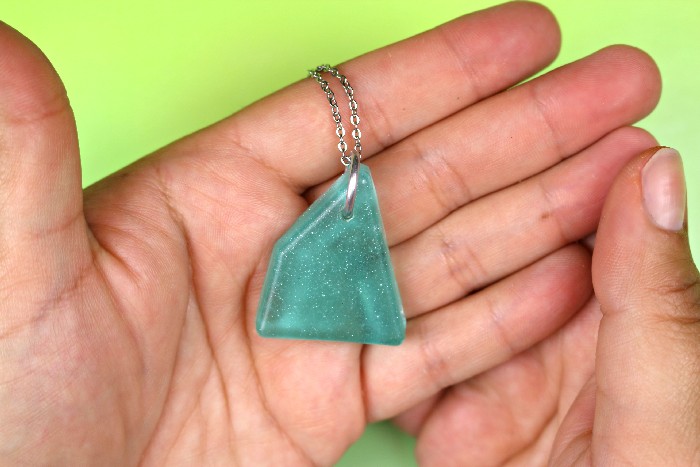
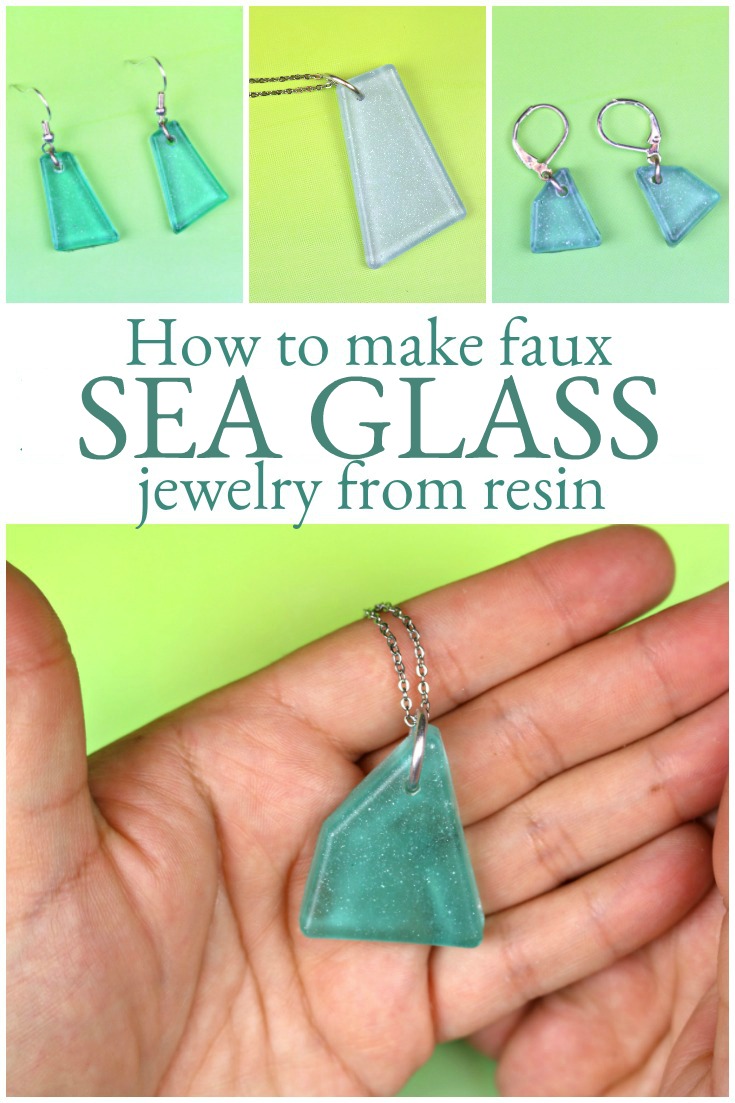
I love the look of sea glass, but it is not easy to find where I live. I’ve created a few faux sea glass projects on my own blog, but I haven’t yet tried making faux sea glass from resin. When looking at the EasyCast jewelry mold, I saw a few of the cavities looked perfect for the project. I used this sturdy mold to create some sea glass inspired resin jewelry that is perfect for summer!
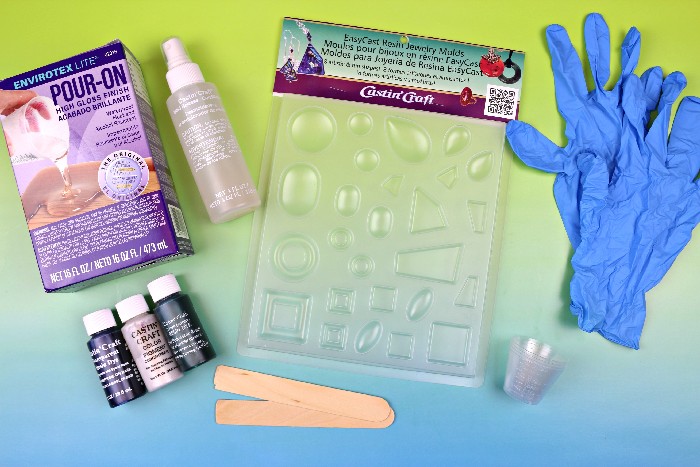
Supplies:
- EnviroTex Lite
- Mixing Cup Set
- Gloves
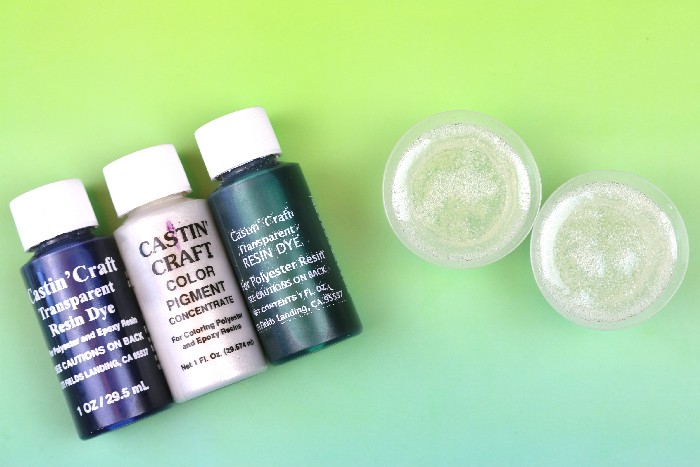
- Opalescent Opaque Pigment
- Blue and Green Transparent Dye
- Mold Release and Conditioner
- EasyCast Resin Jewelry Mold
- Scissors
- 150 grit sandpaper (optional)
- Small drill bit
- Drill or Dremel
- Jewelry pliers
- Jump rings
- Necklace chain and/or earring findings
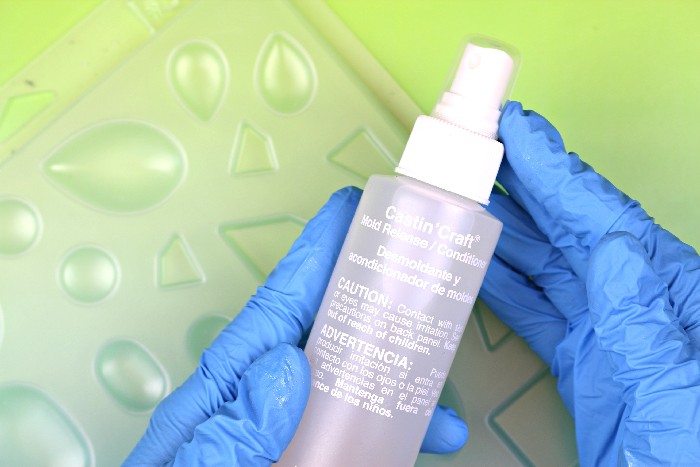
Begin by spraying the EasyCast jewelry mold with mold release. (Be sure to shake the mold release well before use.) Let the mold dry while you create the resin mixture.
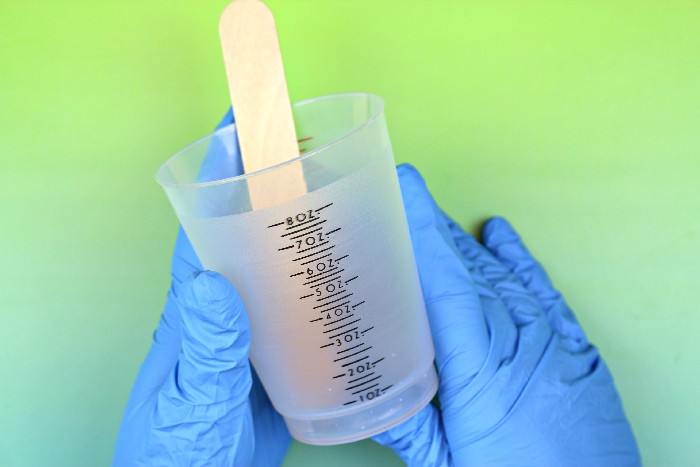
Create the resin mixture by mixing together 1 ounce of resin and 1 ounce of hardener in a large mixing cup. You could also mix 1/2 ounce each of resin and hardener in two separate small cups. I just find it is easier to stir in the large mixing cup. Whatever method you choose, stir for 2 full minutes — making sure to scrape the sides and bottom of the cup. Transfer the mixture to another cup, and stir for another minute.
If you mixed the resin in a large cup, divide the mixture equally into two small cups.

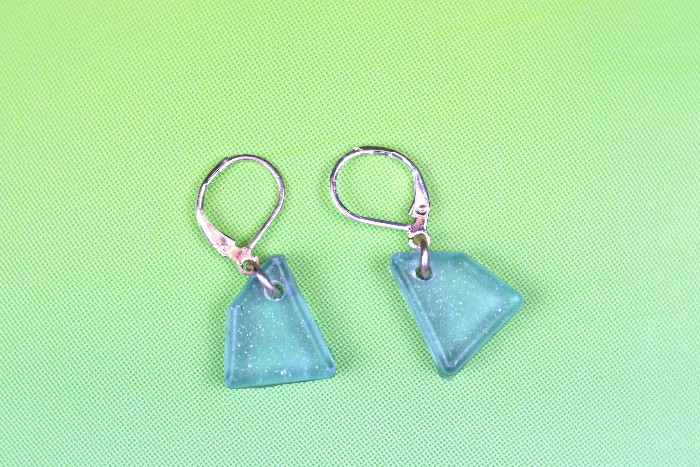
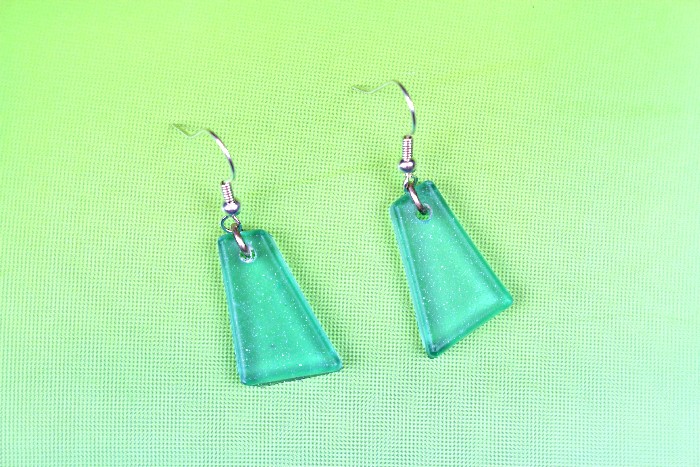
Add a small amount of opalescent pigment and 2-3 drops of blue transparent pigment to one of the cups. Add a small amount of opalescent pigment , 1 drop of blue transparent, and 1-2 drops of green transparent pigment to the second cup. Stir both cups until the pigments are even distributed.
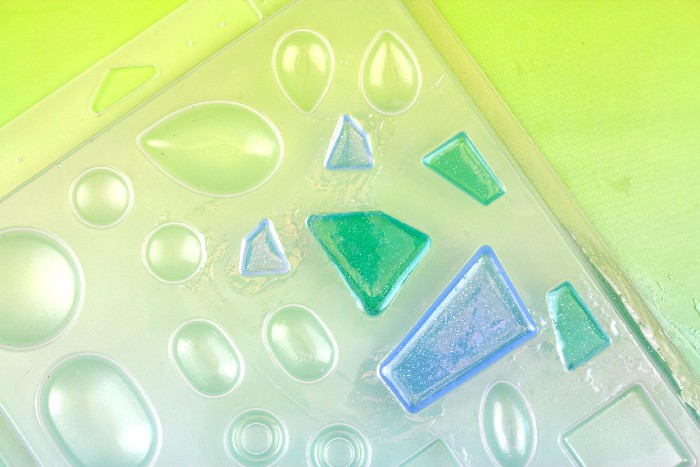
Carefully pour the resin into the jewelry mold. Pour less than you think you will need. It is better to have the mold slightly under-filled than to have it overflow. I learned this the hard way and had to do some clean up in between the mold cavities. Let the resin sit for 20 minutes. If after this amount of time there are still bubbles on the surface of the resin, you can pop them with a long handled lighter or small torch. Allow the resin to cure.
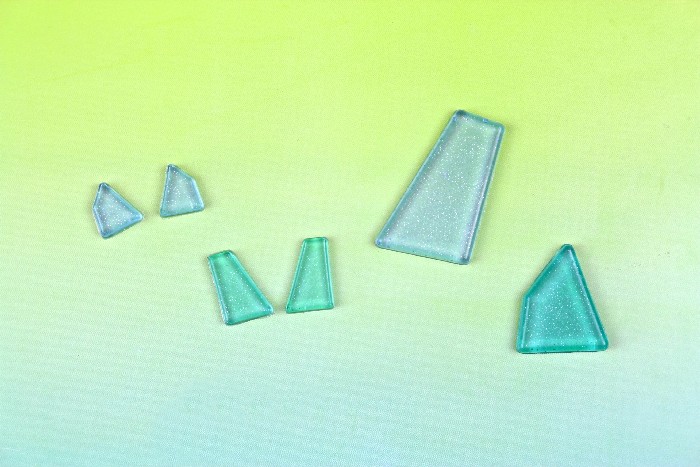
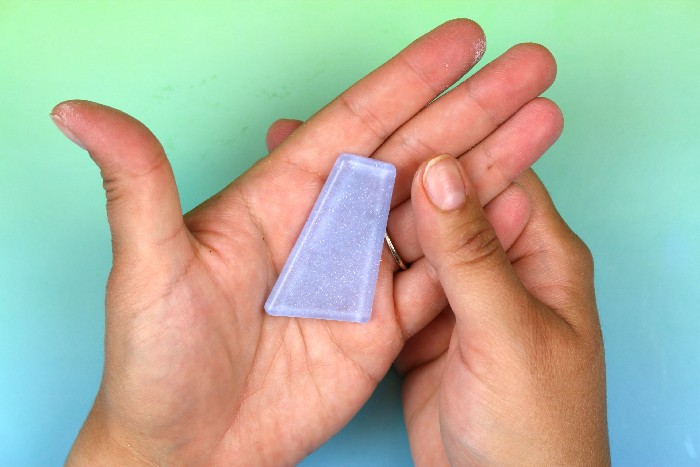
Remove the resin pieces from the mold by inverting the mold and pressing firmly in the center of each filled cavity.
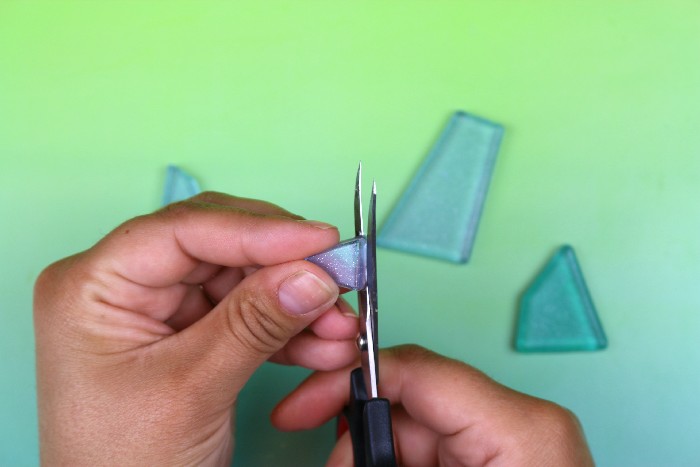
Use a pair of sharp scissors to trim off any resin edges caused by overflow.
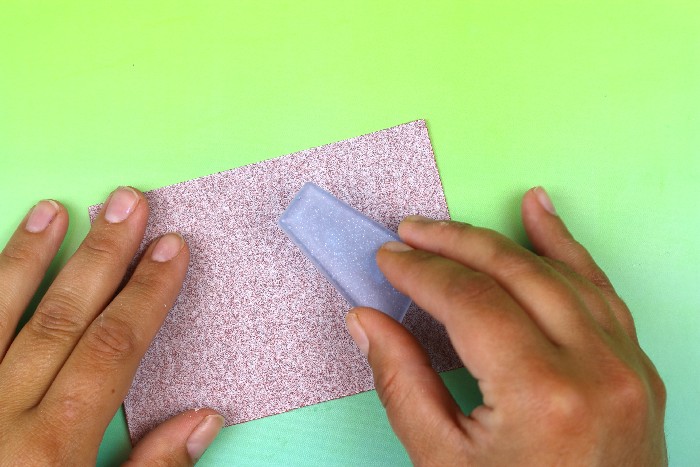
Because real sea glass is translucent, not transparent, you will need to make the resin a bit cloudy. Do this by rubbing the back side of each resin piece on 150 grit sandpaper to rough up the surface.

The back of the resin piece should look something like this.
Sanding the back of the resin creates a cloudy look to the front of the resin piece. You could skip this step if you don’t have sandpaper on hand, but it really adds realism to the resin sea glass.
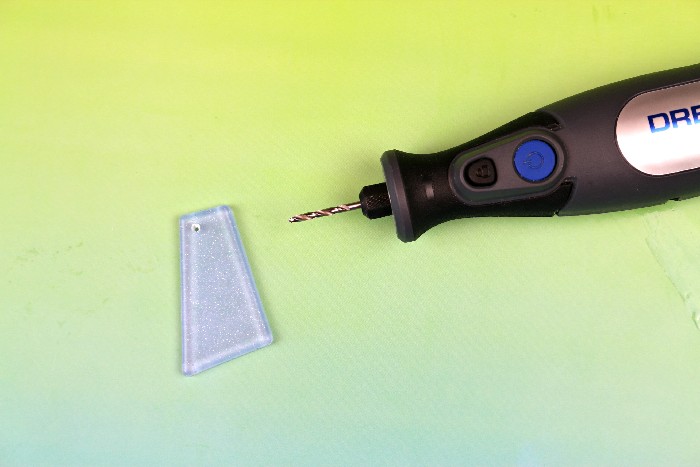
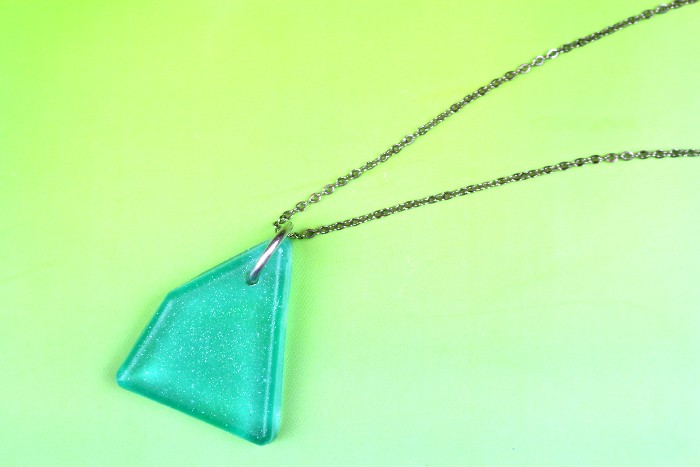
Next, add small holes to the top of the pieces you will use for pendants or dangling earrings with a Dremel or very small drill bit.

Add jump rings to the drilled holes. Then attach the jewelry pieces to a necklace chain or earring findings.
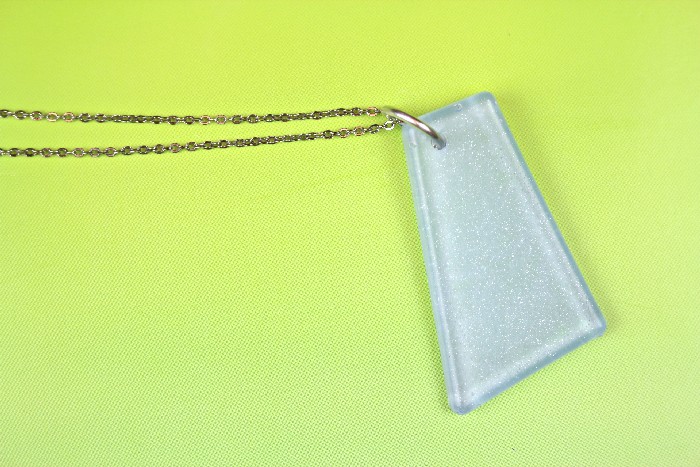
Now you have gorgeous sea glass inspired jewelry that you made yourself. Since the mold has so many different shapes that can be filled at once, you can make jewelry for yourself and all your friends in one go! Where would you wear your faux sea glass jewelry?

Jessica Hill is the creative mind behind the blog, Mad in Crafts. For nearly 9 years, Jessica has shared crazy good creativity from her Mad House to yours. When she’s not creating, Jessica loves the Detroit Tigers, craft beer, and spending time with her family and rescue dog.


[…] your area? It is actually not that hard to make some faux sea glass yourself! Head over the Resin Crafts blog to see how to make your faux sea glass from resin. This is a great beginner resin jewelry […]