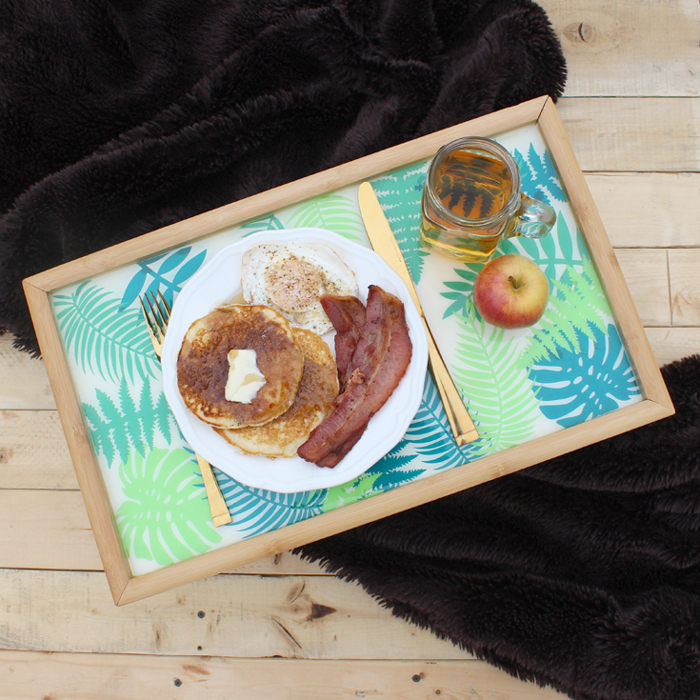
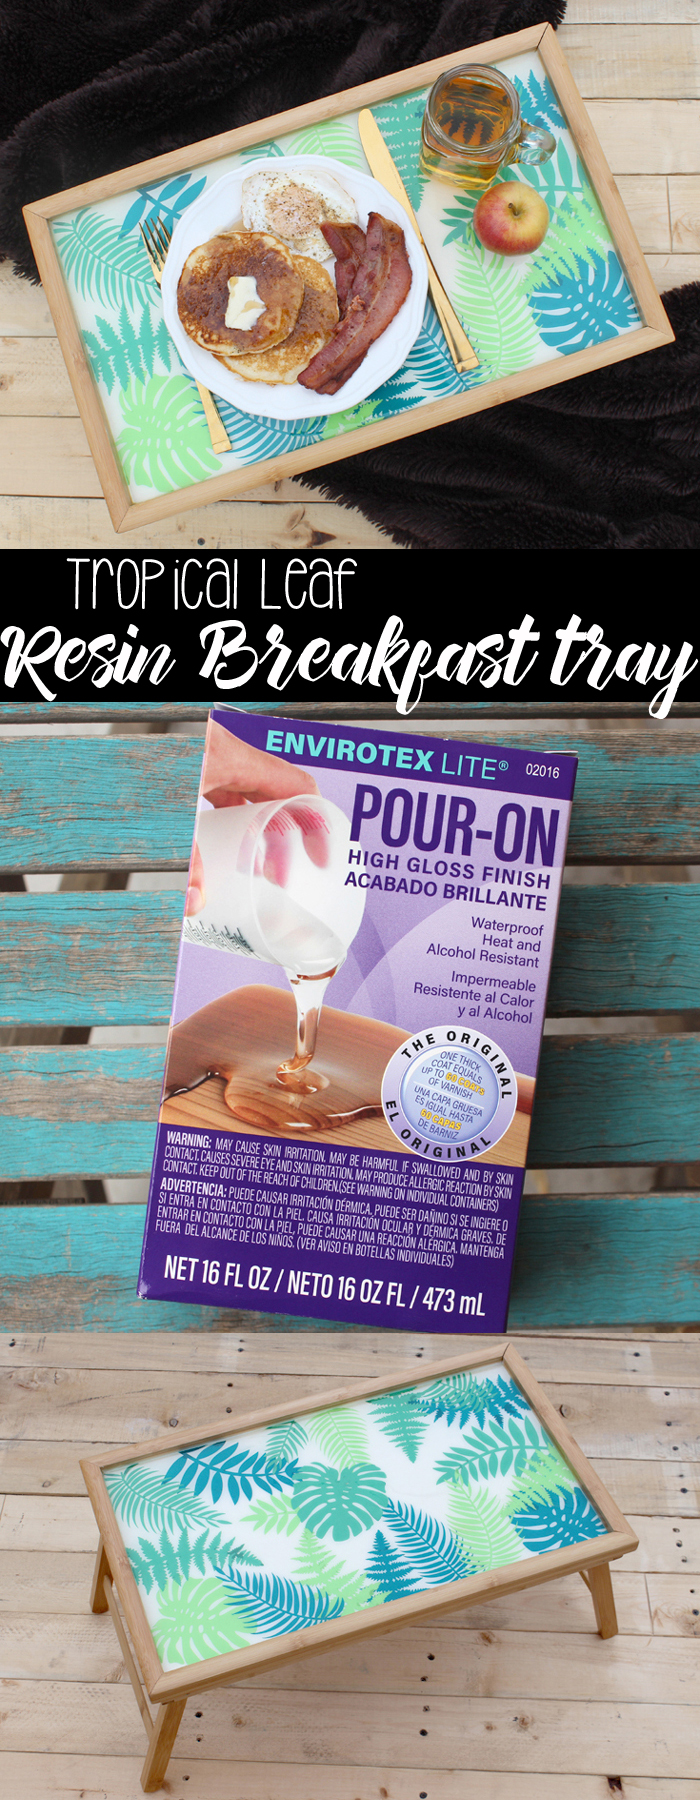
Tropical Leaf Resin Breakfast Tray
Hi Resin Crafters, it’s Natalie from Doodlecraft. I’m sharing an amazing breakfast-in-bed tray with a fabulous tropical vibe. The weather where I live has been cold, snowy, and gray…not to mention the Winter blues. Obviously, a tropical escape would be the first on the remedy list, but a warm breakfast while cuddled up in bed is a close second.
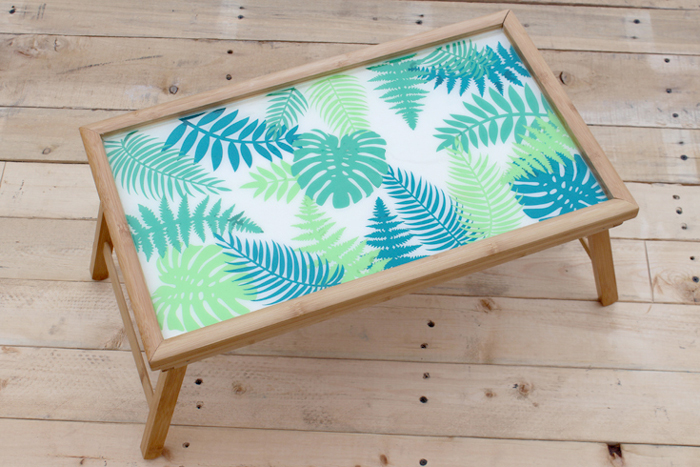 A serving tray is an easy and natural choice when working with resin because it already has a raised edge, perfect for holding in resin. There is very little prep work overall and makes this a quick and stunning DIY craft.
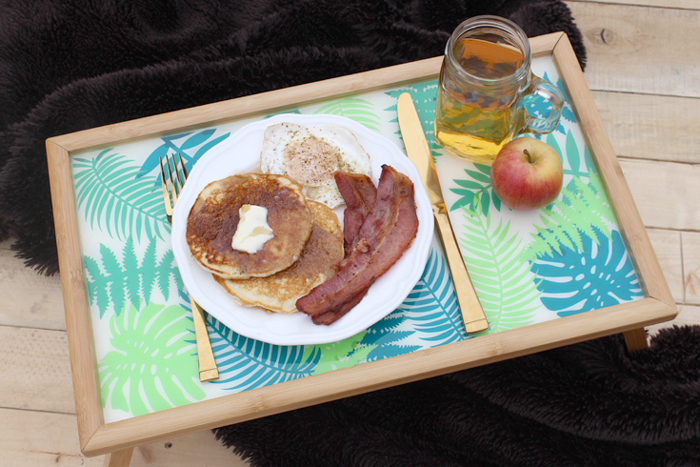 Supplies:
Serving Tray
White paint
Paintbrush
3 shades of green paper cut into leaves
Rotary cutter and straight edge (or scissors)
Ultra Seal Multi-Purpose Sealer
EnviroTex Lite High Gloss Finish
Disposable table cloth/gloves/stirring sticks/mixing cups
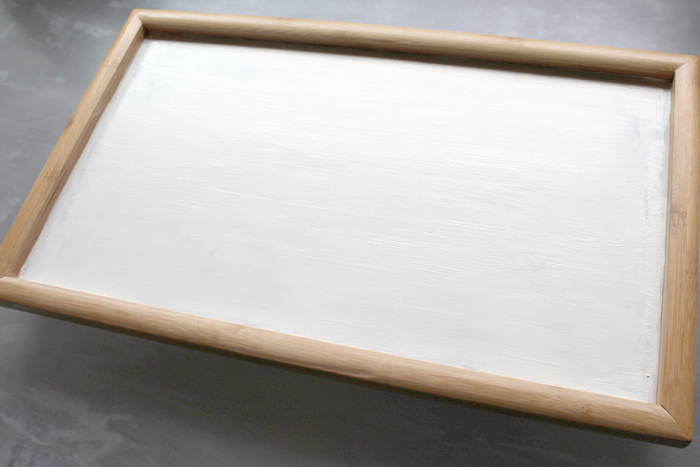
Heat gun/torch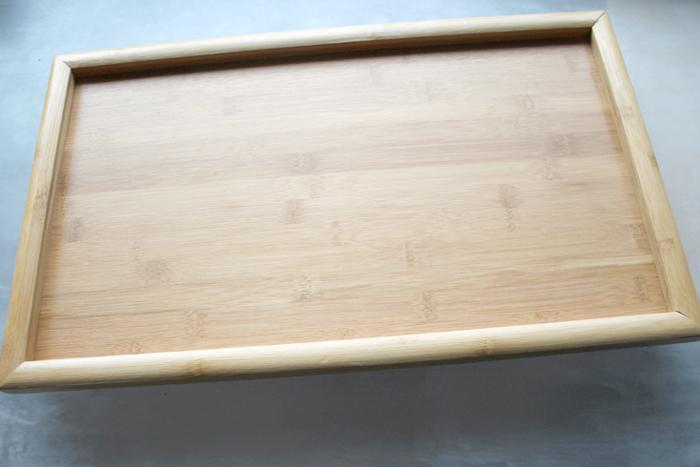 In order to have a higher contrast between the tray and the leaves, I opted to paint the inside of my serving tray a creamy white.
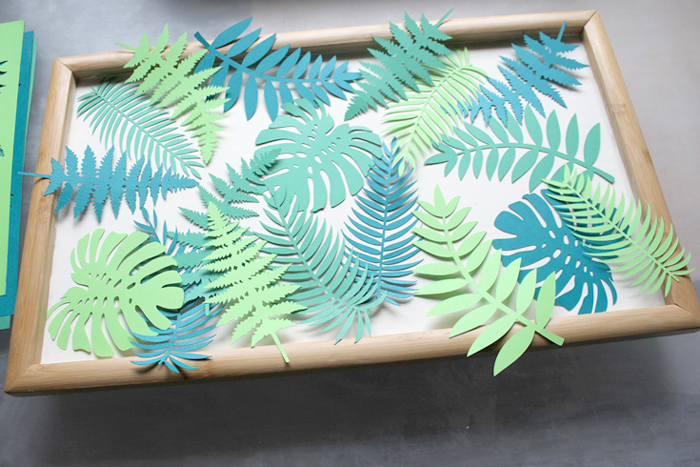
 Cutting tropical ferns and paper leaves is essentially very simple using an electronic cutting machine. Silk leaves or cutting shapes by hand could be used as substitution as well.
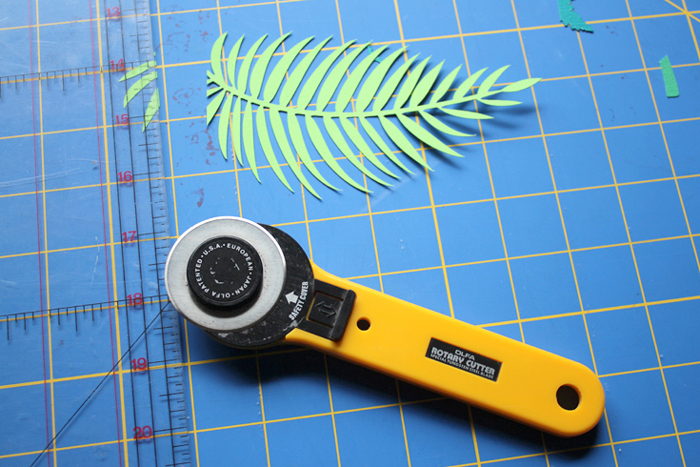
  Use a straight edge and rotary cutter to cut the leaves straight.
 This will let them line up all the way to the edge of the serving tray easily.
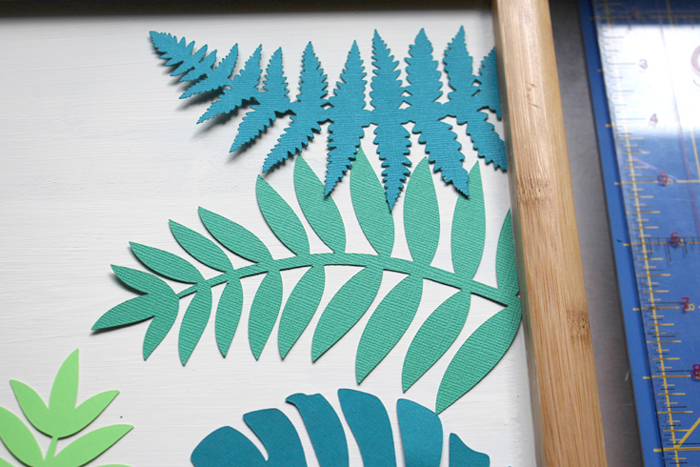 Decide on an overlapping arrangement of the tropical leaves. Then lift them off the tray so you can easily put them back in place. Coat the tray with a thin layer of Ultra Seal. Then replace the tropical leaves on the tray. Gently brush the ultra seal all over the tops of the leaves too. Now, let the Ultra Seal dry completely.
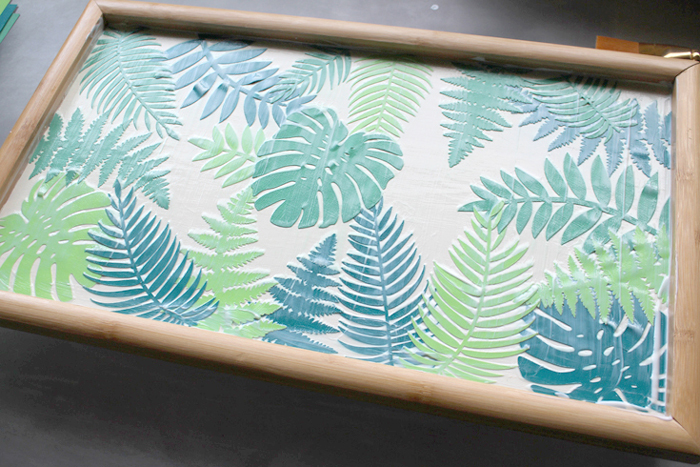
Next is the High Gloss finish. This turns a simple craft project into a surprisingly professional piece of art. One 16 oz. package of Pour On Finish will cover a 1 foot square, it did this entire tray perfectly.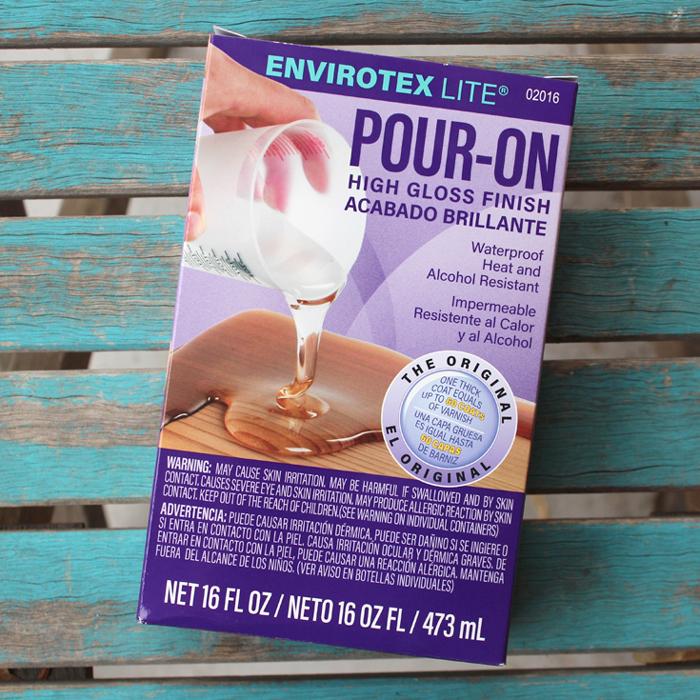 Work on a disposable surface, wear gloves and read the instructions. Mix the hardener and the resin according to the package directions in a 2 phase mixing process. The temperature of the room will effect the resin thickness and drying time. Work in a well ventilated area.
 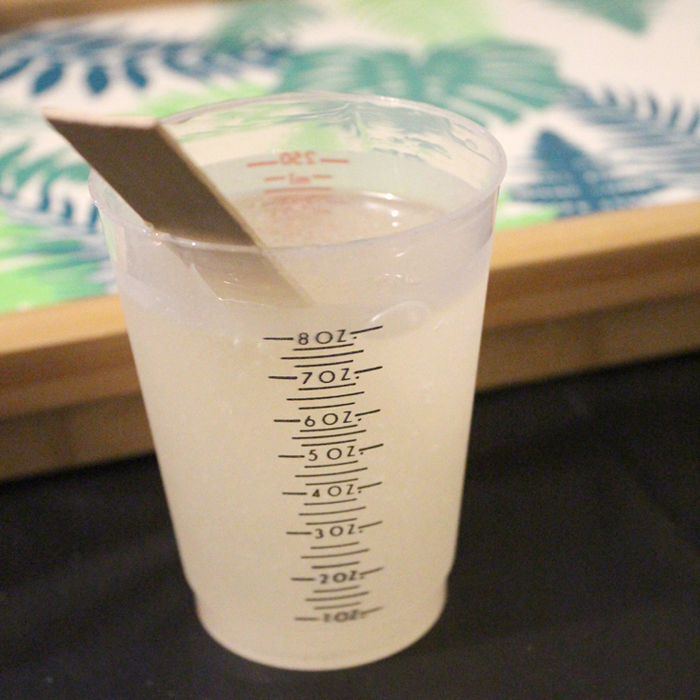 Once the resin is mixed properly, pour it right onto the tropical leaf tray.
 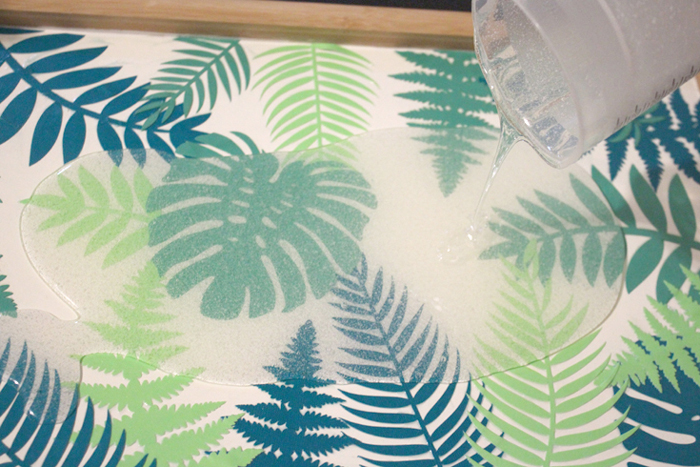 Lift and tilt the tray gently to help the resin work its way to each edge and corner. Place it on a flat surface and cover with a big piece of cardboard so no dust will land on it while drying.
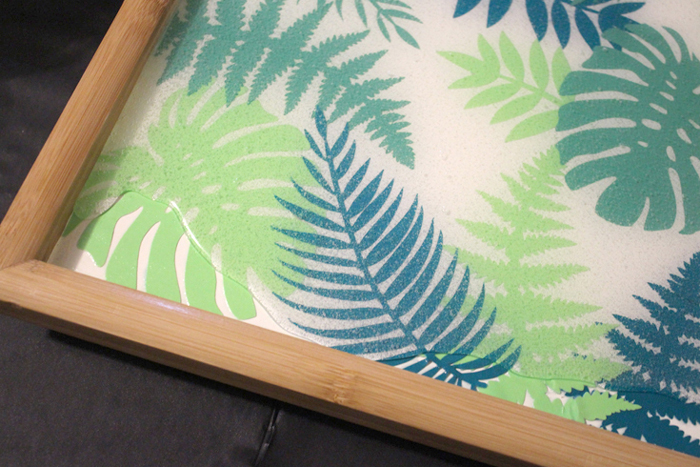
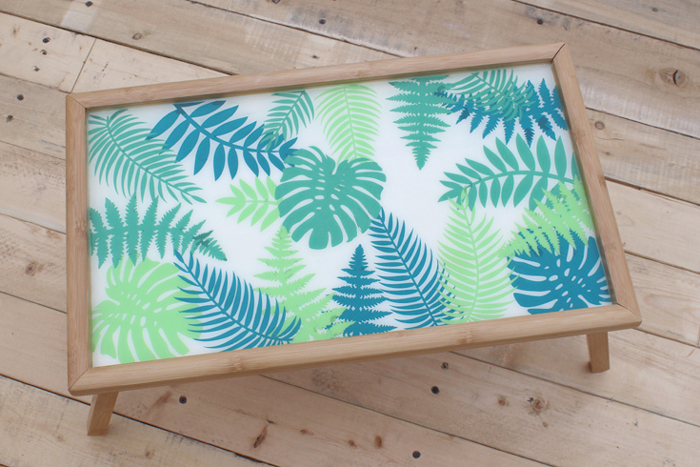
After twenty minutes of drying, lift the cardboard and gently use a heat gun or torch to pop all the bubbles that have surfaced. Then recover with cardboard and let it cure for 24-48 hours. A good way to check if the resin is cured is to smell it, cured resin will no longer have any scent to it. 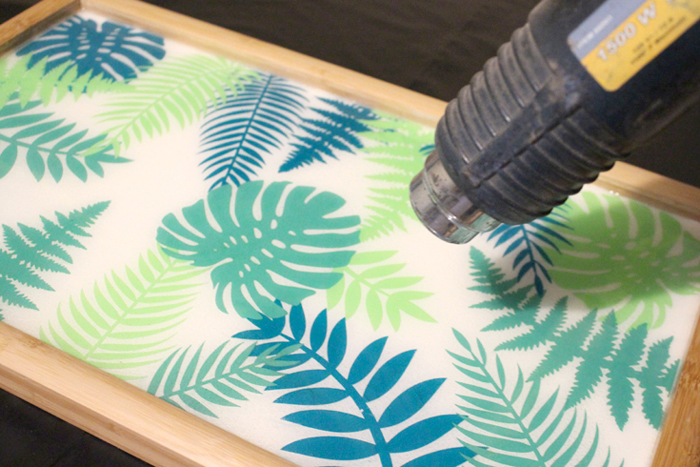 That’s it! The breakfast tray is ready to serve up some tropical sunshine on a cold Winter morning.
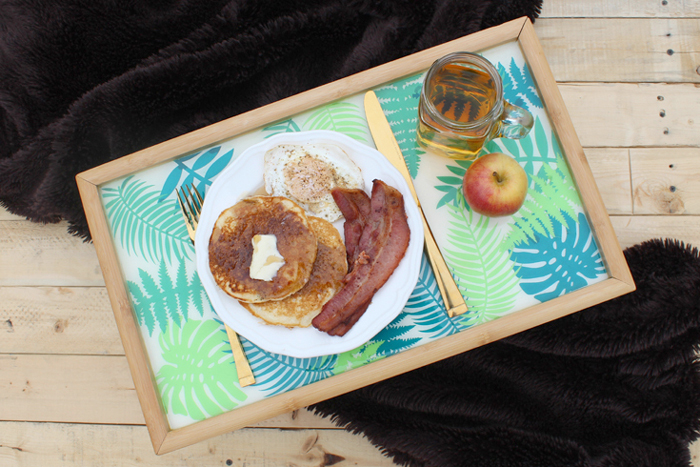 Make a matching pair for a darling, customized wedding gift. Enjoy the tropical vibe all year long with this fun serving tray!
 Pin for later!
SaveSave
Natalie Shaw is a Craft/DIY blogger at Doodlecraftblog.com. She loves sci-fi, fantasy and video game geekery and that comes out in many of her projects. She posts budget conscious DIY’s, crafts, jewelry, kid friendly projects, upcycled treasures and other fun on her blog 5 days a week.
I am thinking of making a tray for my mother in law using a picture my husband drew as a child of the family home, complete with house barn, animals in a pen and play area him and his 5 siblings created. The reason I am using this picture is this is the home the entire family talks about most although they lived in 3 different houses growing up. My husband passed away in February and I have been trying to think of a special gift for his.mom and while looking thru a box of my husbands things this picture stood out from all of the other items. Being it is approximately 50+ years old and fragile I will have it copied to the size of the tray so I will not have to cut it down to size, loosing precious details. So, after all this I do have a question, should I seal it in something like Mod Podge before adding it to the tray? Also, my husband was a carpenter and had accumulated many hammers. I plan on painting the handles matching painted designs to each of his siblings as well as our 3 children and using the same technique as on the wooden spoon handles but with clear resin so the designs are visable. Thank you so very much for having so many ideas along with instructions, it really helps when the ideas I have match ideas here. ????
That’s a wonderful gift idea. Super smart to use a copy of the original photo too. Yes, seal it with Ultra Seal or Mod Podge and let it dry completely before using the resin. I’m so glad this tutorial was inspiration for you. Thanks for reading!