
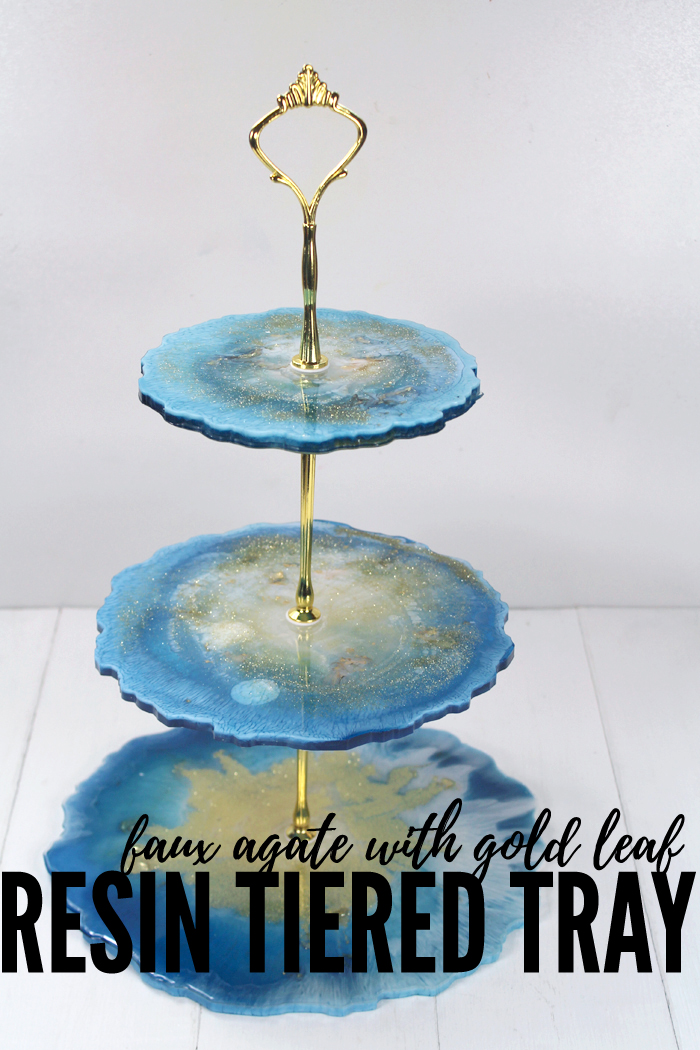
Resin Faux Agate Tiered Serving Tray with Glitter
Hi Resin Crafters, it’s Natalie at Doodlecraft sharing an absolutely dreamy resin project! Make a tiered serving tray for serving at parties, using as a catch all or giving as a gorgeous handmade gift. This tiered serving tray makes such a statement!

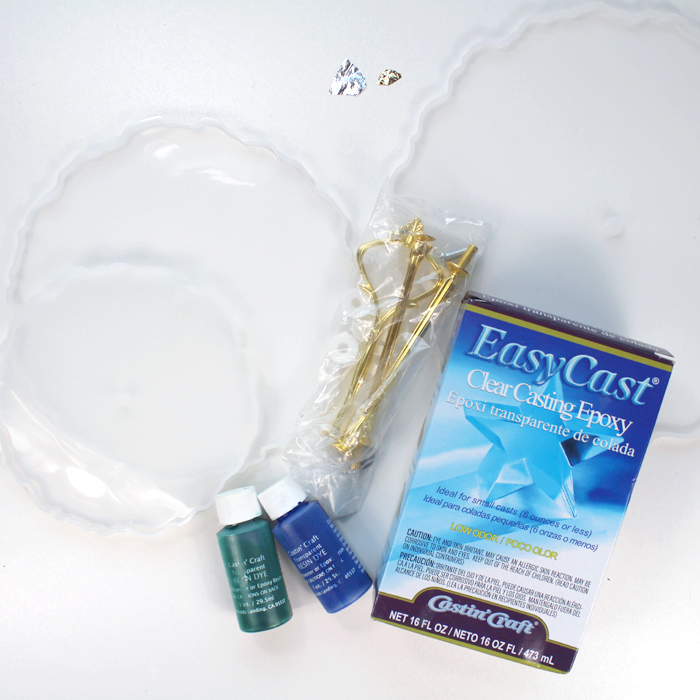
Supplies Needed for Tiered Serving Tray:
- EasyCast Clear Casting Epoxy
- Castin’ Craft Translucent Dye in Blue and Green (or your favorite color)
- Silicone Tier Mold and Hardware (affiliate link from Amazon)
- Gold Leaf Flakes
- Glitter
- Disposable Gloves, Mixing Cups, Stirring Sticks, Smaller Cups
- Embossing Heat Gun
Step 1: Mix the EasyCast Resin
Begin by mixing the EasyCast resin in the two phase process. Be sure to work in a well ventilated room and wear the proper safety protection. Read the directions from the package before beginning. As much as I have used resin, I read through it every time. If there is a problem with resin curing, 9 times out of 10, it’s because of improper mixing. Don’t cut corners on this process.
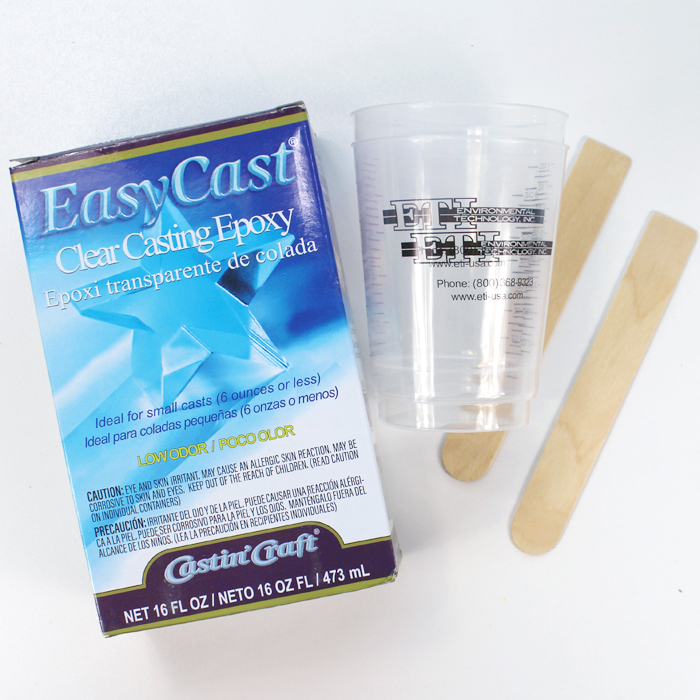
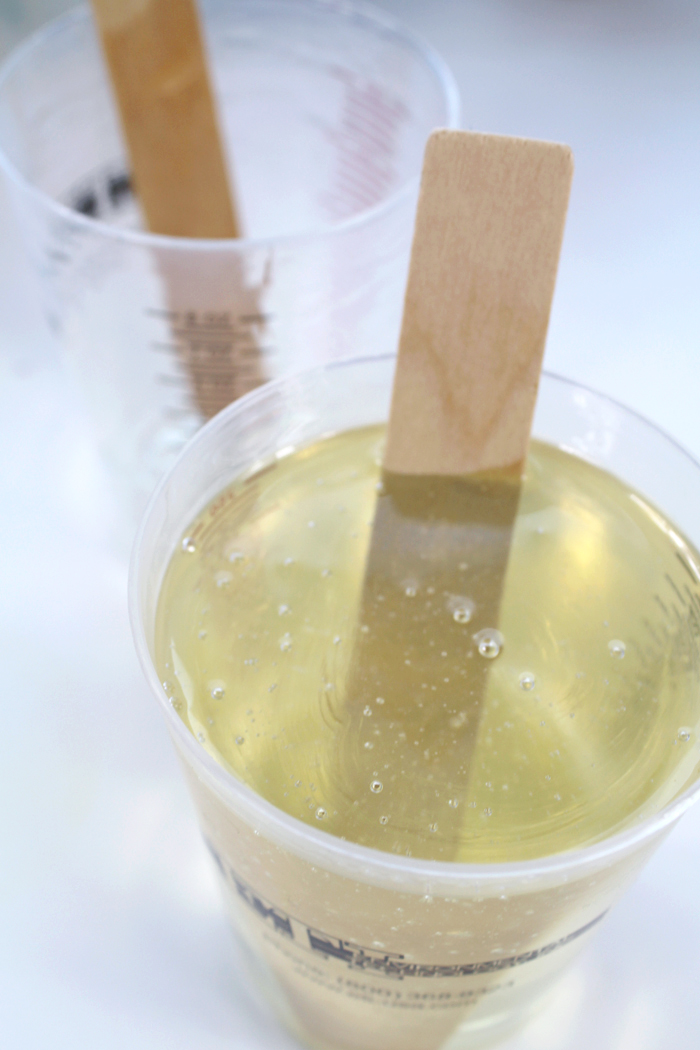
Mix one part of resin and one part of hardener into a mixing cup and stir for 2 full minutes. Then pour into a second cup and mix with a second stick for another full minute.
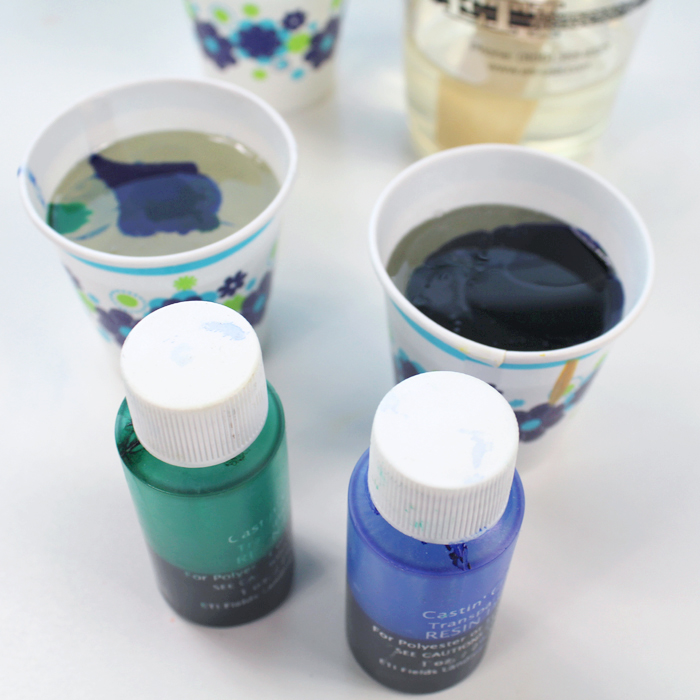
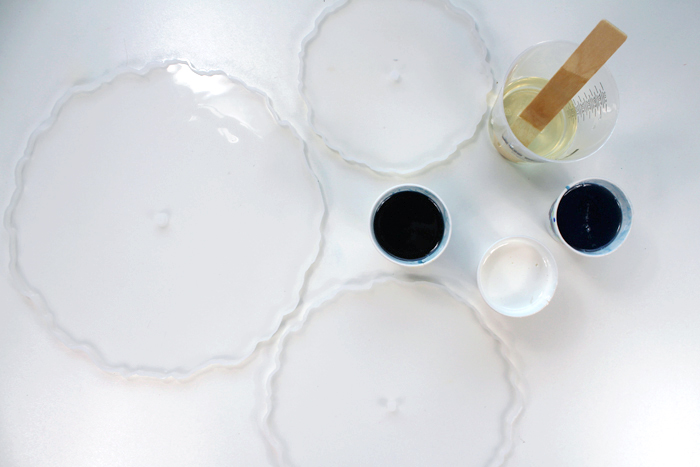
Step 2: Dye the Resin
Then pour the mixed resin into a few smaller cups. Add a few drops of the translucent color into the cups. If too much dye is added to the resin, it won’t harden properly, so don’t over do it. Just add a drop or 2 at a time until the color is achieved.
Once the colors are mixed, set the molds out on a level work surface.
Step 3: Pour the EasyCast Resin
Then pour clear resin in the center. Next pour the lightest color around the clear.
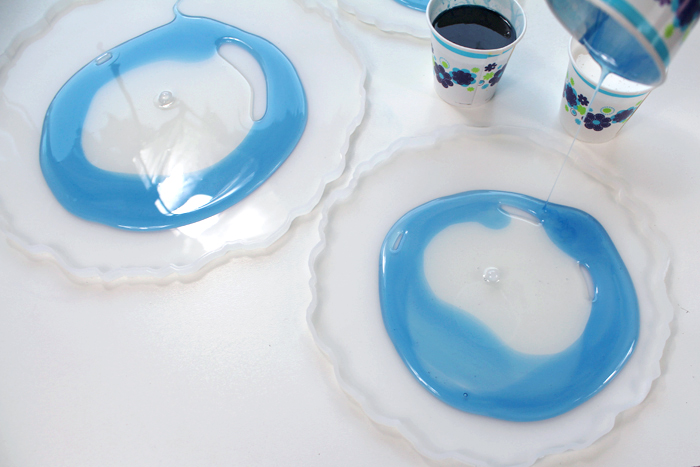
Then work your way out to the edge with the darkest color. Use a stirring stick to swirl white around in circles. Use a small heat gun to spread the color around a little.
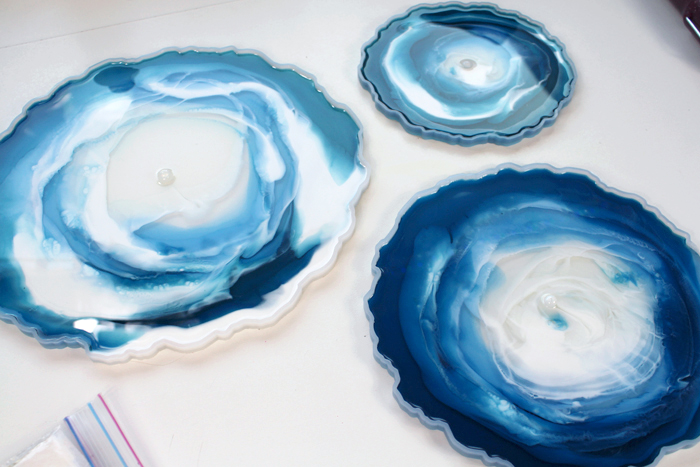
Step 4: Add Sparkle to the Resin
Now add some gold leaf flakes into the resin. I only had gold leaf, so I broke it up and added it.

Then swirl some gold glitter in the resin.
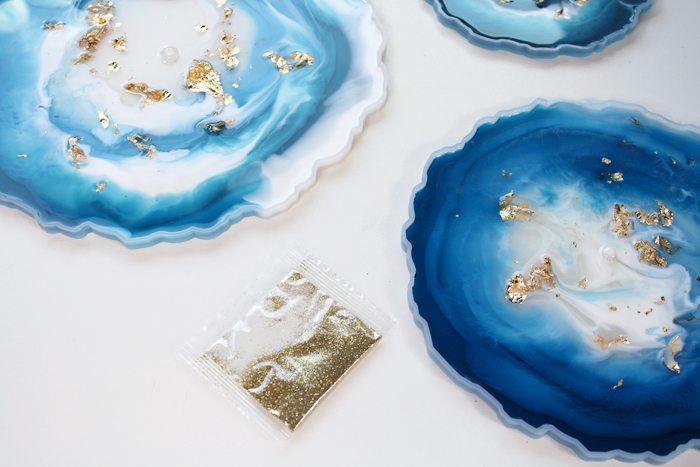
Set them aside overnight to cure and harden.

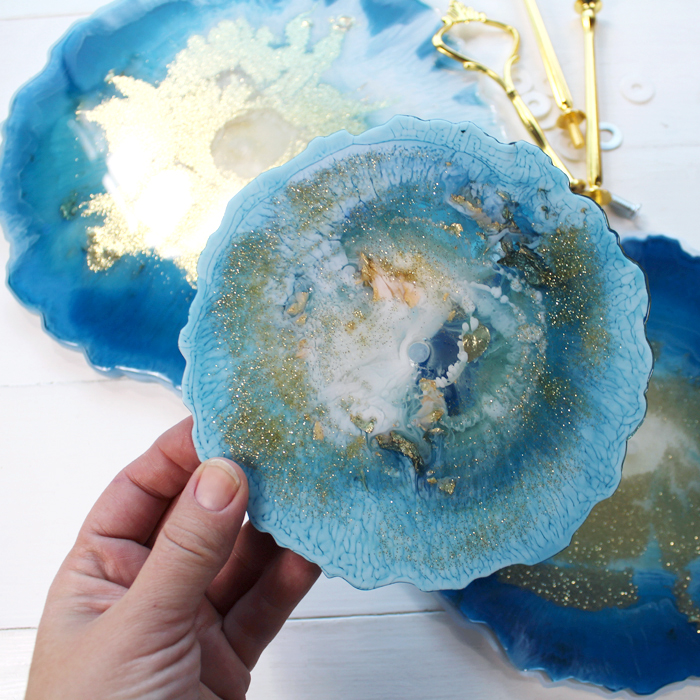
Step 5: Demolding
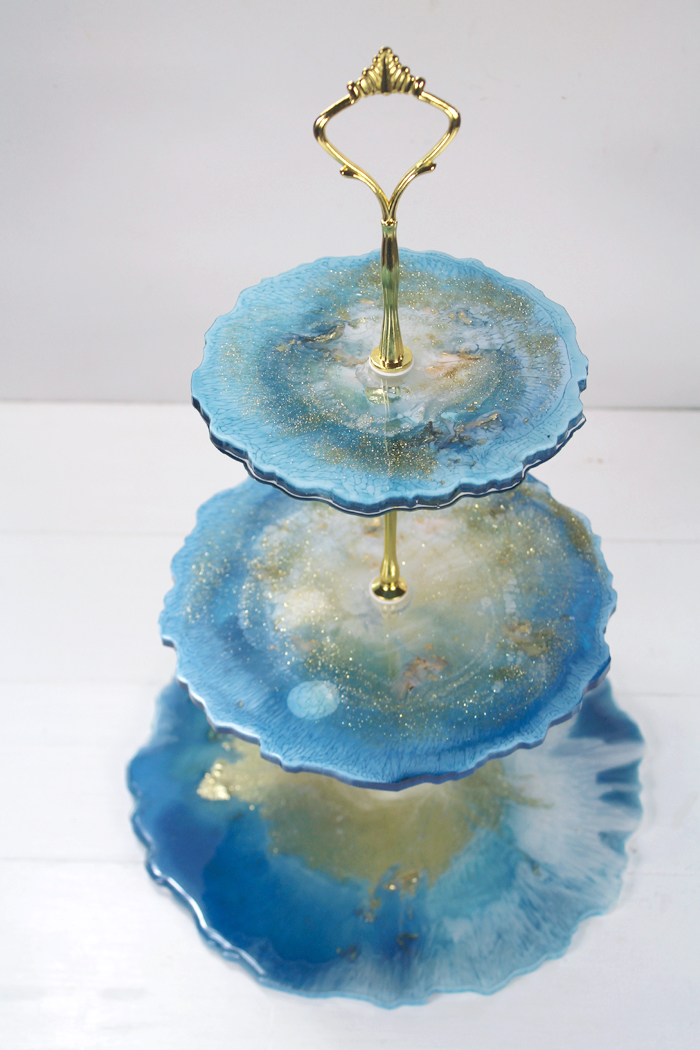
After 24-48 hours, peel the mold off the resin. This is such a satisfying part! Notice how the heavier colors sunk to the bottom? The white and the glitter dance around as the resin hardens.

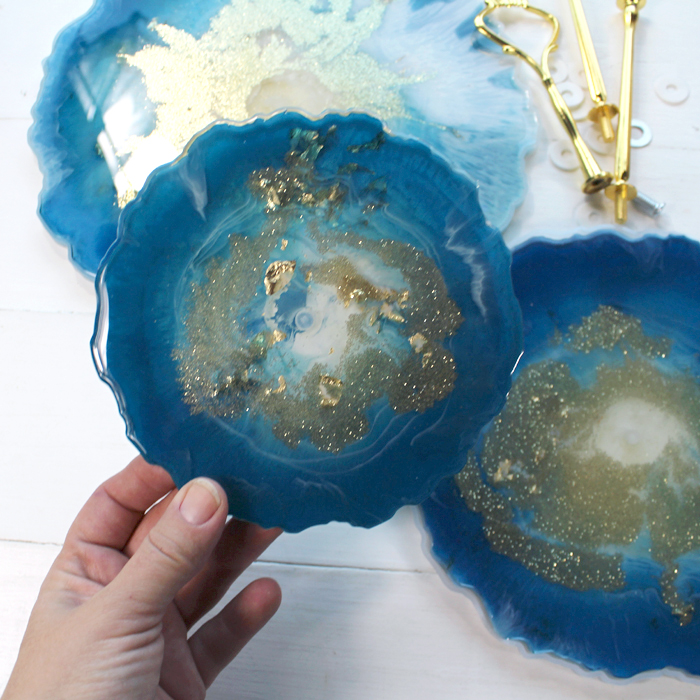
The base is set, so the way you pour it is the way the base will show…this is due to the screw hardware. The other 2 tiers are flexible and can be turned over either way. Do you like this way with the heavier amounts of white showing?
Or this one?
Step 6: Hardware
Now add the hardware to make the tiered serving tray complete.
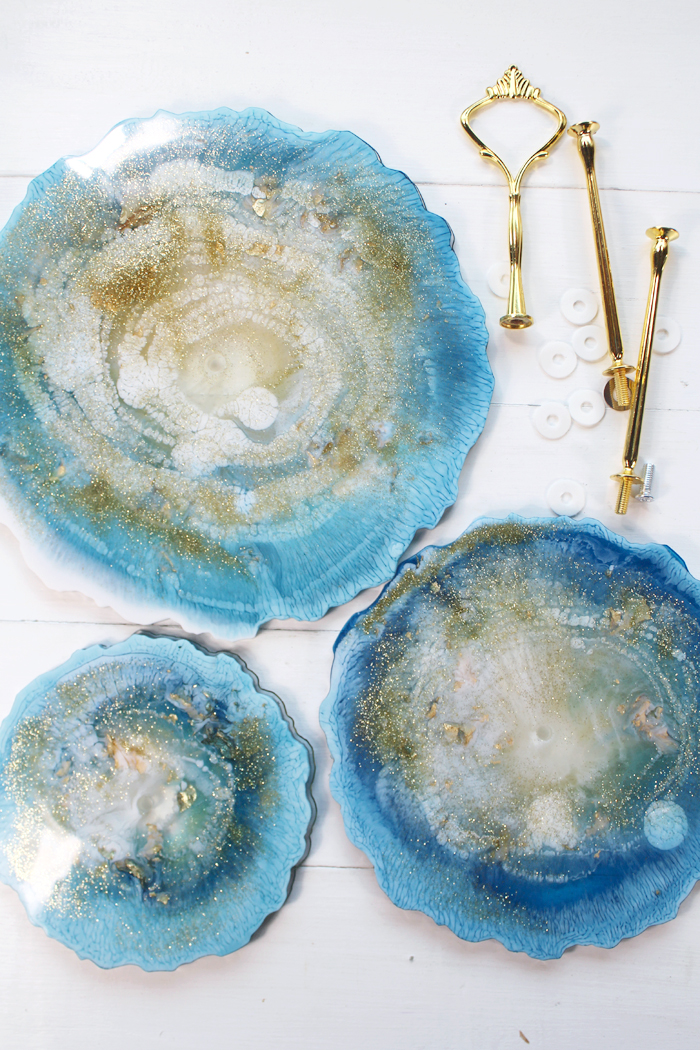
Begin by putting the short screw in the bottom tray. Then add a flexible washer, the stem, flexible washer, next tier, etc.
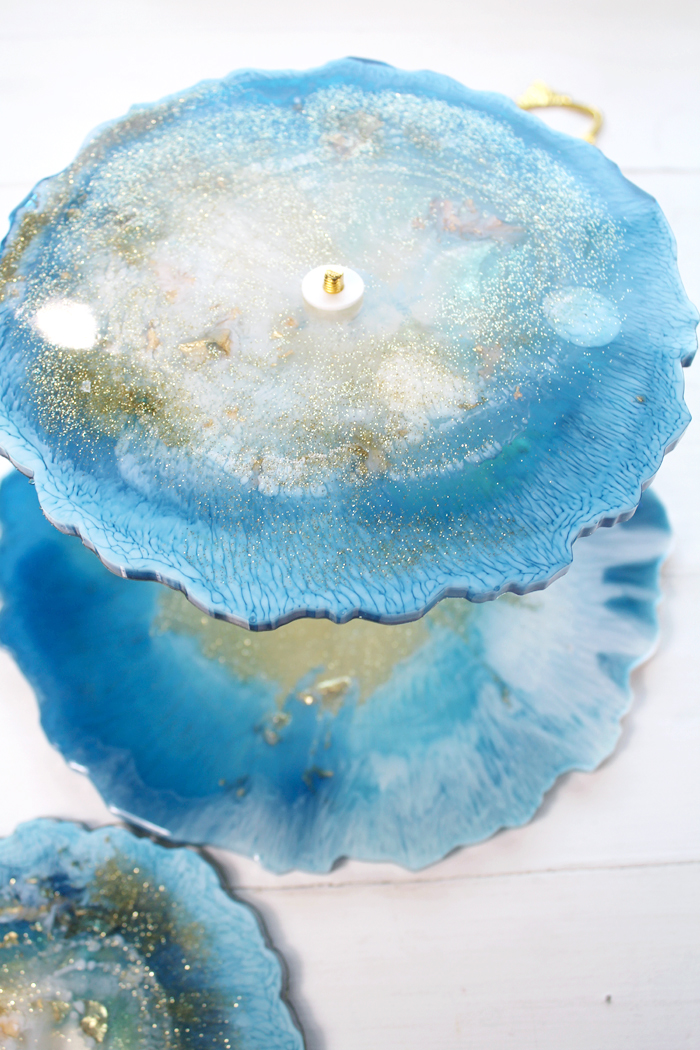
The best part about this tiered serving tray is that it can be taken apart for cleaning, storage or gifting! This gorgeous tiered serving tray made from resin is the perfect handmade gift or statement piece.
If serving food from the tray, make sure food doesn’t touch it directly. Cupcakes or cupcake papers filled with treats is the perfect option.

That’s it!
Make your own and share it on social media! Tag @resincraftsblog and @doodlecraft so we can cheer you on!
Natalie Shaw is a Craft/DIY blogger at Doodlecraftblog.com. She loves sci-fi, fantasy and video game geekery and that comes out in many of her projects. She posts budget conscious DIY’s, crafts, jewelry, kid friendly projects, upcycled treasures and other fun on her blog 5 days a week.


That looks absolutely STUNNING! Thanks for sharing!! XXX
You give such step by step directions. TY for the pictures too. Another awesome project. 🙂