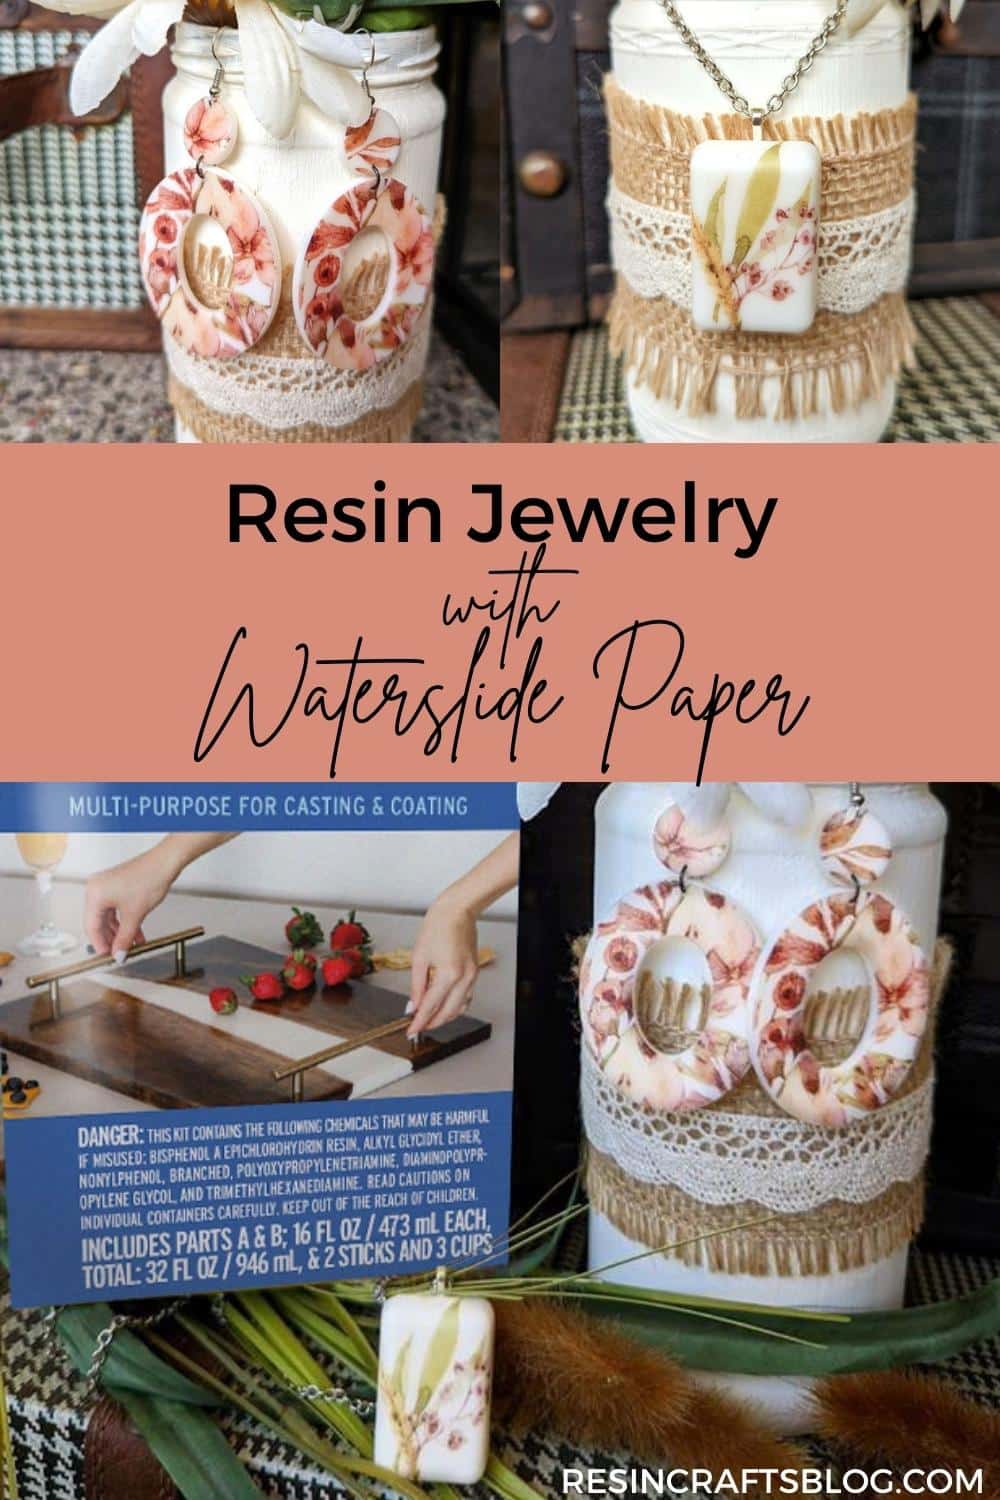
I’ve used waterslide paper on a couple of projects so far, so I’ve been trying to brainstorm other ways to use the material, since I have a whole package of it! I used it to make some waterslide resin jewelry.
Supplies for waterslide resin jewelry
- Jewelry molds
- Mold release spray if not using silicone molds
- Alumilite Amazing Clear Cast Epoxy or Jewelry Resin
- Castin’ Craft opaque pigment in white
- Measureing cups and stir sticks
- ETI Resin spray and sealer
- Waterslide paper
- Color printer
- Jewelry findings (earring hooks, bail, chain, etc)
- Safety items (gloves, glasses)
Prepare resin and molds
Prepare your work surface with a protective covering. Wear gloves and glasses and work in a ventilated room. (I just open a window.)
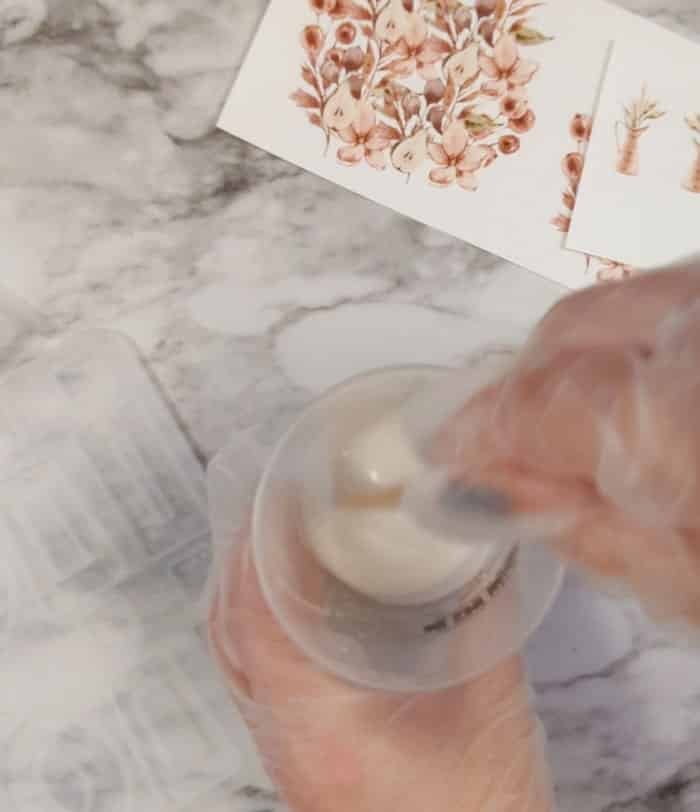
Follow the mixing instructions for your resin. I used Amazing Clear Cast, so I mixed equal parts resin and hardener. Stir for 2 minutes, then transfer to a clean cup and mix for and additional minute.

Add a few drops of white dye, or portion out to smaller cups if you want to try making a few different colors. I prefer the opaque color for this waterslide application, but you can experiment however you like
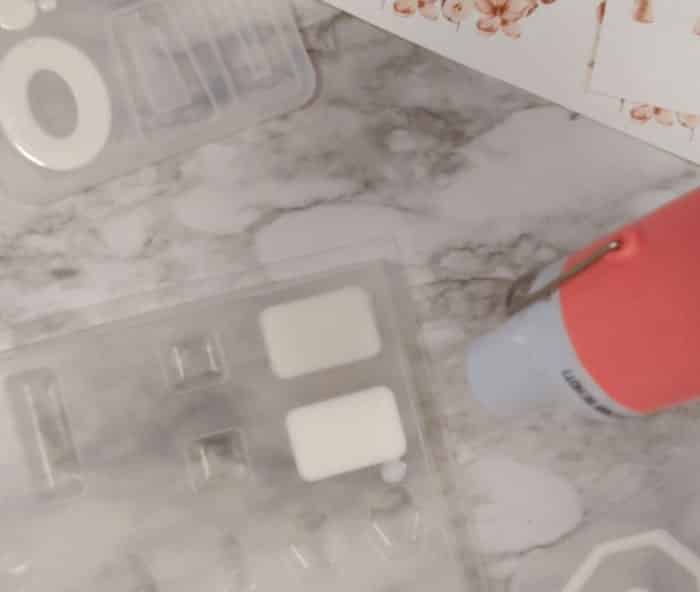
Make sure molds are free from dirt and lint – I like to blow my heat gun over it for a second to remove anything. If using a hard plastic mold, spray with mold release and let dry before adding resin so the shapes will pop out easier.
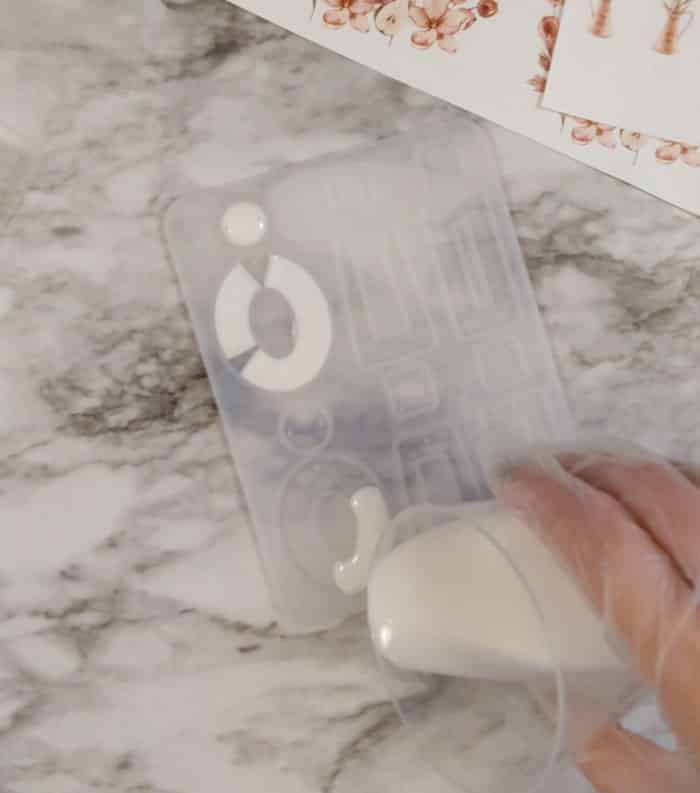
When the color(s) are incorporated, start pouring resin into the jewelry molds. Remove bubbles as they rise to the top – an exhaling breath or heat gun can help.
Create waterslide design for jewelry
This is a good time to work on the waterslide design. You can print any images or patterns on the waterslide paper. I am providing the designs I made for this project here.
If you want to find or design your own images or patterns, make them larger than the jewelry they will go on.
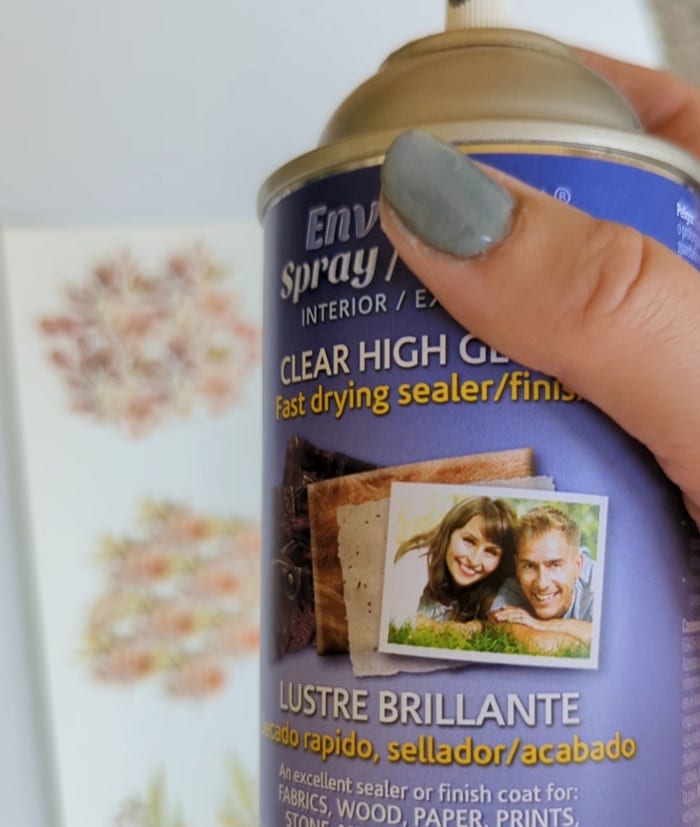
Spray a few thin coats of resin spray sealer on the waterslide printout. Wait about 10 minutes between coats. If the surface feels rough to the touch, it probably needs more layers. I do this outside on a waste piece of cardboard.
When resin is cured – probably about 24 hours since thinner resin pours generally take longer to cure than thicker ones – remove from the molds.
Apply waterslide to jewelry
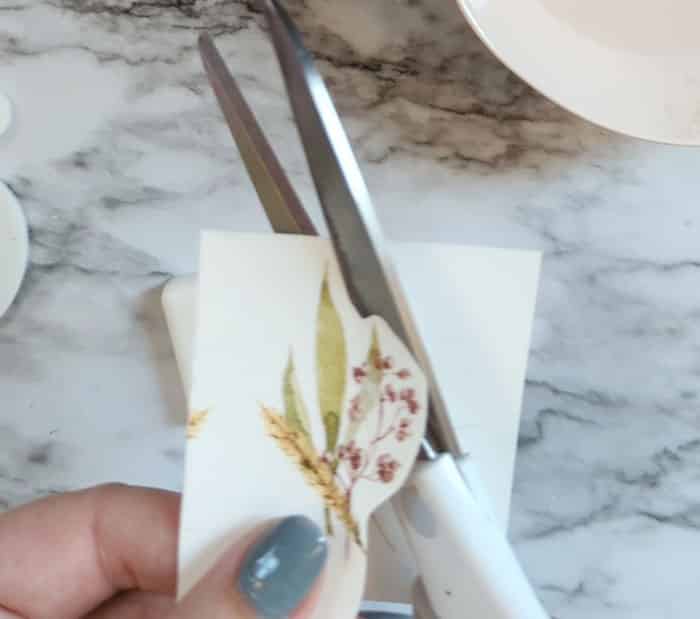
Cut waterslide paper close to the outline of the jewelry shapes.
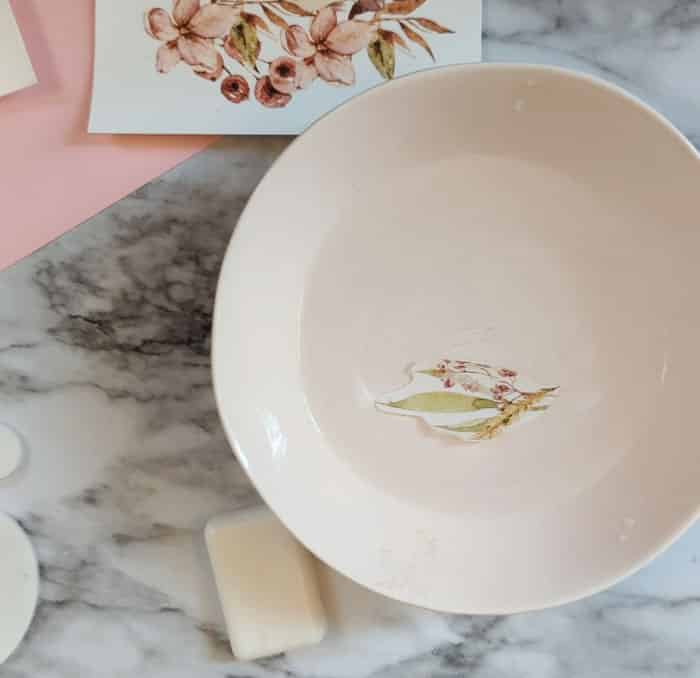
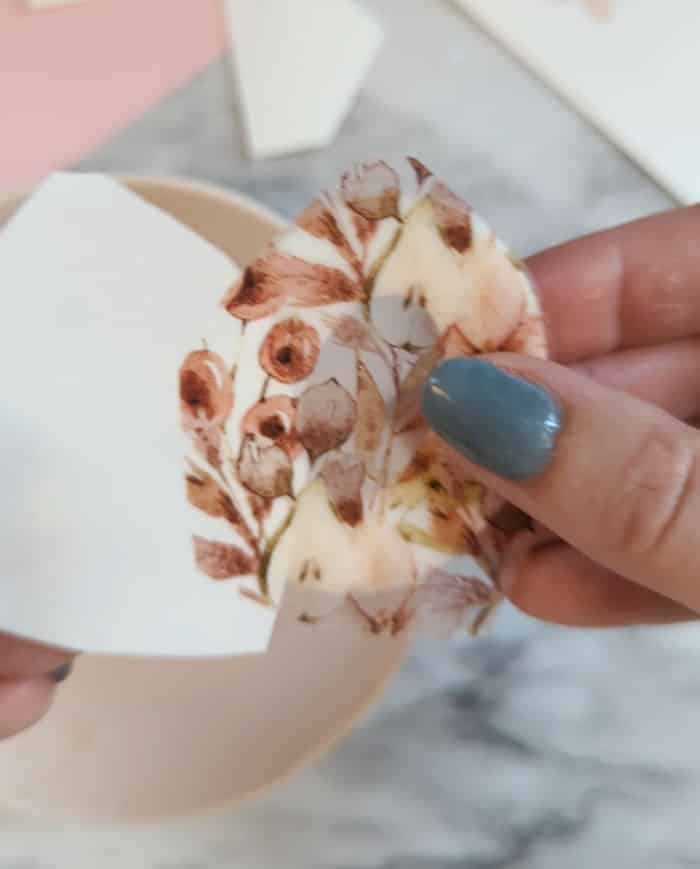
Place in a small dish of water for about 15 seconds. Then gently use your thumb to press the printed design to the left while pulling the backer paper the other direction with your pointer finger. You’re basically sliding the design between your fingers. You’ll see the design start to slip off.
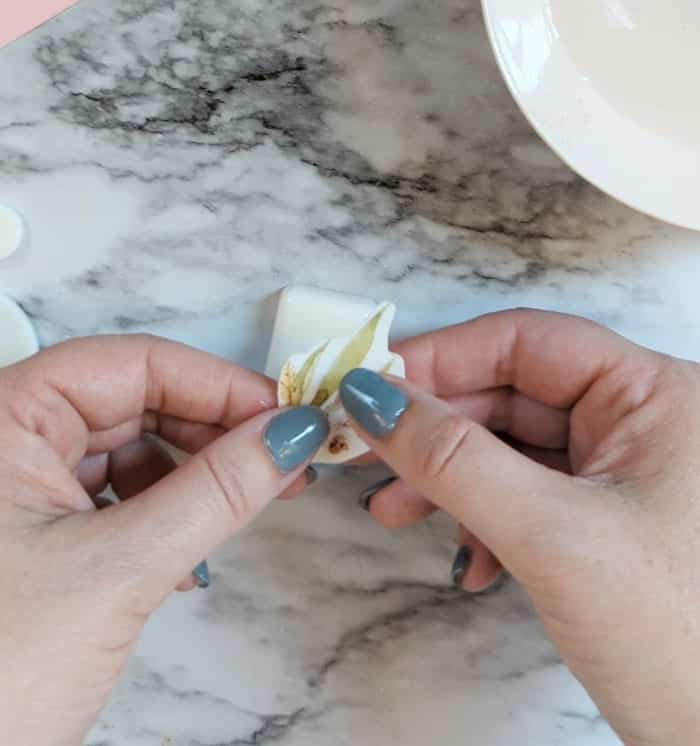
Place it on the resin piece and continue sliding the backer paper out.
The design can still be repositioned a bit – add a bit more water to your finger if needed. Let dry at least one hour.
Now you can go back and carefully trim away any excess around the edges, or in the middle like in the hoops.
Also, poke holes where needed for jewelry hardware.
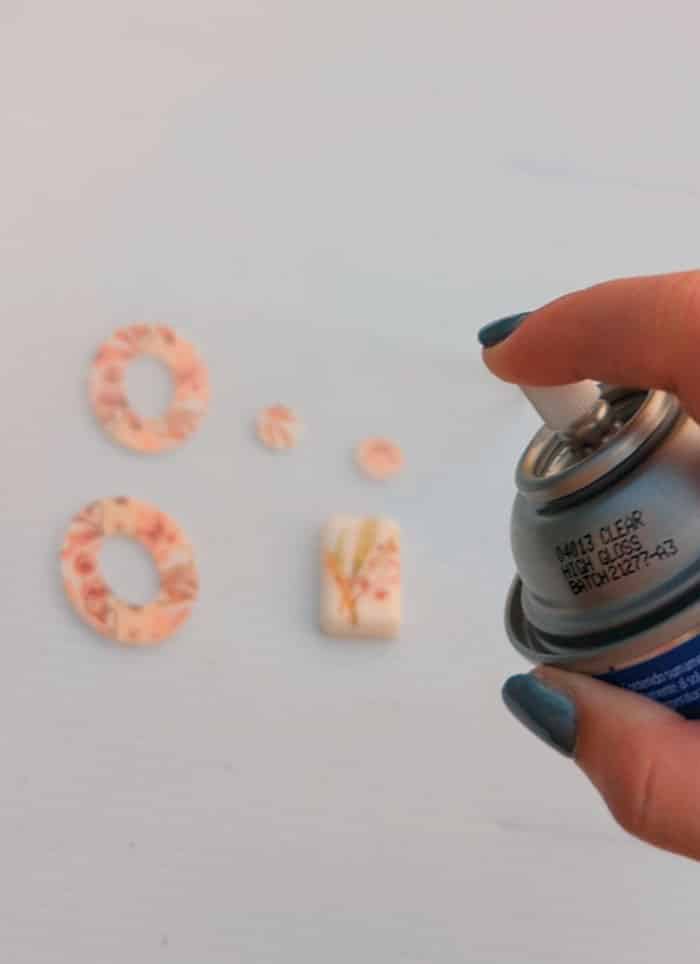
Spray 2 or 3 coats of resin spray sealer on each piece.
After a few hours, when fully dry, add hardware to finish the jewelry.
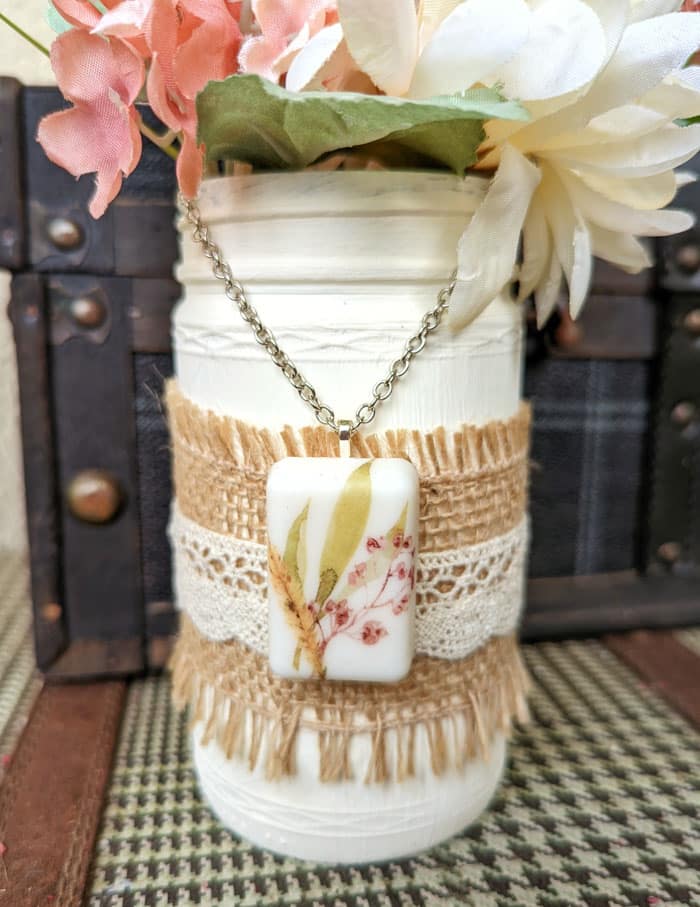
For these earrings, I used 2 split rings and 2 earring hooks. For the necklace, I attached a flat-back bail with E6000 and slipped it on a necklace chain.

What do you think of this beautiful fall resin jewelry? I’d love to hear if you’ve had any great brainstorm ideas while reading this post!
You can find some more fun epoxy jewelry ideas here and more fall resin crafting ideas here!
Stephanie is a crafty wife and mom living in the Pacific Northwest. She shares her creative ideas -along with a bit of “making it up as she goes” – on her blog, Crafting in the Rain.


Where did you get the waterslide paper from? I can’t find it on your website.
You can find it here: https://bit.ly/3Mx0oT4
Such a cool idea!
Thanks so much!