Thanks for stopping by to check out this awesome wood and resin serving tray! I can’t wait to share the details with you on how I made it. Usually when I do a wood project I build it and then finish it, but I wanted to share with you a wood project that you can make even if you aren’t up to woodworking.
SUPPLIES:
- Wooden Tray with handles
- Ultra-Seal Multi-Purpose Sealer & Glue (or any white craft glue that dries clear)
- Scrapbook Paper
- Craft brush
- Envirotex Lite
- Butane Micro Torch
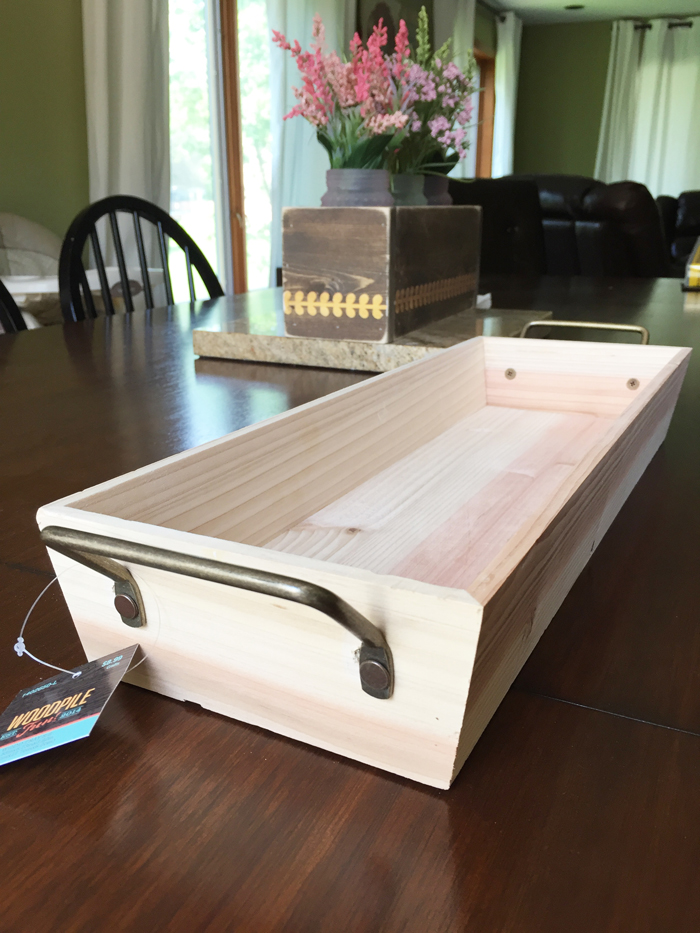
The Serving Tray:
I found this wooden serving tray at my local craft store for only $6! It’s somewhat lightweight, but since it’s just large enough to hold a few glasses, it’s actually pretty perfect.
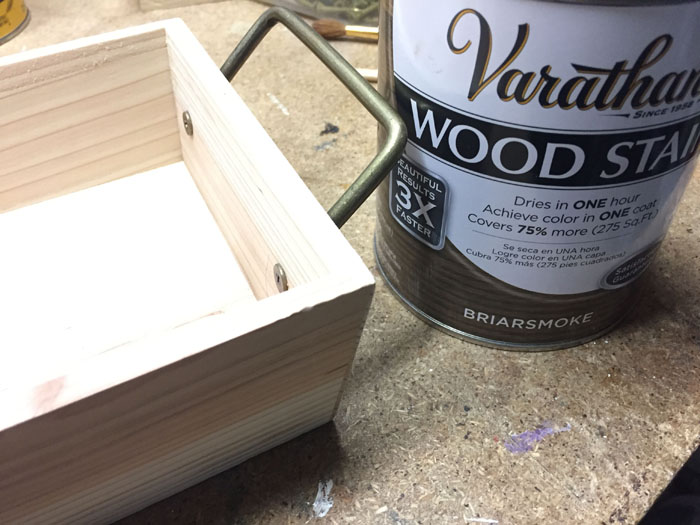
The first thing I did was to stain the tray to a darker color. This matched my other decor and I prefer darker wood. I used a stain color Briarsmoke. One awesome trick to staining is to use a rubber glove over your hand, then an old used sock over the rubber glove; dip it into the stain and rub it onto your wood. It’s quick and easy. Be sure to dispose of the stain-soaked sock properly when you’re finished.
Decorating the tray:
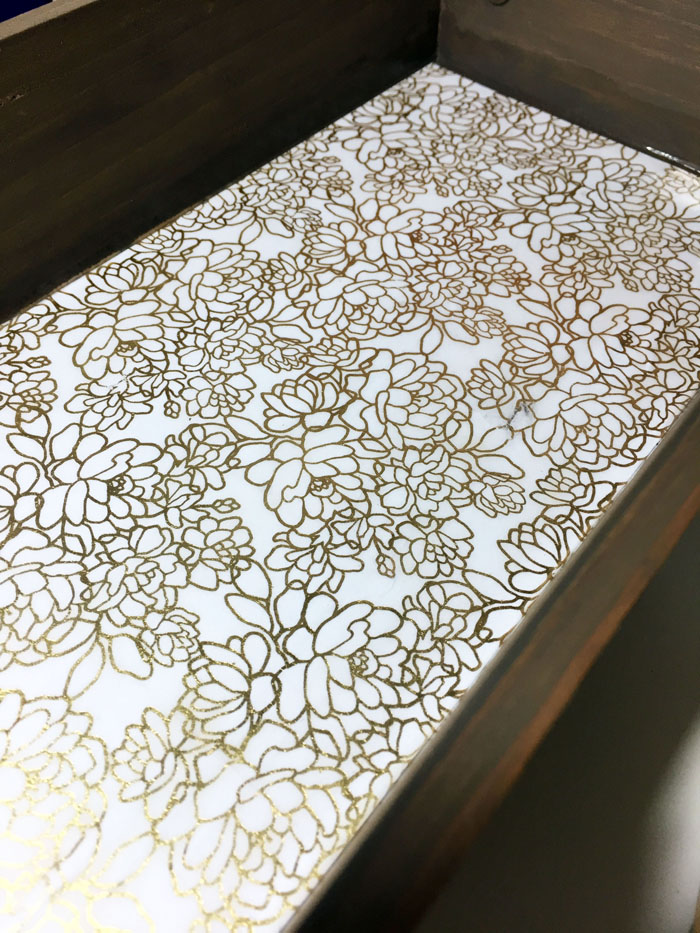
After the stain was dry I cut the scrapbook paper to size that I chose to decorate the bottom of the tray, and I used Ultra-Seal to coat the bottom of the tray and adhere the scrapbook paper in place. I recommend a thicker paper like cardstock, as it tends not to wrinkle as much from the Ultra-Seal.
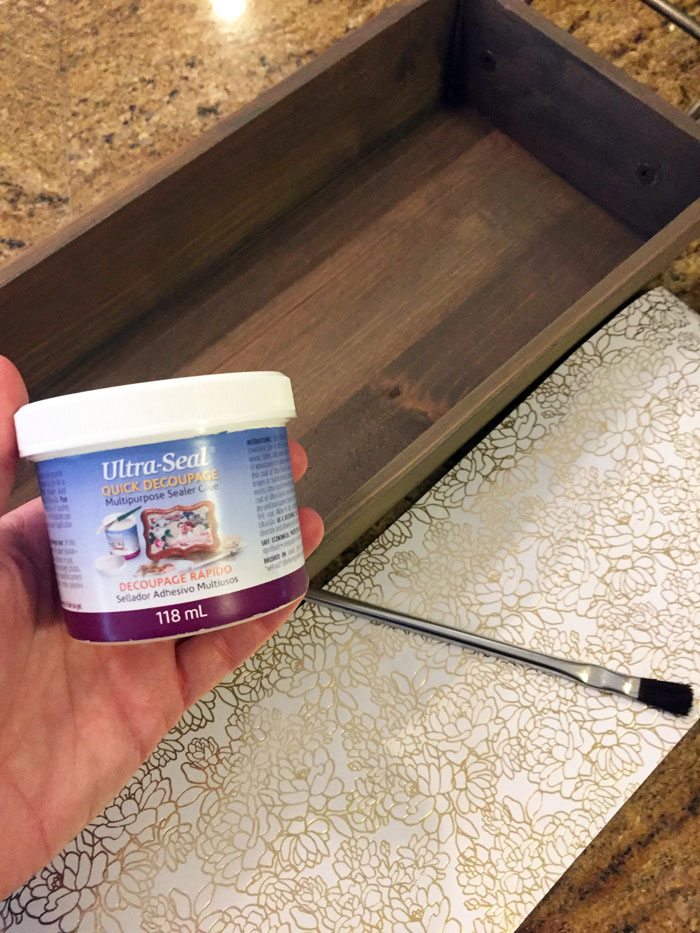
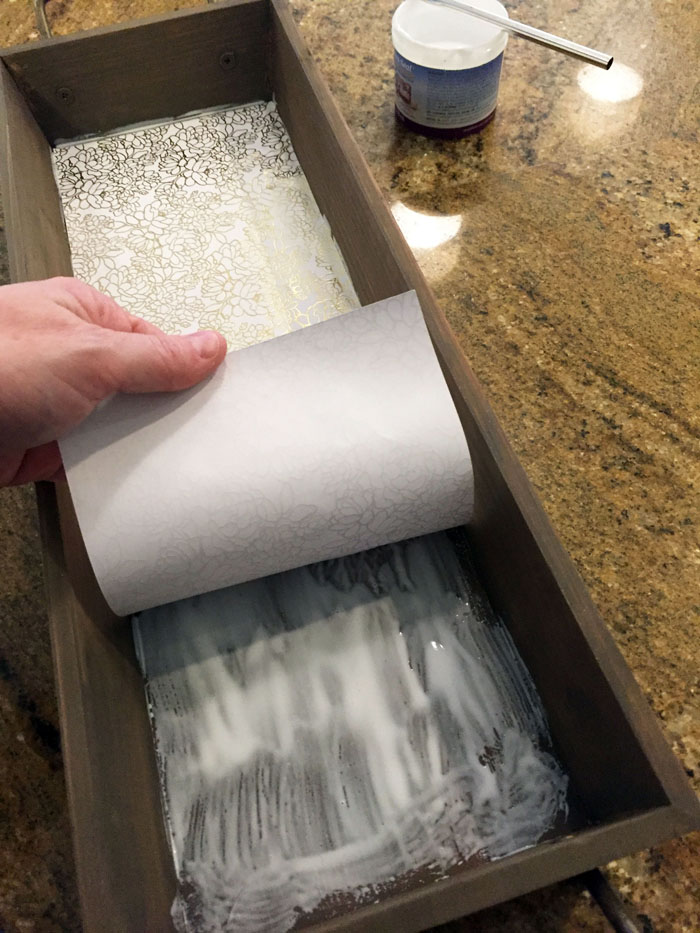
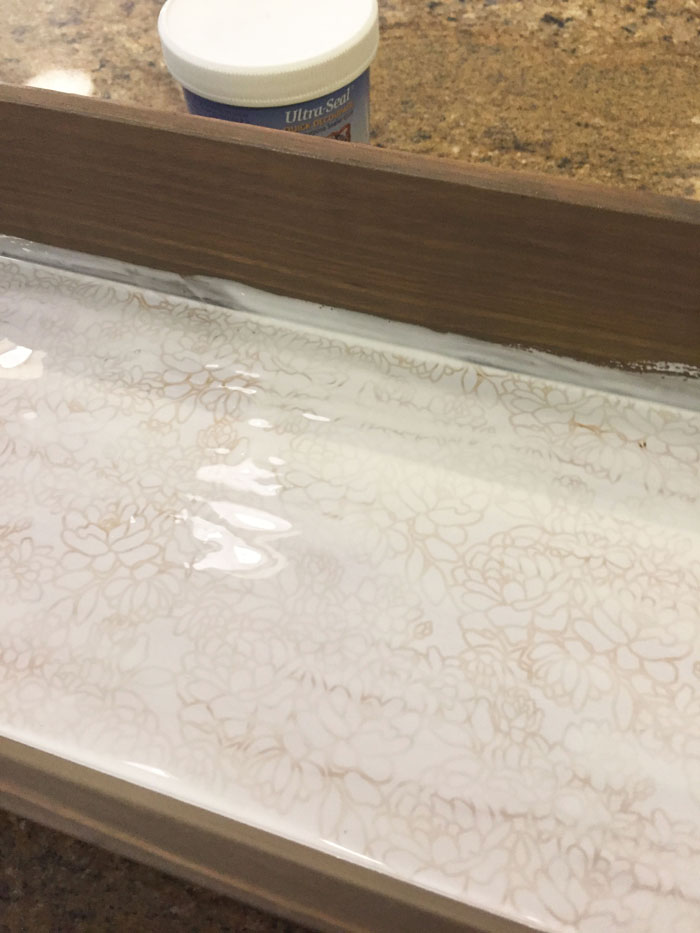
Once the paper is in place, then coat the entire bottom with Ultra-Seal again making sure to coat about half an inch up each wooden side. Let dry. Coat a final time. It is important that it is sealed thoroughly so that the Envirotex Lite doesn’t seep into the paper. Let it dry completely.
Adding Envirotex Lite:
Next, mix the resin. I used about 4 oz total. The instructions for mixing come inside the box, but the short of it is that you need to mix equal amounts of the resin and hardener in one cup until completely mixed.
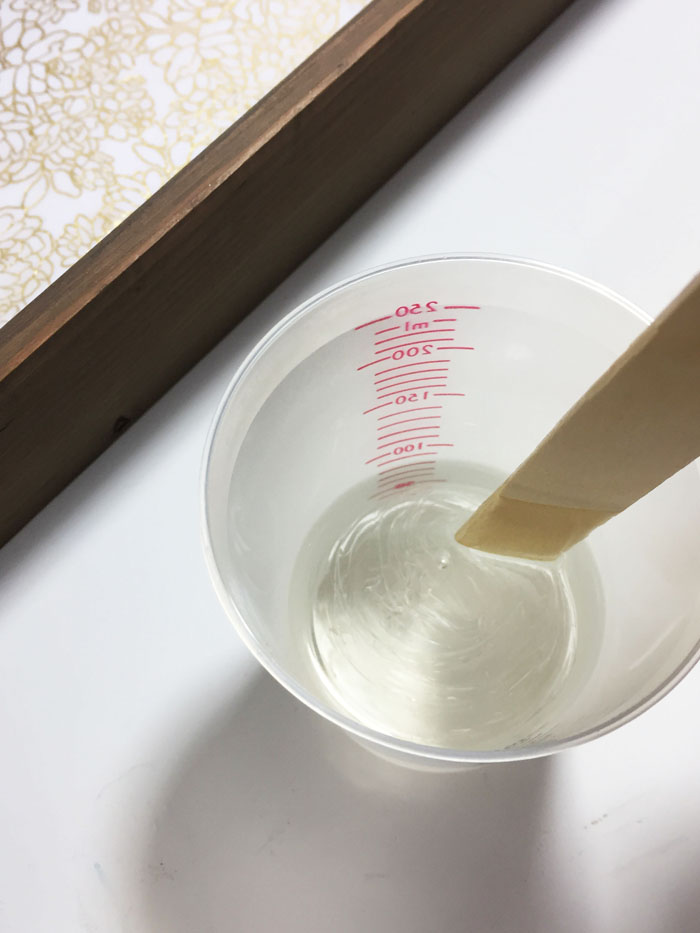
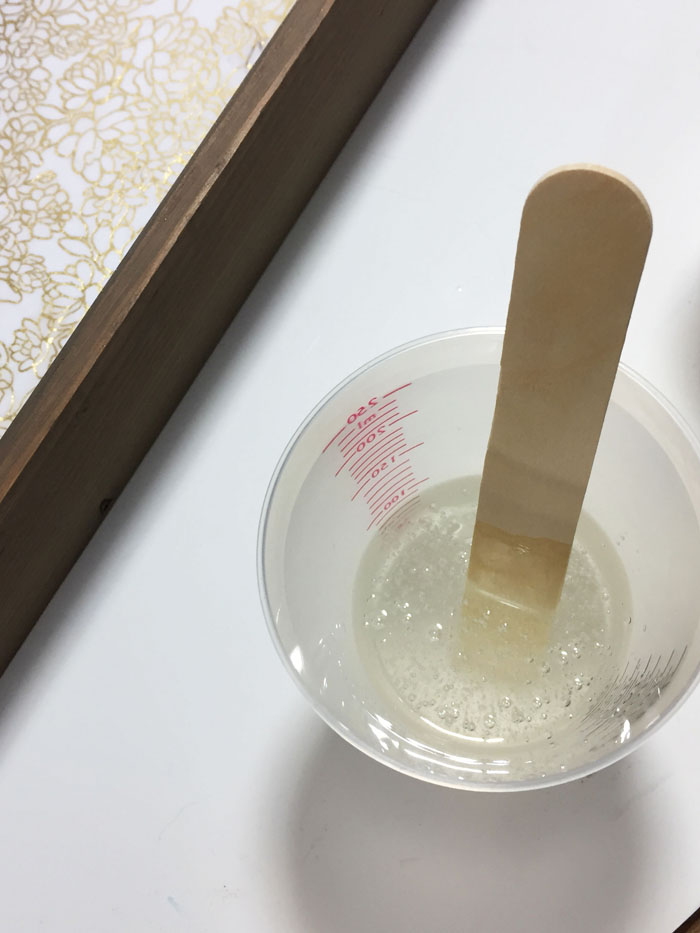
Pour it into a second cup and mix again, just to be sure that it is absolutely thoroughly mixed. I forgot to mention that I sealed a small wooden flower with Ultra-Seal and added that to the corner, just for a little more variation on the tray bottom.
Don’t worry about bubbles. When it is mixed, be sure your tray is level then pour the resin into the tray, being sure that it coats the entire bottom.
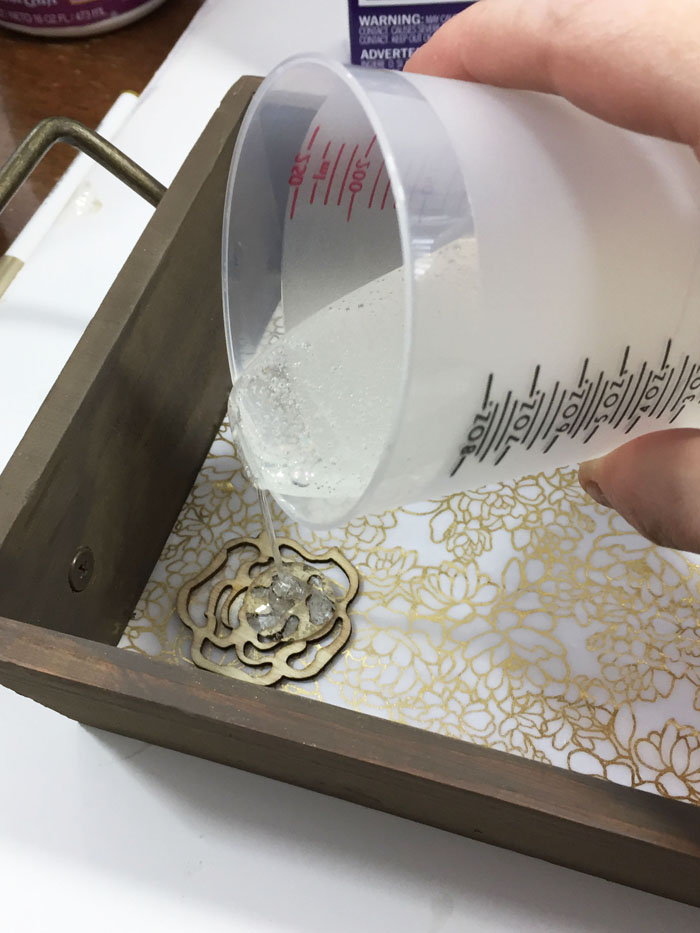
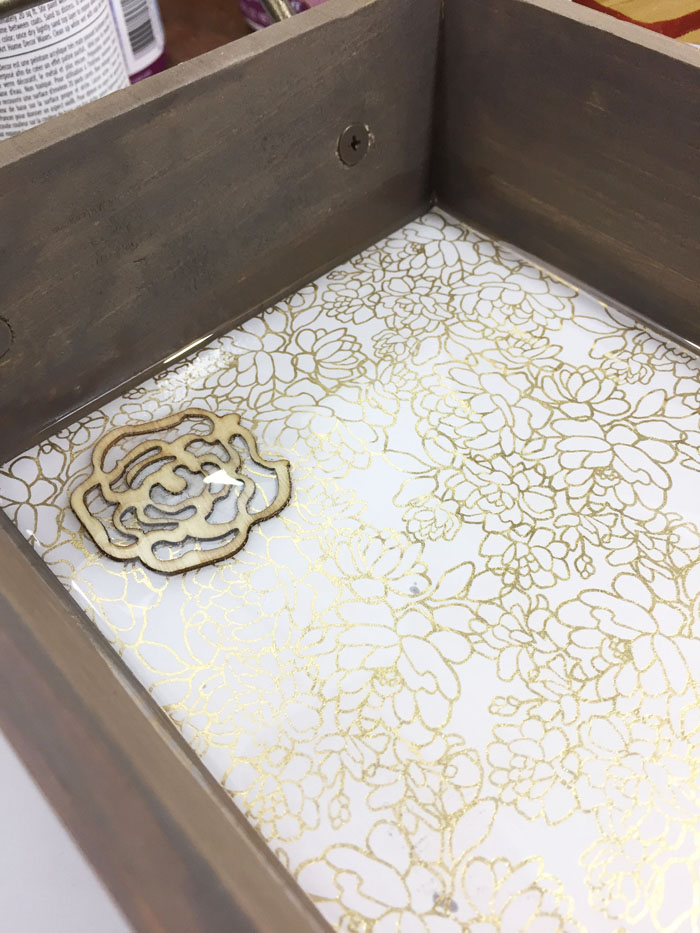
Let it sit for a few minutes so the bubbles can rise to the surface, then use your butane micro-torch to pop the bubbles by quickly running it across the surface. It’ll look smooth and shiny, like so:
Let cure for 48 hours.
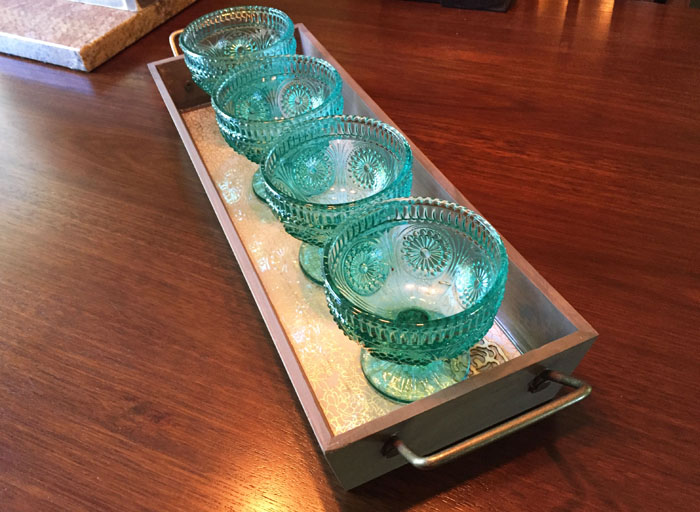
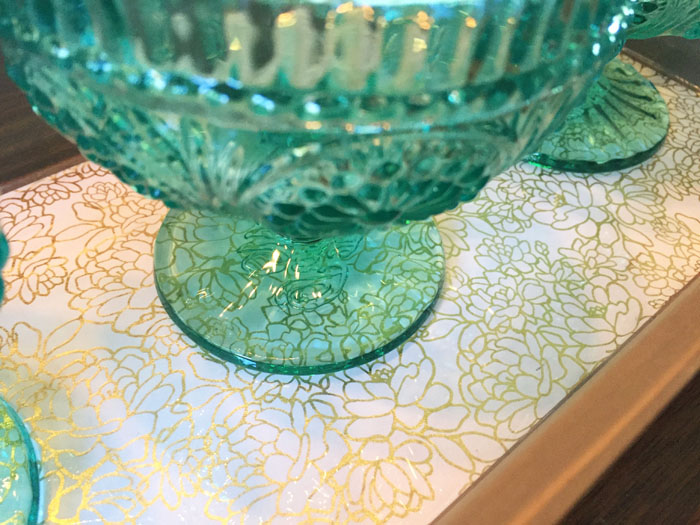
WOOD AND RESIN SERVING TRAY – ALL FINISHED!
Isn’t it pretty?! I am so happy with it and think it’ll be perfect for just serving a few drinks or perhaps hold some decor items, craft supplies, or anything; the options are endless.
Thanks for checking out my project! Do you think you’ll try it? Let me know in the comments! Feel free to ask questions as well.
~~Sheri~~
Sheri is a Maker and DIY blogger at Hazel + Gold Designs. She is usually in the middle of multiple projects at once and finds great satisfaction and joy in creating something new. She is constantly learning new skills, putting them to the test, and sharing her experience and knowledge with others. Her favorite hobbies are crafting, painting, crocheting and basic woodworking. Her goal is to inspire others to step out of their comfort zone, learn a new skill and have the confidence to make their life a little more beautiful!


So pretty!
Thank you!
Great work! I am impressed with your creativity. I can’t wait to try this. Thanks for sharing.